> ## Documentation Index
> Fetch the complete documentation index at: https://www.courier.com/docs/llms.txt
> Use this file to discover all available pages before exploring further.
# The Automations Designer
> Courier’s Automations Designer is a visual builder for creating notification workflows. Add trigger and action nodes, configure logic, and invoke automations via API, triggers, or in-app testing.
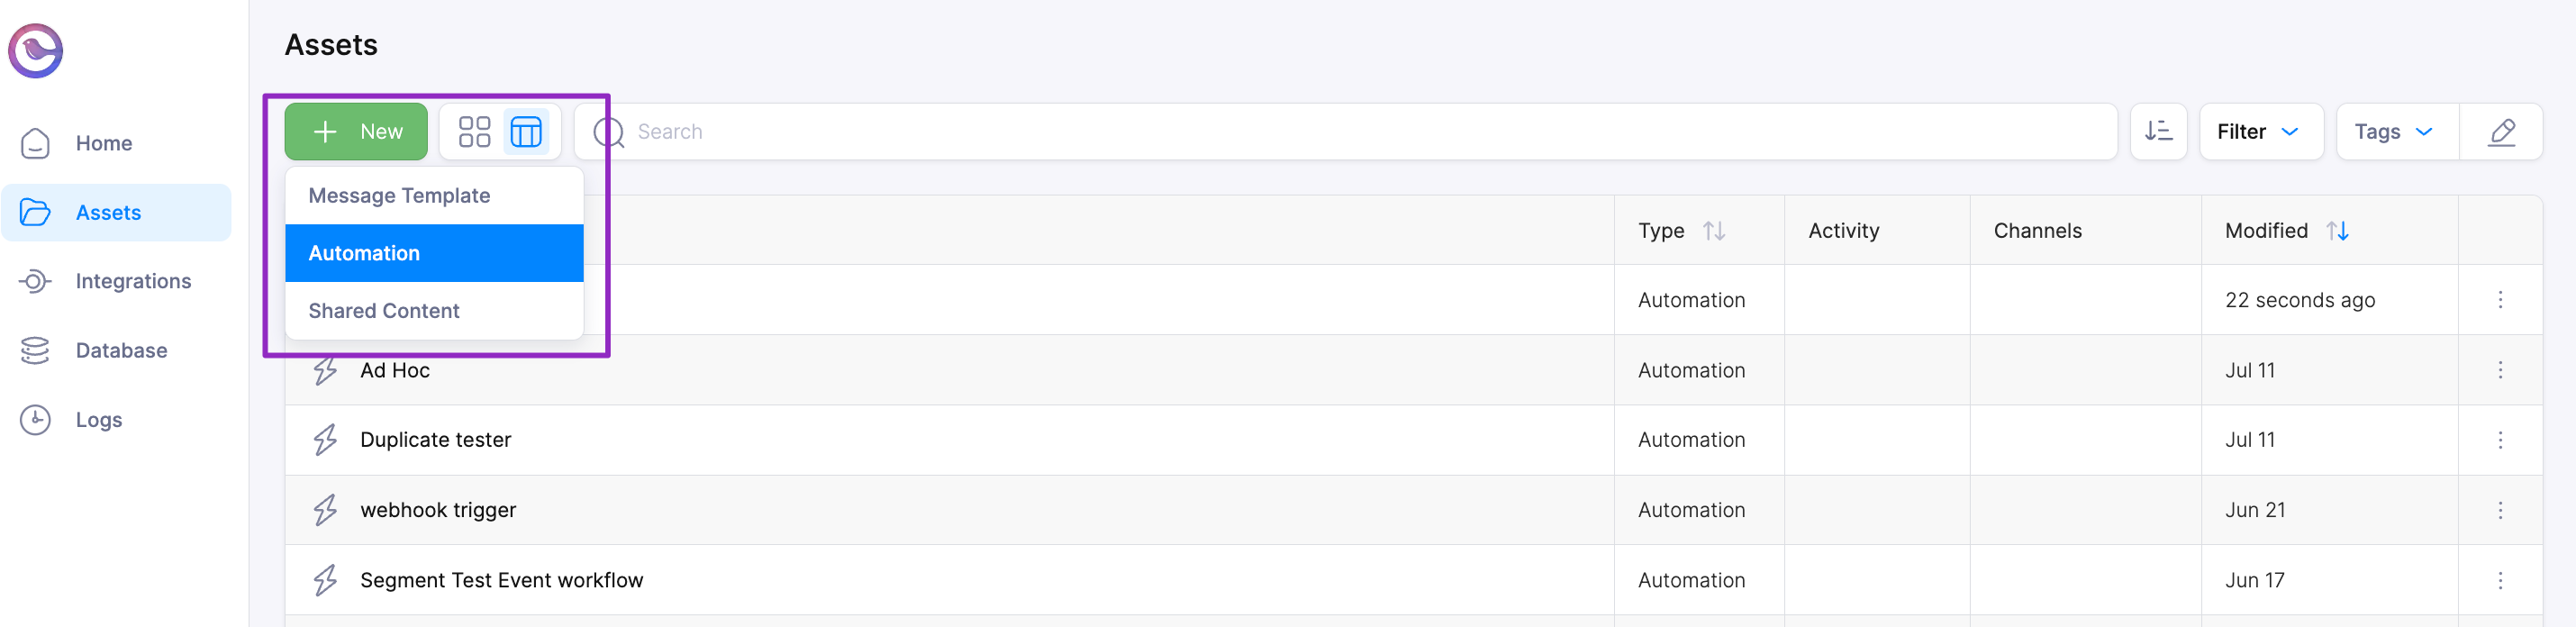
## Creating an Automation
Start by navigating to the [automations page within the Courier
app](https://app.courier.com/automations). From there, a new automation template can be created by
clicking the `New Automation` Button.
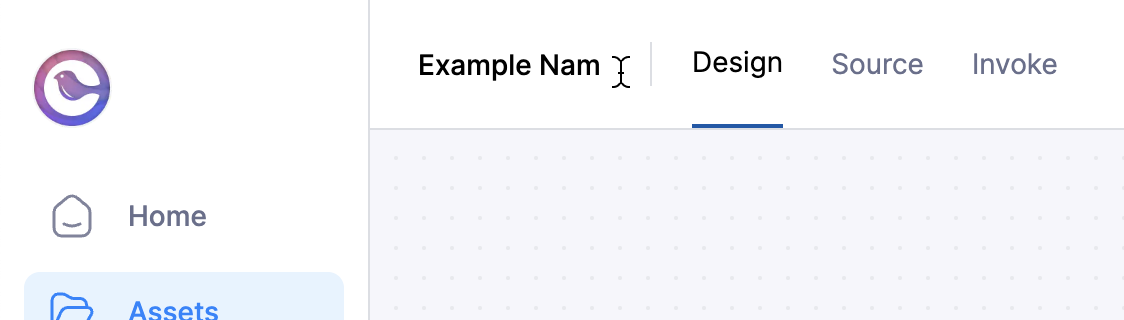
 ## Renaming an Automation
To rename a template, click the name in the upper left hand corner of the designer. By default, the
name is "Untitled Automation". The name is automatically saved after being updated.
## Renaming an Automation
To rename a template, click the name in the upper left hand corner of the designer. By default, the
name is "Untitled Automation". The name is automatically saved after being updated.
 ## Working with Automation Nodes
A new template starts with a placeholder trigger node. A trigger node defines what starts an automation run. The trigger is optional; you can always invoke a template directly via `POST /automations/:template_id/invoke`.
To add nodes, expand from the list on the left and then click and drag a node onto the right. The first trigger and action node will snap into their respective placeholders:
Nodes are executed sequentially through their connections, from top to bottom. To connect two nodes, click and drag from the white dot at the bottom of the source node to the top of the target node:
## Automation Invocation
Be sure to publish the template before invoking (using the publish button on the upper right).
There are a few ways to invoke a template, either directly in the automation template, through a trigger node, or through an api call.
See [Scheduling automations](/platform/automations/scheduling) or [Triggering With Segment](/platform/automations/segment) to get
an understanding of how trigger nodes work.
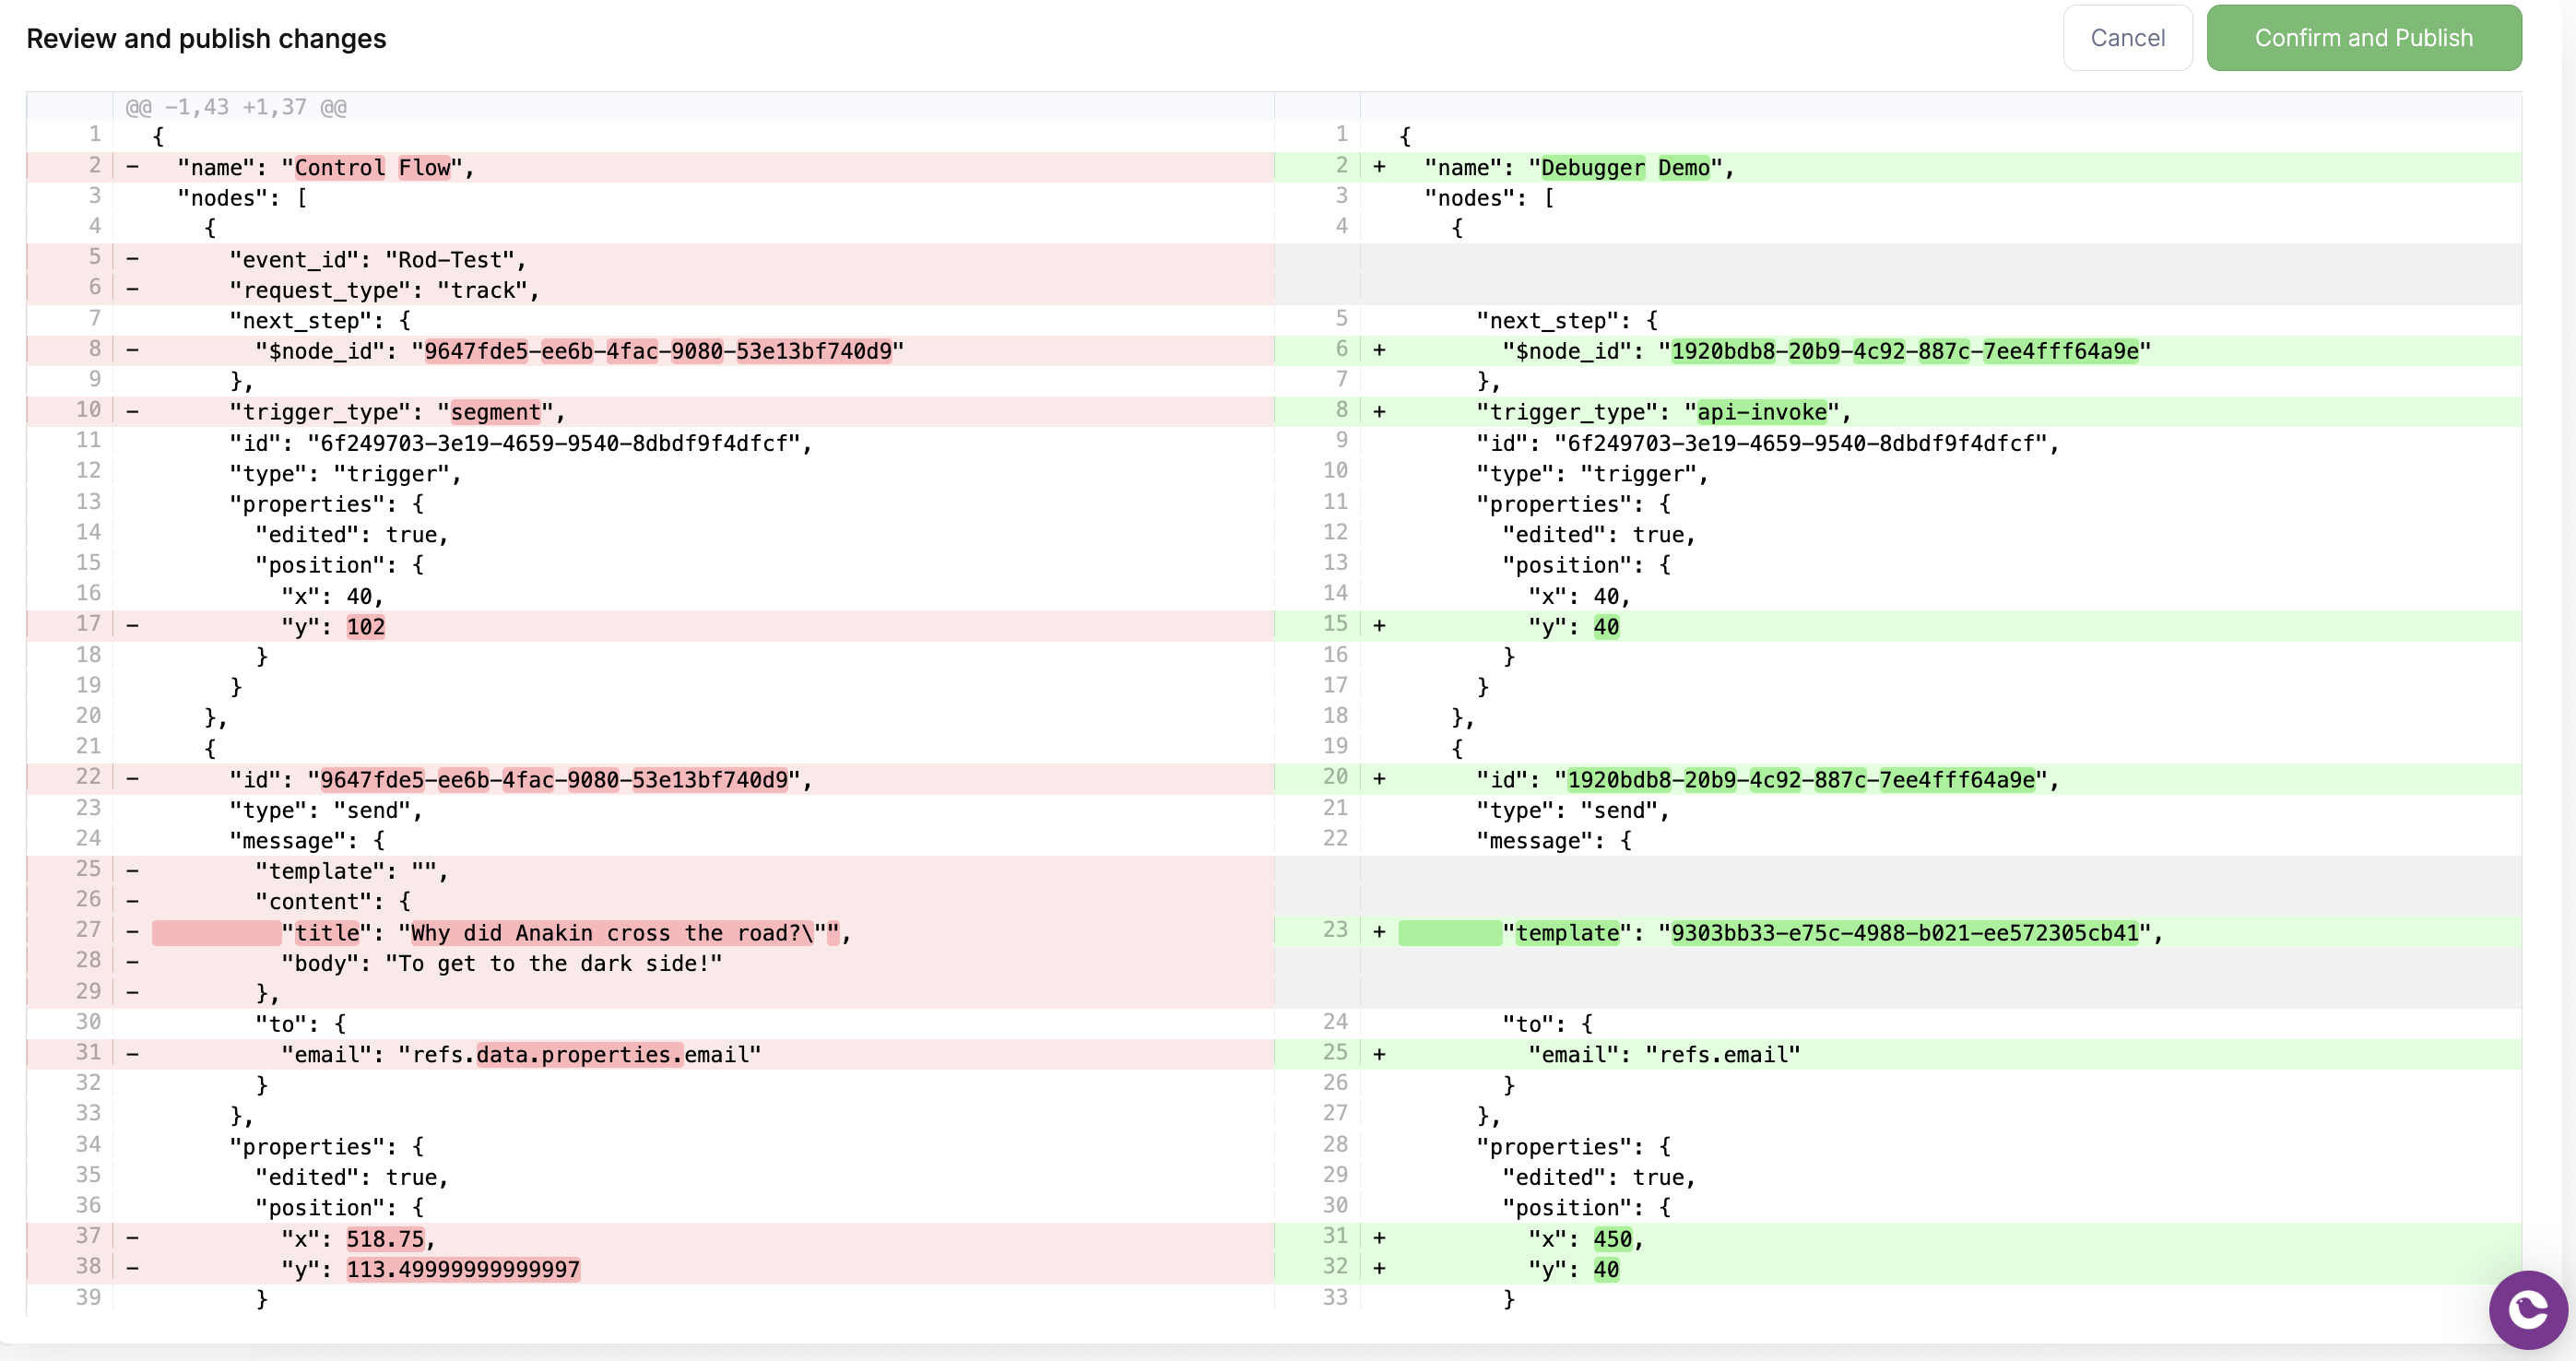
### Difference View
When publishing a template, the automation designer will prompt the user with a difference view confirmation showing the changes between versions. You can confirm the changes on this window.
## Working with Automation Nodes
A new template starts with a placeholder trigger node. A trigger node defines what starts an automation run. The trigger is optional; you can always invoke a template directly via `POST /automations/:template_id/invoke`.
To add nodes, expand from the list on the left and then click and drag a node onto the right. The first trigger and action node will snap into their respective placeholders:
Nodes are executed sequentially through their connections, from top to bottom. To connect two nodes, click and drag from the white dot at the bottom of the source node to the top of the target node:
## Automation Invocation
Be sure to publish the template before invoking (using the publish button on the upper right).
There are a few ways to invoke a template, either directly in the automation template, through a trigger node, or through an api call.
See [Scheduling automations](/platform/automations/scheduling) or [Triggering With Segment](/platform/automations/segment) to get
an understanding of how trigger nodes work.
### Difference View
When publishing a template, the automation designer will prompt the user with a difference view confirmation showing the changes between versions. You can confirm the changes on this window.
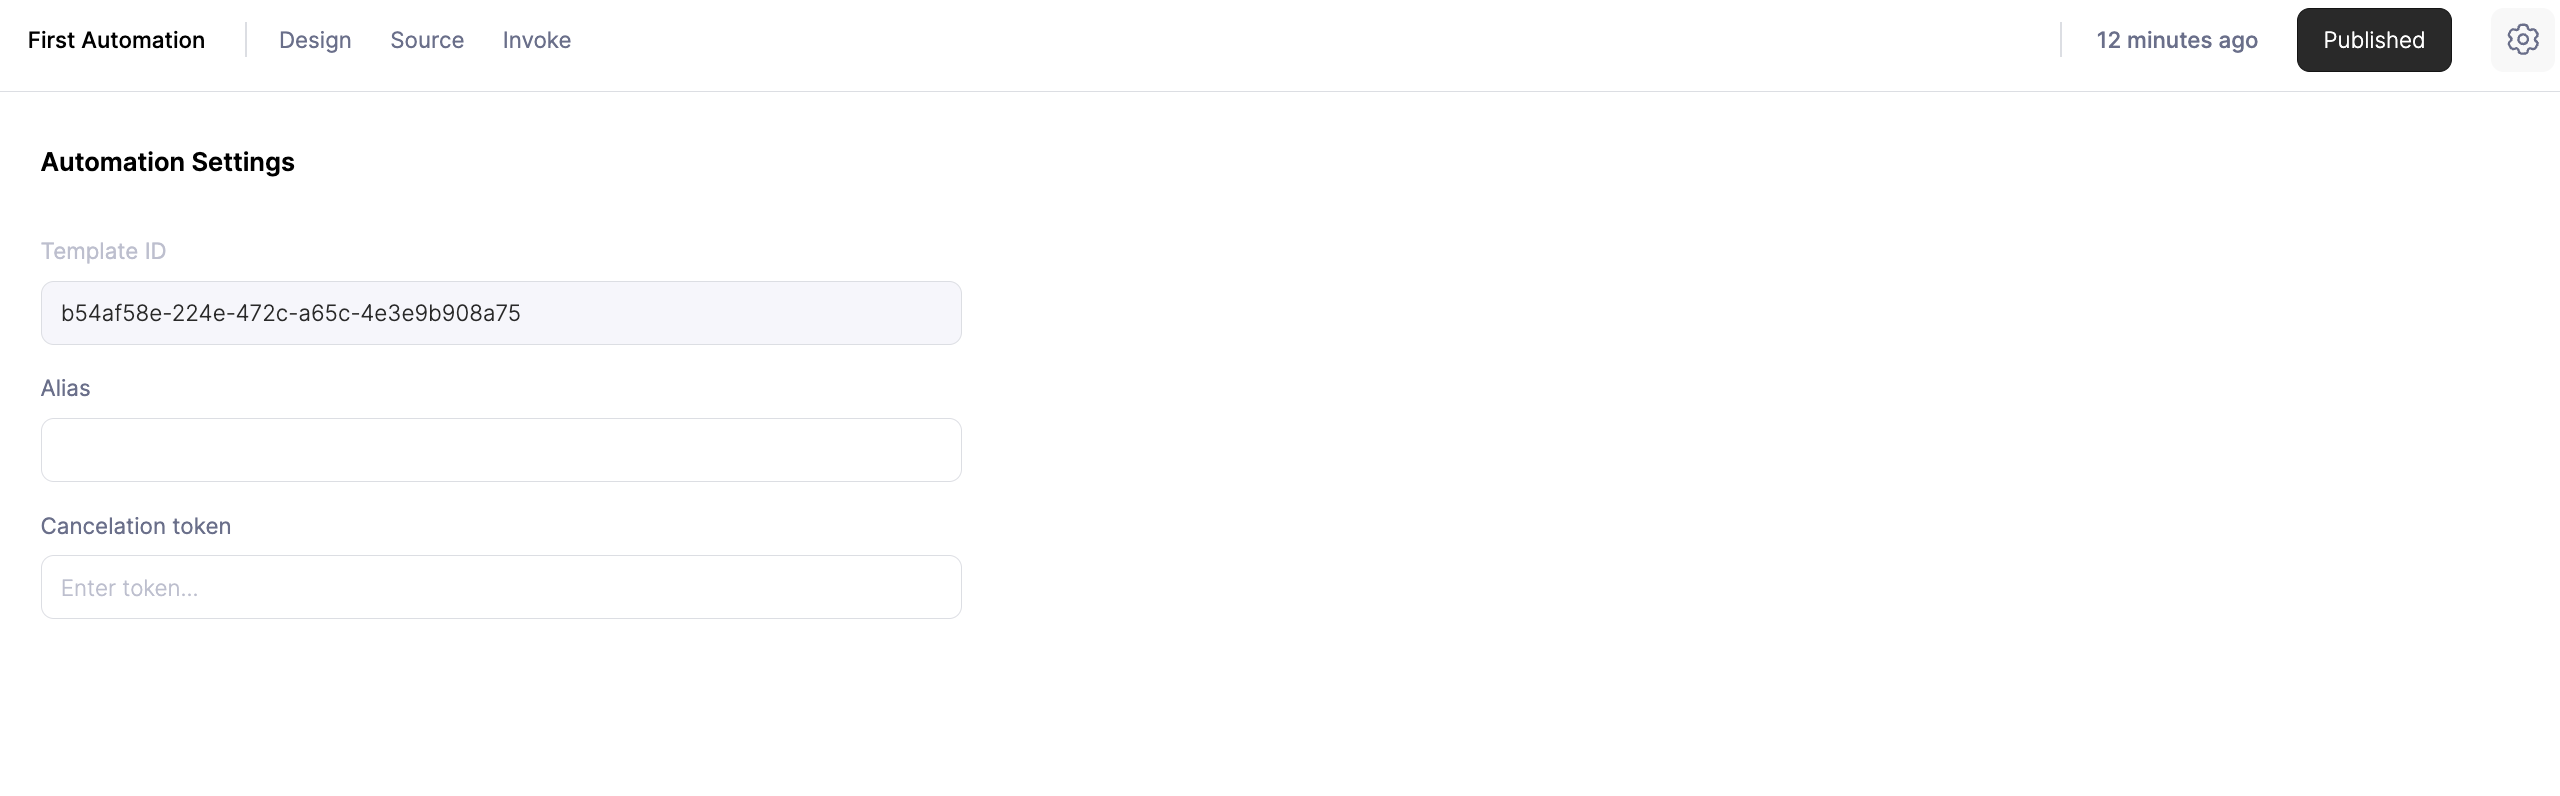
 ### Invoking an Automation using the API
To run an automation by api call, grab the automation template id or the alias from the settings section of
the designer and invoke it by calling POST `api/automations/:template_id_here/invoke`. View
[Automations API docs](/api-reference/automations/invoke-an-automation) for
more details.
### Invoking an Automation using the API
To run an automation by api call, grab the automation template id or the alias from the settings section of
the designer and invoke it by calling POST `api/automations/:template_id_here/invoke`. View
[Automations API docs](/api-reference/automations/invoke-an-automation) for
more details.
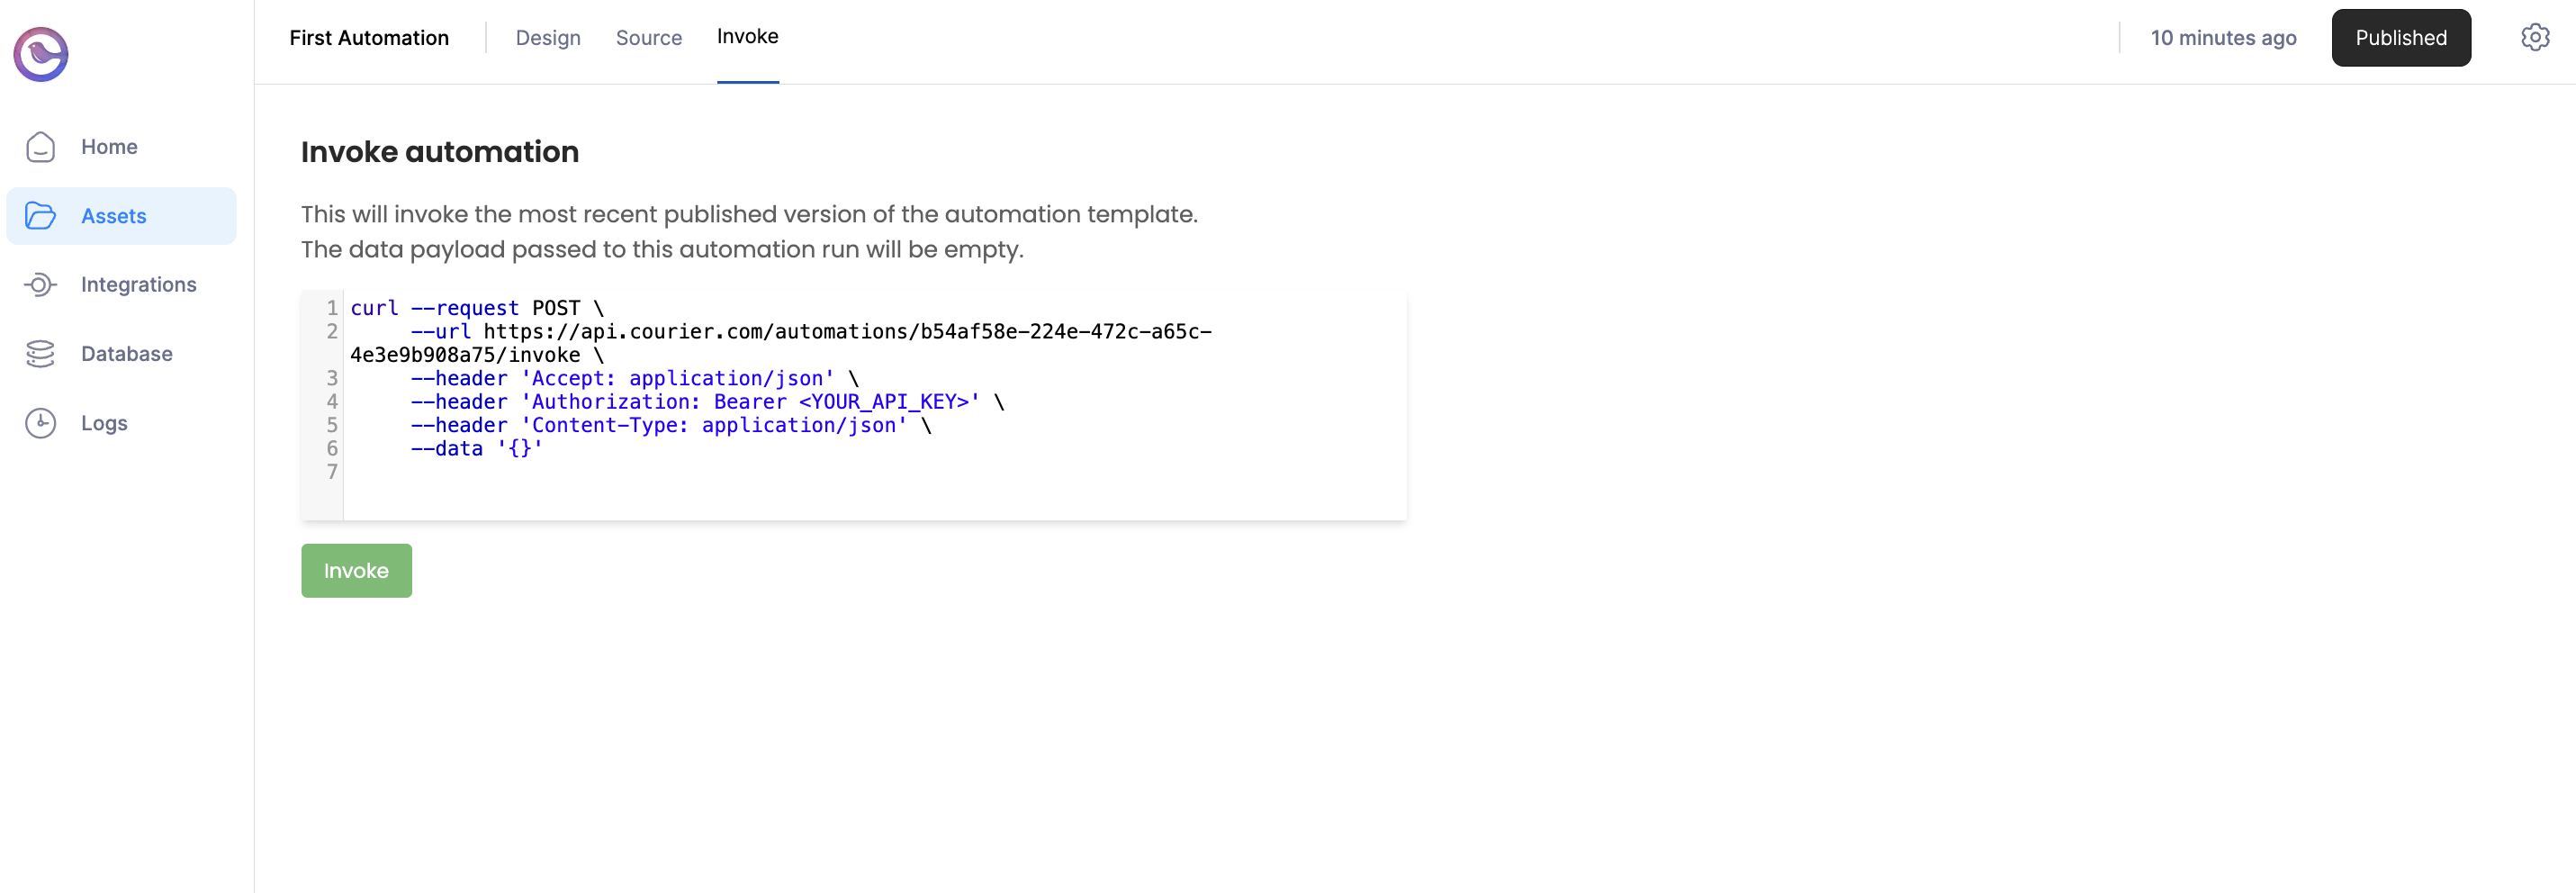
 ### Invoking an Automation from the Designer
You can invoke the automation template directly from the designer in the **Invoke** tab. This can be a good way to test the automation or to invoke very simple automation templates.
*Note:* Invoking from the designer will pass an empty data payload `{}` to the automation run
### Invoking an Automation from the Designer
You can invoke the automation template directly from the designer in the **Invoke** tab. This can be a good way to test the automation or to invoke very simple automation templates.
*Note:* Invoking from the designer will pass an empty data payload `{}` to the automation run
 ## Related Resources
All automation action types
Test automations before production
Schedule automations with cron, recurrence, or one-time triggers
Invoke automations via API
## Related Resources
All automation action types
Test automations before production
Schedule automations with cron, recurrence, or one-time triggers
Invoke automations via API