> ## Documentation Index
> Fetch the complete documentation index at: https://www.courier.com/docs/llms.txt
> Use this file to discover all available pages before exploring further.
# How to Brand Your Notifications
> Create and customize Courier Brands to apply consistent logos, colors, headers, footers, and social links across your email notifications.
Courier Brands let you apply a consistent look and feel to your email and inbox notifications. You can maintain a single brand or create multiple brands for white-labeling, multi-tenant apps, or different product lines. Brands are fully API-enabled via the [Brands API](/api-reference/brands/list-brands).
By the end of this tutorial you'll have a brand configured with a logo, colors, footer, and social links, and you'll know how to apply it to notifications.
## Prerequisites
* A [Courier account](https://app.courier.com/)
* Your brand assets ready: logo image, hex color codes, social media URLs
## Understanding Email Brand Templates
Courier offers three template types for brands:
| Template Type | Best For | Customization Level |
| -------------------------- | ----------------------------- | -------------------------------------- |
| **Standard** | Most use cases; visual editor | Logo, colors, footer, social links |
| **Handlebars** | Custom header/footer layouts | Handlebars templating in header/footer |
| **Custom MJML/Handlebars** | Fully custom email layout | Complete control over HTML structure |
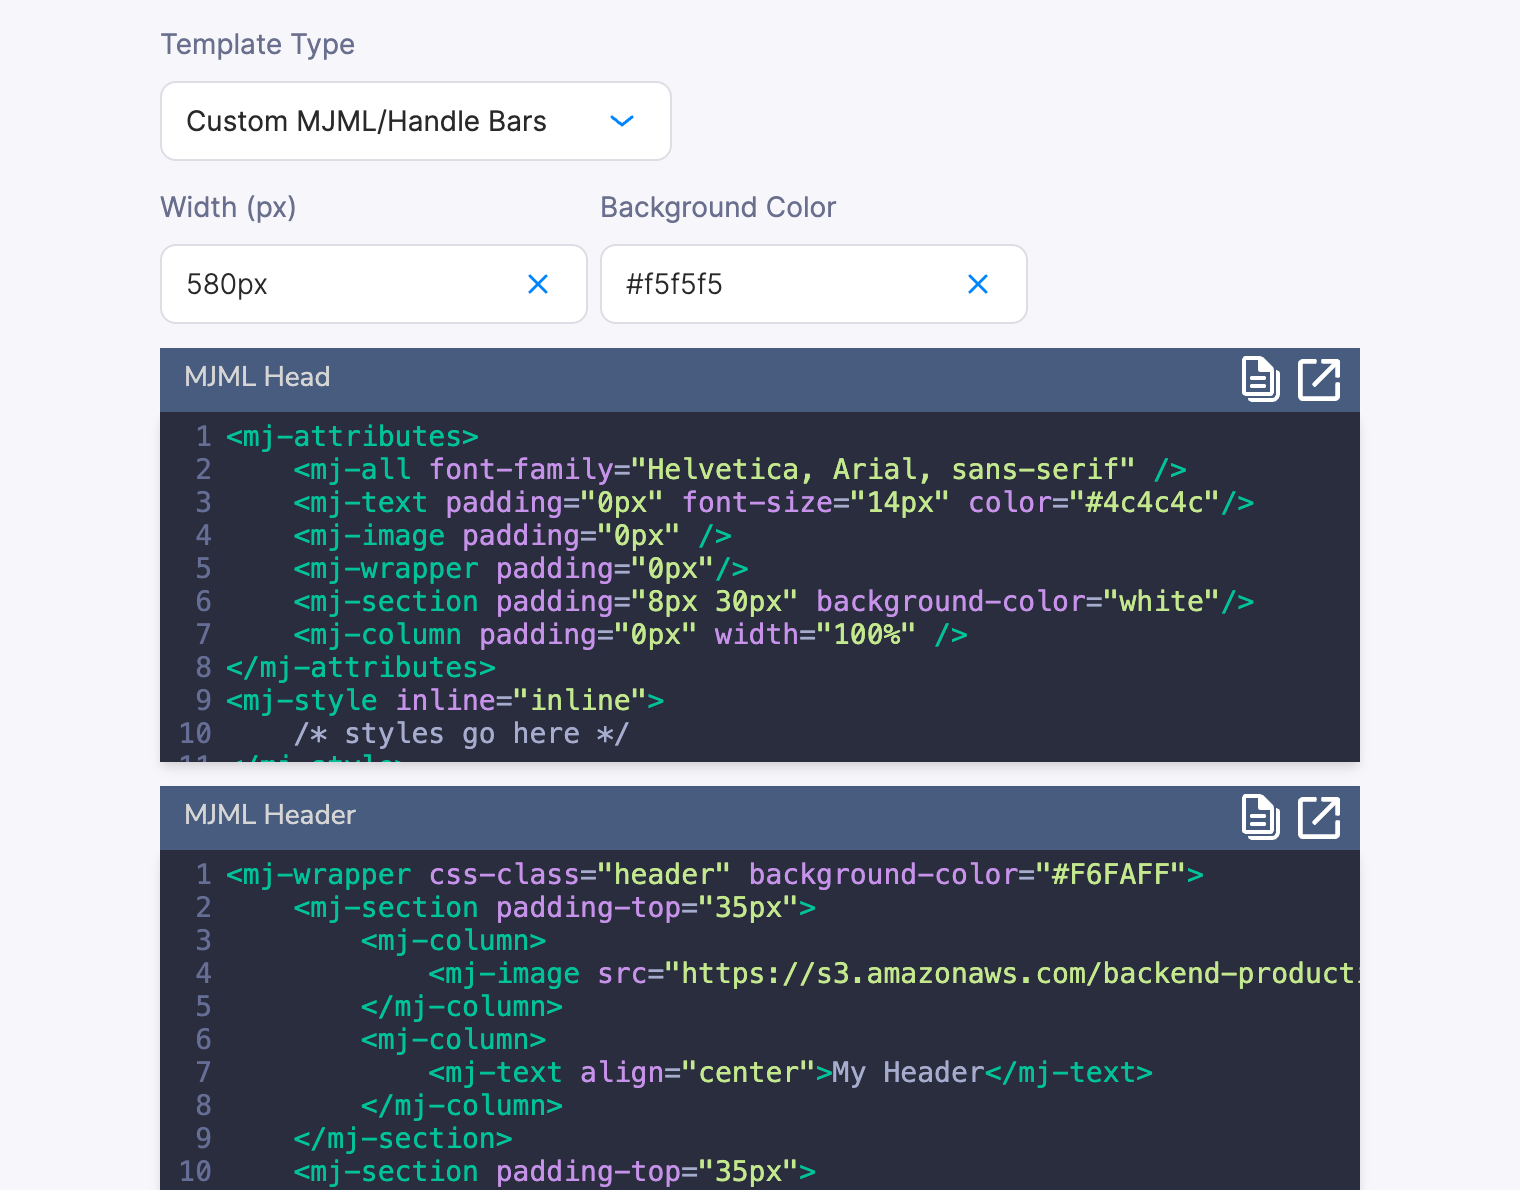
This tutorial uses the Standard template. For custom MJML/Handlebars templates, see the [Brands reference](/platform/content/brands/brands-overview).
## Step 1: Create a Brand
Navigate to **Templates > Brands** in the Courier dashboard and click **New Brand**.
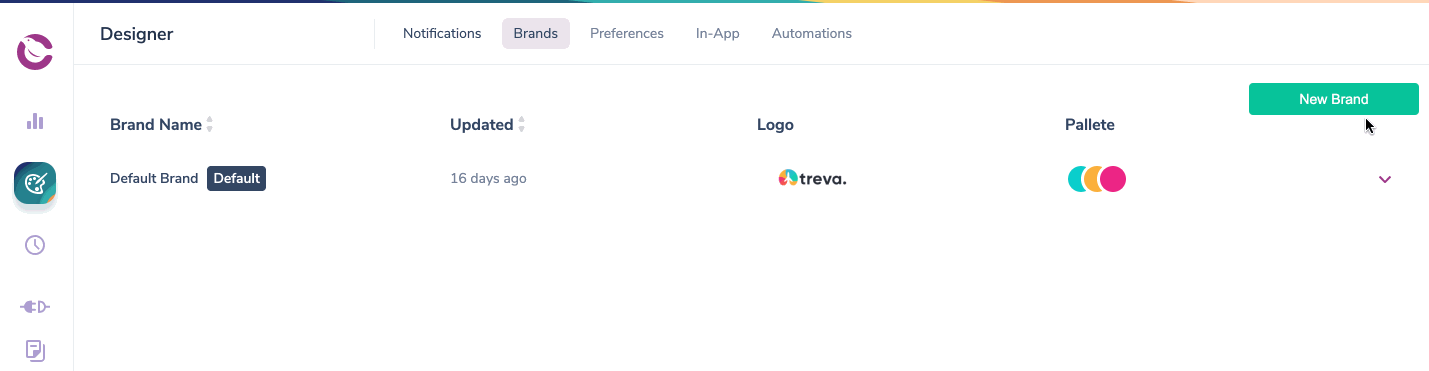 Give your brand a descriptive name (e.g. "Acme Corp"). Optionally set a `brand_id` if you plan to manage the brand via the API.
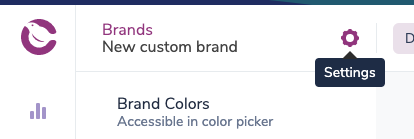
## Step 2: Customize Your Brand
In the Brand Designer, locate the Logo section and upload your logo. Requirements:
* JPEG, PNG, or GIF format
* Maximum 5MB
* Ideally 140px wide (height is flexible)
Configure your color palette:
* **Primary** - Buttons, links, and key accent elements
* **Secondary / Tertiary** - Supporting accent colors
* **Header** - Background color of the email header bar
Add your company name and optional legal text. You can use built-in variables:
* `{datetime.year}` - Current year (e.g. for `© {datetime.year} Acme Corp`)
* `{urls.unsubscribe}` - One-click unsubscribe link
* `{urls.preferences}` - Link to the user's preference page
Add social media links (Facebook, Instagram, LinkedIn, Twitter/X, Medium) to display icon links in the footer.
Click **Preview** to see how your brand looks in a sample email. When you're satisfied, click **Publish**.
## Step 3: Apply the Brand
### Set as Default
Setting a brand as default means it automatically applies to all notifications that don't specify a different brand. Open the brand settings and click **Set as Default**.
Give your brand a descriptive name (e.g. "Acme Corp"). Optionally set a `brand_id` if you plan to manage the brand via the API.
## Step 2: Customize Your Brand
In the Brand Designer, locate the Logo section and upload your logo. Requirements:
* JPEG, PNG, or GIF format
* Maximum 5MB
* Ideally 140px wide (height is flexible)
Configure your color palette:
* **Primary** - Buttons, links, and key accent elements
* **Secondary / Tertiary** - Supporting accent colors
* **Header** - Background color of the email header bar
Add your company name and optional legal text. You can use built-in variables:
* `{datetime.year}` - Current year (e.g. for `© {datetime.year} Acme Corp`)
* `{urls.unsubscribe}` - One-click unsubscribe link
* `{urls.preferences}` - Link to the user's preference page
Add social media links (Facebook, Instagram, LinkedIn, Twitter/X, Medium) to display icon links in the footer.
Click **Preview** to see how your brand looks in a sample email. When you're satisfied, click **Publish**.
## Step 3: Apply the Brand
### Set as Default
Setting a brand as default means it automatically applies to all notifications that don't specify a different brand. Open the brand settings and click **Set as Default**.
 Every email notification uses the default brand unless you explicitly disable brands in the template settings or specify a different brand in the send request.
### Apply to Specific Notifications
If you don't want the brand as default, you can assign it per notification:
1. Open the notification template
2. Go to **Template Settings**
3. Select your brand from the dropdown
### Specify at Send Time
Pass a `brand_id` in the [Send API](/api-reference/send/send-a-message) request to override the default brand:
```bash curl theme={null}
curl -X POST https://api.courier.com/send \
-H "Authorization: Bearer $COURIER_AUTH_TOKEN" \
-H "Content-Type: application/json" \
-d '{
"message": {
"brand_id": "your-brand-id",
"to": { "email": "recipient@example.com" },
"content": {
"title": "Welcome!",
"body": "This uses your custom brand."
}
}
}'
```
```typescript Node theme={null}
import Courier from "@trycourier/courier";
const client = new Courier({ apiKey: "your_api_key" });
await client.send.message({
message: {
brand_id: "your-brand-id",
to: { email: "recipient@example.com" },
content: {
title: "Welcome!",
body: "This uses your custom brand.",
},
},
});
```
```python Python theme={null}
from courier import Courier
client = Courier(api_key="your_api_key")
client.send.message(
message={
"brand_id": "your-brand-id",
"to": {"email": "recipient@example.com"},
"content": {
"title": "Welcome!",
"body": "This uses your custom brand.",
},
},
)
```
## Advanced Customization
### Custom Templates
For more control over the email layout, select **Use Custom Template** in the Brand Designer. This lets you write Handlebars and HTML or [MJML](https://mjml.io/) for the header and footer while still using drag-and-drop content blocks for the email body.
Every email notification uses the default brand unless you explicitly disable brands in the template settings or specify a different brand in the send request.
### Apply to Specific Notifications
If you don't want the brand as default, you can assign it per notification:
1. Open the notification template
2. Go to **Template Settings**
3. Select your brand from the dropdown
### Specify at Send Time
Pass a `brand_id` in the [Send API](/api-reference/send/send-a-message) request to override the default brand:
```bash curl theme={null}
curl -X POST https://api.courier.com/send \
-H "Authorization: Bearer $COURIER_AUTH_TOKEN" \
-H "Content-Type: application/json" \
-d '{
"message": {
"brand_id": "your-brand-id",
"to": { "email": "recipient@example.com" },
"content": {
"title": "Welcome!",
"body": "This uses your custom brand."
}
}
}'
```
```typescript Node theme={null}
import Courier from "@trycourier/courier";
const client = new Courier({ apiKey: "your_api_key" });
await client.send.message({
message: {
brand_id: "your-brand-id",
to: { email: "recipient@example.com" },
content: {
title: "Welcome!",
body: "This uses your custom brand.",
},
},
});
```
```python Python theme={null}
from courier import Courier
client = Courier(api_key="your_api_key")
client.send.message(
message={
"brand_id": "your-brand-id",
"to": {"email": "recipient@example.com"},
"content": {
"title": "Welcome!",
"body": "This uses your custom brand.",
},
},
)
```
## Advanced Customization
### Custom Templates
For more control over the email layout, select **Use Custom Template** in the Brand Designer. This lets you write Handlebars and HTML or [MJML](https://mjml.io/) for the header and footer while still using drag-and-drop content blocks for the email body.
 ### Custom CSS
You can customize the `
### Custom CSS
You can customize the `