Automations Template Designer
A detailed overview of how to create multi-step automations using Courier's Automations Visual Designer.
What Are Automation Templates?
An automation template is a re-usable, pre-defined list of automation steps created in the Courier Automation Designer. Published templates are run or "invoked" using Courier's Automations API automations/{templateId}/invoke endpoint, or a Segment Event.
Edits you make to an automation template will not apply retroactively to any recipients or lists already added to an automation run.
How to Create an Automation Template
Creating a New Template
You can create automation templates from scratch by clicking. "Create Template" or by starting with one of the predefined templates for common use cases:
- Batch send
- Schedule a message
- Send a reminder
- Cancel an automation
Adding Automation Steps
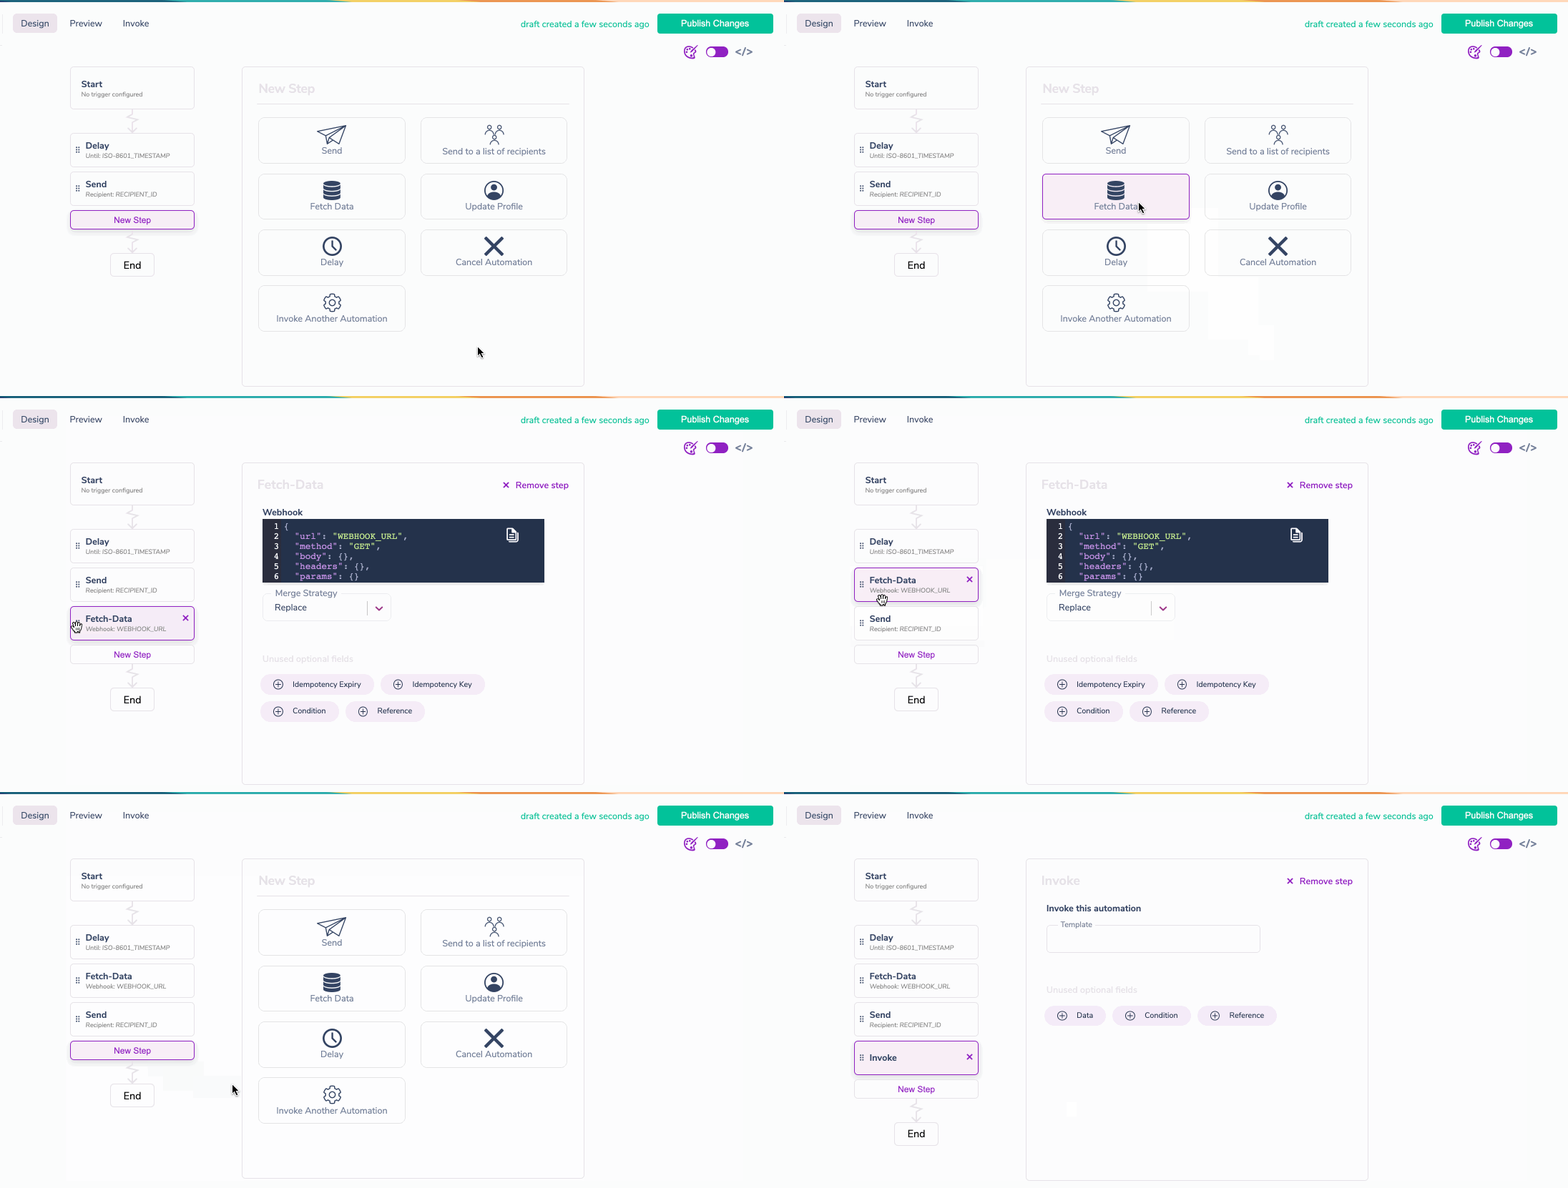
Automation steps are a set of discrete actions, which are used together to implement complex messaging workflows. The Automation Visual Designer lets you click to add automation steps, then drag and drop them to change and set the automation order.

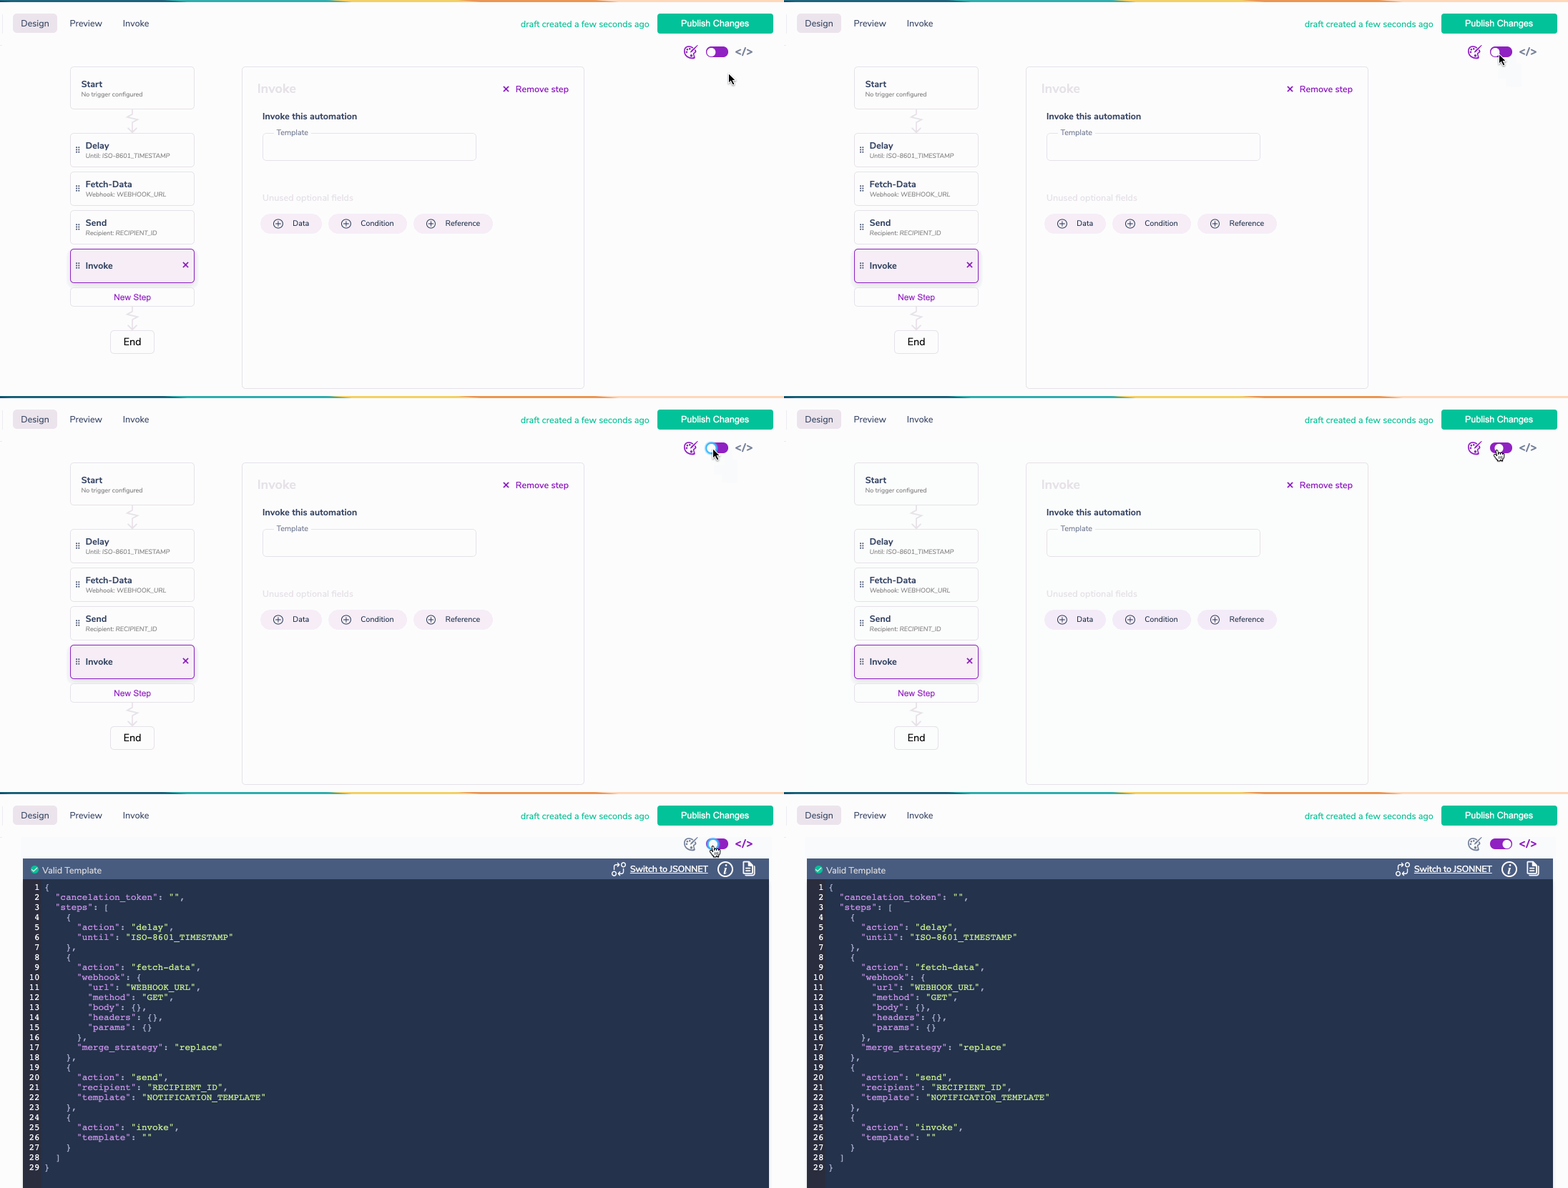
Toggle Between the Visual Designer and Code View
If you want to view or edit the automation template you've built with the visual designer as code, you can enable it by toggling the code editor.

Visual Designer Step Details
There are eight automation steps that you can use to build your workflow - all of them can be added using the visual designer.
Send Step
Step Requirements:
- Notification ID of the template you want to send.
- Recipient ID for the recipient.
Optional Fields:
- Brand ID
- Data
- Idempotency Key
- Idempotency Expiry
- Override
- Profile
- Condition (boolean)
- Reference
Send List
A send-list step will deliver a message to a list of recipients previously created via the Courier Lists API. See the article Lists API & List ID Pattern guidelines for more information on creating and naming lists.
Step Requirements:
- Notification ID of the template you want to send.
- Recipient ID for the recipient.
Optional Fields:
- Brand ID
- Data
- Idempotency Key
- Idempotency Expiry
- Override
- Profile
- Condition (boolean)
- Reference
Fetch Data
A fetch-data step will fetch data from an API resource and store it into run context to be used for subsequent step executions.
Step Requirements:
- Webhook
- Merge Strategy
Optional Fields:
- Idempotency Key
- Idempotency Expiry
- Condition (boolean)
- Reference
Update-Profile
An update-profile step will update the recipient's profile according to the "merge" strategy provided in the step.
Required:
- Profile Data
- Recipient ID
- Merge Strategy
Optional Fields:
- Condition (boolean)
- Reference
Delay
There are two ways to delay an automation step:
Until
- Delay until a specific time - provided via an ISO-8601 timestamp
Duration
- Delay for a period of time - increments include minute(s), hour(s), week(s), month(s), and year(s).
Required:
- Duration or Until
Optional Fields:
- Condition (boolean)
- Reference
Cancel
Automations can be marked as cancelable by providing a cancelationToken. All automations with matching tokens will be canceled when that cancelationToken is called in a subsequent automation.
If you want to cancel a templated automation on a per-recipient basis, use Step Conditionals to specify the recipient ID along with the template's cancelationToken.
Required:
- Cancelation token
Optional Fields:
- Condition (boolean)
- Reference
Subscribe to List
Step Requirements:
- List ID: The list to be subscribed to
- Recipient ID: The recipient being subscribed
Optional Fields:
- Subscription
- Condition (boolean)
- Reference
Invoke
The invoke step allows you to execute another automation template.
Required:
- Template (ID of the automation you want to invoke)
Optional:
- Data
- Condition
- Reference
Field References
References can be used to access data from the request that was passed in.
In Text Fields
To use a reference in a text field, just type the path to the references. All references should start with refs
In JSON
To use a reference in JSON configuration, construct an object that has a single key $ref with a value that is a pointer to the field to reference.
"recipient": {
  "$ref": "data.userId"
      },
JSONNET Support
If you want to edit your automation in JSONNET:
- Toggle the code view on.
- Click on "Switch to JSONNET".
Switching the template to the JSONNET editor cannot be undone.
Invoking an Automation Template With a Trigger
You can trigger an automation template via trigger types in the Automations Visual Designer.
Segment Trigger
Once you have fished setting up Courier's Segment Integration:
- Open the Automation you wish to trigger via Segment event
- Click to open the Start step
- Select the segment event type(s) you want to trigger this event.
Track Event requires an exact name match.
If you select a Segment Track event trigger to invoke your template, you must provide an event name that is the exact match to the event's name in Segment.
Cron Job Schedule Trigger
If you want to trigger an Automation using a Cron Job Schedule, click the Scheduled Trigger button then provide the Cron Value.
Audience Event Trigger
You can trigger a send to a user when they Match or Unmatch the set of audience filters. Click Match or Unmatch then paste in the name of the audience.