

What you will build
Prerequisites
- A signup event from your app
Build the sequence
1
Create the Journey
Open , select New Journey, name it 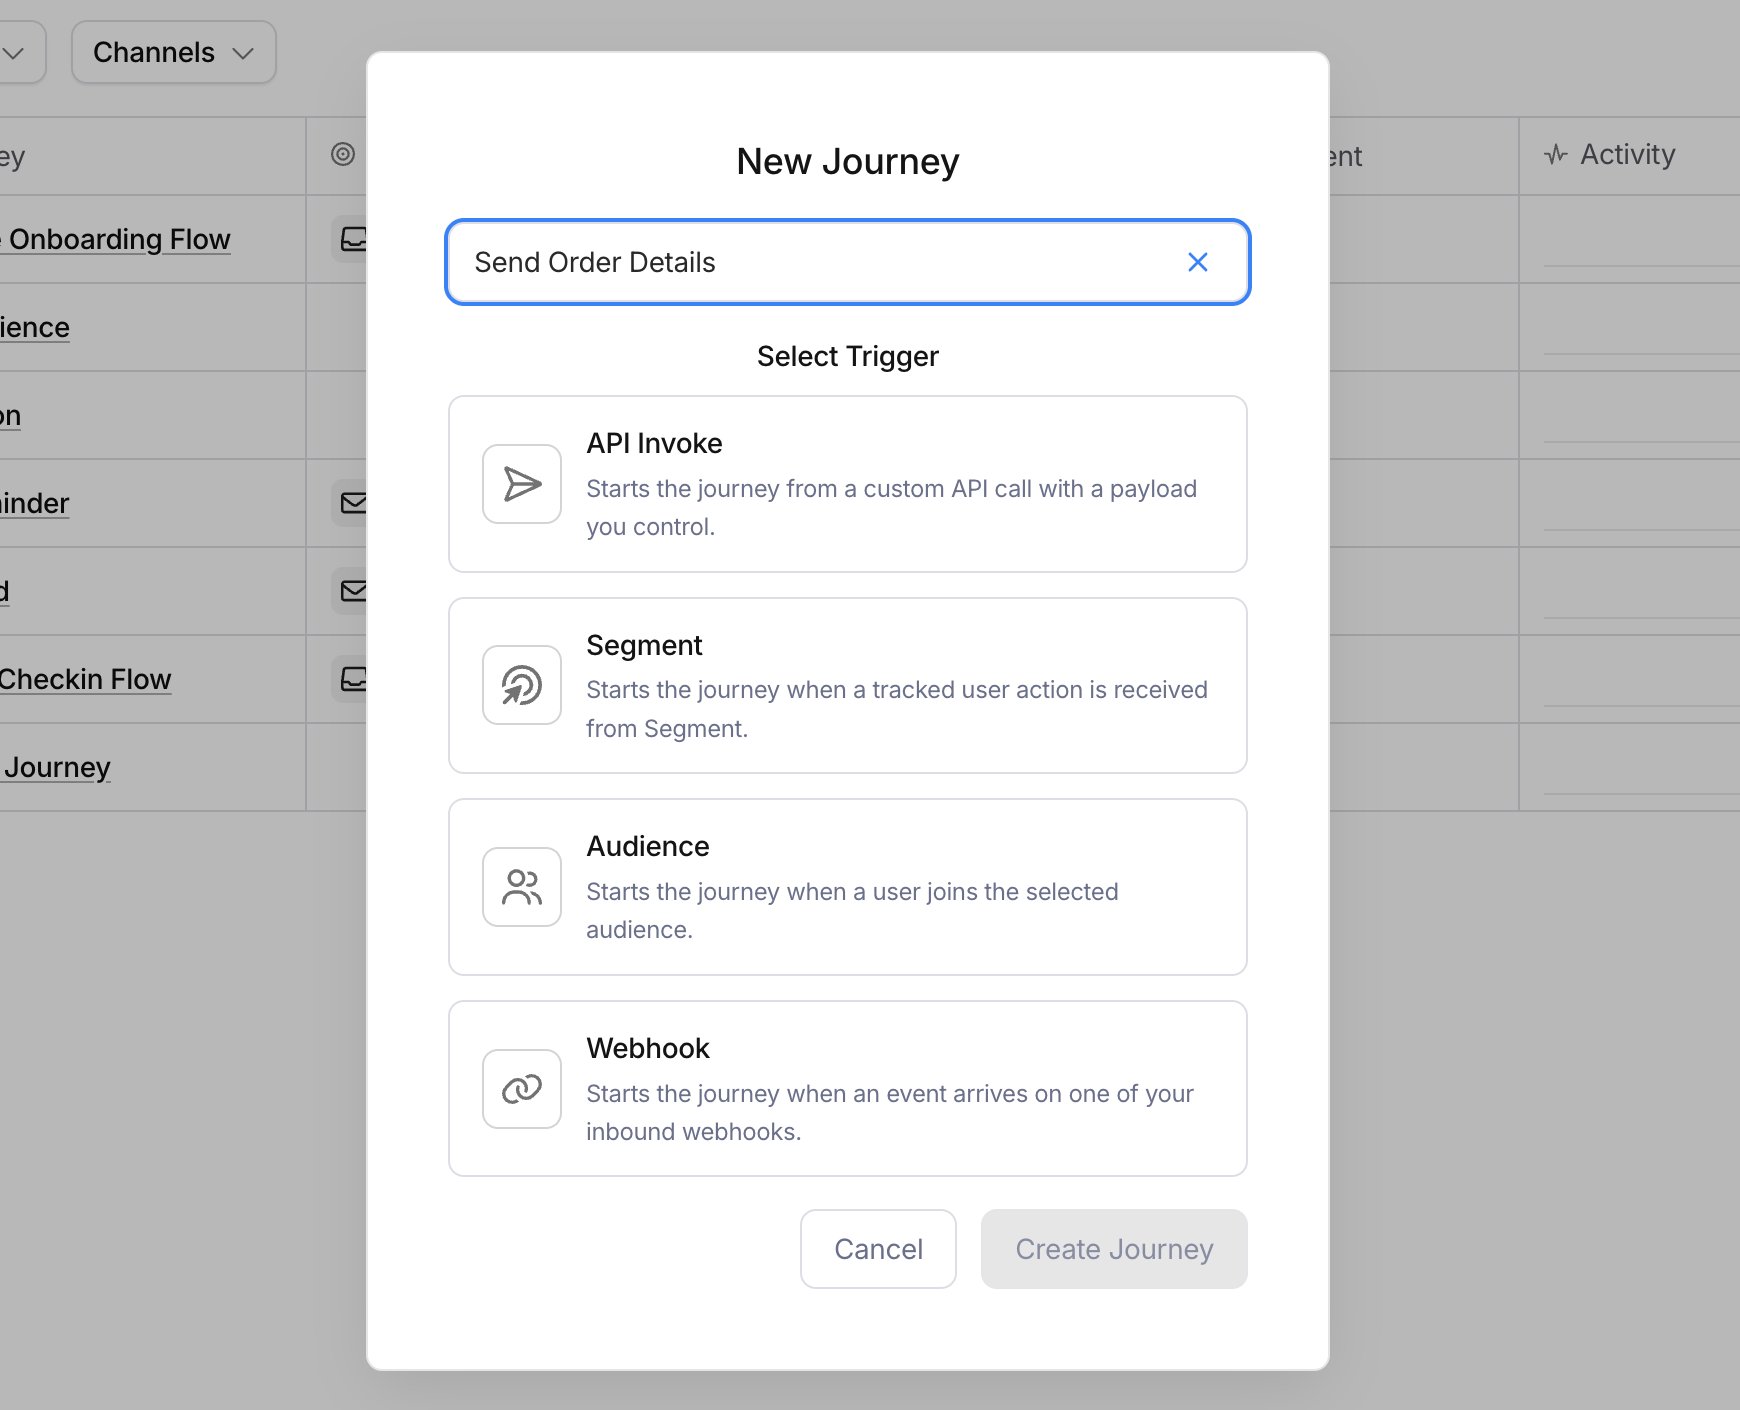
user-onboarding, and choose the API Invoke trigger so your signup code starts each run.2
Send the welcome message
Drop a send node on the canvas, pick the email channel, and select + Create to write the content inline. Reference the run’s data with variables such as
{{first_name}}.Each send node owns one template scoped to this Journey, so onboarding content stays out of your workspace template list.3
Wait three days
Drag a delay node after the send and set it to three days. The run parks there and resumes on its own, so you hold no timers in your code.A delay is measured from when the run reaches the node, not from when the Journey started.
4
Branch on whether they activated
Add a branch node after the delay and write a condition against the run’s data, for example
data.has_activated. Wire the true path straight to an end, and the false path onward.The branch reads the data the run is carrying. To decide on something that changed during the three-day wait, add a fetch data node before the branch and call your own API for the current value.5
Add the follow-ups
On the false path, add a send node with a tip message, another delay of four days, and a final nudge. Only users who never activated reach these nodes.
6
Set a cancelation token
In the journey’s settings, set the cancelation token to
onboarding-{{profile.id}}. Courier interpolates it when each run starts, so every user’s run carries its own token and you can stop one user’s sequence without touching anyone else’s.A token that references a variable missing at run start leaves the run untagged. It is still cancelable by run ID, but not by token. covers how the shape of the token decides what it covers.7
Publish
Select Publish to lock the draft as a version, then copy the Journey ID. New runs use the published version. Runs in flight finish on the version they started with.
8
Invoke it from your signup code
Call once per new user. The run picks up the cancelation token from the journey’s settings, so invoke carries only the user and the data the branch reads.Send an
Idempotency-Key header so a retried signup request returns the same run instead of starting a second sequence.9
Stop the sequence when they activate
When the user finally activates, stops the run by the token the journey stamped on it. Anything already delivered stays delivered, and the pending steps never fire.To cancel one run instead, store the
runId that invoke returned and pass run_id in place of cancelation_token. That branch answers with the run’s resulting status, so you can assert the cancel landed. Cancelling by token echoes the token back and reports nothing about what it matched.Verify
1
Watch a run take the right path
Invoke for a test user with
has_activated: false and open the Journey’s Logs tab. Click the run to see each node’s outcome drawn on the graph, and confirm the branch took the false path.2
Prove the delay parks the run
The run should sit at the delay node rather than completing. Shorten the delay to a few minutes on a test copy if you would rather not wait three days.
3
Confirm a cancel stops it
Cancel the token while a run waits at a delay, then confirm the run reads
Canceled and no further message is delivered.An unpublished draft has no active version, so invoking it does nothing. Publish first, then invoke.