Documentation Index
Fetch the complete documentation index at: https://www.courier.com/docs/llms.txt
Use this file to discover all available pages before exploring further.
Setup
To install the Custom Provider, navigate to Custom Provider integration. Input your webhook HTTP address and choose an authentication model.
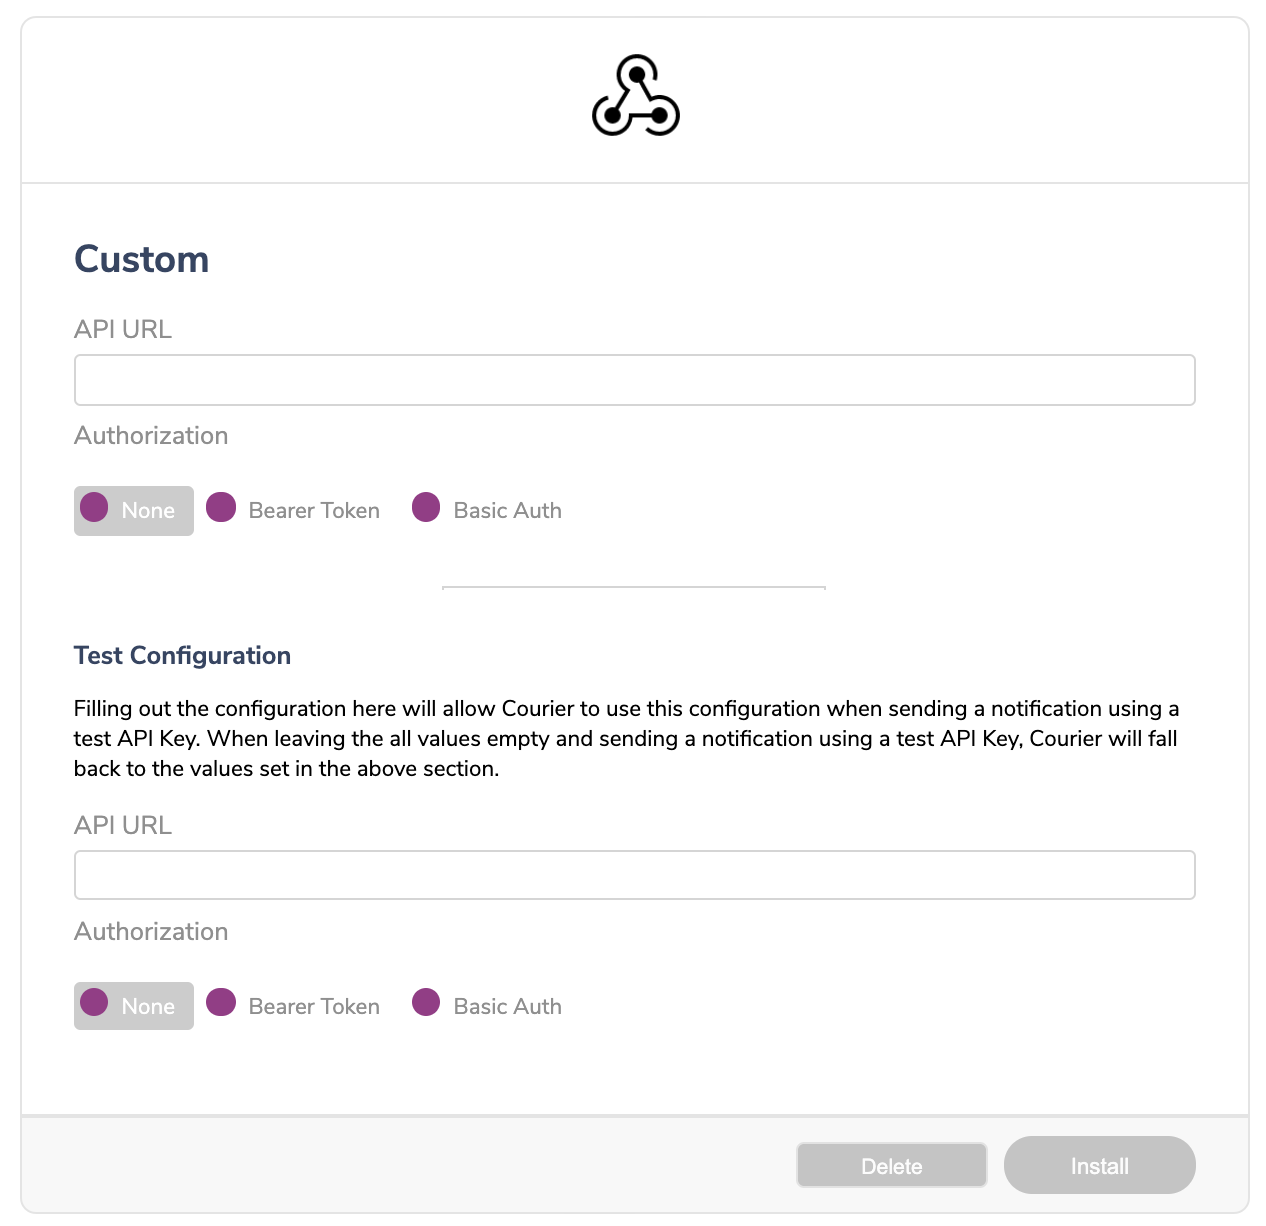
After installing the Custom Provider, you can add it to any Push Channel. After adding a “Push Channel”, open up the Channel Settings Modal.
You will see “Custom” in the list of “Installed Providers”.
You can now add a Title and blocks to your designer. They will be sent as both “plain text” and an array of “blocks” to the configured webhook.
Upon sending the message, your webhook will receive a payload that looks like this:
interface TextBlock {
type: "text";
text: string;
}
interface ActionBlock {
type: "action";
url: string;
text: string;
}
interface PushMessage {
type: "push";
data: {
messageId: string;
content: {
title: string;
body: string;
blocks: Array<ActionBlock | TextBlock>
}
}
}
{
"type": "push",
"data": {
"messageId": "1-6140e057-2749378a31c6026f3dab823f",
"content": {
"blocks": [
{
"text": "My Body",
"type": "text"
},
{
"text": "Click Here",
"url": "https://example.execute-api.us-east-1.amazonaws.com/dev/r/TRACKING_ID",
"type": "action"
}
],
"body": "My Body\nClick Here: https://example.execute-api.us-east-1.amazonaws.com/dev/r/TRACKING_ID",
"title": "My Title"
}
}
}
Overrides
You can use an override to replace what Courier sends to your custom provider. The body, headers, method, and url fields are all overridable.
{
"message": {
"template": "NOTIFICATION_TEMPLATE_ID",
"to": {
"email": "alice@acme.com"
},
"providers": {
"custom": {
"override": {
"body": {},
"headers": {},
"method": "POST",
"url": "https://your-endpoint.example.com/webhook"
}
}
}
}
}