Documentation Index
Fetch the complete documentation index at: https://www.courier.com/docs/llms.txt
Use this file to discover all available pages before exploring further.
Setting Up Email with AWS SES
Before beginning this tutorial, ensure you have an AWS SES account. If you do not have an AWS SES account yet, please sign up:
Step 1: Add the AWS SES Integration to Courier
Before choosing an authentication method:- Log in to Courier
- Navigate to the Integrations page
- Select the AWS SES Integration to configure it
Authentication Methods
AWS SES integration in Courier supports two authentication methods:- AWS Access Keys
- AWS IAM Role (Cross-Account Trust)
Method 1: AWS Access Keys
-
Create an AWS SES API Key:
- Log in to AWS SES
- Navigate to “Settings” → “My Security Credentials”
- Go to “Access management” → “Users”
-
On the “Users” page, select “Add user” and follow the steps to create a new IAM user with
AmazonSESFullAccesspermissions
Be sure to download and save the Access Key ID and Secret Access Key upon user creation.
If your use case requires specific permissions beyond the
AmazonSESFullAccess policy, you may need to create a custom IAM policy:- In the AWS IAM console, navigate to “Policies” and select “Create policy.”
- Use the JSON editor to define the policy. Here’s an example of a custom policy allowing specific SES actions:
- After defining the policy, attach it to the IAM user created for AWS SES.
- Integrate AWS SES API Key with Courier: After creating the IAM user and obtaining the API keys, add them to the Courier AWS SES integration page.
Method 2: AWS IAM Role (Cross-Account Trust)
- Configure the minimum required IAM policy for sending emails:
- Create an IAM Role with the following trust policy:
-
Users will need to add
/testto the end of theExternalIdvalue that you set in the role policy you create in your AWS instance for working in Courier’s test environment. - After creating the role, copy its ARN and paste it in the “Role ARN” field in the Courier AWS SES integration settings.
When using IAM Role authentication, you’ll need to replace the following placeholders:
-
${YOUR_AWS_ACCOUNT_ID}: Your AWS account ID -
${YOUR_COURIER_WORKSPACE_ID}: Your Courier workspace ID
Complete Your AWS SES Setup
After configuring your chosen authentication method, complete the following steps:Step 1: Add a Verified “From” Address in Courier
-
Add a verified email address (e.g., support@example.com) to the “From Address” field in Courier.
- The “From” email address you set will be used for all emails sent via the AWS SES integration. You can override this default “From” address on a per channel basis within your templates.
- Ensure the “From” address is a verified identity in your AWS-SES account.
- For more information on verifying identities, see Verifying an Identity for Amazon SES Sending Authorization .
Step 2: Configure AWS SES Region
Select your preferred AWS SES region from the dropdown menu in the Courier AWS SES integration.Step 3: Create and Send a Courier Notification using AWS SES
Refer to Create and Send a Message for instructions on building your notification template and sending a message with the Courier API using cURL.Profile Requirements for Message Delivery
To deliver a message via AWS SES, include the recipient’s email address in the profile as shown below:AWS SES Delivery Tracking
Unlike polling-based providers (SendGrid, Postmark, Mailgun), AWS SES requires you to configure SNS webhooks for Courier to track delivery status. Without this setup, messages sent via SES will stay at “Sent” in your Message Logs indefinitely. See How to Debug Email Delivery Issues for more on troubleshooting delivery.
Setup Instructions
Get Your Courier Webhook URL
You’ll need your Courier Message Events webhook URL for AWS SES.Via Courier App:
- Navigate to Channels → Email → AWS SES provider
- Look for “Message Events Webhook URL” section
- Copy the webhook URL
Important: Keep this URL secure - it authenticates webhooks from AWS to Courier.Create AWS SES Configuration Set
Configuration Sets in AWS SES enable event publishing.
- Open the AWS Console and navigate to Amazon SES
- Click Configuration Sets in the left sidebar
- Click Create Configuration Set
- Enter a name (e.g.,
courier-delivery-tracking) - Click Create
Add SNS Event Destination
- Click on your newly created Configuration Set
- Navigate to the Event destinations tab
- Click Add destination
- Select Amazon SNS as the destination type
- Configure the destination:
- Event types: Select
Bounce,Delivery, andReject - SNS Topic:
- Choose Create new SNS topic if you don’t have one
- Or select an existing topic
- Topic Name (if creating new):
courier-ses-delivery-events - Click
Nextand thenAdd destination
Configure SNS Subscription to Courier
- Navigate to Amazon SNS in AWS Console
- Click
Topicsin the left sidebar - Find and click the topic you created/selected in Step 3
- Click
Create subscription - Configure the subscription:
- Protocol:
Select HTTPS - Endpoint: Paste your Courier webhook URL from Step 1
- Enable raw message delivery:
UNCHECKED(very important!) - Click
Create subscription
Assign Configuration Set to Your Identity
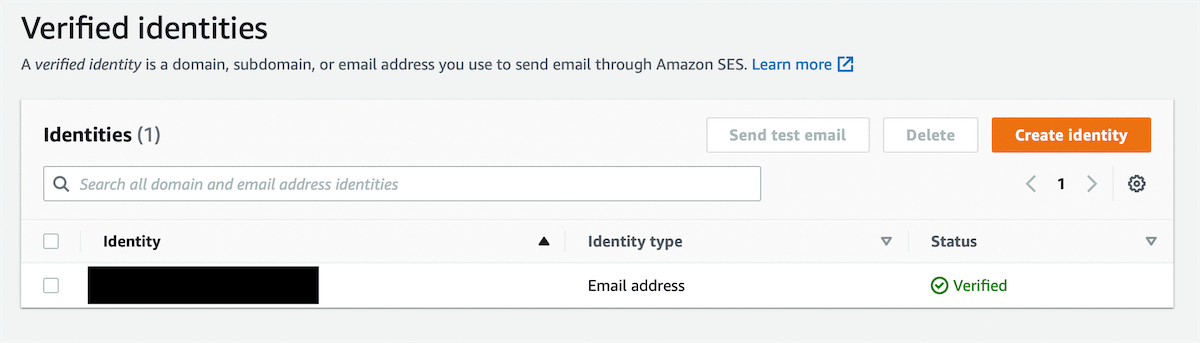
Assign the Configuration Set as the default for your verified email address or domain. This ensures all emails sent from that identity automatically use the Configuration Set for delivery tracking. For a Verified Email Address:- In AWS SES Console, navigate to Verified identities
- Click on your verified email address (e.g., noreply@yourdomain.com)
- Go to the Configuration set tab
- Click Edit
- Select your Configuration Set (courier-delivery-tracking)
- Click Save changes
- In AWS SES Console, navigate to Verified identities
- Click on your verified domain (e.g., yourdomain.com)
- Go to the Configuration set tab
- Click Edit
- Select your Configuration Set (courier-delivery-tracking)
- Click Save changes
Overrides
Overrides in Courier offer the flexibility to customize settings specifically for AWS SES, adapting to more advanced email sending requirements. This is useful when you need to pass custom configurations, such as a MIME 1.0 string, instead of using the standard Courier template. While using Courier’s override feature, you can modify various fields that are specific to AWS SES’sSendRawEmail method.
For a comprehensive list of fields that can be overridden in the context of AWS SES, refer to the AWS documentation on the SendRawEmail API.
Using Overrides to Modify Email Settings
Here’s an example of how to implement an override in Courier to modify the RawMessage data:Sending Attachments with Overrides
To include an attachment in your email, use theattachments override as follows:
Troubleshooting
Dealing with Amazon SES requests can result in some errors. You can find them below to help you troubleshoot. You can also check the Courier Logs to help debug any provider errors you may encounter. For anything else, you may contact Courier Support.
Amazon SES 554 Error
This error occurs due to numerous reasons.- It occurs when you have not verified the sender email (sender identity) on Amazon SES.
- If you’re using the Amazon SES in the sandbox environment and have not verified the recipient’s email address, you may encounter this error.
- You may encounter this error when you’ve provided an invalid recipient email address.
Solution
You can try the following steps mentioned below.-
Open the Amazon SES console and verify that the sender email identity you are using has a verification status of
verified. - If you’re using the sandbox environment, ensure that you have added the recipient email address as a verified identity on the SES console. It is mandatory to add the recipient emails on Amazon SES when running in the Sandbox environment.
- If both the sender and recipient email addresses are verified, ensure that you have provided the correct recipient email address for the “To” parameter.
- If none of the above works for you, verify that the region specified in your AWS SDK is the same region that contains the verified identities. For example, if the verified identities are located in the Virginia region (us-east-1), you should initialize the Amazon SES instance in the same region.
Amazon SES Email Address is Not Verified
This error occurs if you try to send emails using an unverified identity in the region specified. Additionally, this error occurs when sending emails in the sandbox environment using unverified sender and recipient email identities.Solution
You may try the following to resolve the error.- Verify the region
- Confirm identity verification
Unverified you will have to verify the identity before sending the email.
- Verify email addresses
AWS SES Timeout
This error occurs when the client (such as an EC2) cannot establish a TCP connection to the public endpoint of Amazon SES. Generally, this is caused when the client (EC2) has a firewall to block outgoing connections on the SMTP ports (25, 587, or 465) or if the client does not have access to an internet connection.Solution
To resolve the error, ensure that the client has an active/stable internet connection. Hereafter, update the firewall rules on the client to allow outgoing connections on ports 25, 587, and 465 (depending on the port you use).AWS SES BCC Not Working
This error occurs when the recipient email in the “TO” field is present in the “BCC” field. Certain email providers do not allow the email to contain duplicate recipients. Additionally, this error may occur if the email address in the “BCC” field does not exist.Solution
To resolve the error, ensure that the recipient’s email address is not the same as theBCC email address.
If the email addresses in the BCC are unique, verify the validity of the email addresses specified in the “BCC” list.
Error: is not authorized to perform ses sendemail
This error occurs when an AWS service such as a Lambda function is not authorized to send an email using Amazon SES.Solution
To resolve the error, you will need to attach a policy to the IAM role to allow the AWS resource to execute theses:SendEmail action.
For example, if you wish to provide a Lambda function the permission to send an email using SES, you would have to create and attach an inline policy for the function’s IAM role that allows the ses:SendEmail action. The inline policy is shown below.
SendEmail action on an Amazon SES resource and will resolve the permission error.
Amazon SES Authentication Credentials Invalid
This error occurs when the SMTP username and password provided to connect to the SMTP endpoint of Amazon SES are incorrect.Solution
- Verify credentials: Ensure that the username and password you enter are correct and the same one SES provided.
- Verify the region: SMTP credentials in Amazon SES differ per region. Therefore, ensure that the credentials used are associated with your region.
- Use SMTP credentials and not console credentials:
- It is important to note that the credentials used in the SMTP endpoint are not the same as those you use for AWS. It would help if you had the Amazon SES SMTP credentials to access the Amazon SES SMTP interface.
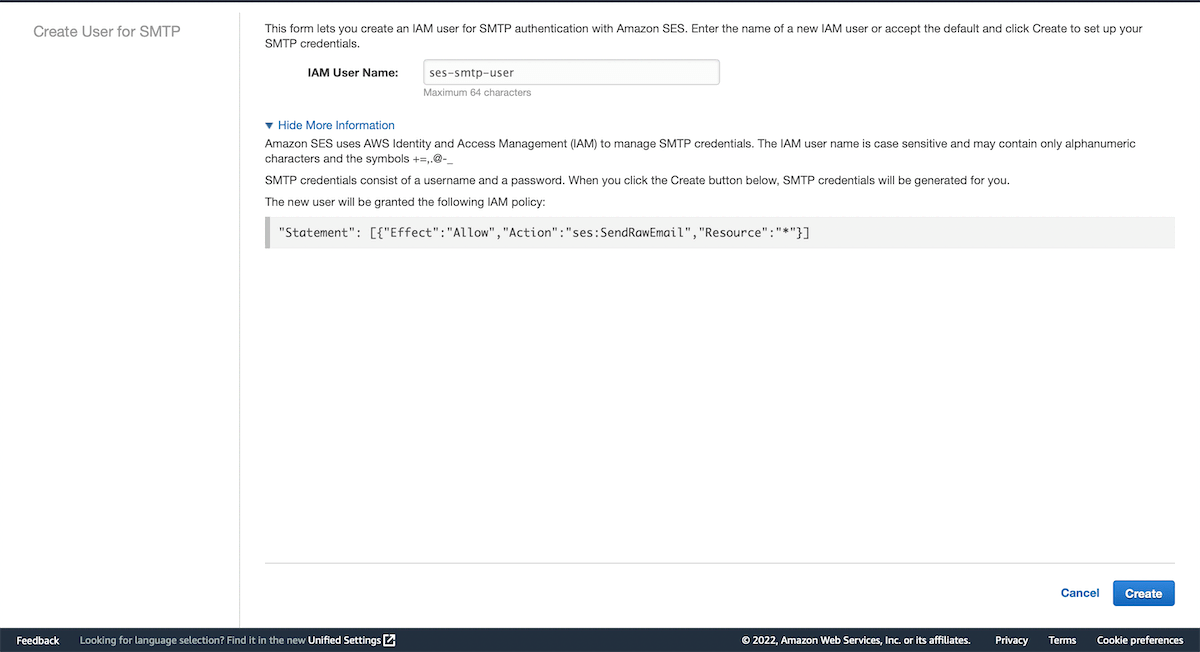
- You will have to create an IAM user that can invoke the SES services and generate SMTP credentials for the newly created IAM user. It can be done using the SES console.
- First, navigate to your SES account dashboard. You will see a section titled - “SMTP Settings.” Under this, you should see the output shown below.


Amazon SES 530 Authentication Required
This error occurs when the SMTP credentials provided to Amazon SES are invalid. This can be the username, password, port, and endpoint. Additionally, this error may occur if you have not used TLS.Solution
You can try the following to see which one fixes the error.- Verify credentials: Ensure that the SMTP username and password you provide are the same credentials you created for the IAM User with permissions to invoke SES.
- Verify the region: Verify that you connect to SES in the region where all your verified identities are located.
- Verify SMTP configurations: Visit the SES console and navigate to your account dashboard. In the account dashboard, you should see the SMTP configurations for SES.
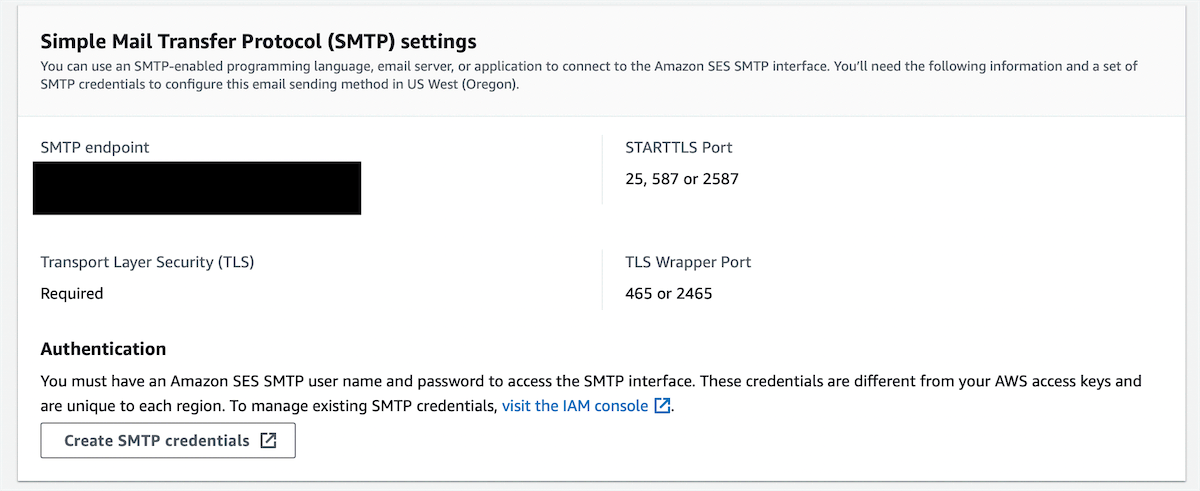
- Use the correct port: Ensure that the port used is port - 587. Some users have experienced issues using the TLS Wrapper port and found that using port 587 (TLS port) fixes the error.