

Prerequisites
- A Firebase project
- A service account private key from that project
- For iOS, an APNs key uploaded to Firebase
Setup
Configure FCM provider
1
Generate a private key
In your Firebase Project, go to “Project Settings” > “Service Accounts” and generate a new private key.
2
Add the key to Courier
Copy the contents of the downloaded private key JSON file and paste it into Service Account JSON in the .
3
Review the remaining settings
- Apply Recommended Courier Mobile SDK Formatting, on by default. It ships the message as a
datapayload rather thannotification, so Android wakes in the background and your own notification style applies. That background wake is also what reports the delivery back to Courier. It attaches an APNs override for Courier’s too, so an iOS device receiving through FCM still tracks delivery. See .
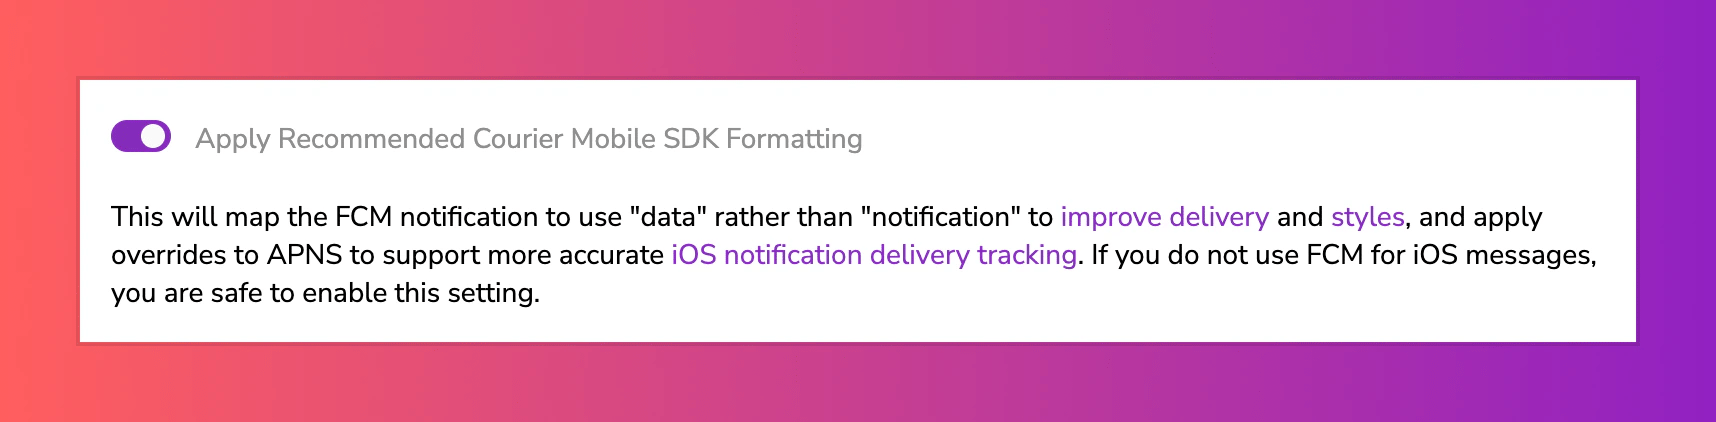
The Courier FCM provider configuration with the Apply Recommended Courier Mobile SDK Formatting toggle enabled.
- Bundle ID and Filter By Bundle ID, off by default. Together they restrict a send to tokens whose
device.app_idmatches, so a user with two app installs only gets it on the right one.
4
Install the provider
Click “Install Provider” or “Save” to complete the configuration.
Enable iOS support (if required)
1
Integrate Firebase into your iOS project
Integrate Firebase into your iOS project.
2
Select your iOS project in Cloud Messaging
In your Firebase project settings, go to “Cloud Messaging” and select your iOS project under “Apple app configuration”.
3
Create an APNs key
Create a new key in your Apple Developer Account with “Apple Push Notifications Service (APNs)” enabled.
4
Upload the .p8 file to Firebase
Download the generated
.p8 file and upload it to your Firebase project settings under “Apple apps” > your app > “APNs Authentication Key”.Profile requirements
Device tokens live on the user profile rather than on the send, so one profile can hold tokens for several devices and every push provider reads them from the same place. covers the model. FCM addresses the device by registration token, so the profile you send to needs afirebaseToken. Store the token once with , which merges into the profile and creates it if it does not exist:
- One device
- Several devices
A single registration token, as a string.
onNewToken to it. You send to a user_id and never put a token on a profile yourself.
On iOS, FCM is a token you register and refresh, because the SDK’s own hook there is APNs.
For a one-off with no stored profile, pass it inline instead: "to": { "firebaseToken": "YOUR_FCM_TOKEN" }.
Set up push notifications
Wire up the SDK, sync tokens, and send your first push.
Send by user id
The call in every language, and the rest of the profile object.
Send to a recipient
- Send to user id
- Send to a token
Courier reads
firebaseToken off the saved profile, so preferences apply and the value can change without touching this code.Overrides
covers the two levels and which one wins. lists the fields every push provider takes. An override changes the request Courier sends to FCM. Two paths cover most cases:providers.firebase-fcm.override.body.data.YOUR_CUSTOM_KEYadds custom data, usually to open a screen on tap. Firebase requiresdatato be flat, and override values merge in raw, so every value must already be a string. See Firebase’s data field reference.providers.firebase-fcm.override.body.apnsapplies iOS-specific values. See Apple’s remote notification guide.
providers.firebase-fcm.override.config replaces the integration’s own settings for a single send:
Custom data not reaching the device?
covers the one template setting that stops it.
Override the payload
Provider details
routing.channels instead is supported, and sends through just this provider.
Send to a specific provider
When that is worth doing, and what you give up: failover, channel priority, and providers you add later.