Push notifications are widely used on both web and mobile applications to deliver notifications. In contrast to conventional notifications, push notifications are displayed even when the target application runs in the background. As a result, push notifications can improve the user experience and keep them engaged with the application. For example, push notifications can be used to send customized content, timely updates, and alerts on important events.
This post explores three different options for sending push notifications with the Vue framework while discussing the pros and cons of each approach to give you a better understanding.
Vue is one of the most used JavaScript-based frontend frameworks for web development. With its unique features, Vue has become a direct challenge to other Javascript-based frontend frameworks like Angular and React. Hence, there are many approaches to implementing push notifications with Vue. First, I will provide an overview of the three main options - Firebase FCM, OneSignal, and WanderPush. After then, I will guide you through the steps of implementing push notifications with each approach.
1. Using Firebase Cloud Messaging (FCM)
Firebase is one of the most popular platforms used to create web and mobile applications. It provides a messaging service named Firebase Cloud Messaging (FCM) that allows sending of free, cross-platform messages. In addition, FCM offers various features to send push notifications, including customizing and user grouping.
Pros of Using FCM
- Infrastructure support allows developers easily start application development.
- Provides a free basic plan with all the required services, including hosting, databases and storage.
- It provides the skeletal frame of all the fundamental things necessary for running and promoting an application.
- Good documentation.
Cons of Using FCM
- Limited support for iOS features.
- Realtime synchronization issues.
- Limited querying capabilities.
Tutorial: How to Implement Push Notifications with FCM
Step 1 - Creating a new Firebase project
First, you need to create a Firebase account and a new Firebase project. Then, you can use your existing Google account to sign in to the Firebase console. If you are using Firebase for the first time, you will see a screen like the one below. If not, you will see your existing project list.
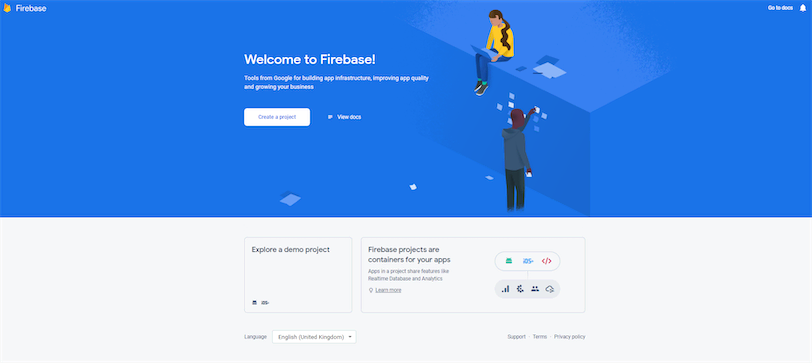
Then, you can create a new Firebase project by clicking the Create a Project button.

Step 2 - Enable Cloud Messaging
After creating the project, select the Cloud Messaging service under the Engage section from the left menu.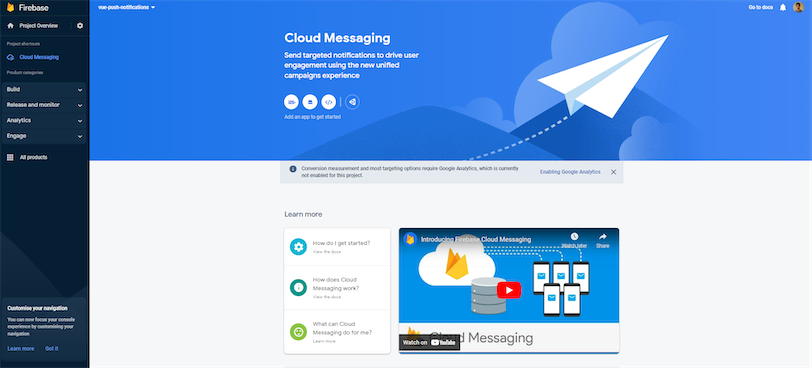
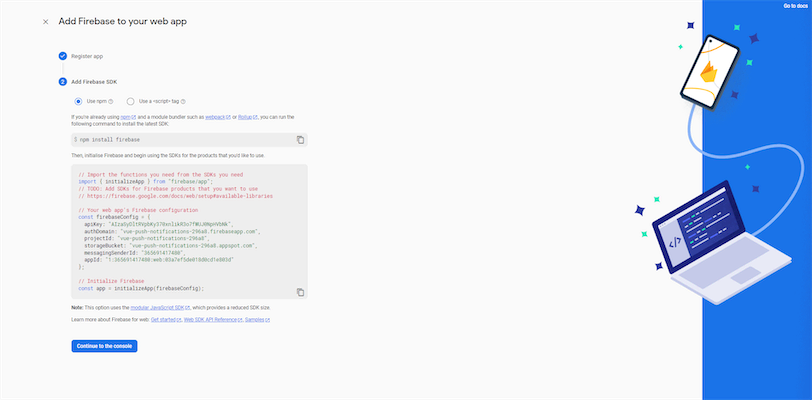
You will see four options to add a new application: iOS, Android, Web, Unity, and Flutter. For this example, I will be using the Web option.
After clicking the Web option, you will be redirected to a new wizard. There you need to enter a nickname for the application and register it. Then, it will give the instructions to install Firebase and the configurations needed to connect your Vue application to the Firebase application.
Step 3 - Creating a Service Worker with Firebase Configuration
Create a file named firebase-messaging-sw.js in the public folder and update it with the below code:
1
2
3
4
5
6
7
8
9
10
11
12
13
importScripts('https://www.gstatic.com/firebasejs/8.2.7/firebase-app.js')
importScripts('https://www.gstatic.com/firebasejs/8.2.7/firebase-messaging.js')

const firebaseConfig = {
  apiKey: "<API_KEY>",
  authDomain: "vue-push-notifications-296a8.firebaseapp.com",
  projectId: "vue-push-notifications-296a8",
  storageBucket: "vue-push-notifications-296a8.appspot.com",
  messagingSenderId: "365691417480",
  appId: "<APP_ID>"
};

const app = firebase.initializeApp(firebaseConfig)
Step 4 - Registering the Service Worker
You need to register the service worker created in the above step. For that, create a file named firebase.js with the below code:
1
2
3
4
5
6
7
8
9
10
11
12
13
14
15
import firebase from 'firebase/app'
import 'firebase/firebase-messaging'

var firebaseConfig = {
  apiKey: "<API_KEY>",
  authDomain: "vue-push-notifications-296a8.firebaseapp.com",
  projectId: "vue-push-notifications-296a8",
  storageBucket: "vue-push-notifications-296a8.appspot.com",
  messagingSenderId: "365691417480",
  appId: "<APP_ID>"
};

firebase.initializeApp(firebaseConfig)

export default firebase.messaging()
Then, import it to main.js file.
1
2
3
4
5
6
7
import firebaseMessaging from './firebase'

const app = createApp(App)

app.config.globalProperties.$messaging = firebaseMessaging

app.mount('#app')
Step 5 - Subscribe for Notifications
After registering the service worker, you need to call the getToken() function using the above-created Firebase messaging object to subscribe to FCM. For that, you can use the below code in any Vue component.
1
messaging.getToken({ vapidKey: <KEY> })You can find the vapidKey from: Project Settings -> Cloud Messaging tab -> Web configuration > Web Push certificates.
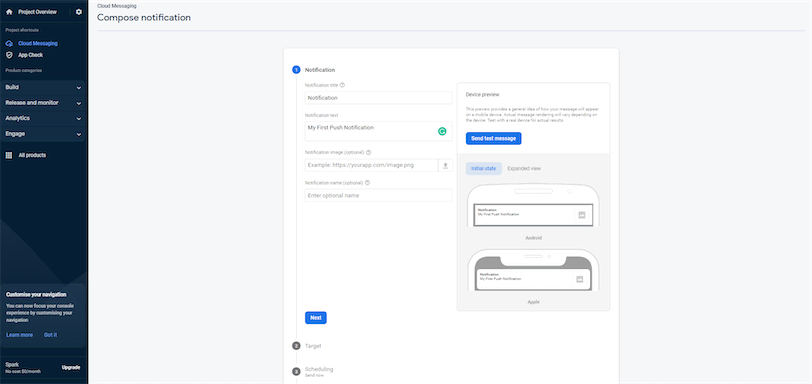
Step 6 - Sending Push Notifications
Now, your application is ready to receive push notifications. You can go to the Firebase console and easily create push notifications.
2. Using OneSignal
OneSignal is a notification service that allows developers to quickly integrate push notifications into their web and mobile applications. It is highly scalable and comes with features like real-time reporting, segmentation, and automated messaging. It offers a free plan with limited functionality and the opportunity to send notifications to up to 10,000 recipients per message. Paid plans start from $9 per month.
Pros of Using OneSignal
- Send instant notifications without any delay.
- Provide all the necessary features for testing.
- Great customer support.
- Omni-channel with SMS messaging for iOS and Android.
Cons of Using OneSignal
- The dashboard experience and analytics could be improved.
- High prices.
- Support is only available in English.
Tutorial: How to Implement Push Notifications with One Signal
This approach uses OneSignal, and onesignal-vue package to implement push notifications.
Step 1 - Creating a OneSignal account
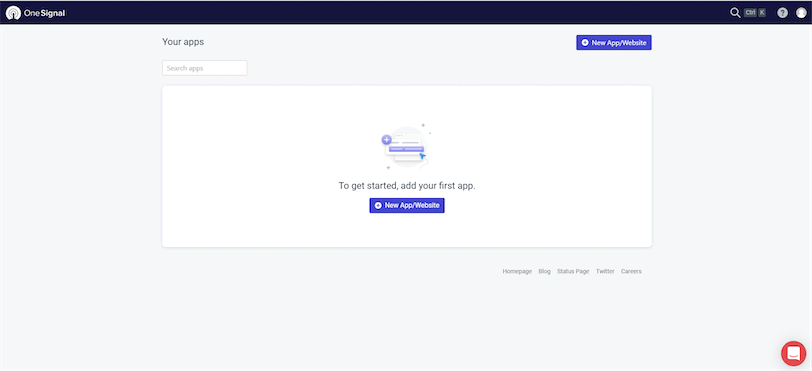
You can easily create a free OneSignal account by visiting their registration page. After registration, go to the Apps page, and you will see a UI like the one below:
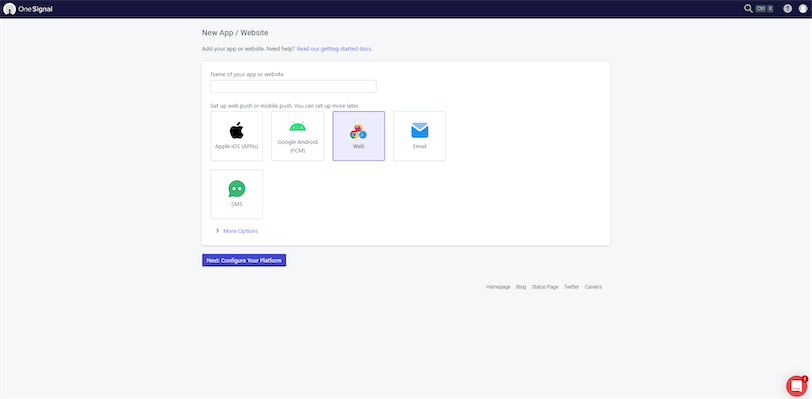
Step 2 - Creating a new OneSignal app
Then, click on the New App/Website button to create a new app. You will see a list of application platforms supported by OneSignal. Select Web as the application type.
Then, you will be redirected to the Web Configuration page. Select Custom Code as the integration type and enter the necessary details for the site name and site URL options.

Then, you will get a code like the one below, and make sure to include it in your application's<head> section.
1
2
3
4
5
6
7
8
9
10
11
12
13
<script src="https://cdn.onesignal.com/sdks/OneSignalSDK.js" async=""></script>
<script>window.OneSignal = window.OneSignal || [];
  OneSignal.push(function() {
    OneSignal.init({
      appId: "34091f55-0eee-4a6d-8481-c79f1d0ff87d",
      safari_web_id: "web.onesignal.auto.0f5ba526-5606-4a7b-90fa-69fc66b30a70",
      notifyButton: {
        enable: true,
      },
      subdomainName: "myvueapplication",
    });
  });
</script>
Step 3 - Installing plugins
Now, you need to install onesignal-vue to your project.
1
npm install --save onesignal-vueStep 4 - Updating the code
Finally, import the onesignal-vue library to your main.js file and add the below function to initialize the OneSignal connection.
1
2
3
4
5
6
7
8
9
10
11
12
13
import Vue from "vue";
import OneSignal from "onesignal-vue";

import App from "./App.vue";

Vue.config.productionTip = false;

Vue.use(OneSignal);

new Vue({render: h => h(App),beforeMount() {this.$OneSignal.init({
      appId: "<You OneSignal application identifier",
      allowLocalhostAsSecureOrigin: true,});},
}).$mount("#app");
Then, you can use it in any component to provide a slide prompt to opt-in to push notifications.
1
2
3
4
5
6
7
8
9
10
11
12
13
import OneSignal from "onesignal-vue";
import MyComponentfrom "./components/MyComponent.vue";

export default {
  name: "App",
  components: {
    MyComponent,
  },

  beforeCreate() {
    this.$OneSignal.showSlidedownPrompt();
  },
};
Step 5 - Sending Push Notifications
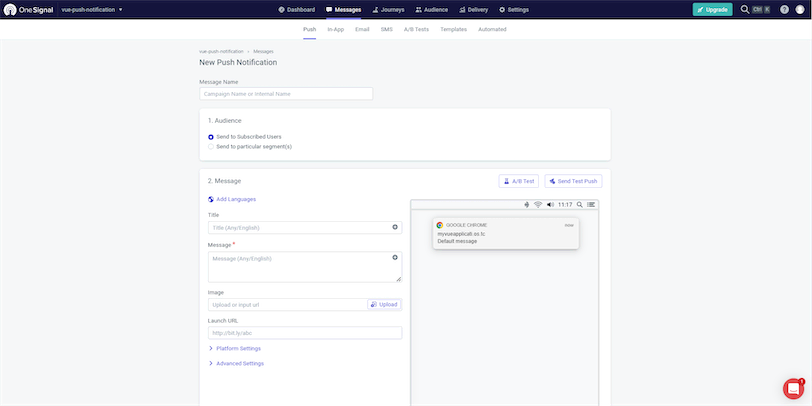
Now, your application is ready to receive push notifications. You can go to the OneSignal console and create push notifications by selecting the New Push option under the New Message dropdown.
3. Using WonderPush
WonderPush is a push notification-generating software that allows sending unlimited push notifications for iOS, Android, and Web applications. It includes features like A/B testing, priority management, personalization, industry-specific templates, action buttons and emojis, geo-targeting, advanced segmentation, and others. In addition, this platform is fully compliant with GDPR infrastructure.
You can start with WonderPush using the 14-day trial period and offer packages from 1 EURO per month afterward.
Pros of Using WonderPush
- Easy setup of new notifications.
- Supports segmentation and scheduling options.
- Easy automation.
- Great customer support.
Cons of Using WonderPush
- Only allows 14 days free trial period.
- Doesn't support every browser.
Tutorial: How to Implement Push Notifications with WonderPush
This approach uses WonderPush, and vue-wonderpush library to implement push notifications.
Step 1 - Creating a WonderPush Account
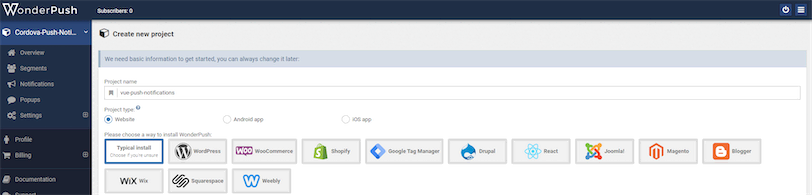
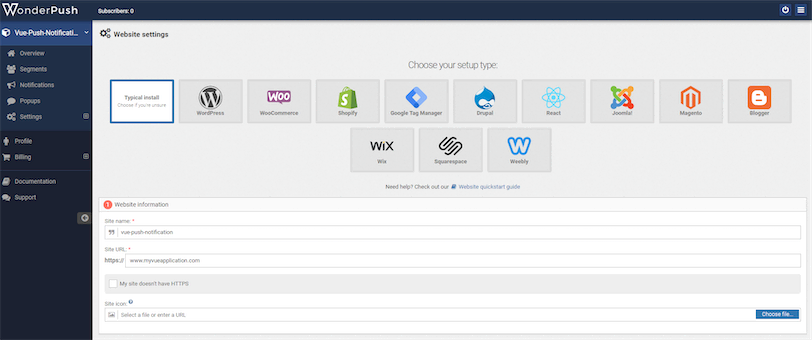
You can easily create a free WonderPush account by visiting their registration page. You will see a screen like the one below once you log in. Enter a project name and select the Typical Install option.
Step 2 - Creating a new WonderPush app
Then, you need to enter the name of your website, URL, and icon.
After that, copy the webKey from the Install JavaScript SDK section and save the details.

Step 3 - Installing Plugins
Now, you need to install the following plugins:
1
npm install vue-wonderpushStep 4 - Updating the Code
Then, import vue-wonderpush to the App.vue file and initialize a new connection.
1
2
3
4
5
6
7
8
9
10
11
12
13
14
15
16
17
18
19
20
21
22
23
24
25
<template>
  <div id="app">
    <h1>Wonderpush</h1>
    <WonderPush v-bind="options">
    </WonderPush>
  </div>
</template>

<script>
import {WonderPush} from 'vue-wonderpush';

export default {
  name: 'App',
  components : { WonderPush },
  data: function(){
  return {
    options: {
      webKey: "<WEB_KEY>",
      applicationName: "WonderPush Push Notifications",
      notificationDefaultUrl: "<WEBSITE_URL>",
      notificationIcon: "../img/image.png" }
    }
  }
}
</script>
You can find a complete example of WonderPush with a Vue application here.
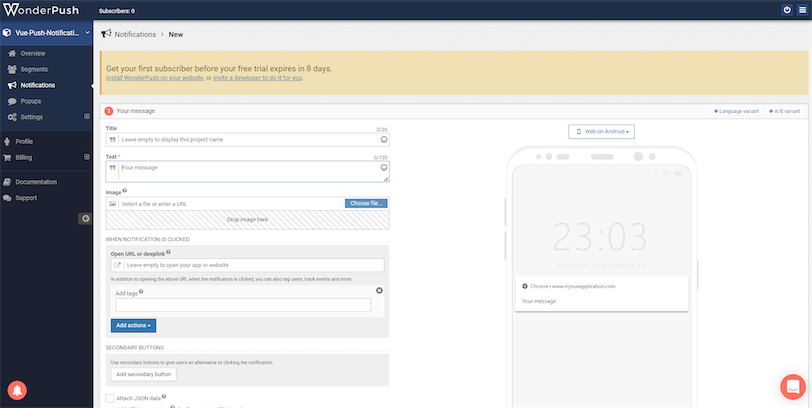
Step 5 - Sending Push Notifications
Now, your application is ready to receive push notifications. For that, you need to go to the WonderPush console, select the Notifications tab, and press Create notification button.
Wrapping It Up
This article discussed three methods for implementing push notifications with the Vue framework: FCM, OneSignal, and WonderPush. You can quickly get started with any of these methods with a basic understanding of programming. I hope this article will help you to implement push notifications for your Vue applications.
