Twitch Notifications (Part One): How to Handle Real-Time Events from Twitch
Over the last few years, Twitch has become the streaming platform for gaming, esports, live coding, DJ-ing, and more. If you’re a streamer, whether for work or for fun, you know that one of the biggest challenges is building your audience and attracting viewers to your Twitch channel when you go live.
Unfortunately, the options for sending notifications in Twitch are pretty limited. When you go live, Twitch will automatically send your followers an email, push, or in-app notification. But this isn’t very helpful for acquiring new viewers or engaging your community outside of Twitch.
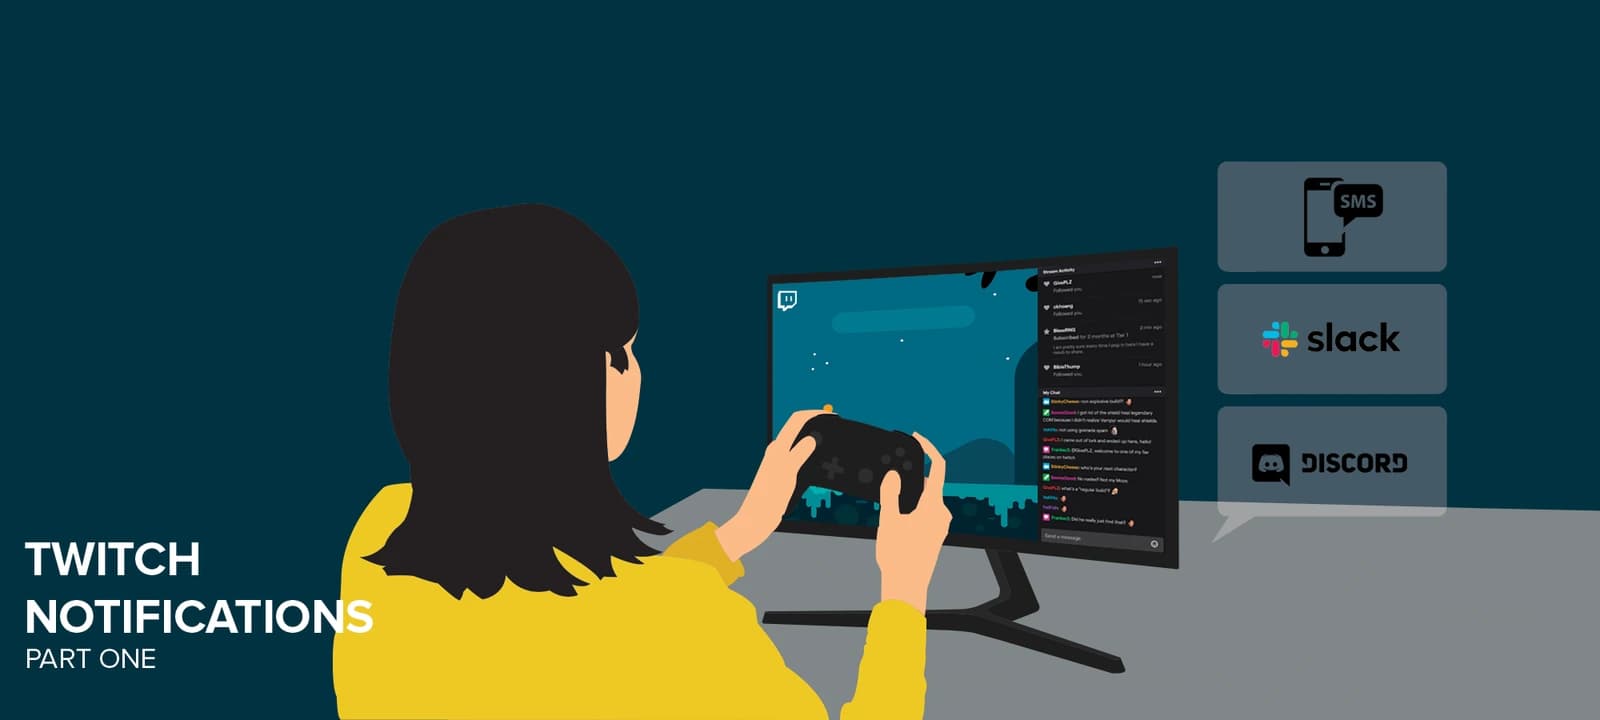
In this series, I'll show you how to use Twitch EventSub and Courier to automatically send notifications to many destinations – Discord, Slack, Facebook Messenger, and more – when your stream begins.
- Part one (this post): We’ll create a small Node.js and Express app to accept webhooks from Twitch EventSub.
- Part two: We’ll subscribe to the stream.online event and process the request using Courier. Then, we’ll use Courier to create and design our notifications.
- Part three: Finally, we'll create a list of subscribers and use Courier to notify the entire list across multiple destinations with one API call.
Have questions about sending notifications using Twitch EventSub and Courier? Join our new community on Discord – we're happy to help!
How to handle real-time events from Twitch
During last year's Twitch Developer Day, Twitch introduced EventSub as a single product to handle real-time events. EventSub is a transport-neutral solution that will eventually replace their existing PubSub and Webhook APIs. Today, EventSub only supports webhooks.
Let's start by creating a Node.js application and use Express to expose a POST route that Twitch EventSub can communicate with.
Prerequisites
To complete this tutorial, you'll need a couple things:
- A Node.js v14.x dev environment
- The Twitch CLI (for testing)
We'll be creating a Node.js application that needs to be accessible externally. If you are working locally, you can use ngrok to expose your local endpoint. Alternatively, you can use a tool like Glitch to build and host your application.
Creating a basic Express Application
We'll start by creating an Express application with minimal features. First, create a new folder and initialize it with a package.json file.
mkdir eventsub-handler && eventsub-handlernpm init --yes
Now we are able to install the Express package.
npm install express
Let's use express to create a simple HTTP server. Create an index.js file and add the following:
const express = require("express");const app = express();const port = process.env.PORT || 3000;app.get("/", (req, res) => {res.send("Hello World!");});const listener = app.listen(port, () => {console.log("Your app is listening on port " + listener.address().port);});
Let's run our application by executing node index.js in the terminal. If you open http://localhost:3000 in your browser, you should see “Hello World!“
Congrats! You now have a working (albeit minimal) Express server. Next, we'll add the ability to receive a POST request from Twitch.
Handling the Twitch POST request
In order to accept real-time events from Twitch, we'll need to create a callback URL. We can do this by creating a new POST route. In the index.js file above where the listener is created, add the following lines of code:
app.use(express.json());app.post("/webhooks/callback", async (req, res) => {const { type } = req.body.subscription;const { event } = req.body;console.log(`Receiving ${type} request for ${event.broadcaster_user_name}: `,event);res.status(200).end();});
First, we are telling our Express application to use the express.json() middleware to parse any incoming JSON payloads. Then, we added a callback route that will log the request and return a 200 status. Twitch expects this 2XX response to confirm you've received the request. If it doesn't receive a response in a couple seconds, it will retry the request.
Let's test this route using the Twitch CLI. Restart your application and use the following command to trigger a test subscribe event.
twitch event trigger subscribe -F http://localhost:3000/webhooks/callback
In the terminal running your application, you should see the event JSON for a channel.subscribe event. Next, we'll want to handle callback verification.
Handling callback verification
When you subscribe to an event, EventSub will send an initial request to the callback URL you specified. It expects a challenge response to verify you own the callback URL. We can handle this by checking the value of the Twitch-Eventsub-Message-Type header and respond with the challenge value provided in the request payload.
Update the callback code to the following:
app.post("/webhooks/callback", async (req, res) => {const messageType = req.header("Twitch-Eventsub-Message-Type");if (messageType === "webhook_callback_verification") {console.log("Verifying Webhook");return res.status(200).send(req.body.challenge);}const { type } = req.body.subscription;const { event } = req.body;console.log(`Receiving ${type} request for ${event.broadcaster_user_name}: `,event);res.status(200).end();});
Let's test this using the Twitch CLI. Restart your application and run the following CLI command:
twitch event verify-subscription subscribe -F http://localhost:3000/webhooks/callback
This command will send a fake “subscription“ EventSub subscription and validate if the endpoint responded with a valid status code and response.
Verifying the request
When accepting webhooks, it's good practice to verify that it came from the expected sender. We can do this by using the signature provided in the Twitch-Eventsub-Message-Signature header. We can create our own signature using the message ID, timestamp, and secret provided when subscribing to the event and compare it to the signature provided.
Let's update our use of the express.json() middleware to include a verify function. Add the following lines to the top of your index.js file:
const crypto = require("crypto");const twitchSigningSecret = process.env.TWITCH_SIGNING_SECRET;
And replace the app.use(express.json()); line with the following lines of code:
const verifyTwitchSignature = (req, res, buf, encoding) => {const messageId = req.header("Twitch-Eventsub-Message-Id");const timestamp = req.header("Twitch-Eventsub-Message-Timestamp");const messageSignature = req.header("Twitch-Eventsub-Message-Signature");const time = Math.floor(new Date().getTime() / 1000);console.log(`Message ${messageId} Signature: `, messageSignature);if (Math.abs(time - timestamp) > 600) {// needs to be < 10 minutesconsole.log(`Verification Failed: timestamp > 10 minutes. Message Id: ${messageId}.`);throw new Error("Ignore this request.");}if (!twitchSigningSecret) {console.log(`Twitch signing secret is empty.`);throw new Error("Twitch signing secret is empty.");}const computedSignature ="sha256=" +crypto.createHmac("sha256", twitchSigningSecret).update(messageId + timestamp + buf).digest("hex");console.log(`Message ${messageId} Computed Signature: `, computedSignature);if (messageSignature !== computedSignature) {throw new Error("Invalid signature.");} else {console.log("Verification successful");}};app.use(express.json({ verify: verifyTwitchSignature }));
We just added a function to handle verifying the signature using the information from the request headers and used the crypto library to generate our own signature to which to compare it. This process used the signing secret that I'm storing in an environment variable because, well, your signing secret should stay secret.
Let's test that the signature validation is working using the Twitch CLI. You'll want to restart your app with the following command that includes the environment variable.
TWITCH_SIGNING_SECRET=purplemonkeydishwasher node index.js
Then in another terminal, run the following CLI command:
twitch event trigger subscribe -F http://localhost:3000/webhooks/callback -s purplemonkeydishwasher
You should now see the provided and computed signatures and that verification was successful.
Putting it all together: Full application code
Your finished application code should look like the following:
const express = require("express");const crypto = require("crypto");const app = express();const port = process.env.PORT || 3000;const twitchSigningSecret = process.env.TWITCH_SIGNING_SECRET;app.get("/", (req, res) => {res.send("Hello World!");});const verifyTwitchSignature = (req, res, buf, encoding) => {const messageId = req.header("Twitch-Eventsub-Message-Id");const timestamp = req.header("Twitch-Eventsub-Message-Timestamp");const messageSignature = req.header("Twitch-Eventsub-Message-Signature");const time = Math.floor(new Date().getTime() / 1000);console.log(`Message ${messageId} Signature: `, messageSignature);if (Math.abs(time - timestamp) > 600) {// needs to be < 10 minutesconsole.log(`Verification Failed: timestamp > 10 minutes. Message Id: ${messageId}.`);throw new Error("Ignore this request.");}if (!twitchSigningSecret) {console.log(`Twitch signing secret is empty.`);throw new Error("Twitch signing secret is empty.");}const computedSignature ="sha256=" +crypto.createHmac("sha256", twitchSigningSecret).update(messageId + timestamp + buf).digest("hex");console.log(`Message ${messageId} Computed Signature: `, computedSignature);if (messageSignature !== computedSignature) {throw new Error("Invalid signature.");} else {console.log("Verification successful");}};app.use(express.json({ verify: verifyTwitchSignature }));app.post("/webhooks/callback", async (req, res) => {const messageType = req.header("Twitch-Eventsub-Message-Type");if (messageType === "webhook_callback_verification") {console.log("Verifying Webhook");return res.status(200).send(req.body.challenge);}const { type } = req.body.subscription;const { event } = req.body;console.log(`Receiving ${type} request for ${event.broadcaster_user_name}: `,event);res.status(200).end();});const listener = app.listen(port, () => {console.log("Your app is listening on port " + listener.address().port);});
We now have a Node.js and Express application that can receive real-time events from Twitch using EventSub. We've tested it locally using the Twitch CLI but, remember, before you can start using it with Twitch, you'll need to make sure the route uses HTTPS and port 443 and is publicly available. If you want to continue running it locally, look into using ngrok.
So, what’s next?
In the next post, we'll walk through creating a subscription for the stream.online event and use Courier to design and send our notifications. In the meantime, feel free to create subscriptions to any of the many supported events and try out your application.
-Aydrian
Similar resources

How Apple's on-device AI works, and what it changes for your users
Apple's 2026 on-device models (AFM 3) are good enough to read, rank, and summarize everything that lands on your phone, locally and for free. Here's how they actually work, in plain terms, and how a model that reads every message before your users do changes what you should send.

Apple Intelligence finally got smart. Here's how it changes the notifications your users see.
Apple Intelligence's on-device models got dramatically better in iOS 27, and they now summarize, rank, and filter notifications before your users ever see them. There's no API to control that, so the words you send are the only lever you have. Here's how notification summaries work and how to write for them.

The real cost of notifications at scale
The sticker price of a notification platform is never the real price. Cost scales with both message volume and user count, and the biggest expense is often the one nobody invoices: owning and running whatever you built yourself. Here's a clear way to model what notifications cost at scale and the levers that actually control it.
© 2026 Courier. All rights reserved.