Intro to your Courier Cheerleading Catalyst
Samar Barakat
July 07, 2023
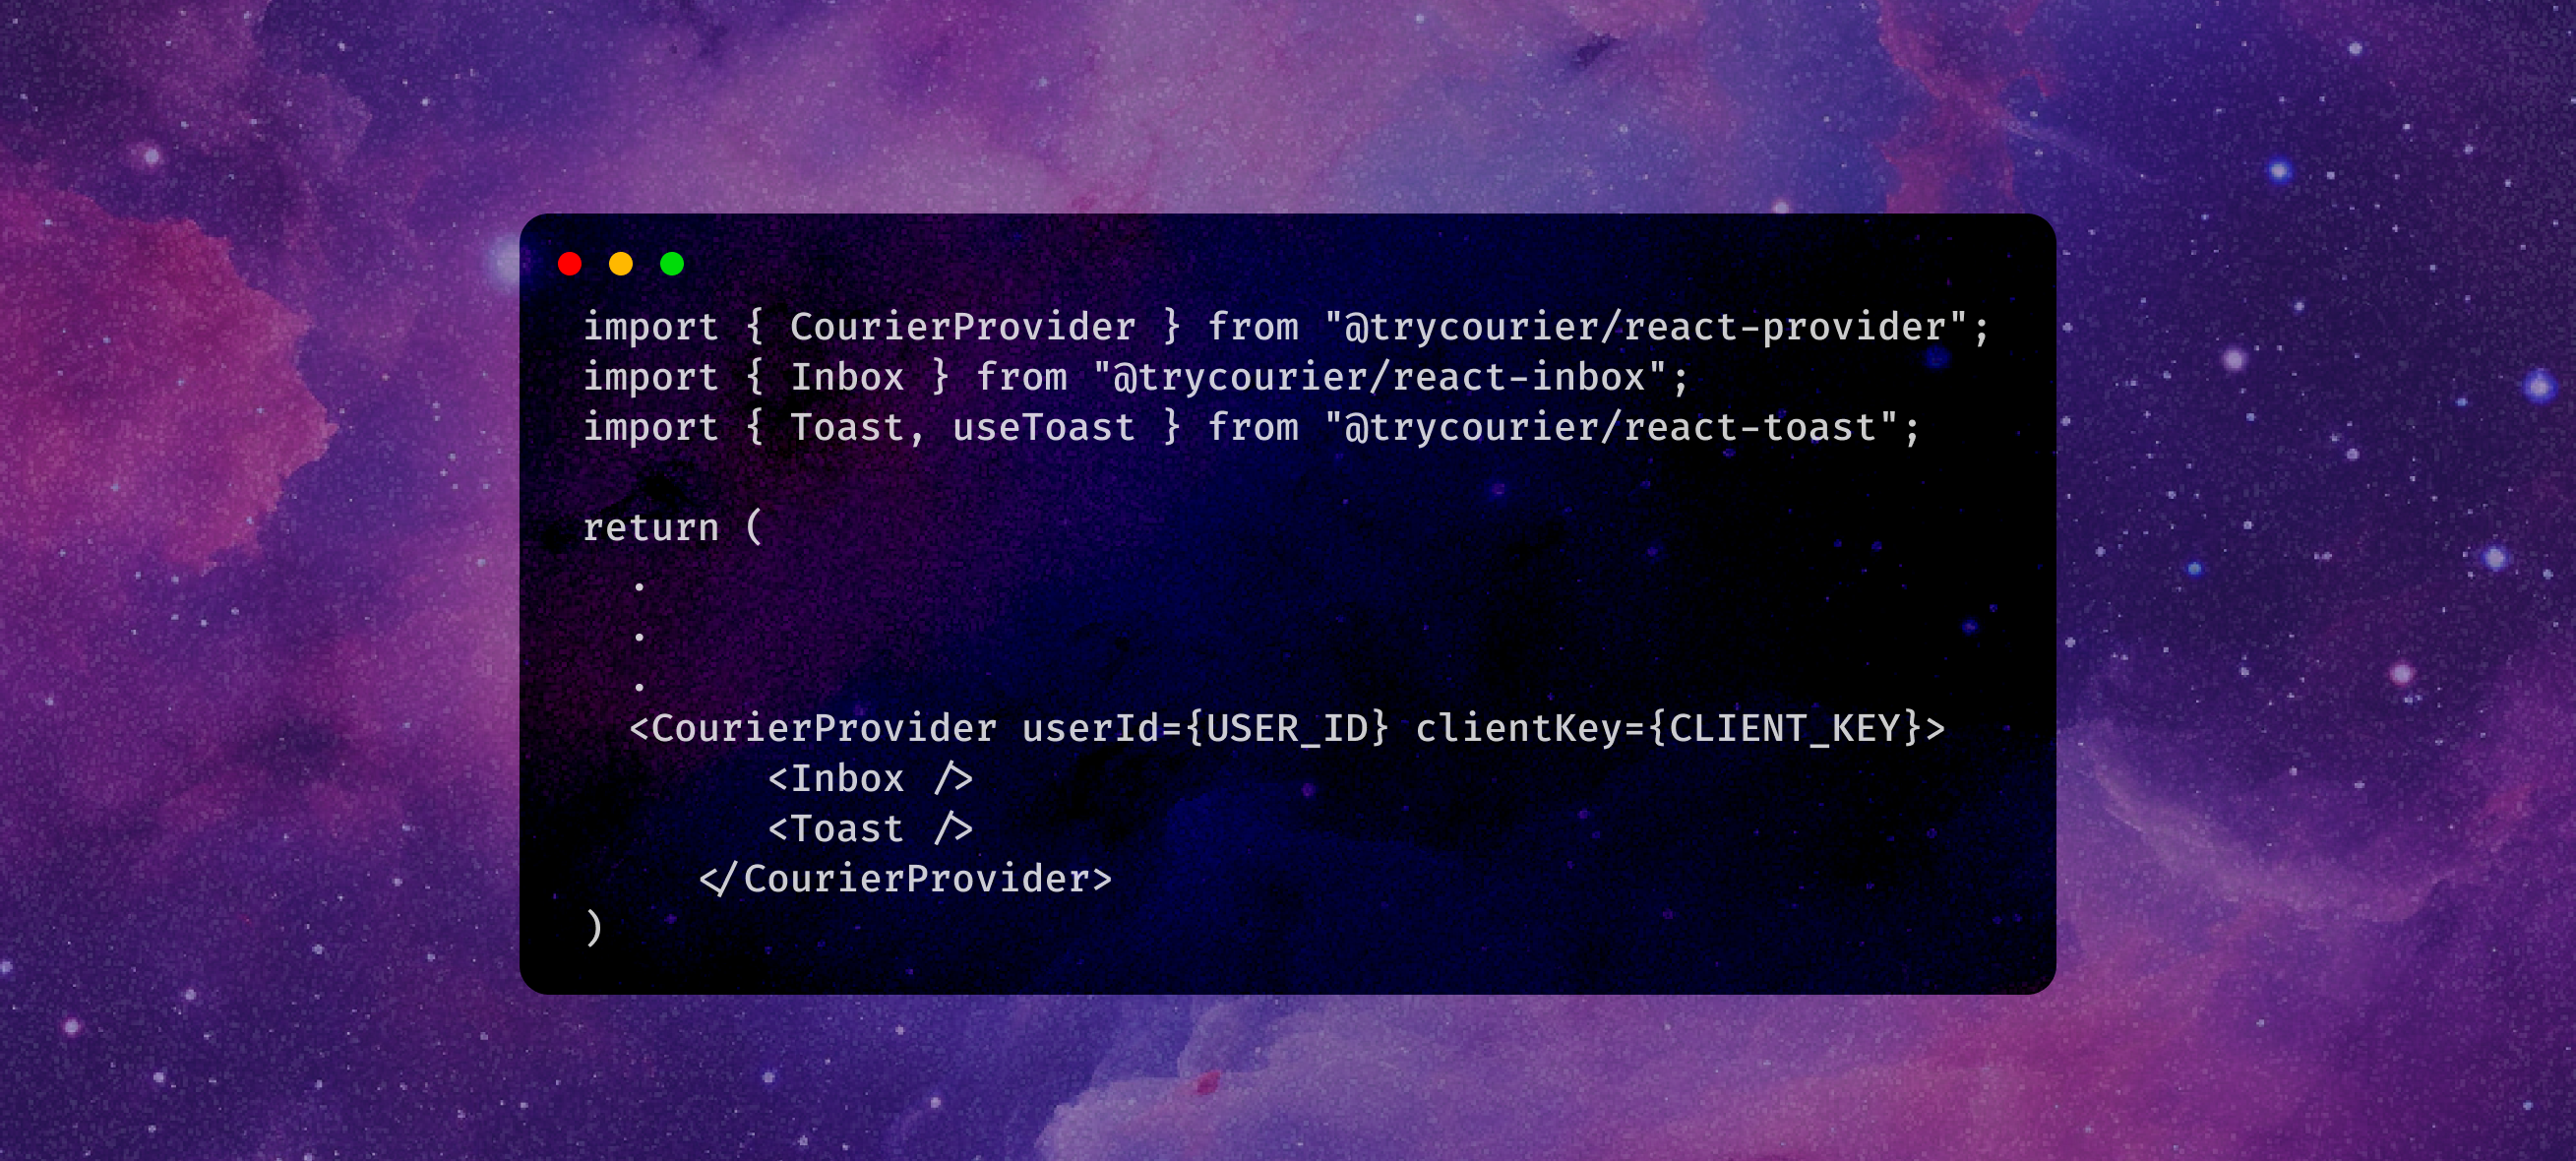
Table of contents
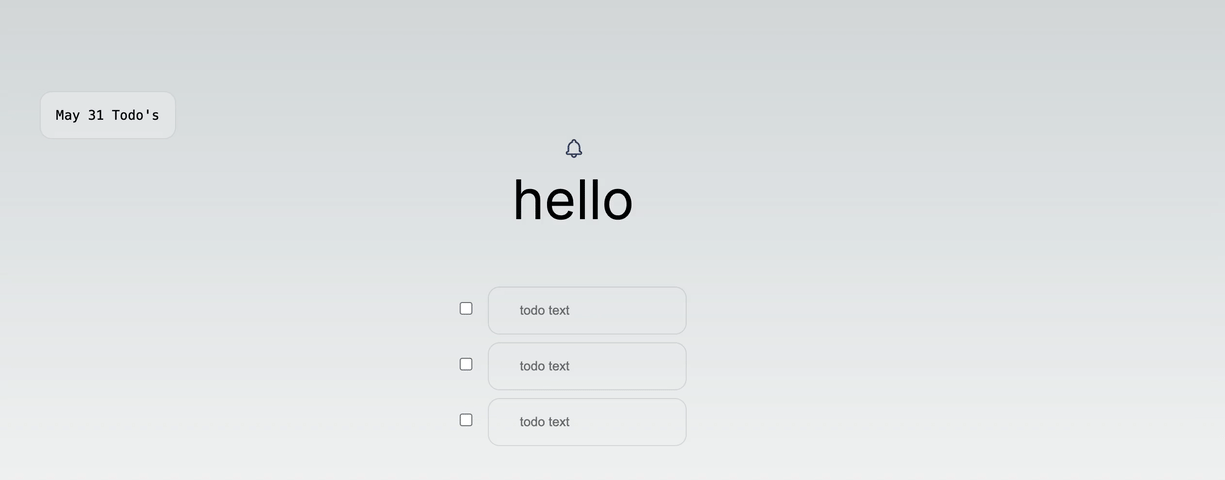
I absolutely ADORE a good todo app. Todo apps can be invaluable for improving productivity by helping you stay organized and manage tasks effectively. They are the ultimate solution for decluttering the mind and ensuring nothing slips through the cracks.
One of the biggest struggles I faced with other productivity tools was their complexity and lack of user-friendliness. Instead of actually getting things done, I found myself getting lost in confusing interfaces and tangled features. It was incredibly frustrating and counterproductive. That’s why I was determined to create a todo app that prioritized simplicity and intuitive functionality. I envisioned a clean and minimalistic app that allowed me to effortlessly add tasks, organize them according to my own logic, and easily mark them as complete. This newfound simplicity has truly revolutionized my productivity routine and made task management a breeze.
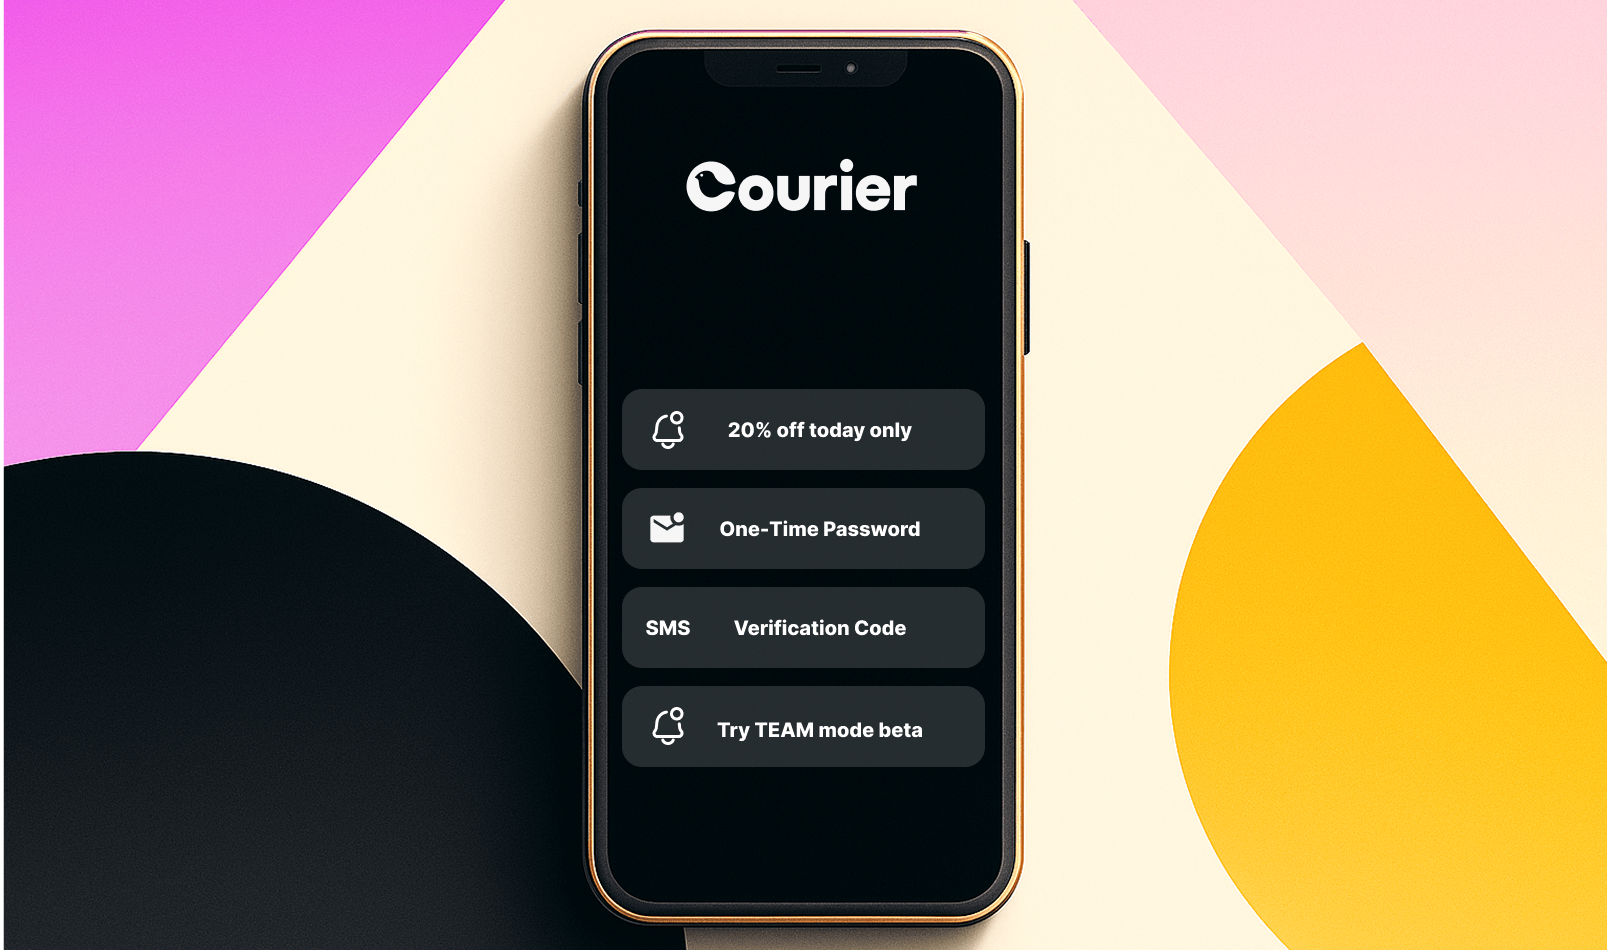
But I didn’t stop there — I wanted to take my sense of accomplishment to the next level. Introducing the Courier Cheerleading Catalyst! This feature adds a delightful touch of motivation by sending cheerful notifications to encourage users as they complete their tasks. Celebrating small victories is crucial for maintaining momentum, and these notifications play a pivotal role in reinforcing a sense of accomplishment and progress. With visual and auditory cues acting as rewards, completing tasks becomes even more rewarding, boosting our motivation and fueling our productive streak.
To bring these cheerful notifications to life, we need three key components:
- An app: in our case, a task tracker
- Segment: a tool to track events, such as the completion of a task
- Courier: a tool that sends notifications based on those events
By combining these three essential components, we can create an exceptional todo app experience that not only keeps us organized but also incorporates motivation and celebration. So let’s get started and embrace the power of cheerful notifications to supercharge our productivity!
I invite you to visit the GitHub repo for this app to see all the code. If you find the repository helpful or inspiring, don’t forget to show your support by giving it a star! Your star would be greatly appreciated and would motivate me to continue improving the app and sharing more useful resources in the future. Thank you in advance for your support!
Step 1: Add Courier as a destination in Segment
Create a Segment account and workspace, and then follow the steps below:
- Go to the Sources tab and click on the source you want to add Courier to.
- Click Add Destination and then search for Courier.
- Now you can click Configure Courier and add your destination name.
- To finish the setup process, you will need your Courier API key.
Now that Courier is connected to Segment, you will be able to see all events that Segment is tracking though the Courier app!
Step-by-step instructions for configuring Segment
✨ Coding time ✨
Step 2: Import Segment analytical tracking
For this step, I closely followed the Quickstart: Analytics.js tutorial in the Segment docs, which demonstrate two different ways to add the necessary analytic tracking code.
Copied!
**1:** You can paste the code snippet provided into the `<head>` tag of your site, or**2:** Add Segment to your project as an NPM package: `npm install @segment/snippet`
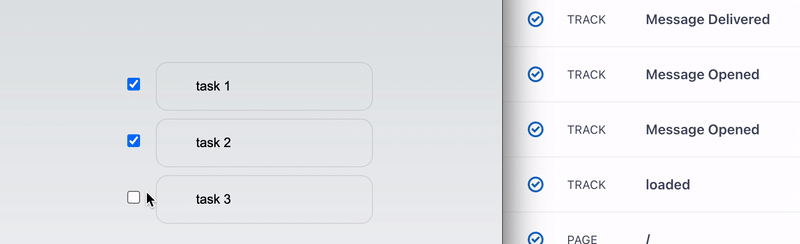
Segment offers a wide range of events that you can keep track of. In my case, I wanted to use Segment’s analytics tracking capabilities to monitor when I finish my todos. To achieve this, I created a special function that checks if all my todos are completed.
Copied!
const allCompleted = todos.every(todo => todo.status);function allTodoDone() {analytics.track("todos completed");}return (<div>...<div>{allCompleted ? allTodoDone() : null}</div></div>)
This function helps me see if I’ve finished everything on my list or if there’s still work left to do. It’s a simple yet effective way to keep tabs on my progress and make sure I stay on top of my tasks.
Note:

Please be aware that if you have any ad-blocking extensions enabled, they might interfere with the events Segment is tracking. As a result, the tracked events may not be sent through and won't be visible in the logs. Consequently, notifications based on these events will not be sent either.
Step 3: Import Courier’s Inbox and Toast notifications
Oooh — the fun part! It’s time to add the Inbox and Toast functionalities. It was incredibly simple to incorporate them into my project. I found all the necessary information in this section of the docs.
All you need to do is enter the following commands:
npm i @trycourier/react-providernpm i @trycourier/react-inboxnpm i @trycourier/react-toast
Once you’ve completed these steps, you’ll have a cute little “🔔” icon wherever you choose to place it. This icon will serve as your inbox, hosting all your incoming notifications!
Copied!
import { CourierProvider } from "@trycourier/react-provider";import { Inbox } from "@trycourier/react-inbox";import { Toast, useToast } from "@trycourier/react-toast";return (...<CourierProvider userId={USER_ID} clientKey={CLIENT_KEY}><Inbox /><Toast /></CourierProvider>)
Step 4: Put it all together!
Now you have a fully functional app that sends all your chosen tracking events to a centralized location! However, one final step remains: creating the automations to bring those wonderful notifications to life.
First, navigate to the Designer section within your Courier app. Here, you can design how you want your notifications to look and what message they should convey. Once you have finalized the design, proceed to the Automations tab.
Here, you will set up the triggers for your notifications. Choose Segment as the trigger, and specify the name of the event you previously tracked. Next, add the Courier user ID to determine who will receive the notification. From the dropdown menu, select the notification you designed earlier.
And just like that, voila!
You’ve finished setting up the automation, and your carefully crafted notification will be sent to the intended recipient.
Exploring how Courier collaborates with Segment to send notifications was an incredibly enjoyable learning experience for me. If you’re interested in delving further into the code or experimenting with the app, feel free to visit the GitHub repo and Todo App. Please note that this project is still a work in progress, so be sure to stay tuned for future updates and enhancements!
Similar resources
Build with AI: let your agent handle notifications end to end
Courier's Build with AI toolkit gives coding agents direct access to your notification infrastructure. Four integration points, one goal: let your agent send messages, debug deliveries, manage users, and follow notification best practices without context-switching. Works with Claude Code, Cursor, and any agent that can run shell commands or call MCP tools.
By Kyle Seyler
April 07, 2026

How to Use Claude Code on Mobile to Design, Test, and Ship Multichannel Notifications
A walkthrough of using Claude Code's mobile app with Courier's MCP server and CLI to design, test, and ship a multichannel product announcement from a phone. Covers the full workflow: drafting the content outline, creating notification templates using Courier's elemental format, building channel-specific variants for email, Slack, push, and SMS, customizing brand styling through the API, iterating on design with test sends, getting team approval, and publishing with custom routing rules. The whole thing took a couple hours, mostly cold start and design iterations.
By Kyle Seyler
April 06, 2026
Transactional, Product, and Marketing Notifications: What Are the Differences?
Understanding the difference between transactional, product, and marketing notifications is essential for developers building notification infrastructure. Transactional notifications confirm user actions and require no opt-in. Product notifications drive feature adoption through education. Marketing notifications promote sales and require explicit consent. This guide explains the legal requirements, best practices, and when to use each notification type to build compliant systems users trust.Retry
By Kyle Seyler
October 23, 2025
© 2026 Courier. All rights reserved.