This feature is only available in the V2 Courier Template Designer.
Overview
The Preview & Test mode lets you see exactly how your notification will appear with real data before publishing. You can:- Preview your template with test variable values
- Send test notifications to yourself or team members
- Manage reusable test events with different data scenarios
Accessing Preview & Test
- Open your template in the designer
- Click the ▶️ Preview & Test button in the header toolbar
- The preview sidebar appears on the left with input controls
Input Sources
Preview & Test supports two ways to provide test data: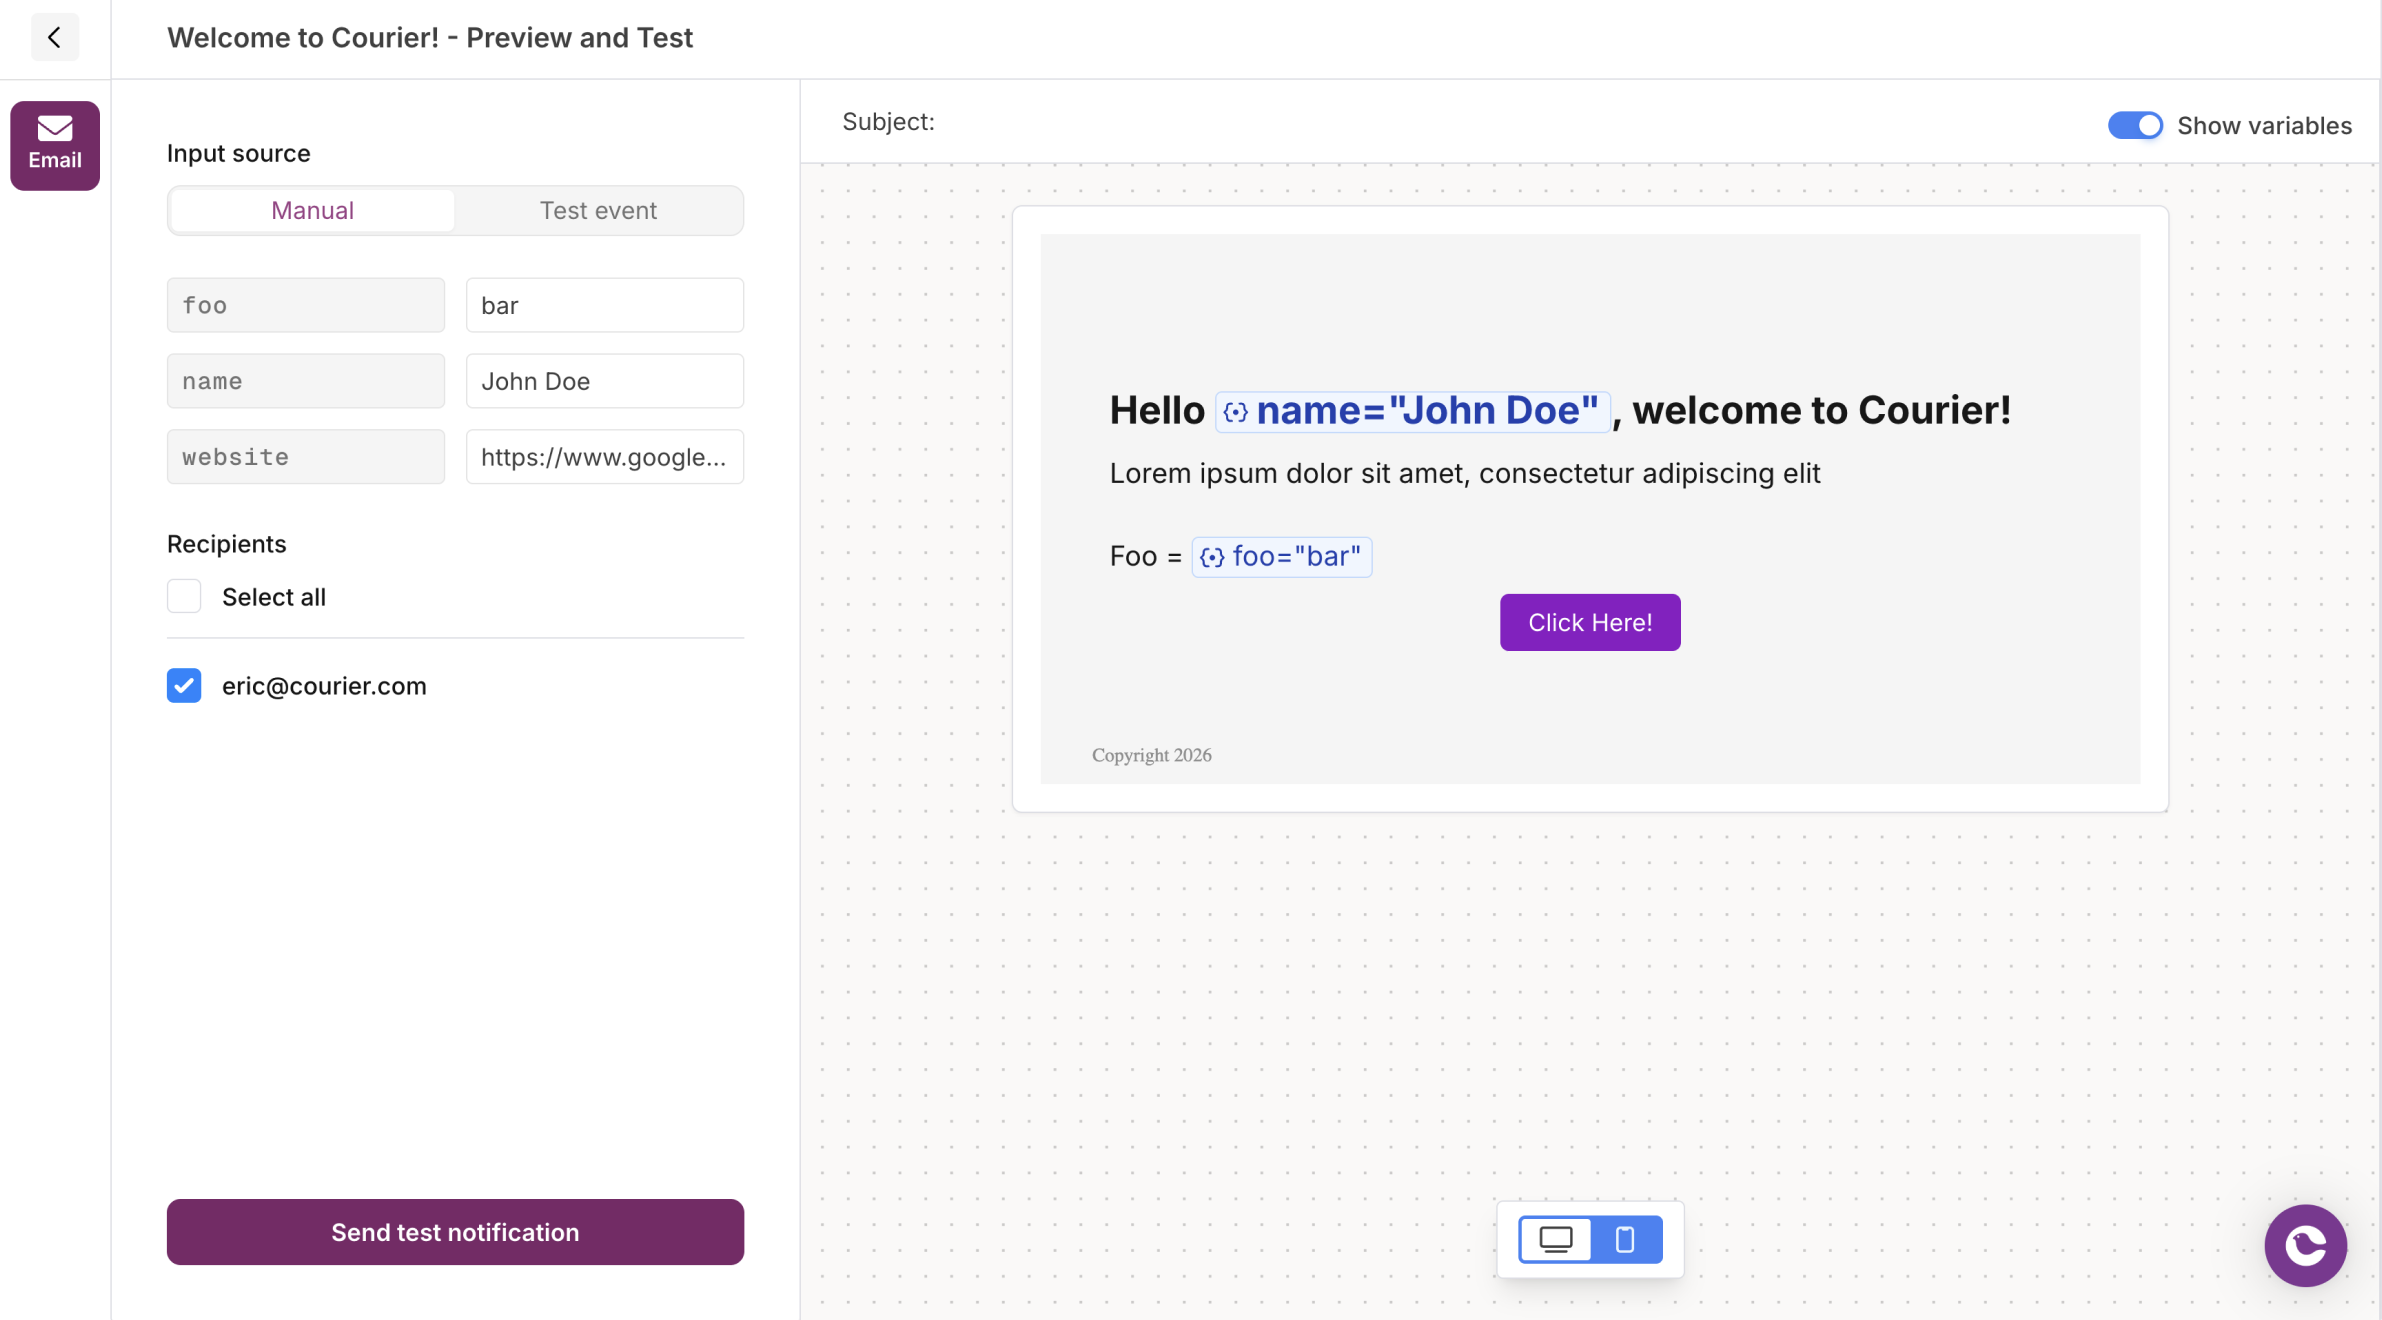
Manual Input
Enter variable values directly in the preview sidebar. This is useful for quick testing with simple data.- Select Manual from the input source toggle
- Enter values for each detected variable
- Select recipients from your workspace members (for email)
- Click Send test notification
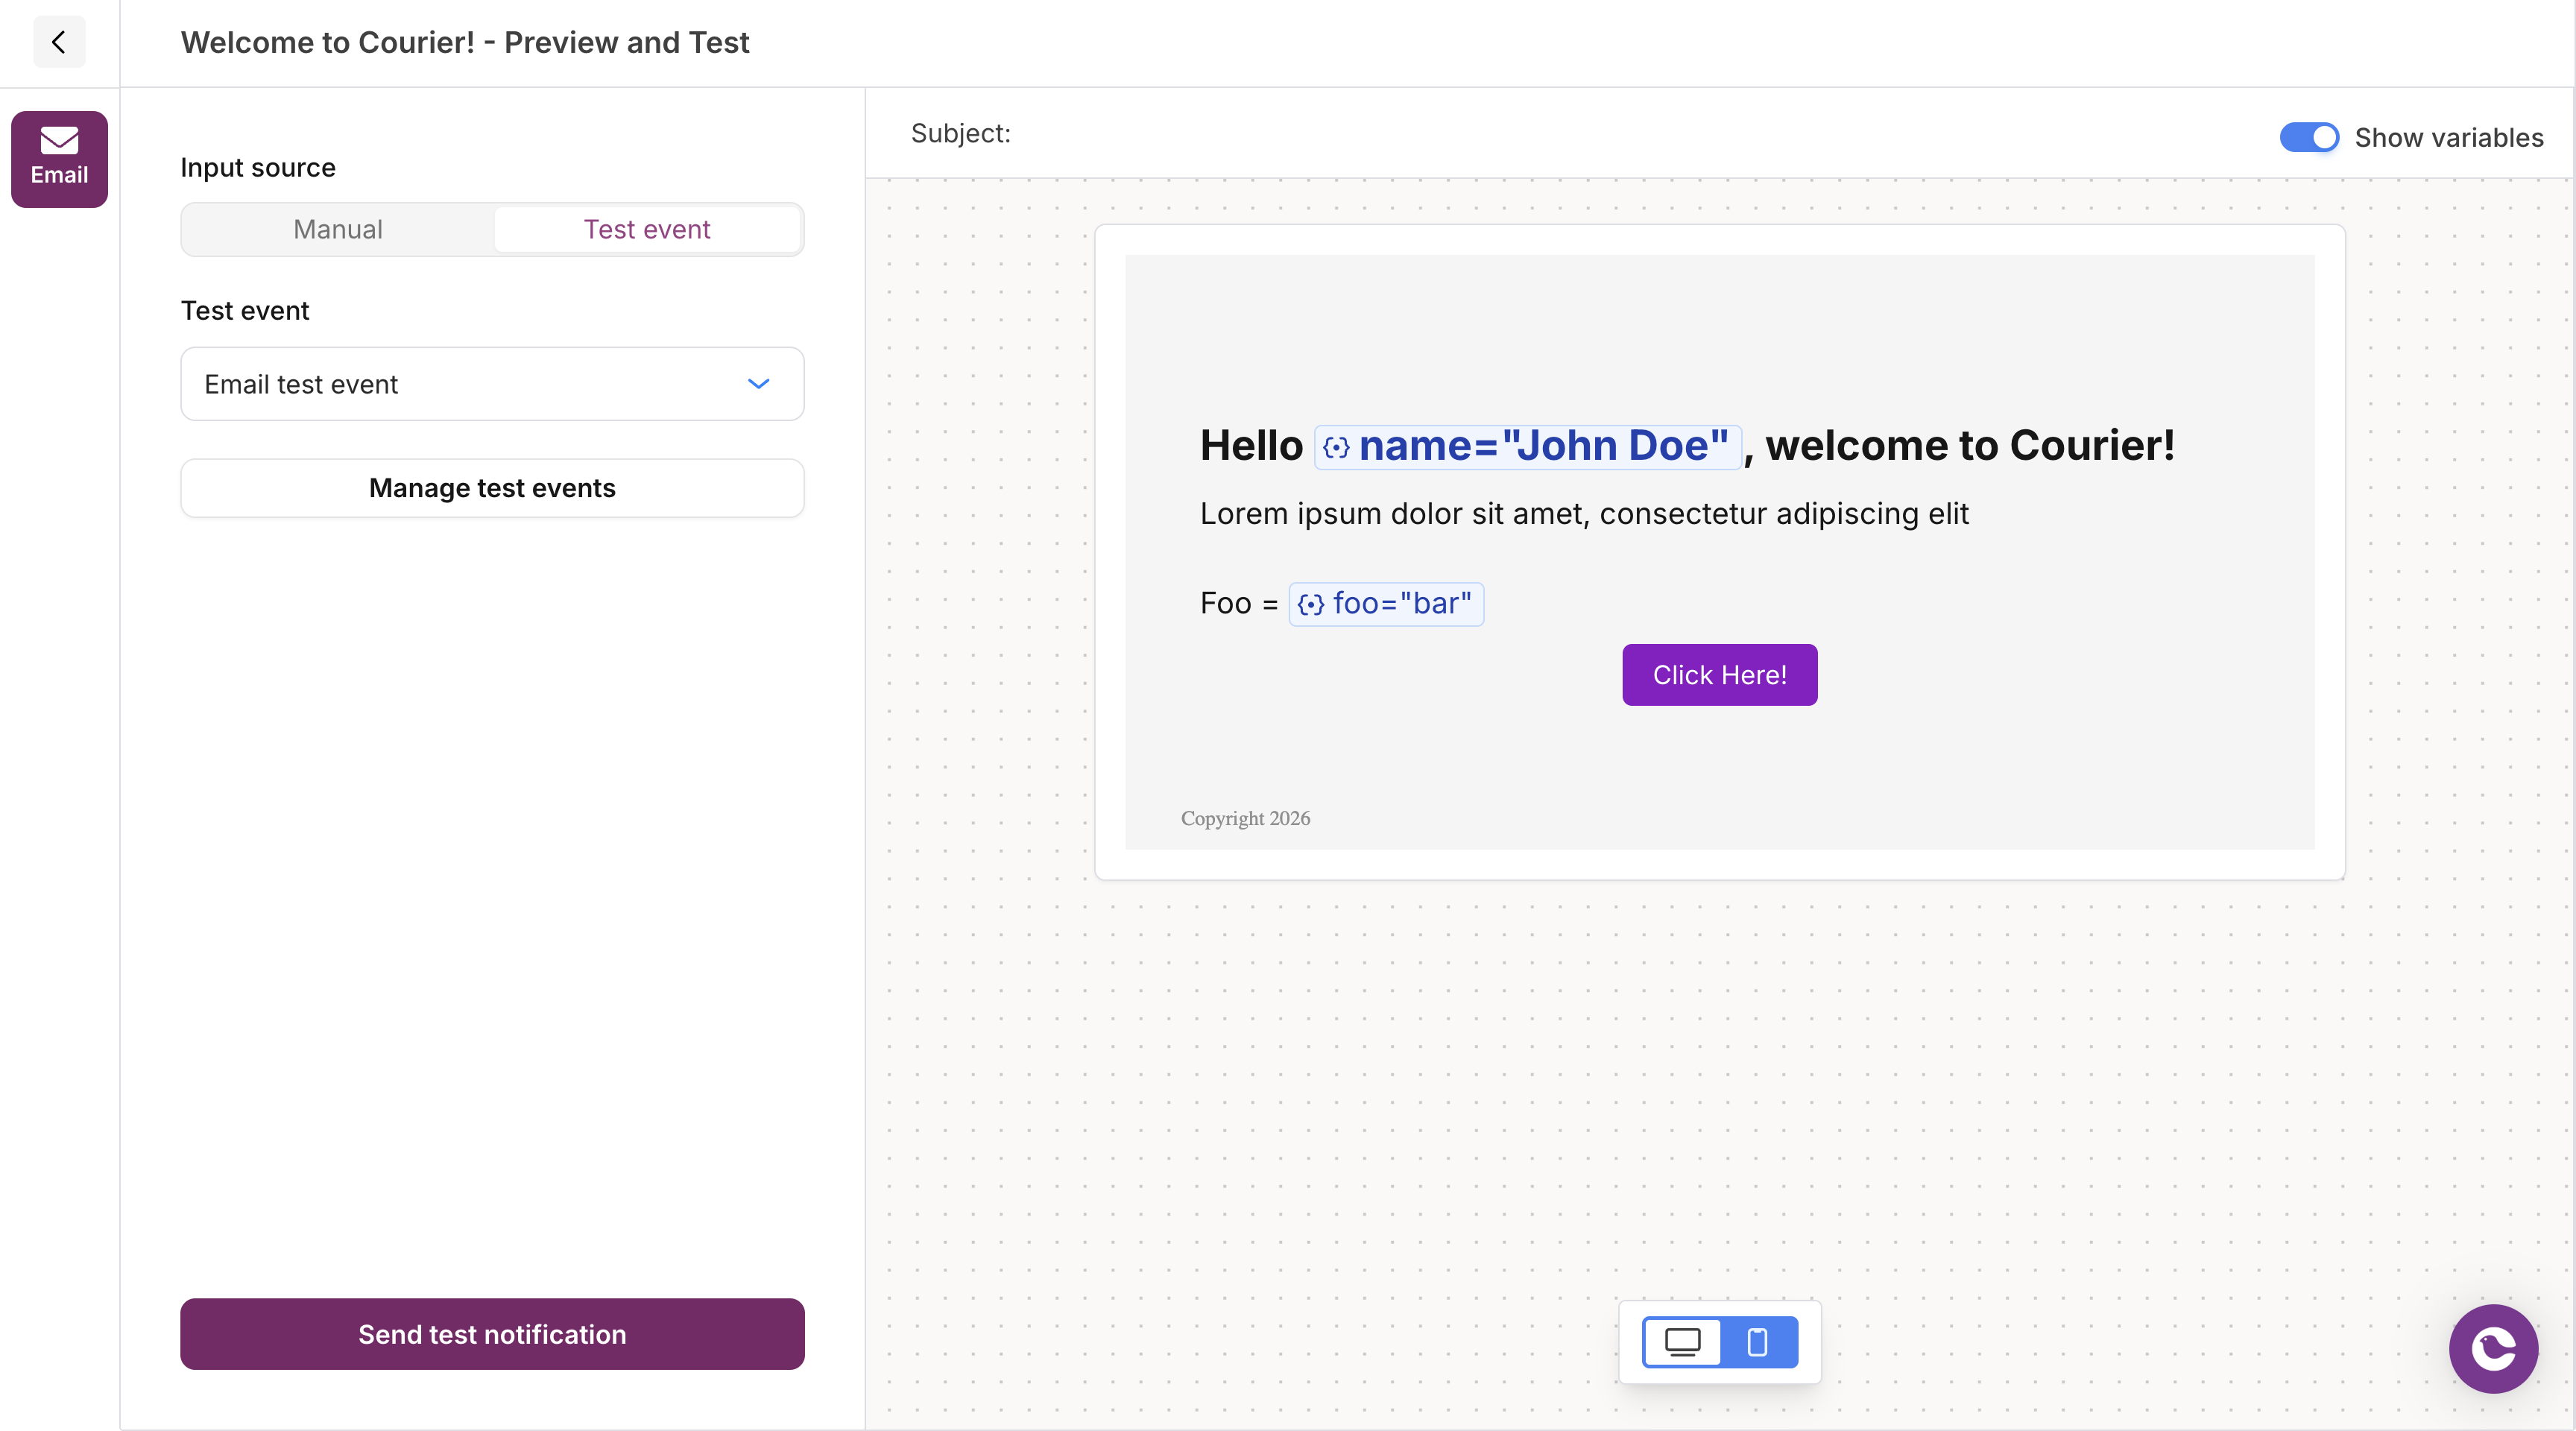
Test Events
Use saved test events for repeatable testing with complex data structures.- Select Test Event from the input source toggle
- Choose an existing test event from the dropdown, or click Create test event
- The preview updates with data from the selected event
- Click Send test notification
Managing Test Events
Test events are reusable JSON payloads that simulate the data your notifications will receive in production.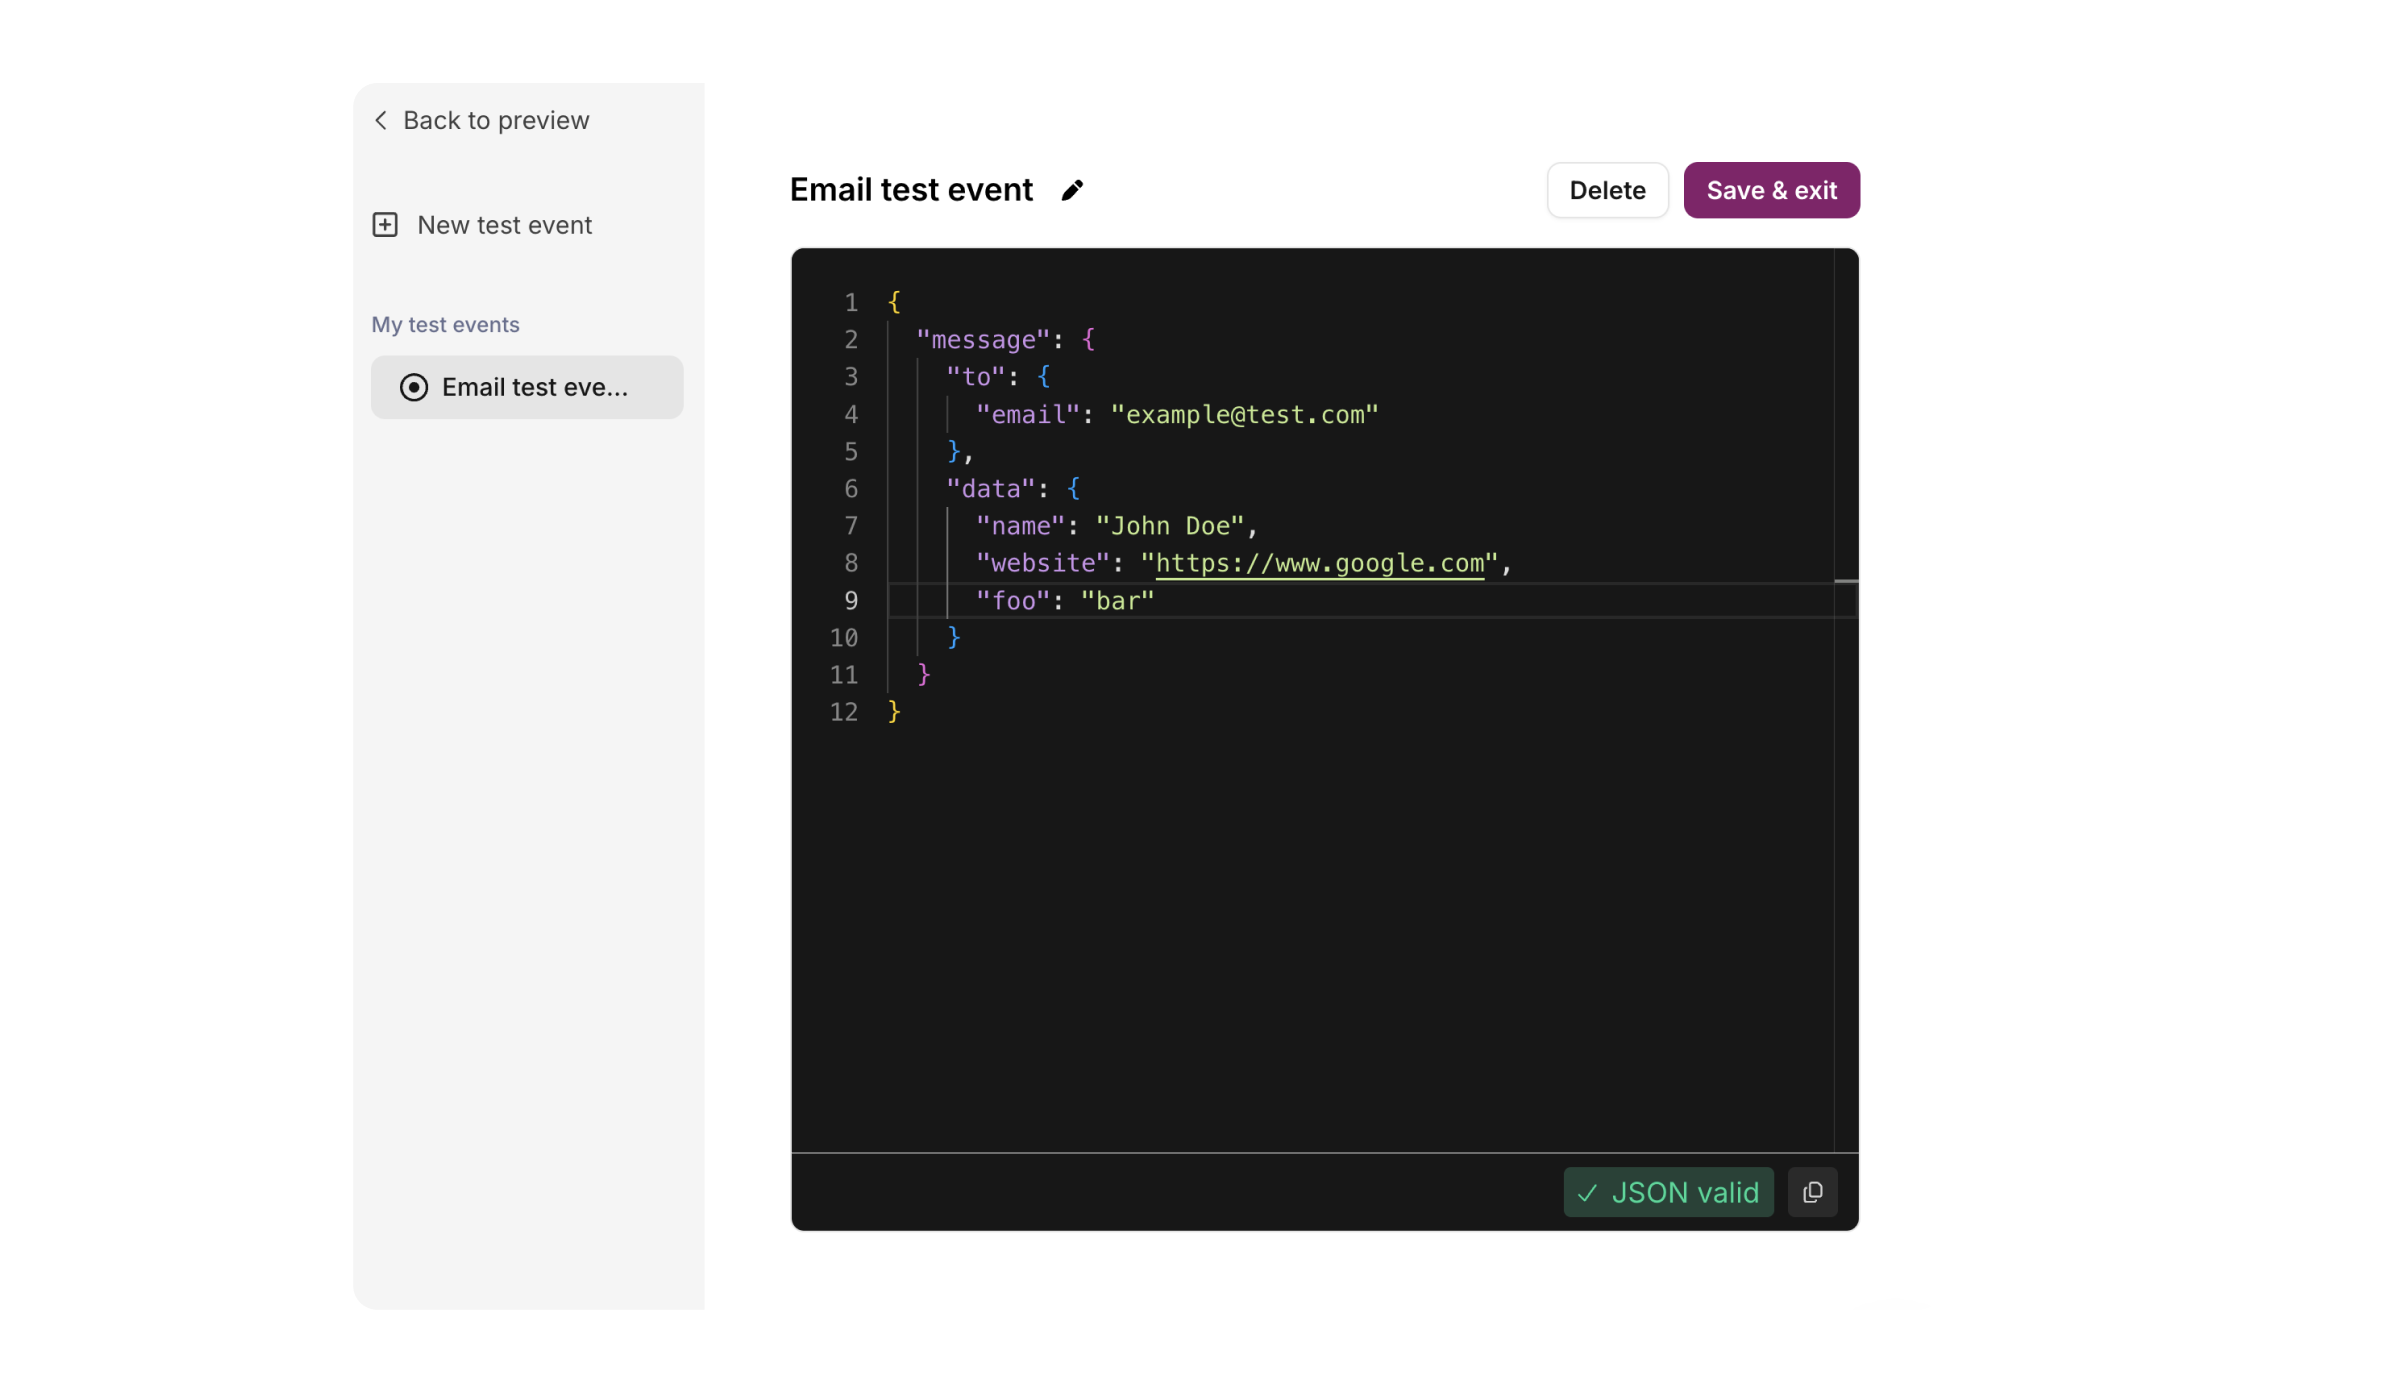
Creating a Test Event
- Click Manage test events (or Create test event if none exist)
- Click New test event in the sidebar
- Enter a name for your test event
- Edit the JSON in the editor to include your test data:
- The editor validates your JSON in real-time (green = valid, red = invalid)
- Click Save & exit
Recipients
When previewing email notifications in Manual mode, you can select recipients from your workspace members:- Your email appears first in the list
- Check multiple recipients to send to several people
- Use Select all to send to everyone in your workspace
Recipients are workspace members only. To send to external addresses, use test events with the recipient specified in the
to field.Sending Test Notifications
Before publishing changes, you can send a test notification using your test data. This step helps catch issues that don’t appear in the visual preview; for example, email client rendering problems, broken links, or differences in provider formatting. Click Send test notification at the bottom left corner of the preview to send a real message and validate your changes. The test notification:- Uses your current draft version (not the published version)
- Sends to the currently selected channel only
- Appears in your Message Logs for debugging
Looking for the classic (v1) notification preview process? See our tutorial: How to Use Test Events