Documentation Index
Fetch the complete documentation index at: https://www.courier.com/docs/llms.txt
Use this file to discover all available pages before exploring further.
Overview
Courier gives you flexible ways to define who receives notifications, from simple email addresses to audience-based segmentation. You may see “recipient” used interchangeably with “user”; they mean the same thing.Key Features
- User Profiles - Store contact details, preferences, and custom attributes through UI and API
- Multi-Tenant Architecture - Organize users into tenants for B2B SaaS platforms
- Push Token Management - Automatic device token handling for mobile notifications
- Profile Customization - Add custom attributes for personalized messaging
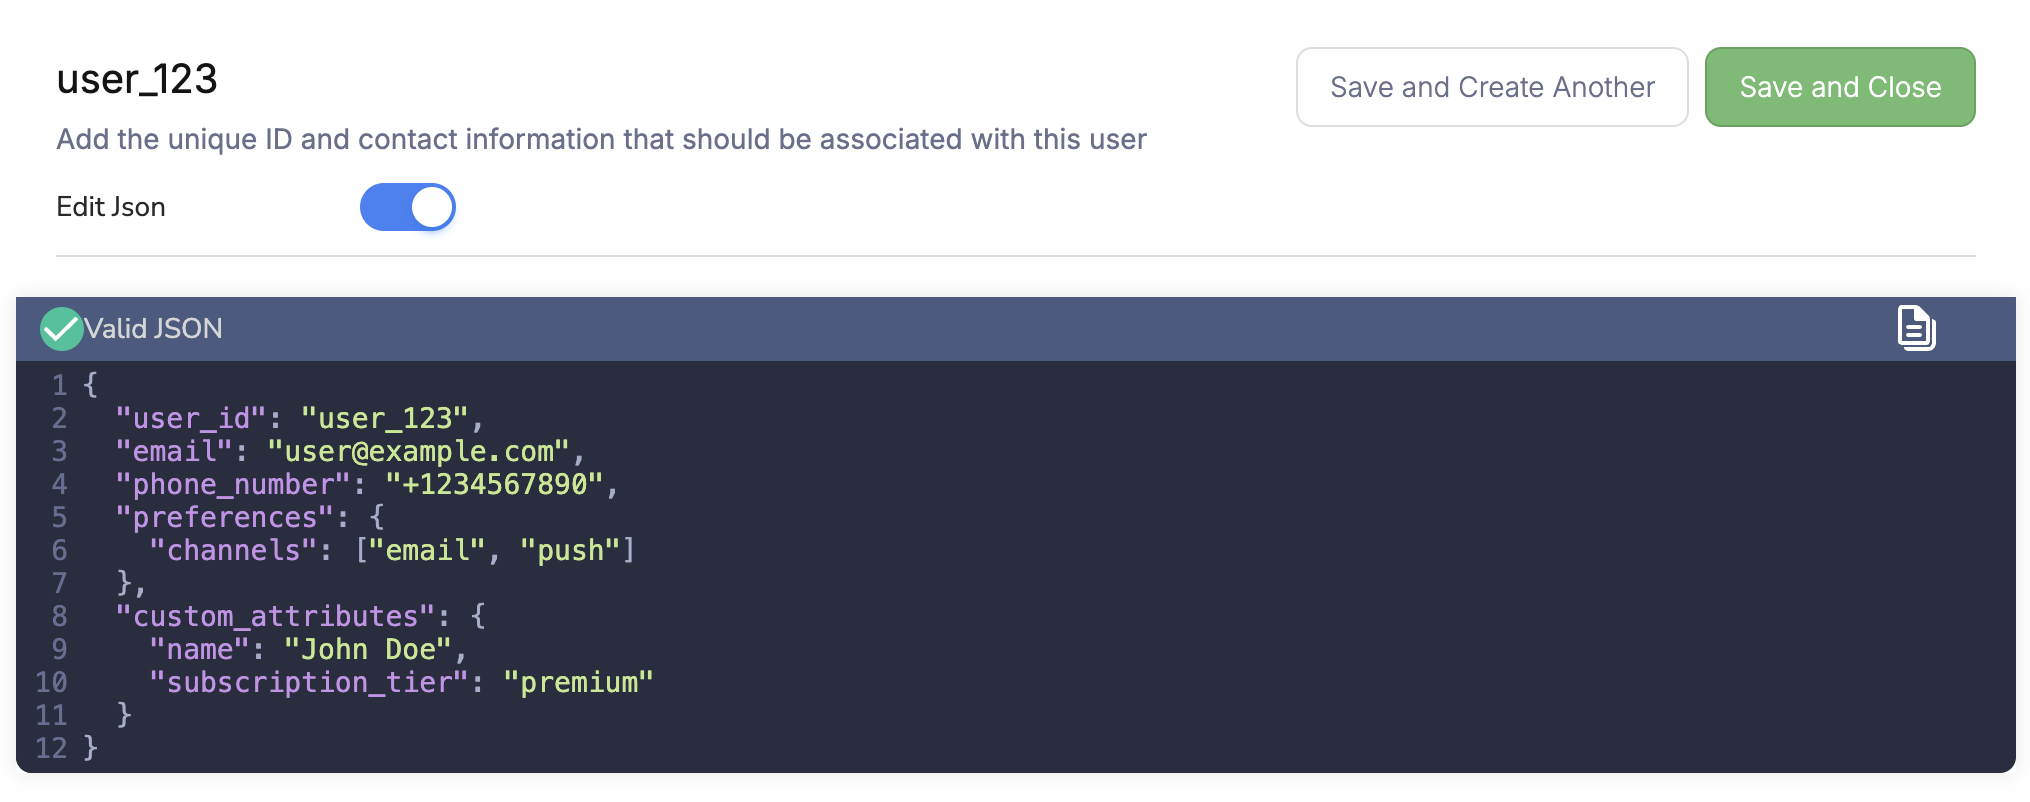
Creating Users
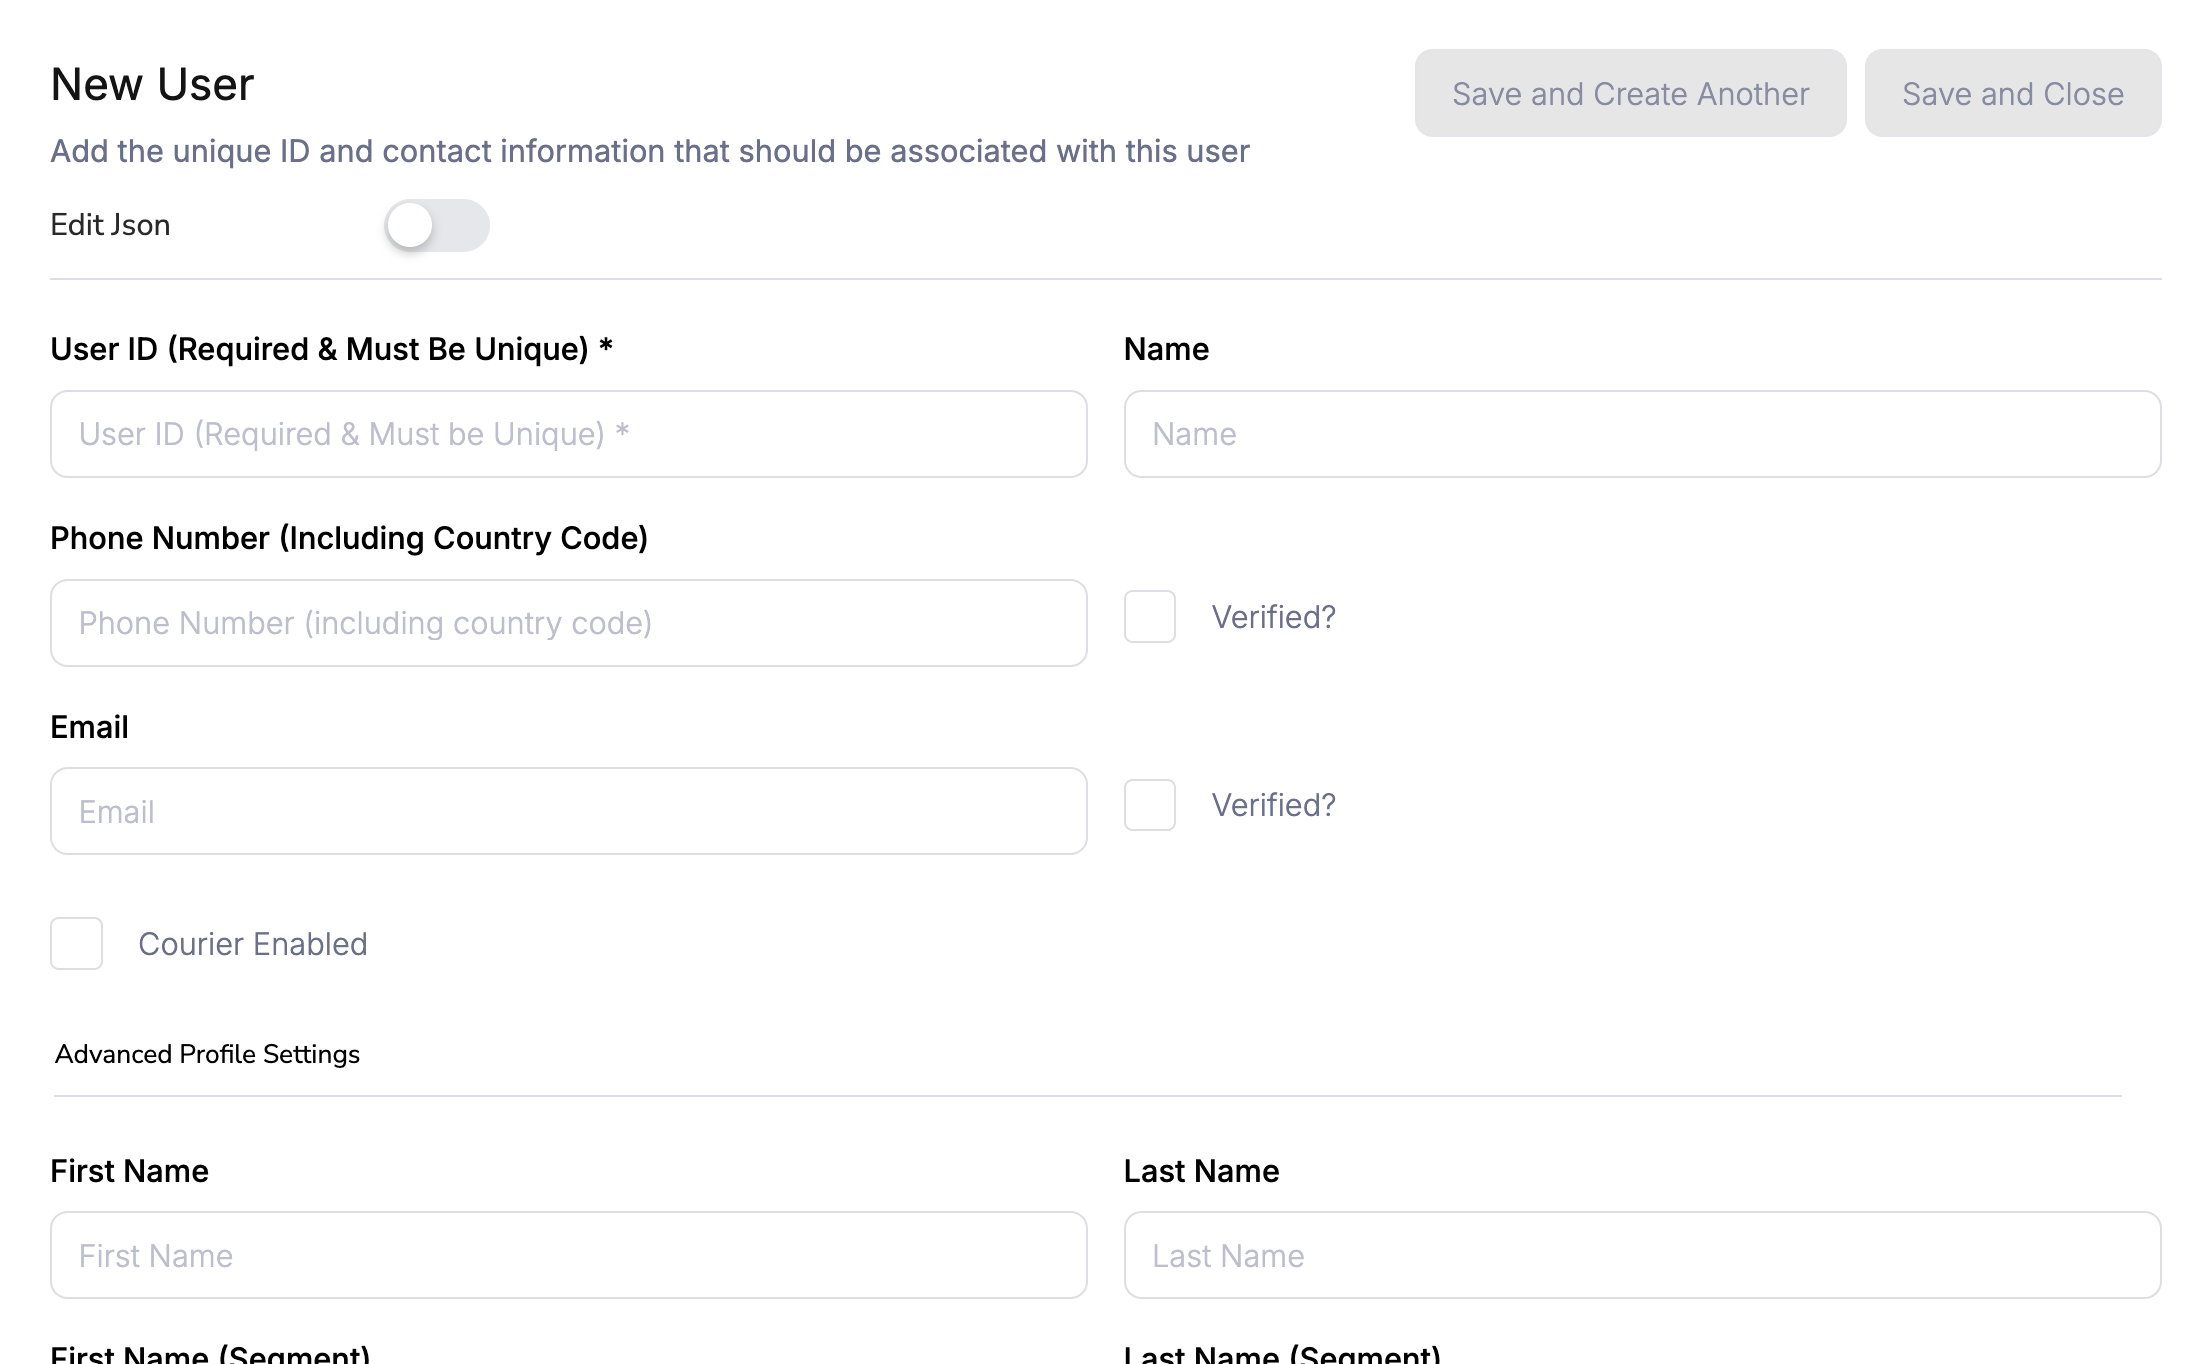
- Add contact information (email, phone, etc.)
- Set custom attributes
- Configure initial preferences
- Assign to tenants
PUT /profiles/{user_id}):
Importing Users via CSV
You can bulk import users through the Courier dashboard using a CSV file.How to Import
- Navigate to Users in the left sidebar
- Click the Import button
- Download the CSV template using the link in the import dialog
- Add your user data to the downloaded template
- Upload the populated CSV file
- Click Add Users to create the profiles
CSV Format Requirements
- Delimiter: Commas (
,). The file must be comma-separated. - Encoding: UTF-8 without BOM. Do not use UTF-16 or UTF-8 with BOM.
- Header row: Must match the template exactly. Do not rename, reorder, or add columns.
- Quoting: Values containing commas should be wrapped in double quotes. Empty fields should use
"". - Trailing newline: The file must not end with a blank line after the last row of data. A trailing newline causes the parser to interpret the empty final line as a data row with one field, triggering a “Too few fields” error.
Template Fields
The CSV template includes the following fields. Onlyid is required; all others are optional.
The fields below are listed in the same order as the CSV template columns.
| Field | Description |
|---|---|
id | Unique user identifier (required) |
name | Full display name |
first_name | First name |
last_name | Last name |
email | Email address |
phone_number | Phone number (E.164 format recommended) |
gender | Gender |
birthdate | Date of birth |
zoneinfo | Timezone (e.g. America/New_York) |
locale | Locale code (e.g. en_US) |
given_name | Given name (OIDC standard) |
family_name | Family name (OIDC standard) |
middle_name | Middle name |
nickname | Casual name |
preferred_username | Preferred display name |
profile | URL to profile page |
picture | URL to profile image |
website | URL to personal website |
email_verified | Whether email is verified (true/false) |
phone_number_verified | Whether phone is verified (true/false) |
sub | Subject identifier (OIDC standard) |
courier.channel | Default channel preference |
Creating a CSV File from a Text Editor
If you run into persistent import errors, the most reliable approach is to create the CSV directly in a plain text editor (VS Code, Notepad, or TextEdit in plain text mode) rather than through a spreadsheet application. This avoids encoding and delimiter issues entirely.- Open a new file in your text editor
- Paste the header row from the template (or copy it from below)
- Add one data row per user, matching the 22 fields exactly
- Save the file as UTF-8 with a
.csvextension - Make sure there is no blank line after your last row of data
"" for any field you want to leave empty.
Known Spreadsheet Pitfalls
If you use Excel or Google Sheets to edit the CSV template, be aware of these common issues:- Encoding changes: Excel’s “Export” function can produce UTF-16 files instead of UTF-8. Always use Save As > CSV (Comma delimited) rather than Export. If you’re unsure, open the saved file in a text editor and verify it looks like readable plain text.
- Delimiter substitution: In European and some other locales, Excel uses semicolons (
;) instead of commas as the CSV delimiter. Check your file in a text editor after saving. If you see semicolons between fields, switch Excel’s list separator in your system settings or create the file in a text editor instead. - Extra columns: Excel sometimes adds trailing empty columns when re-saving. The template has 22 fields; if your header has more, the importer will expect that many fields in every row. Open the file in a text editor and remove any extra commas at the end of the header row.
- Re-saving overwrites fixes: If you fix a CSV in a text editor and then re-open and save it in Excel, Excel may reintroduce the same encoding or delimiter issues. After fixing a file in a text editor, upload it directly without opening it in a spreadsheet application again.
Troubleshooting CSV Import
When you see a “Too few fields” error, open your CSV file in a plain text editor first. This lets you see exactly what the parser sees: the raw characters, delimiters, and encoding.
- Wrong delimiter: Open in a text editor and check whether fields are separated by commas. If you see semicolons or tabs, re-save as CSV (Comma delimited).
- Wrong encoding: If the file contents look garbled in a text editor (unusual characters,
ÿþat the start, or double-spaced letters like"i","d"), the file is likely UTF-16. Re-create the file in UTF-8, or copy and paste the contents into a new text file and save as UTF-8. - BOM marker: A UTF-8 BOM (
EF BB BF) at the start of the file can occasionally interfere with header parsing. If you seebefore the first field in a text editor, remove those characters.
User Profile Management
Direct Address Targeting
The code samples below illustrate a subset of the message object used to make a call to the send API.
Profile-Based Targeting
Store contact details, preferences, and custom attributes in a user profile, then reference the profile by ID when sending. This separates user data from sending logic, giving you flexible routing and personalization.- Flexible routing - Channel selection based on user preferences and routing rules
- Personalization - Access user attributes for dynamic content
- Preference management - Users control their notification channels and frequency
- Data persistence - User information persists across notifications
For more on programmatic profile management, see the Profiles API Documentation.
Multi-Tenant Support
For B2B SaaS platforms, you can organize users into tenants. A user can belong to multiple tenants, each with its own preferences and branding.Push Notification Setup
Push notifications require device tokens that link users to their mobile devices. You can manage tokens automatically through Courier SDKs or manually through the API.Device Token Management
Device tokens are unique identifiers that push notification providers (FCM, APNS) use to deliver messages to specific devices. Courier manages these tokens and associates them with user profiles. Token lifecycle:- Registration: When a user installs your app
- Updates: When tokens change or refresh
- Cleanup: When users uninstall or switch devices
Push Message Targeting
Once tokens are configured, target users for push notifications:SDK-Based Token Management (Recommended)
Use Courier SDKs for automatic token handling:- Automatic token generation and refresh
- Device registration handling
- Cross-platform support (iOS, Android, React Native)
- Error handling and retries
- Background sync
Manual Token Management
Not Recommended: Manual token management requires handling token refresh, rotation, and validity yourself. Use Courier SDKs for automatic token management instead.
PUT /users/{user_id}/tokens/{token}):
token and provider_key (one of firebase-fcm, apn, expo, onesignal). You can optionally include device, properties, expiry_date, and tracking.
When you might need manual management:
- Custom token handling logic
- Legacy app integration without SDK support
- Specific provider requirements not covered by SDKs
Related Resources
Lists & Audiences
Group targeting and segmentation
Profiles API
User profile management reference
User Profiles Tutorial
Create, update, and manage user profiles step by step
Tenants
Multi-tenant user management for B2B platforms