

Prerequisites
- A Courier account with at least one configured provider (e.g. SendGrid)
- Two published notification templates:
- WELCOME_EMAIL - the welcome message sent immediately
- ONBOARDING_NUDGE - the follow-up sent to users who haven’t completed setup
- Your Courier API key (found in Settings > API Keys)
- An endpoint that returns onboarding status for a user (e.g.
GET https://api.example.com/users/:id/onboarding)
What You’ll Build
The finished automation looks like this:- API Invoke trigger - starts the workflow when you call the API
- Send node - delivers the welcome email
- Delay node - waits 1 day
- Fetch Data node - calls your API to check onboarding status
- If node - branches on
data.onboarding_complete- True branch - user finished setup, automation ends
- False branch - Send node delivers the follow-up nudge
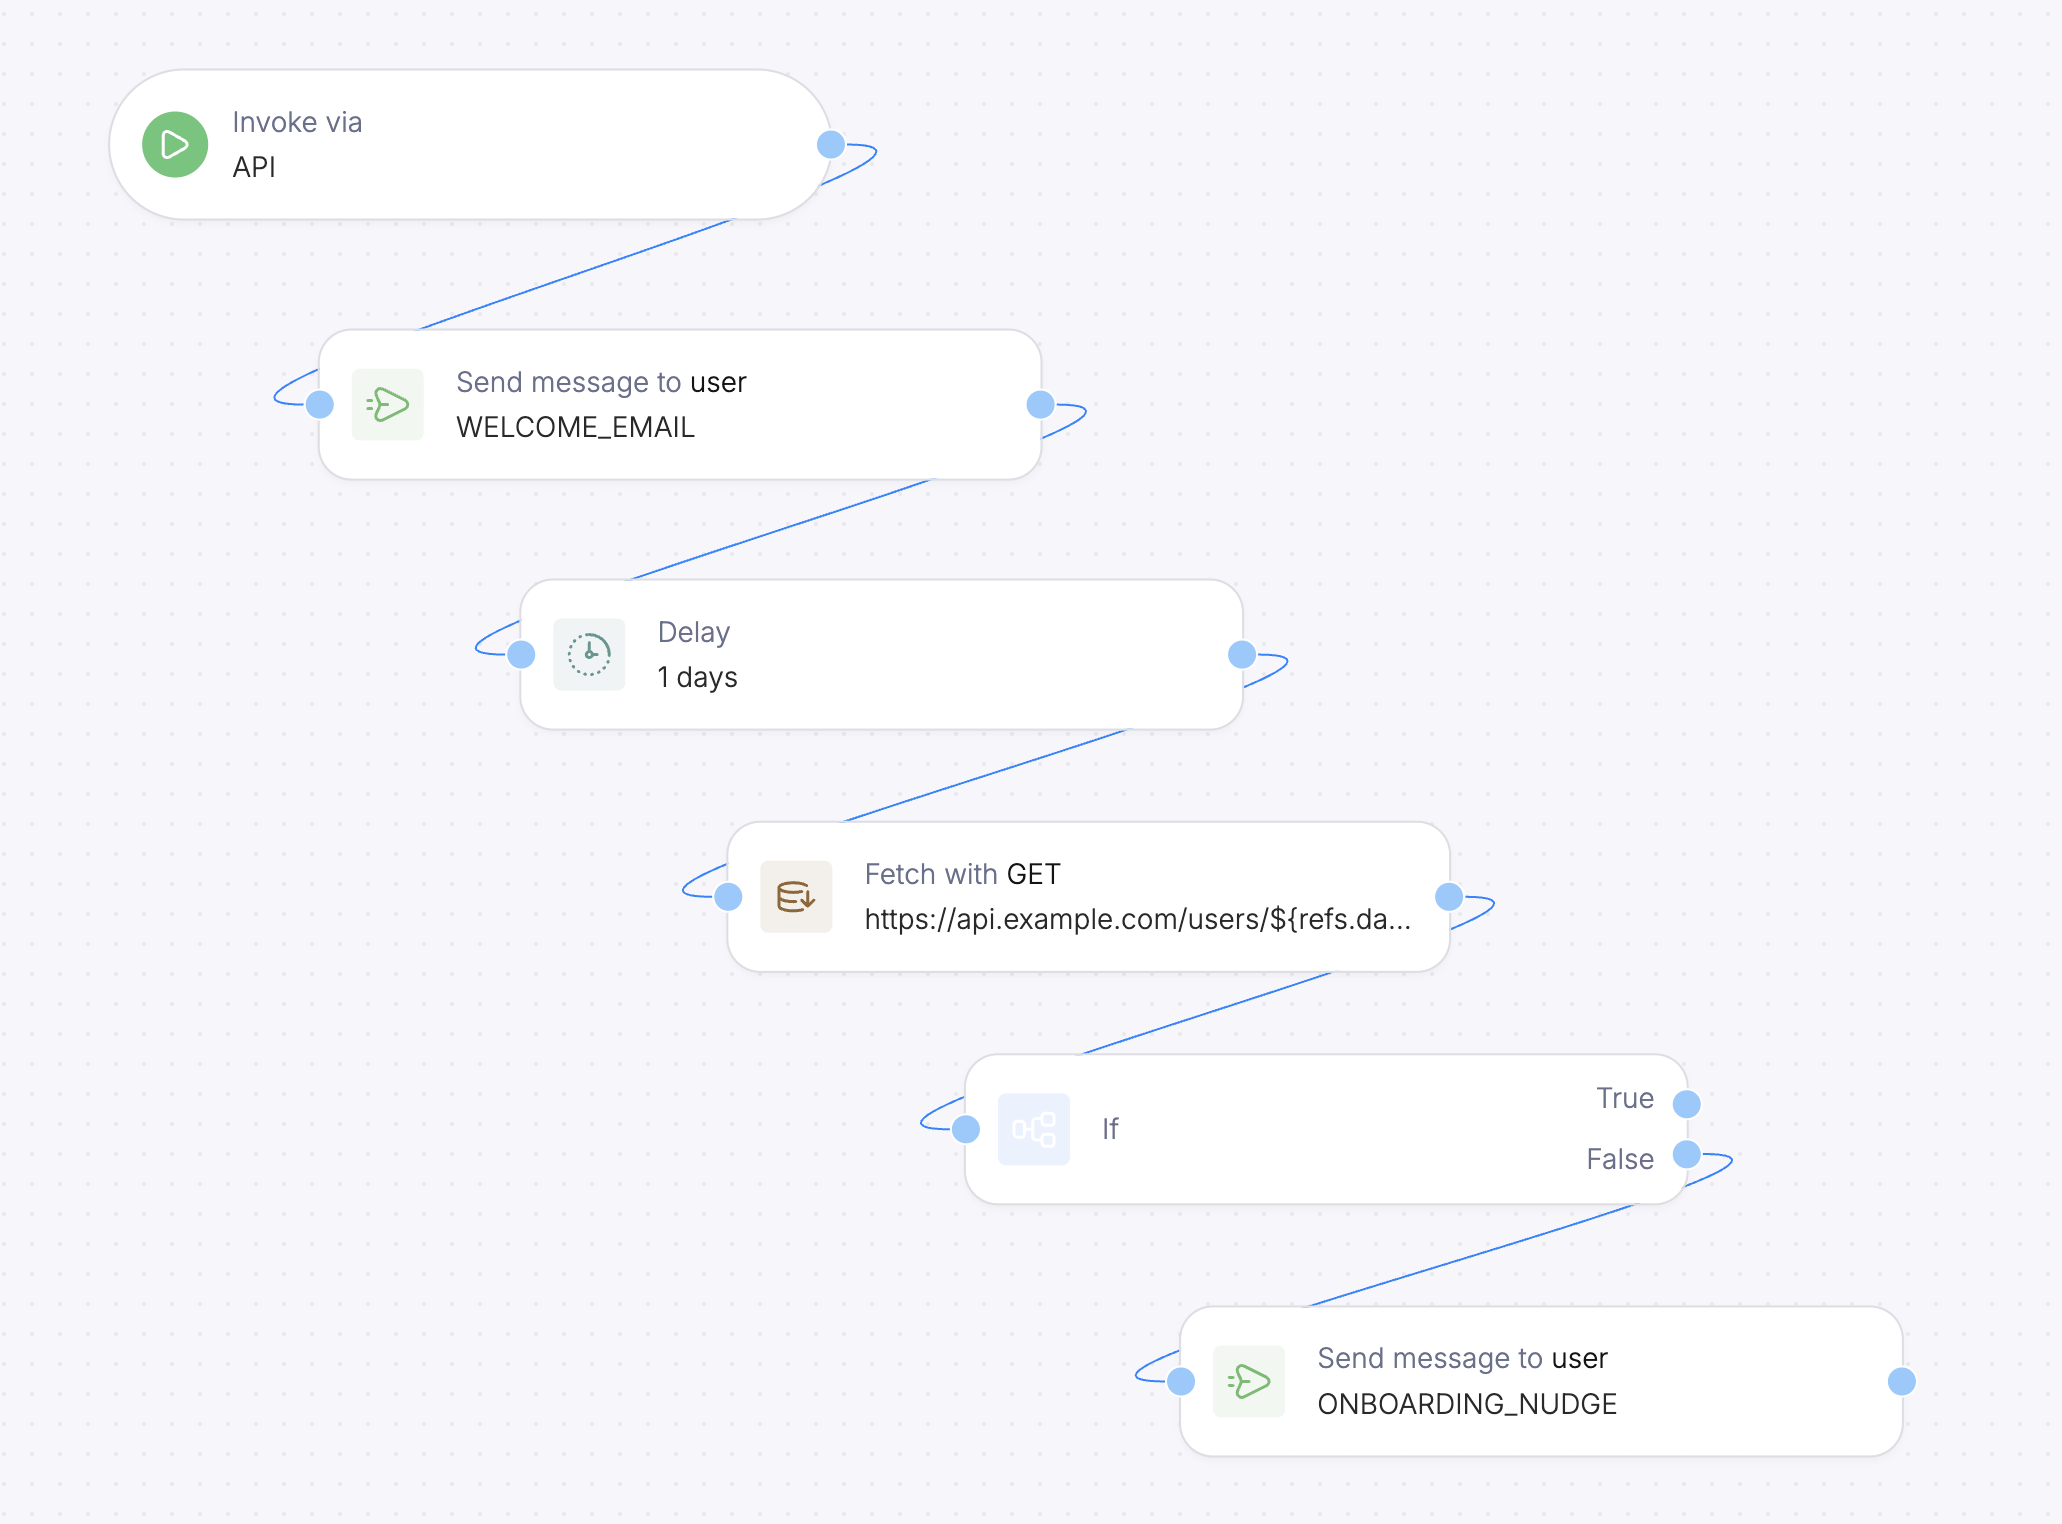
The completed onboarding automation in the Automations Designer
Build the Automation
Create a new automation
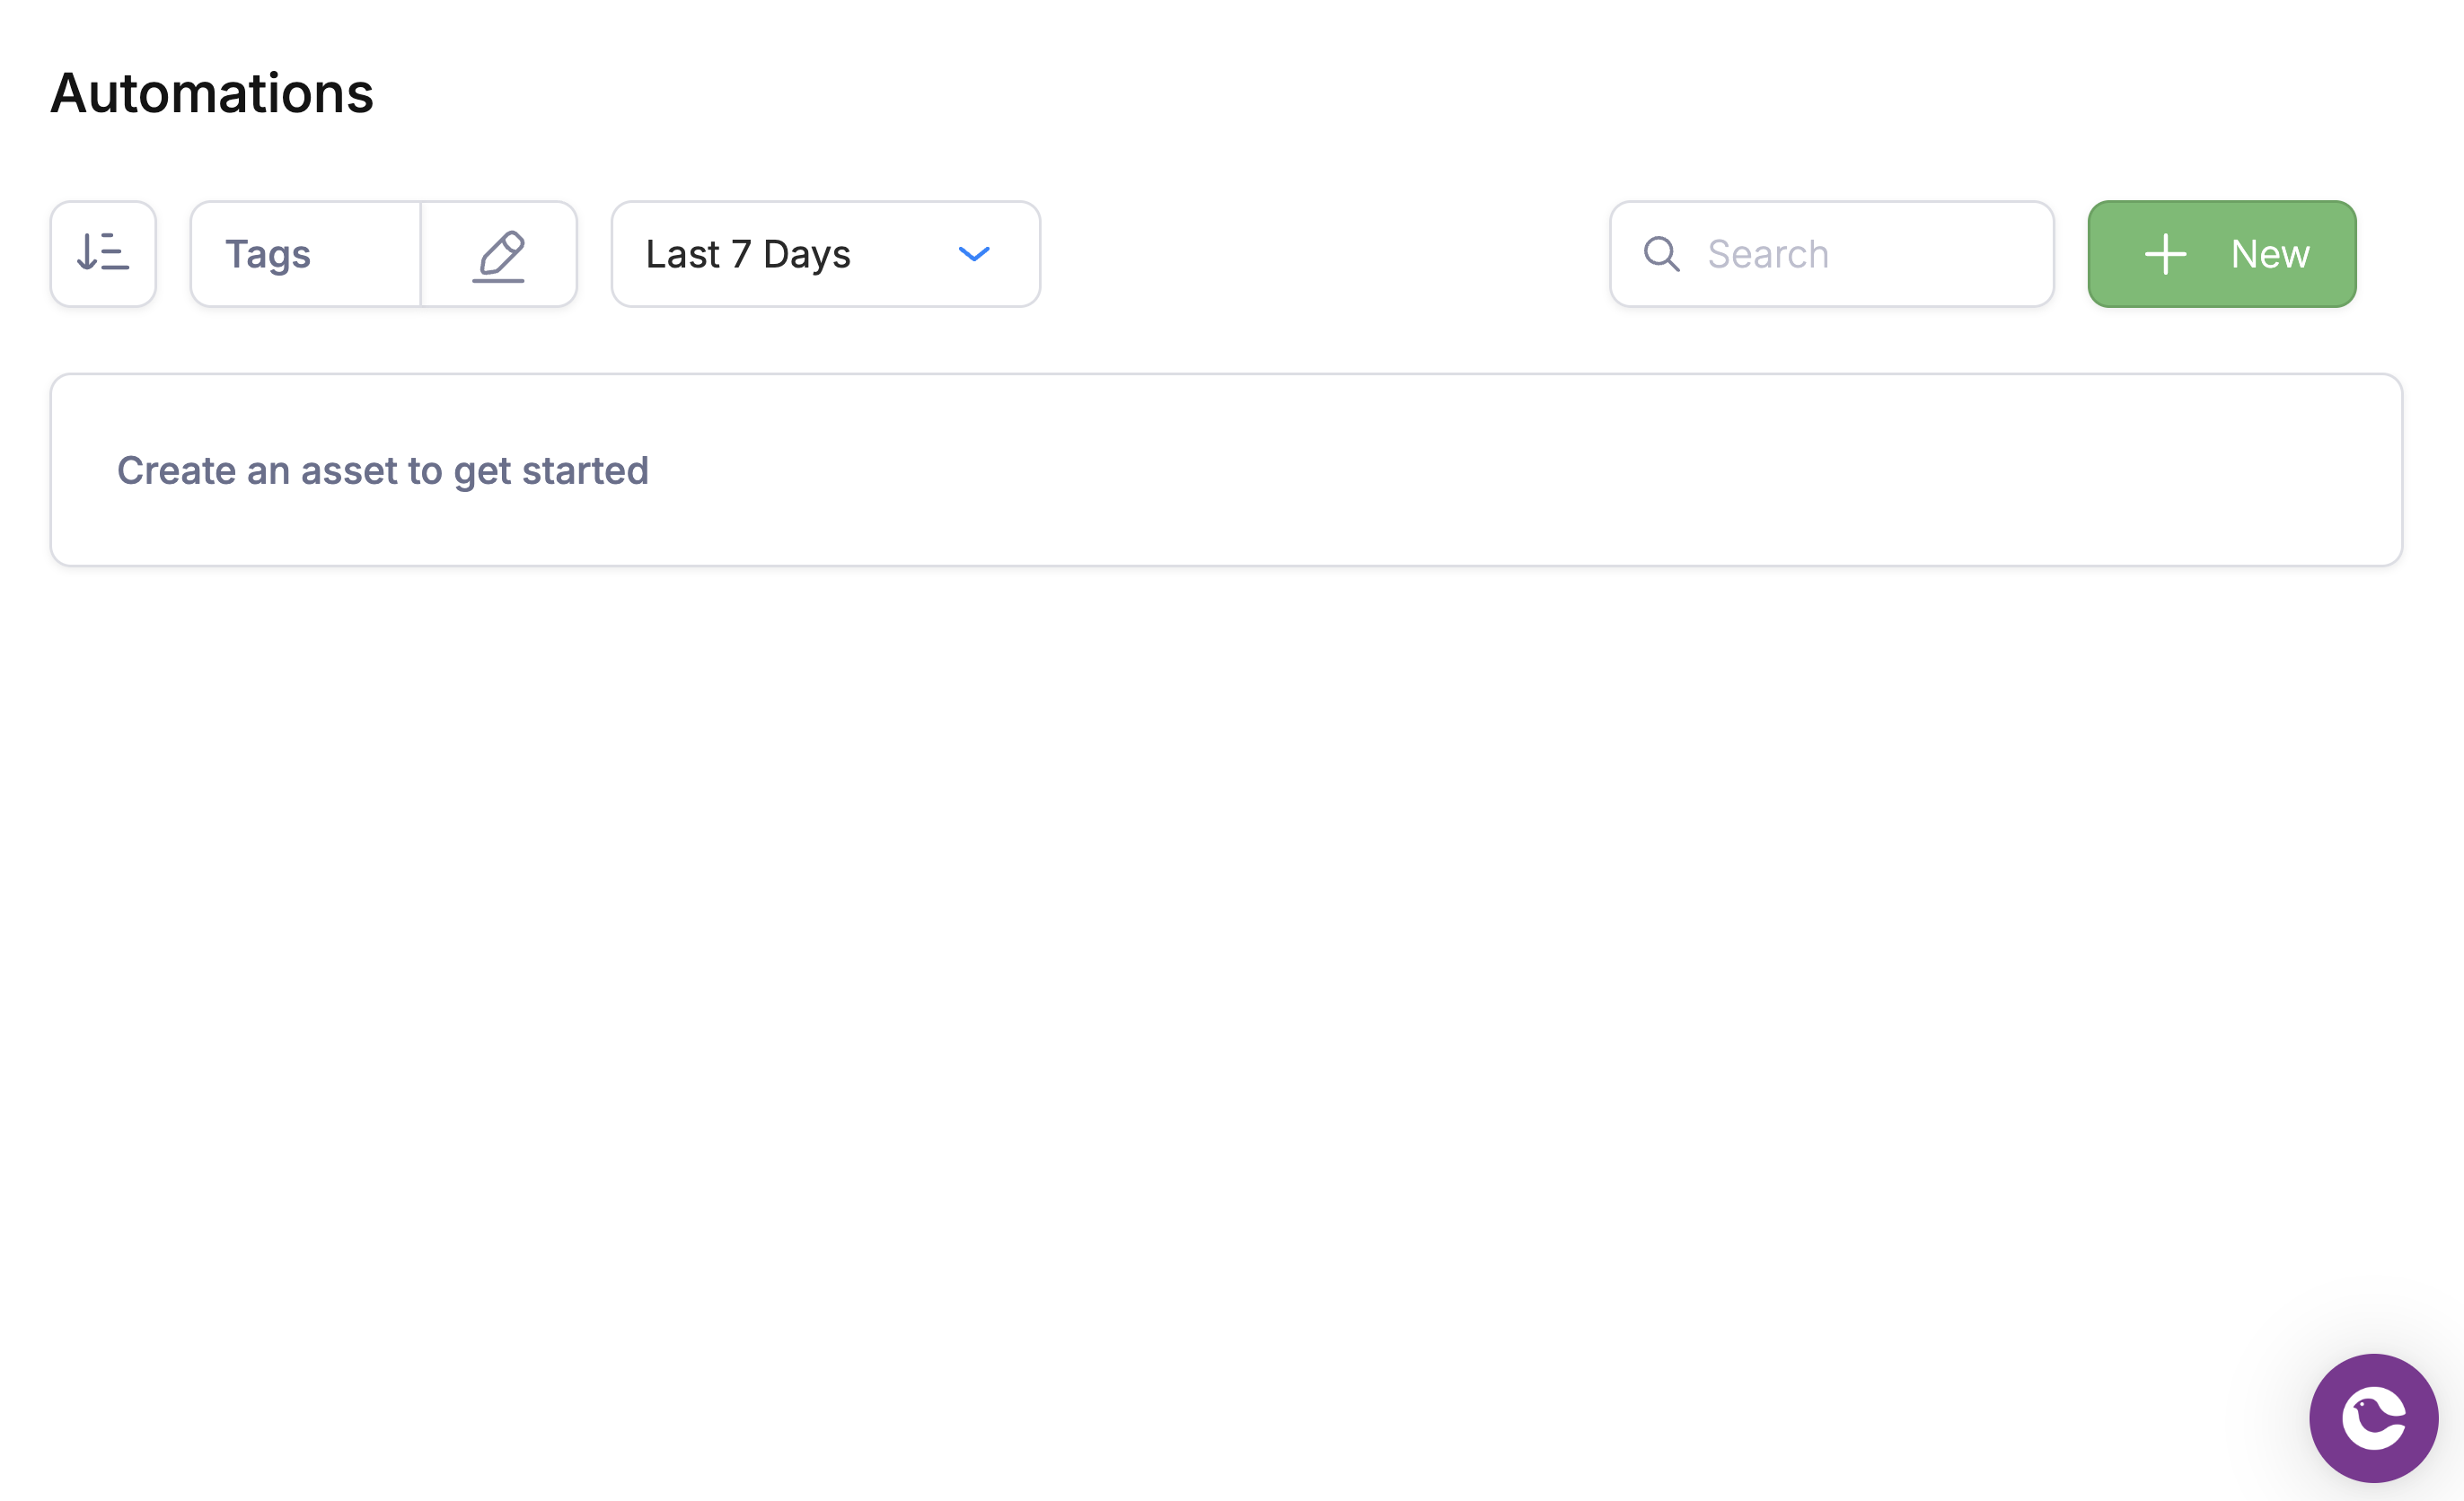
Create a new automation from the Automations list page
Configure the API Invoke trigger
POST /automations/:template_id/invoke.Click the trigger node to open its configuration. No changes are needed for the default API invoke; just confirm it’s selected.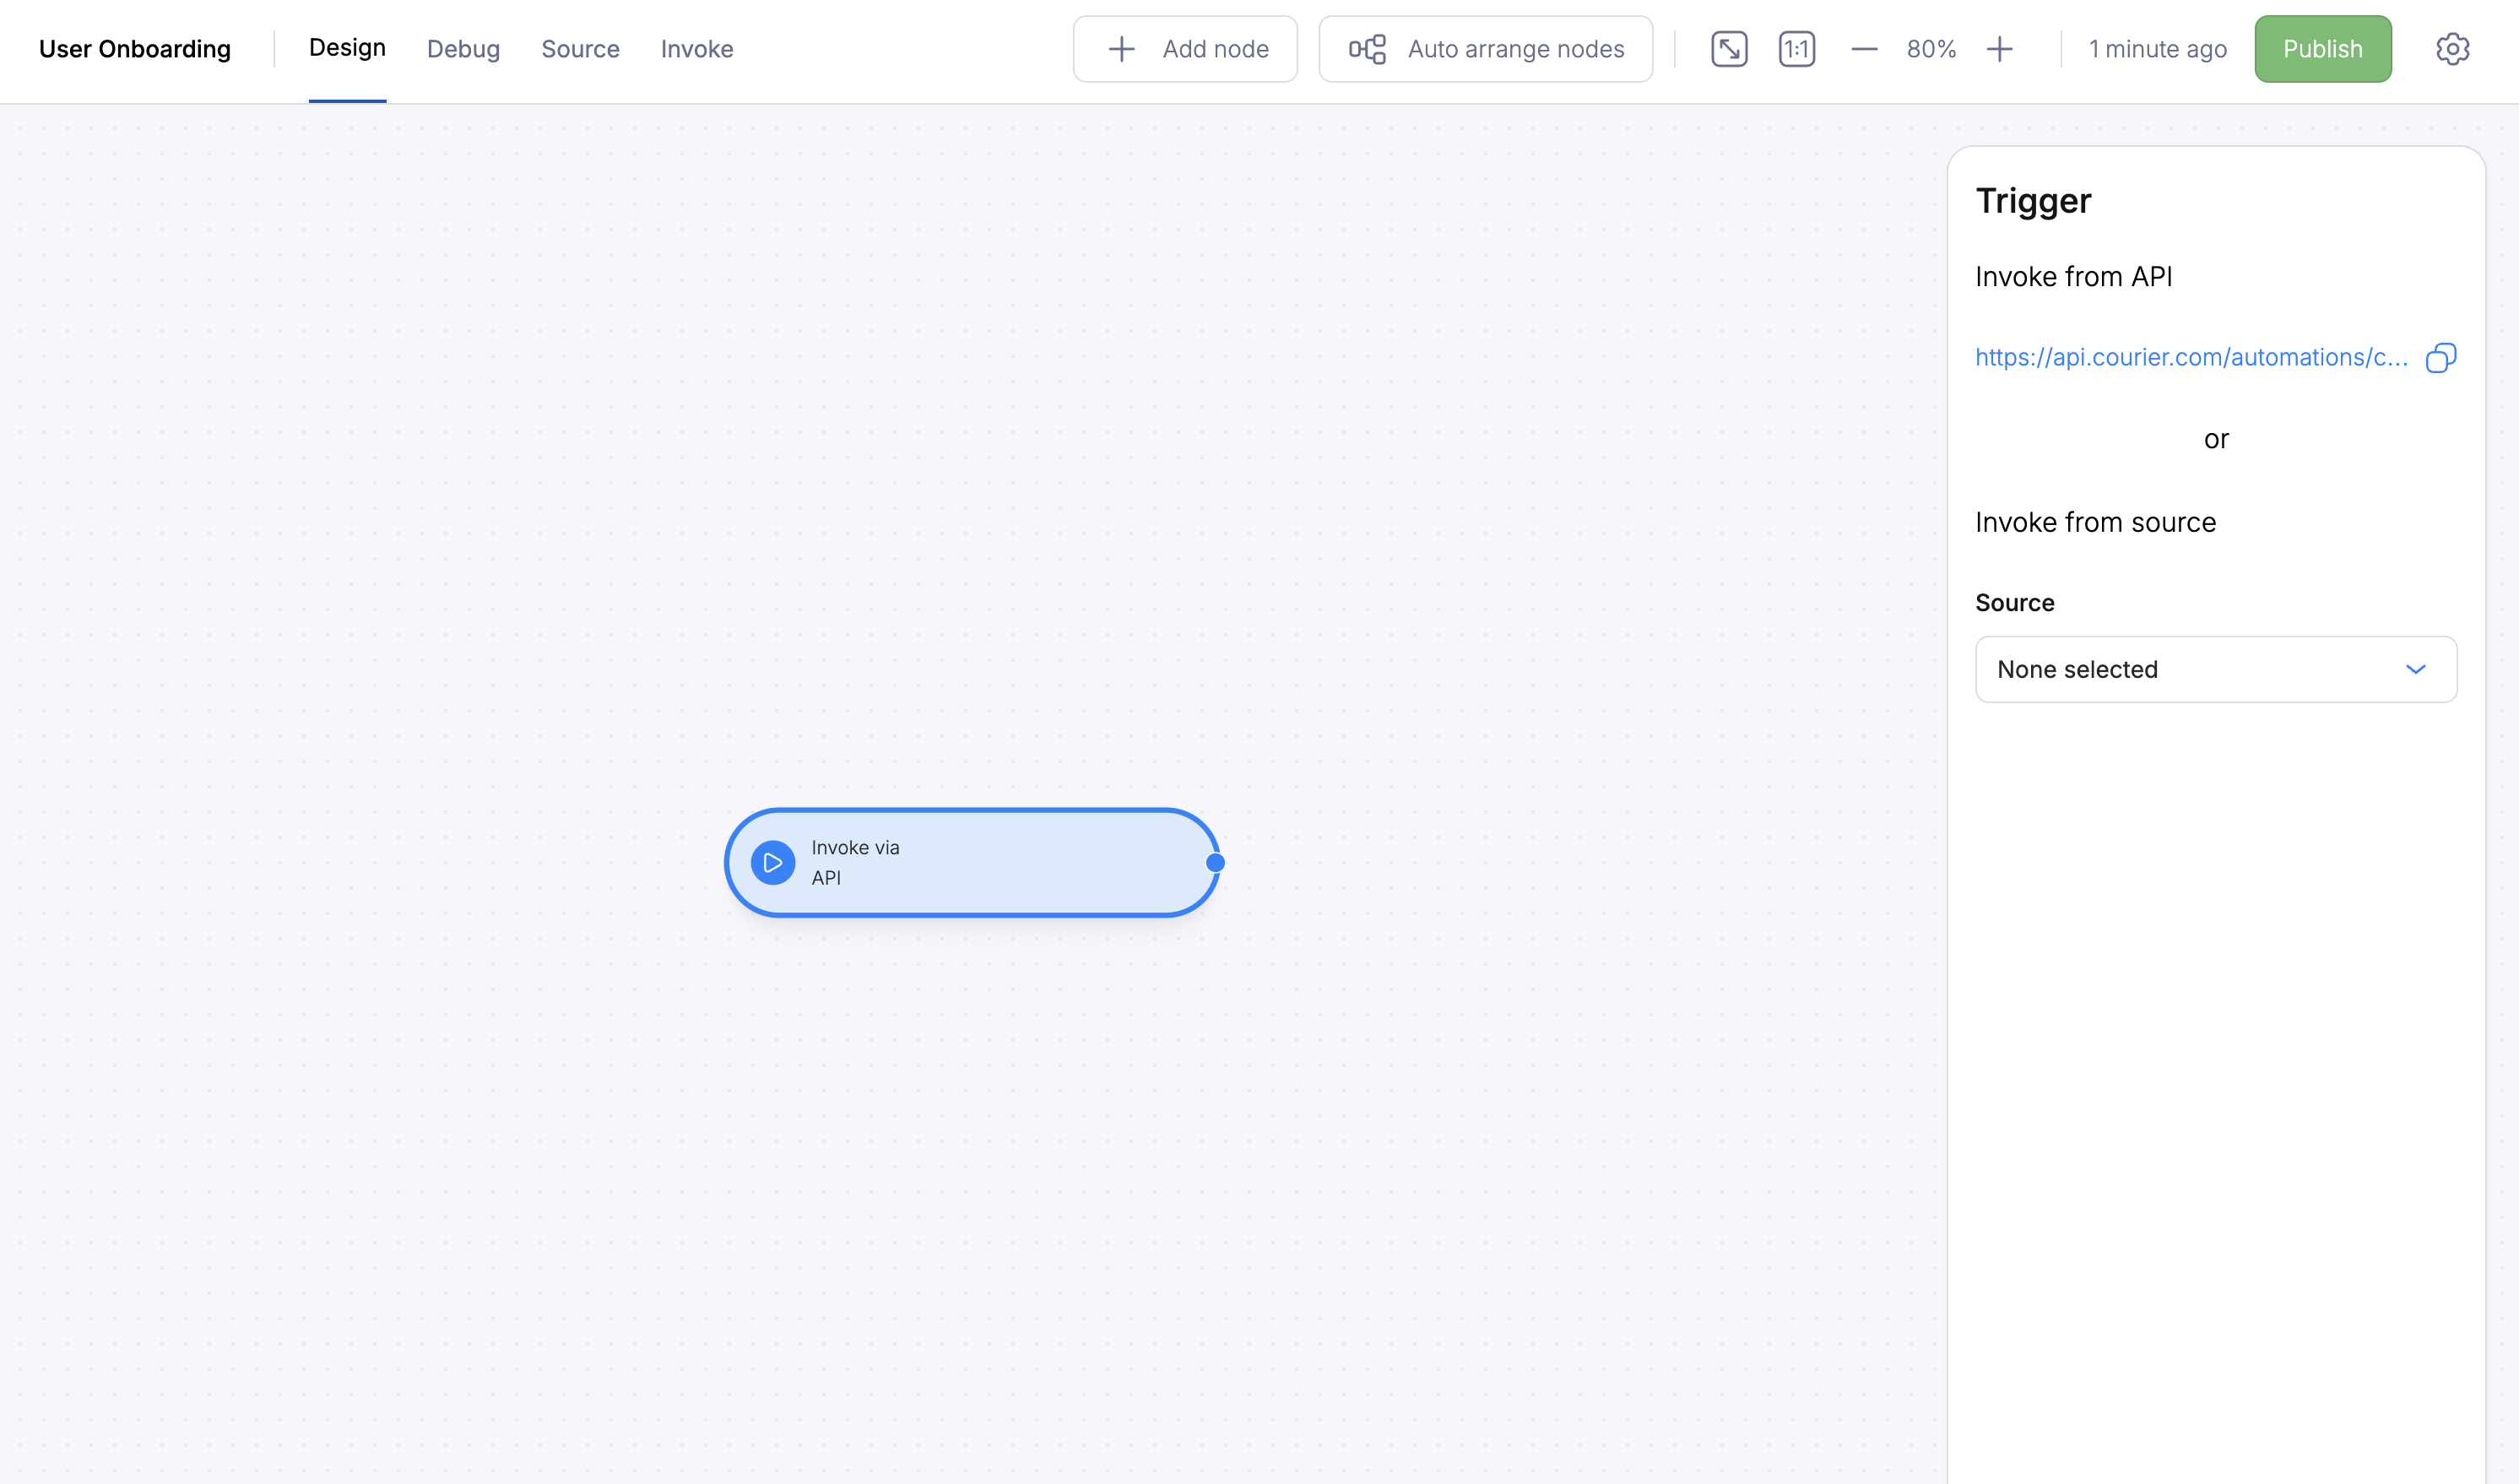
API Invoke trigger configuration
Add a Send node for the welcome email
- Template: Select your
WELCOME_EMAILtemplated - To: Set the recipient to
refs.data.user_id(this references theuser_idpassed in the API call) - Ref: Set to
welcome(optional; lets later nodes reference this send’s status)
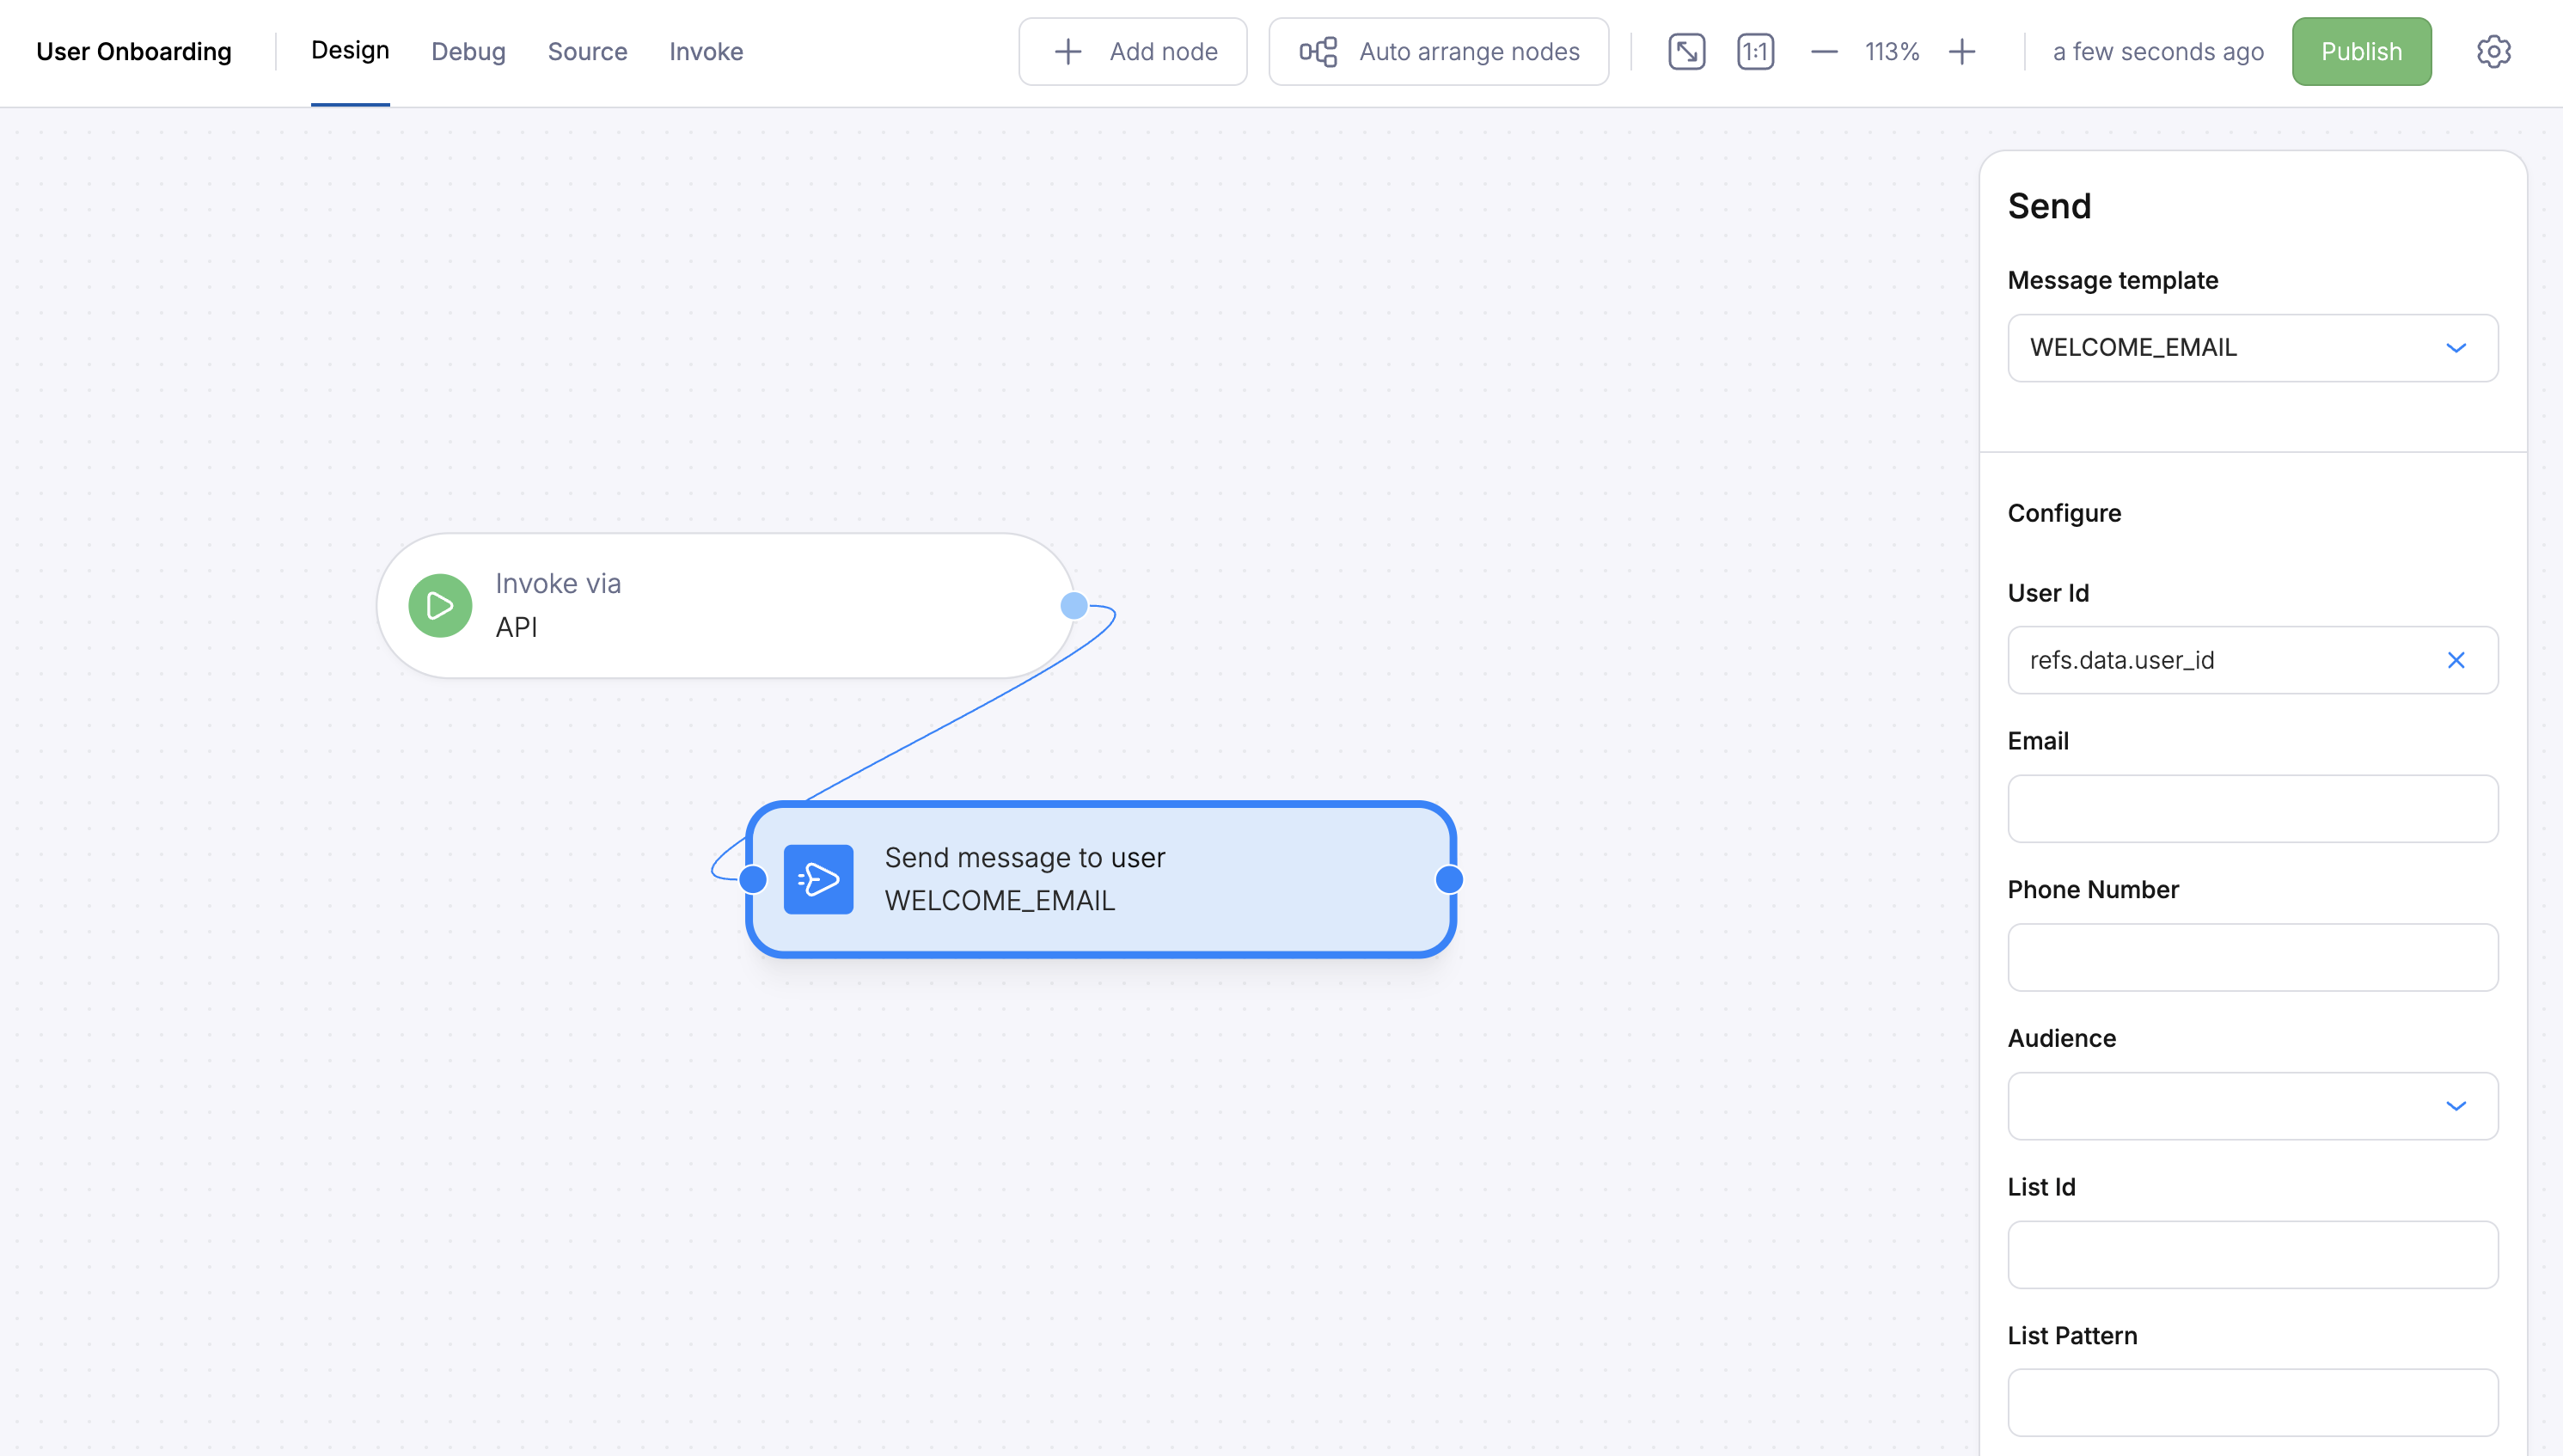
Send node configured with the welcome email template
Add a Delay node
- Duration:
1 day
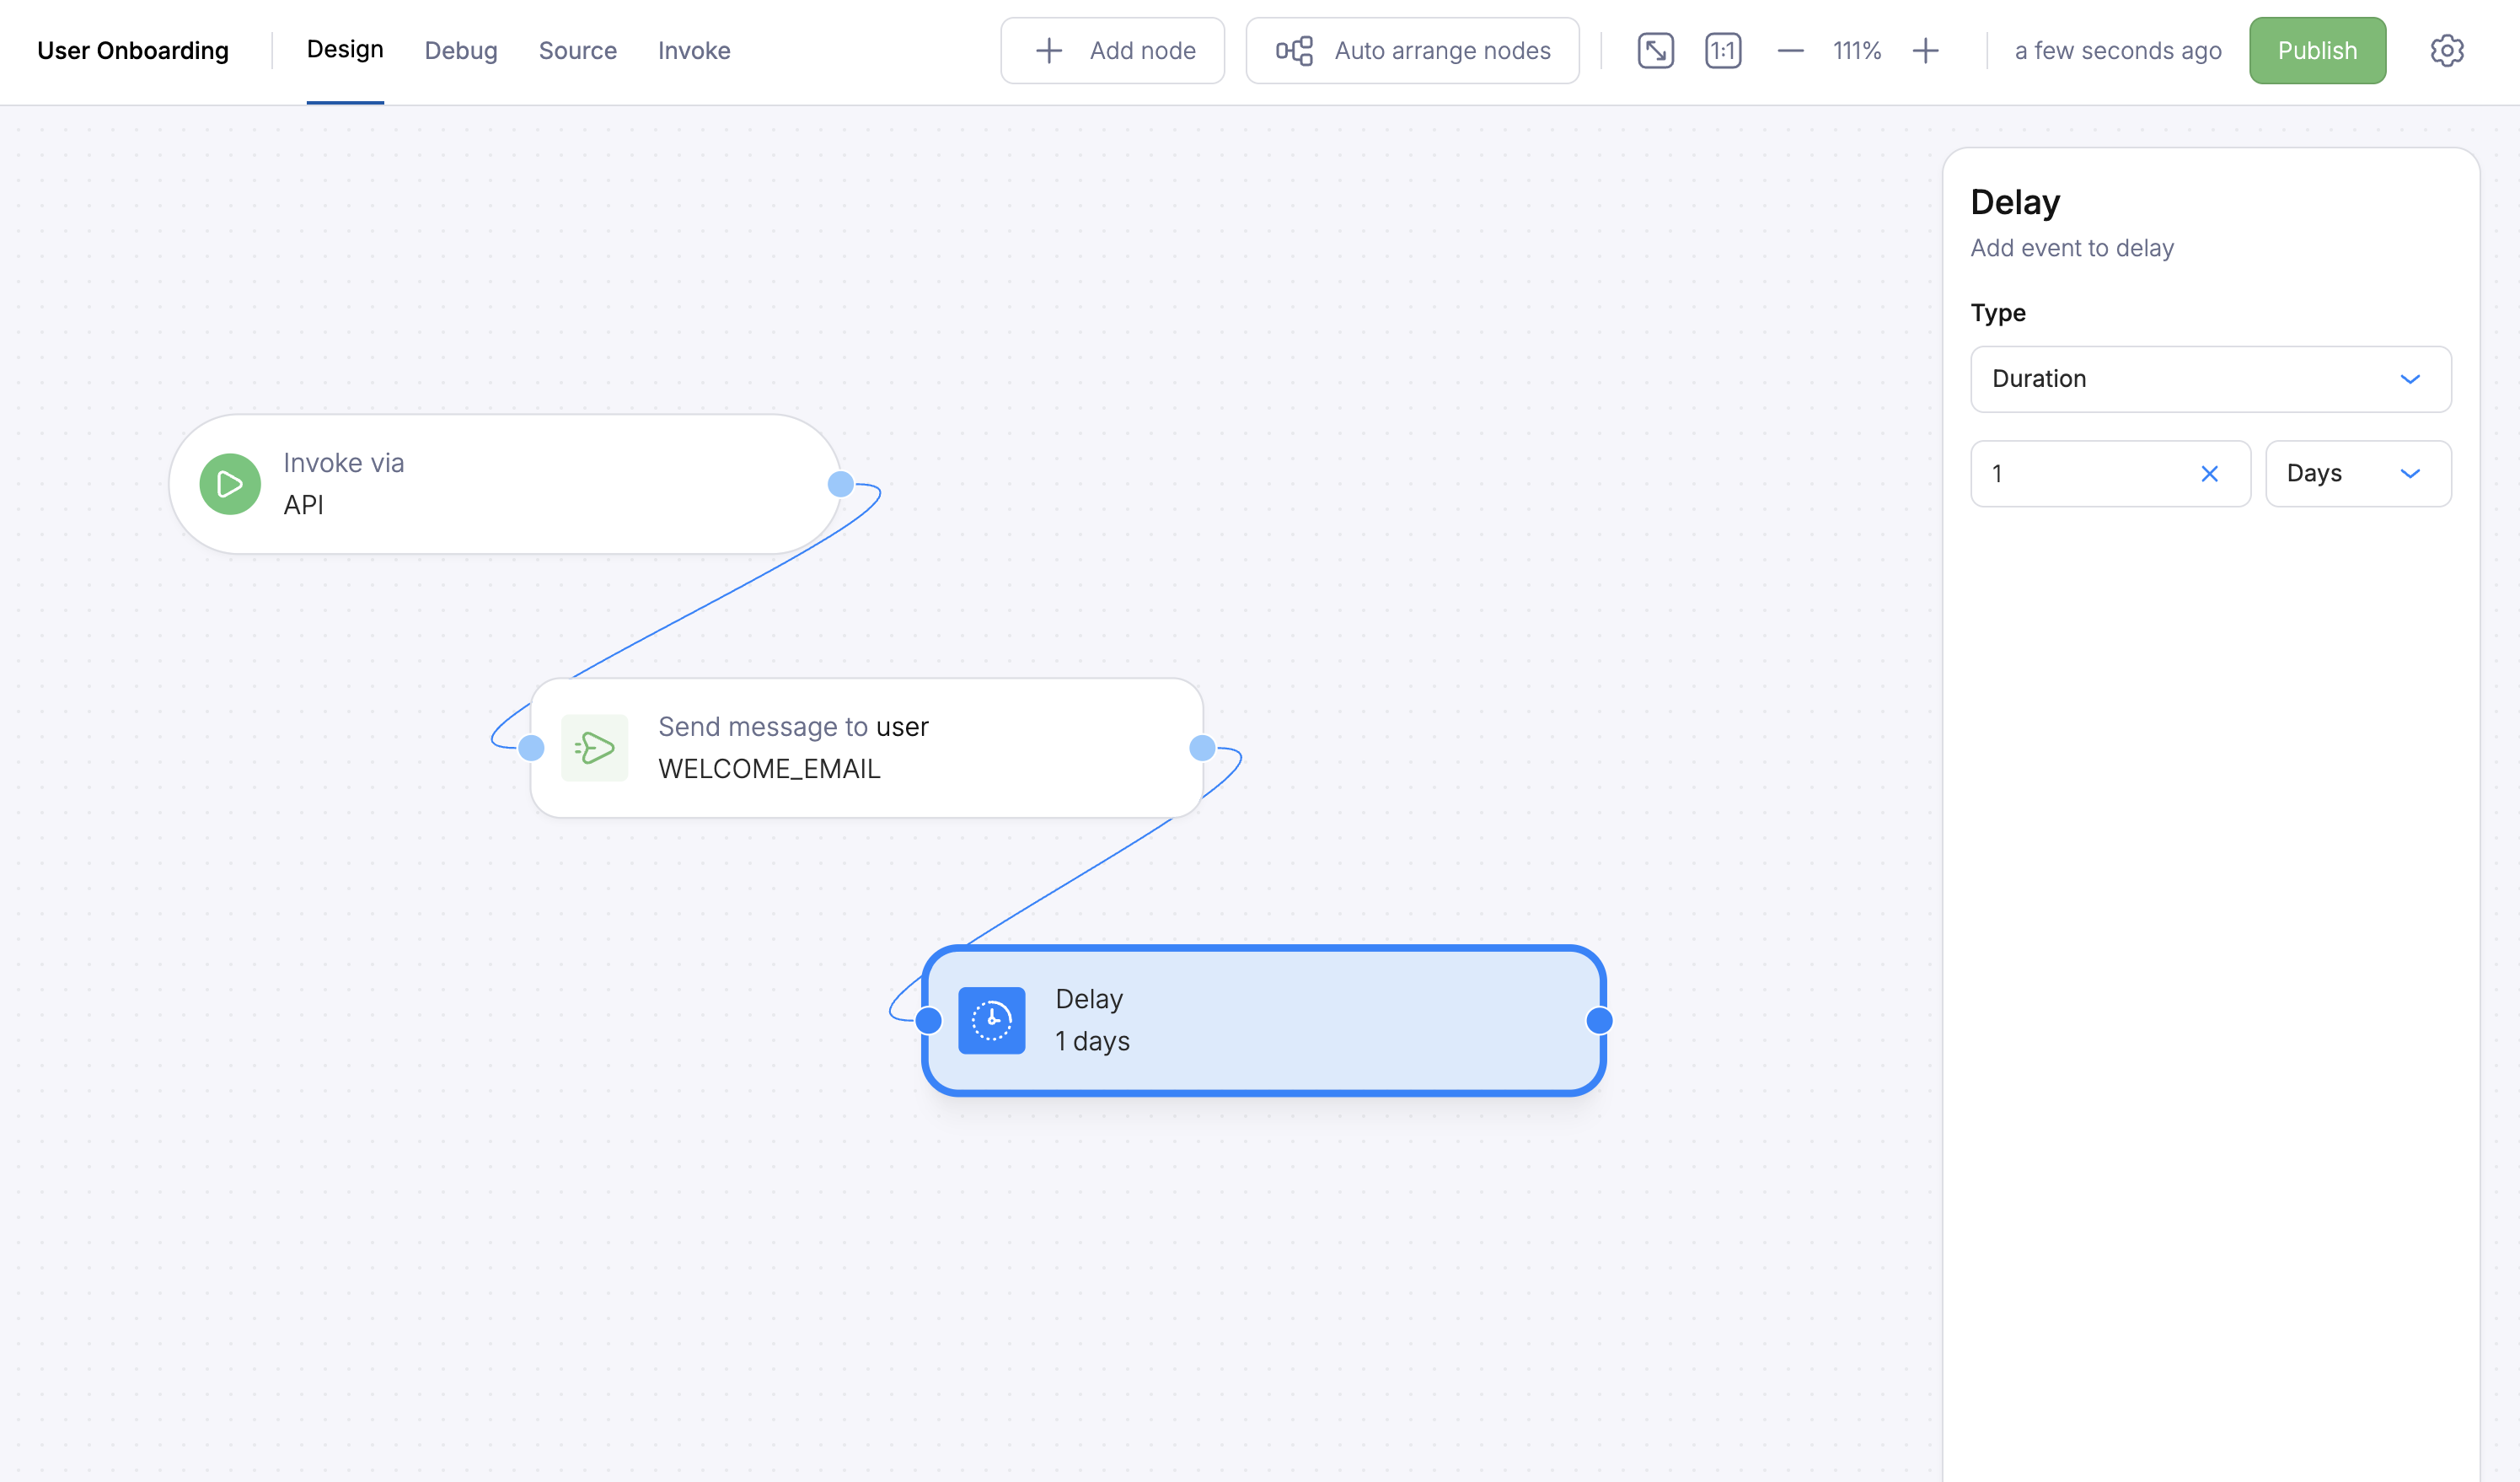
Delay node set to wait 1 day
until field with an ISO 8601 timestamp instead.Add a Fetch Data node to check onboarding status
- URL: Your API endpoint with the user ID interpolated from run context, e.g.
https://api.example.com/users/USER_ID/onboarding. Use Courier’s interpolation syntax to injectrefs.data.user_idinto the URL. - Method:
GET - Merge Strategy:
overwrite(writes the API response into the automation’s data context)
Authorization header (e.g. Bearer YOUR_API_KEY). See Fetch Data authentication patterns for options.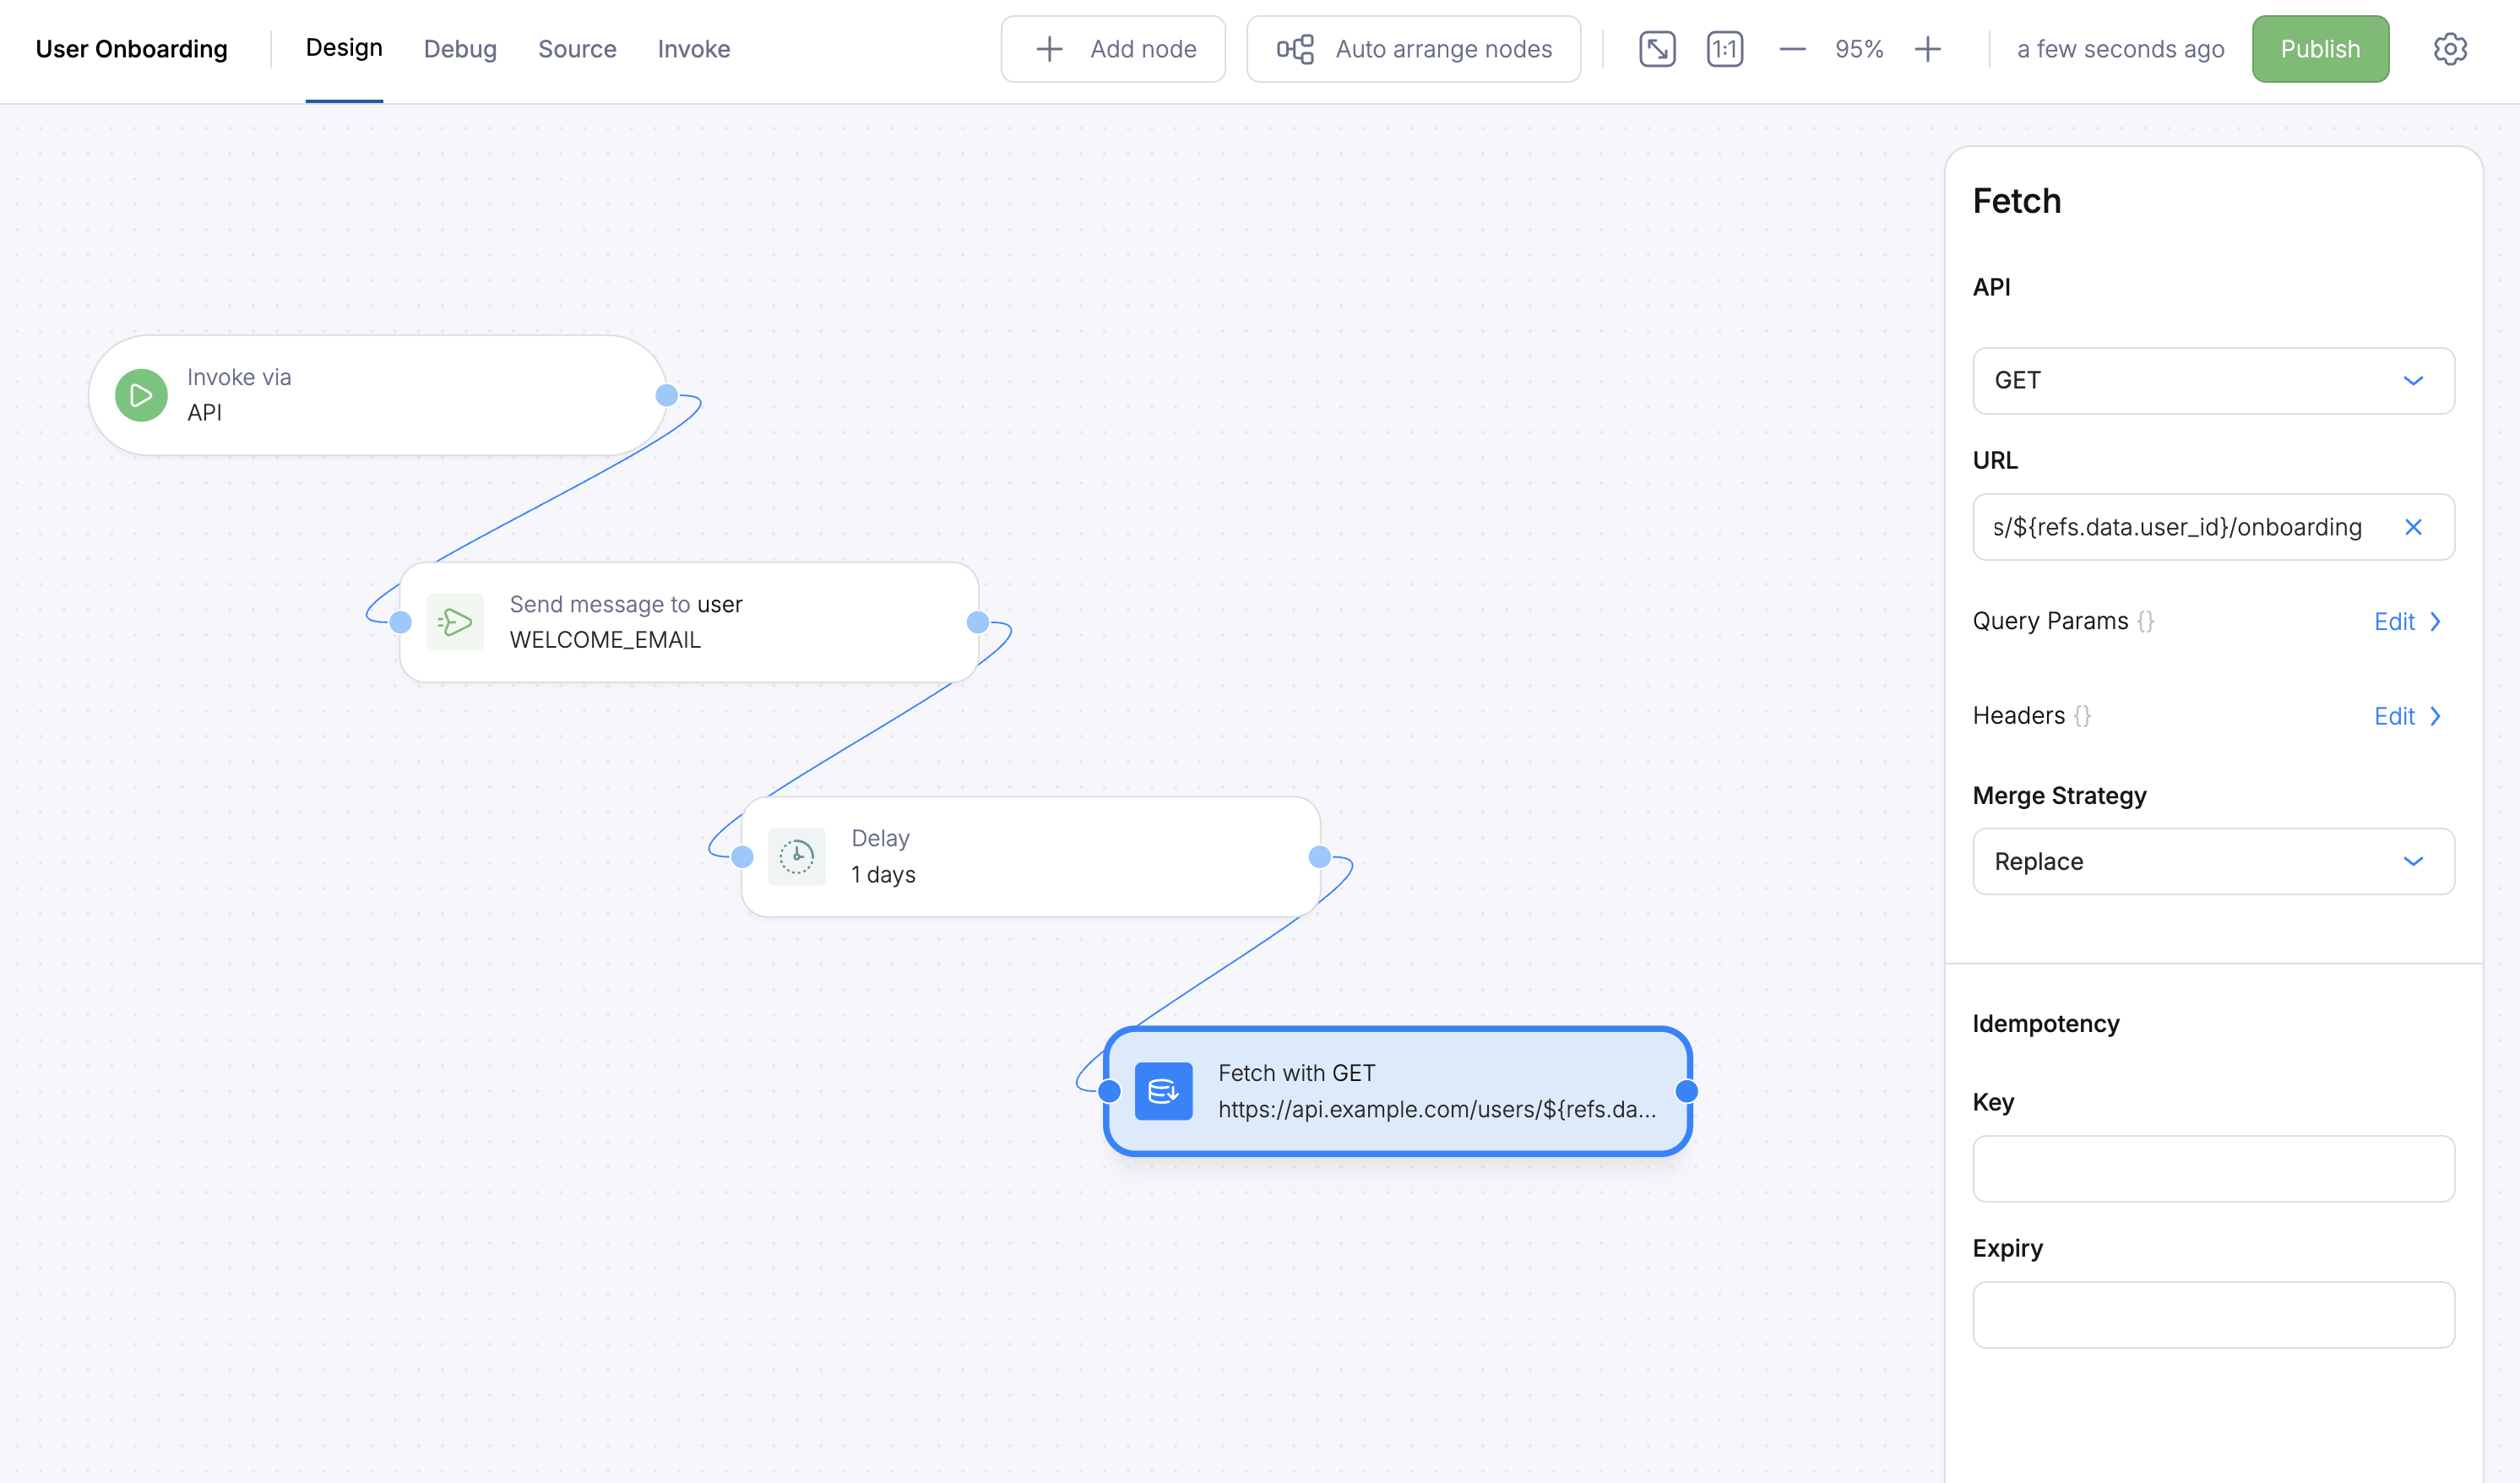
Fetch Data node calling the onboarding status API
data.onboarding_complete is available to subsequent nodes.Add an If node to branch on onboarding status
- Source: Data
- Field:
onboarding_complete - Comparison:
is - Value:
true
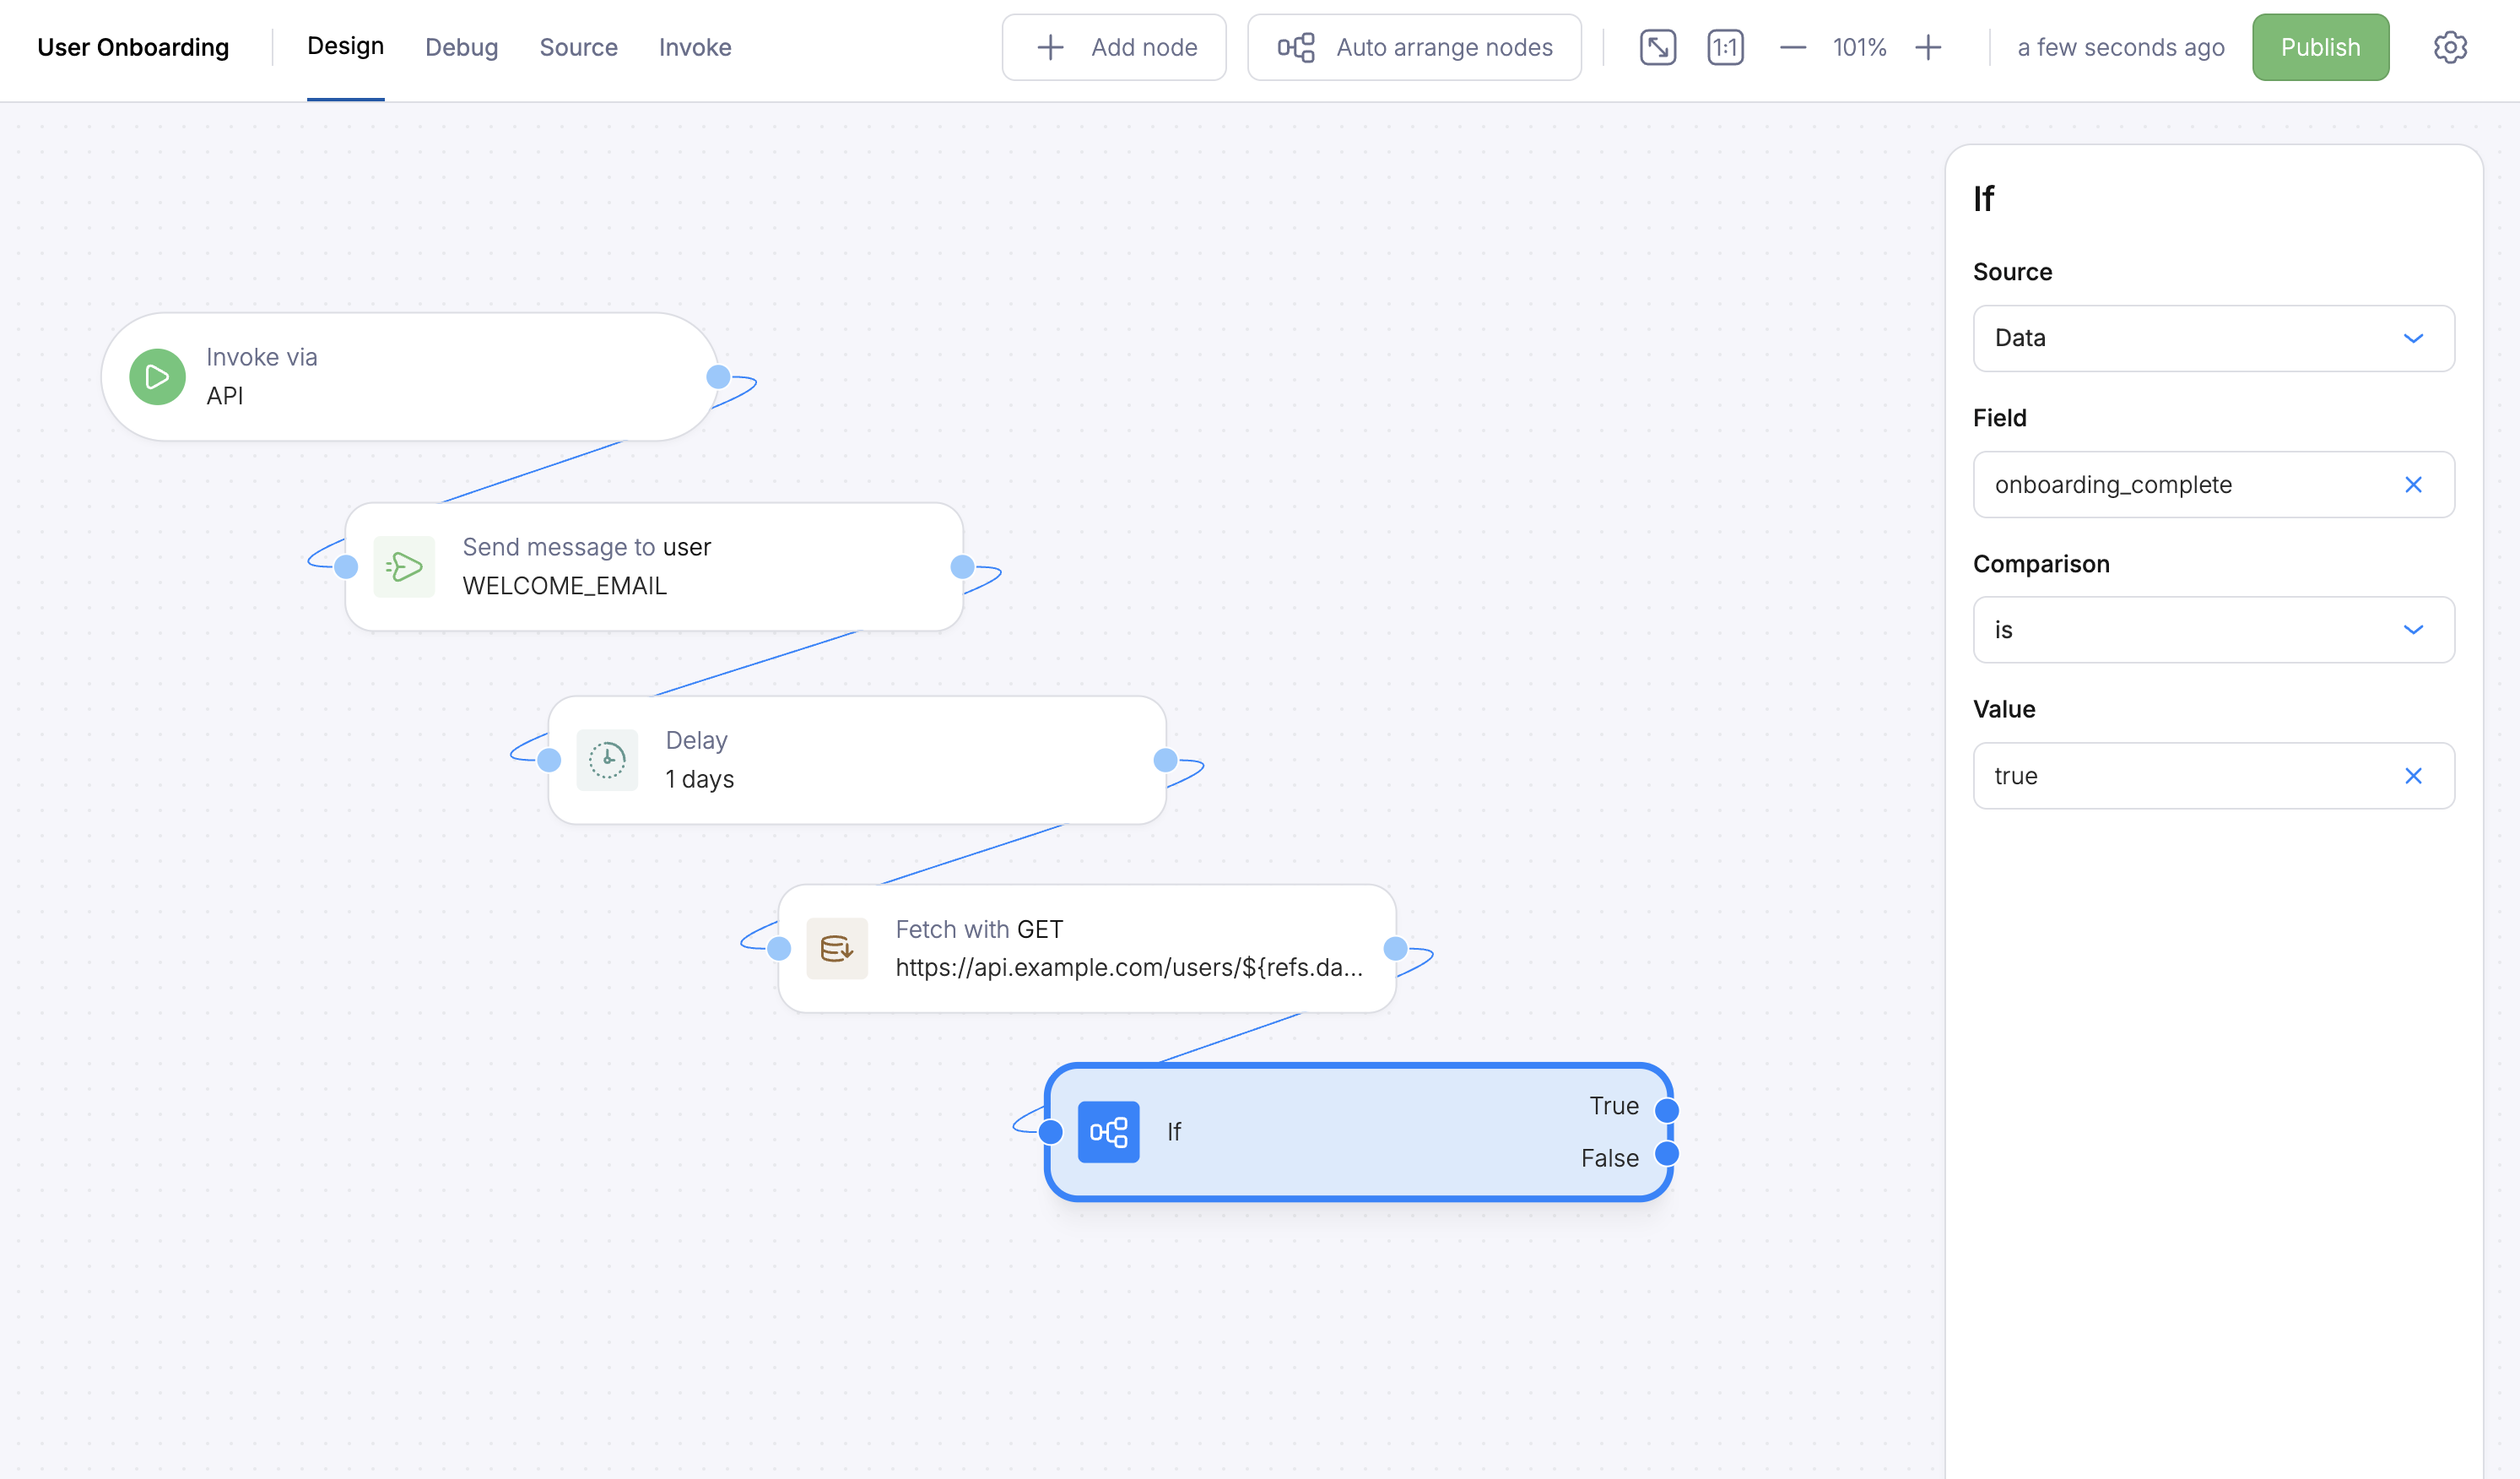
If node branching on the onboarding status
Add a Send node to the False branch
- Template: Select your
ONBOARDING_NUDGEtemplate - To:
refs.data.user_id
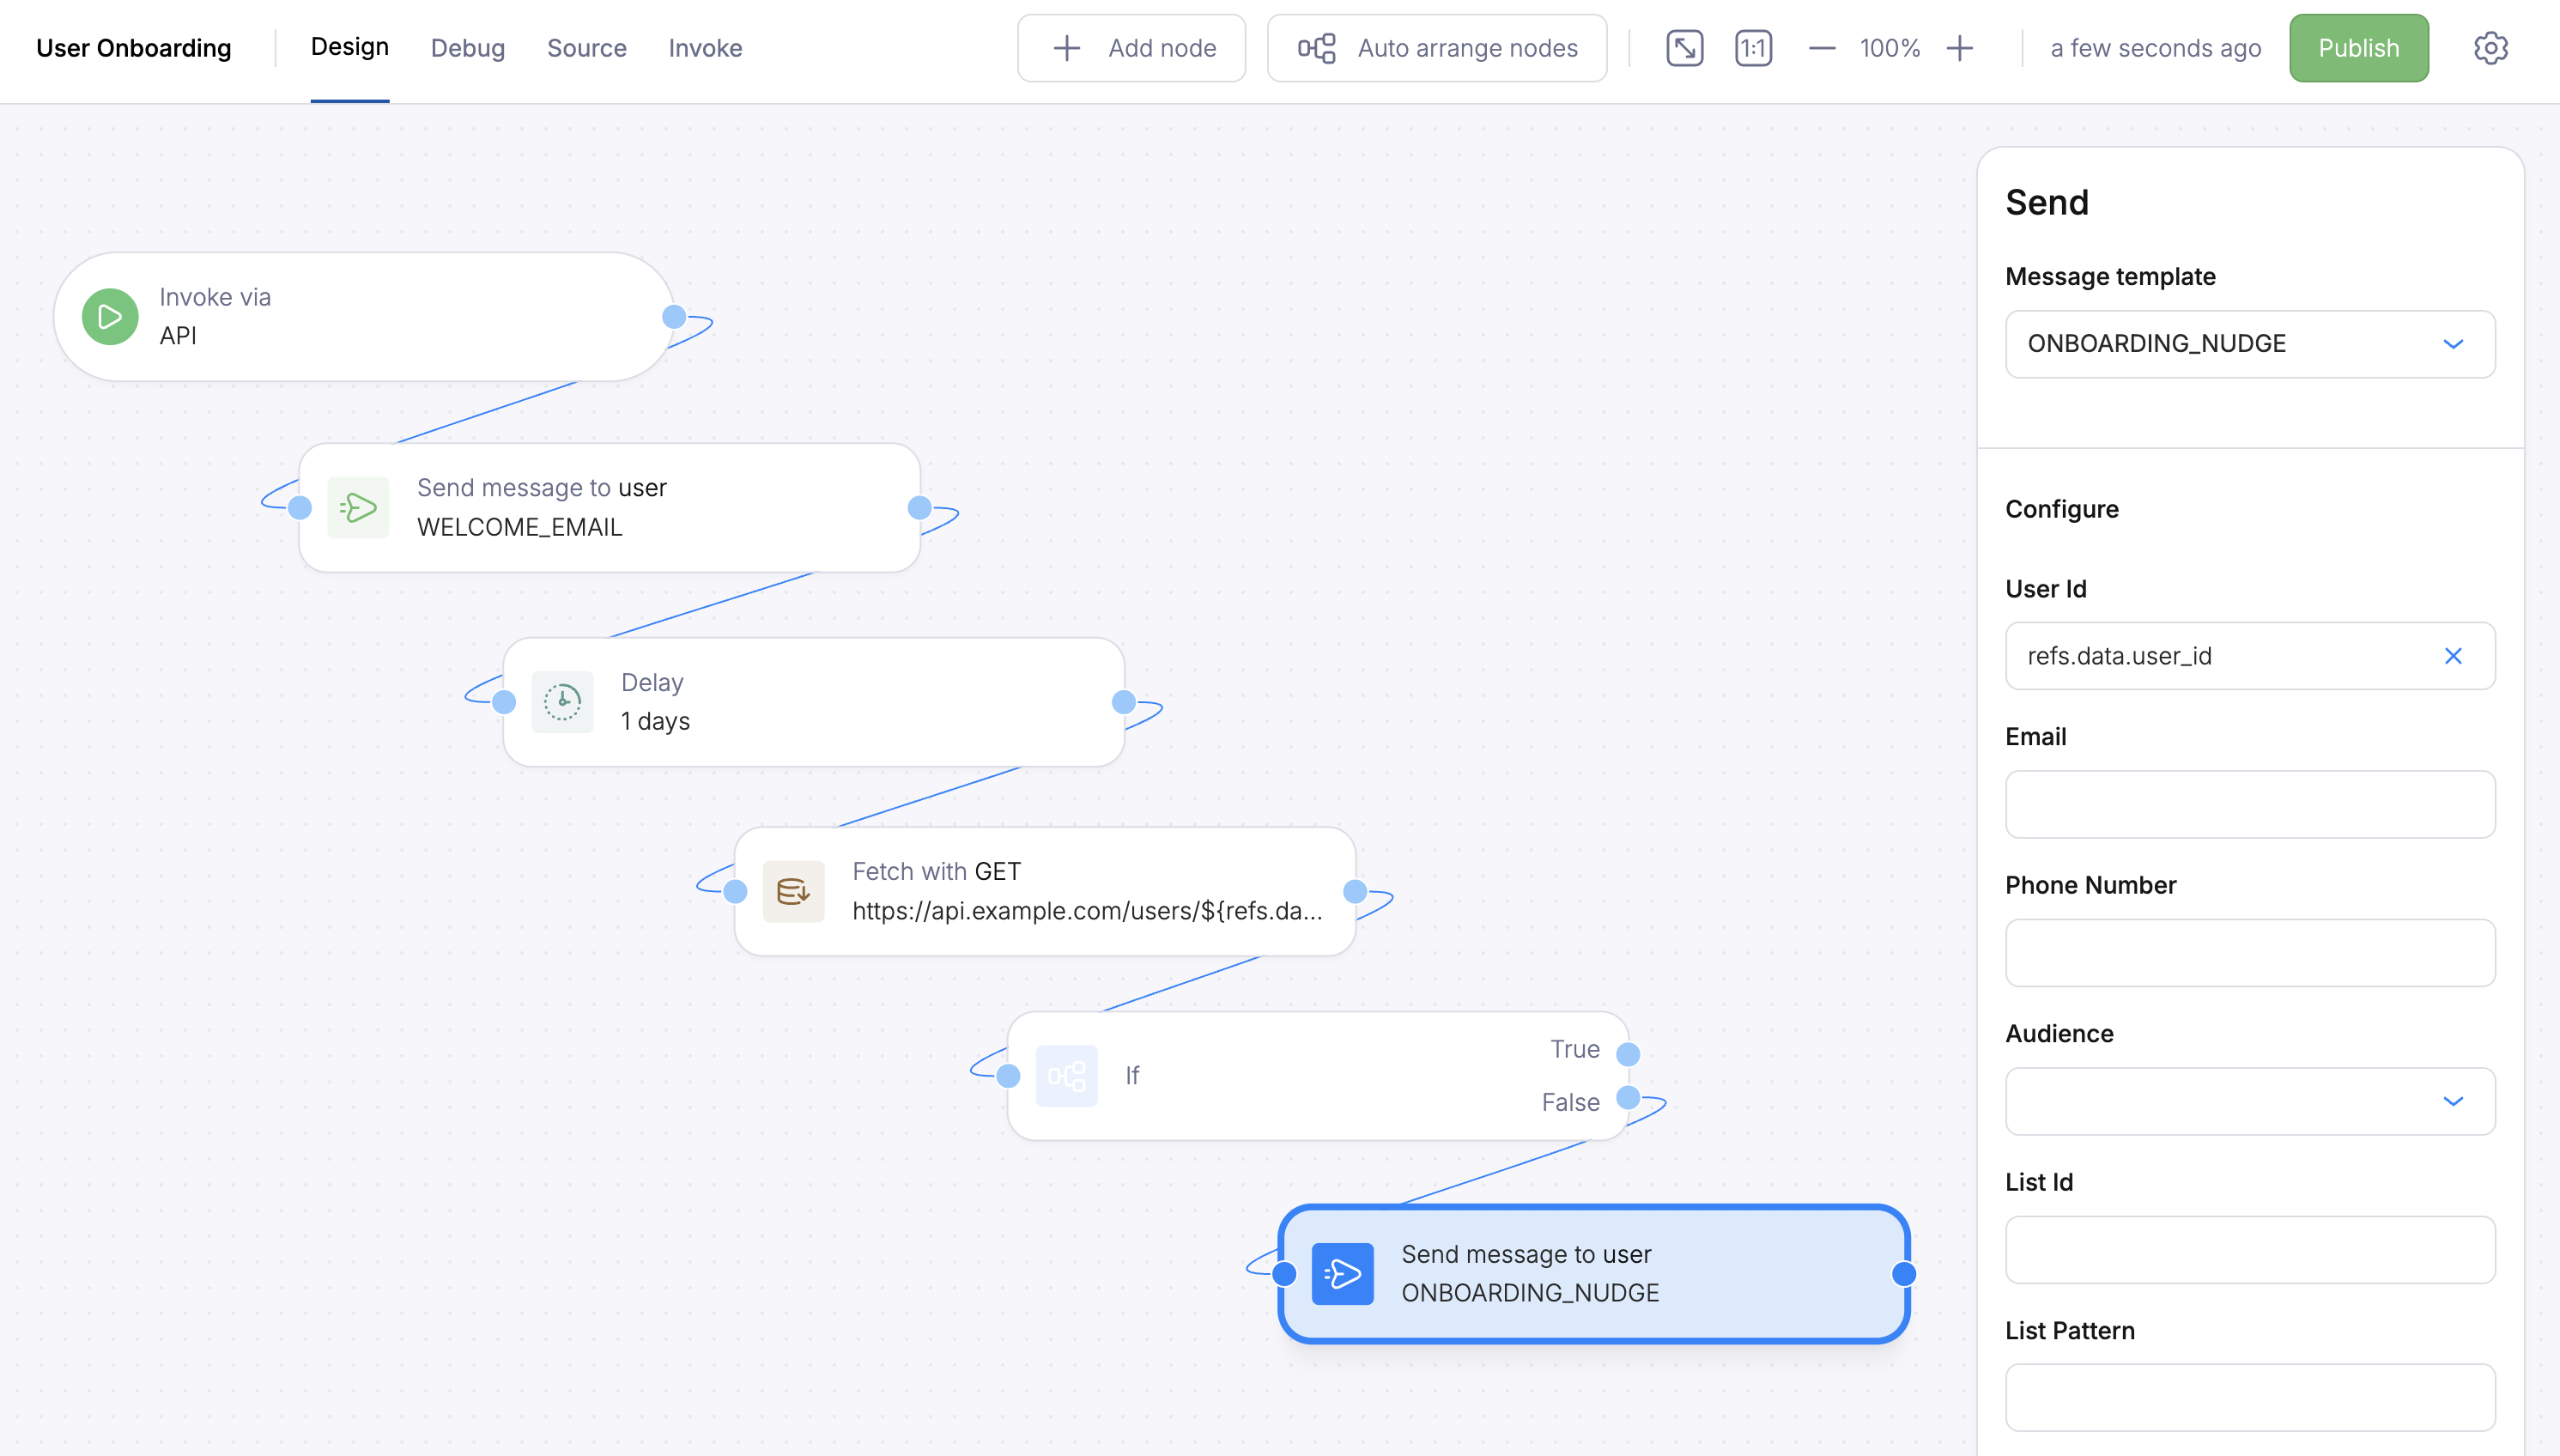
Follow-up Send node connected to the False branch
Test with the Debugger
Before publishing, test the automation with the built-in debugger. The debugger executes a real run, so the Fetch Data node will actually call your URL; make sure your onboarding status endpoint is running before testing.Create a test event
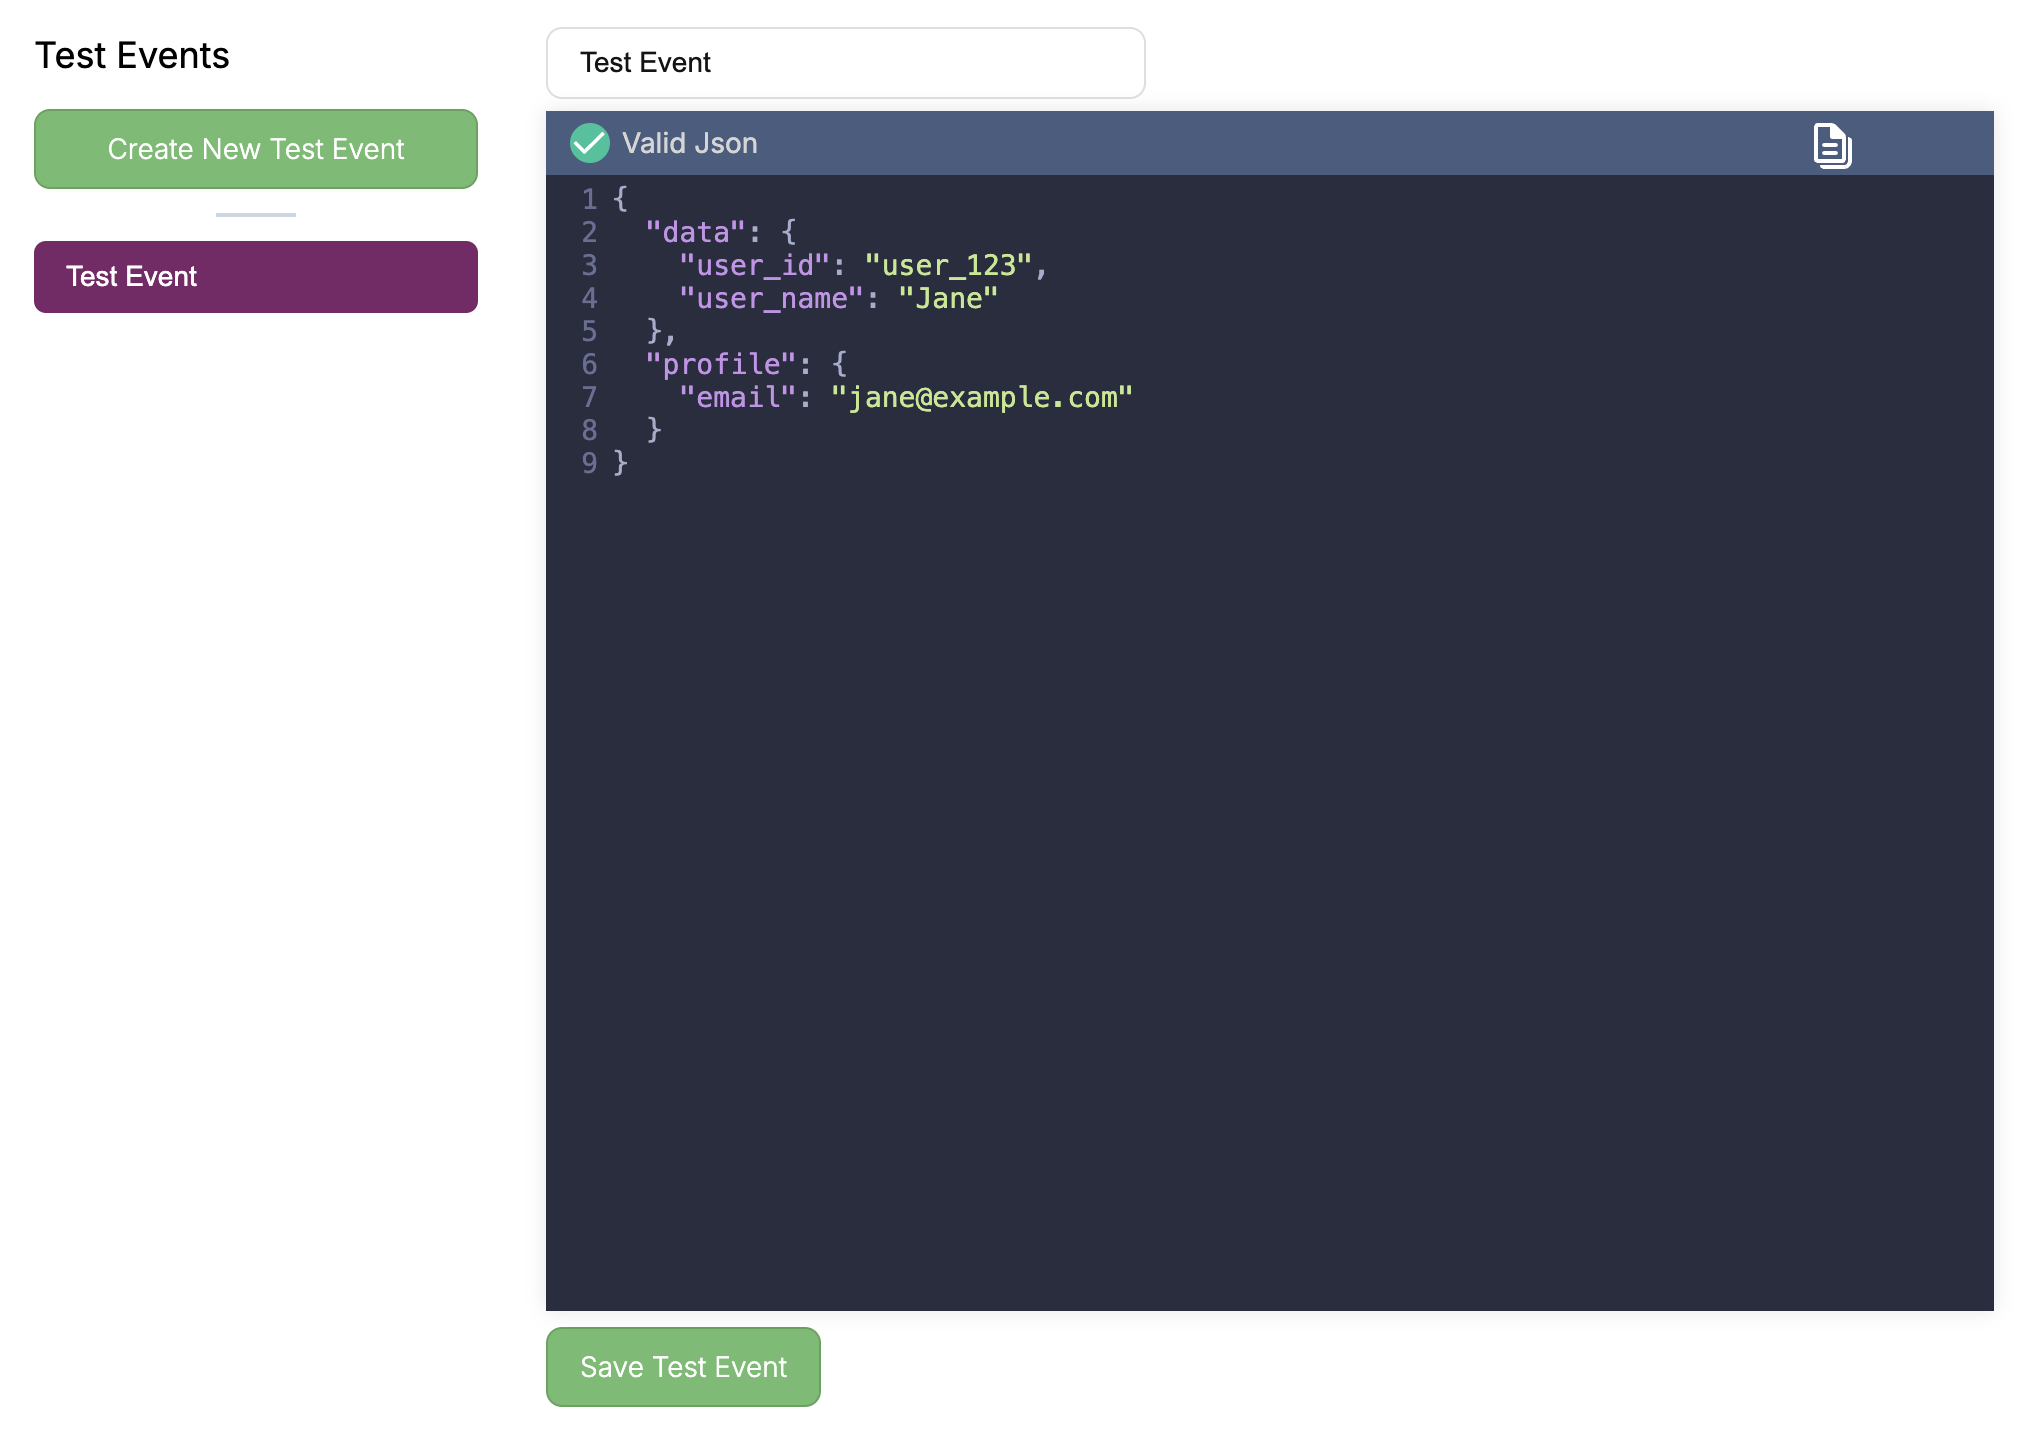
Debug tab with test event data
Run and inspect
onboarding_complete in the run context, and the If node should follow the expected branch.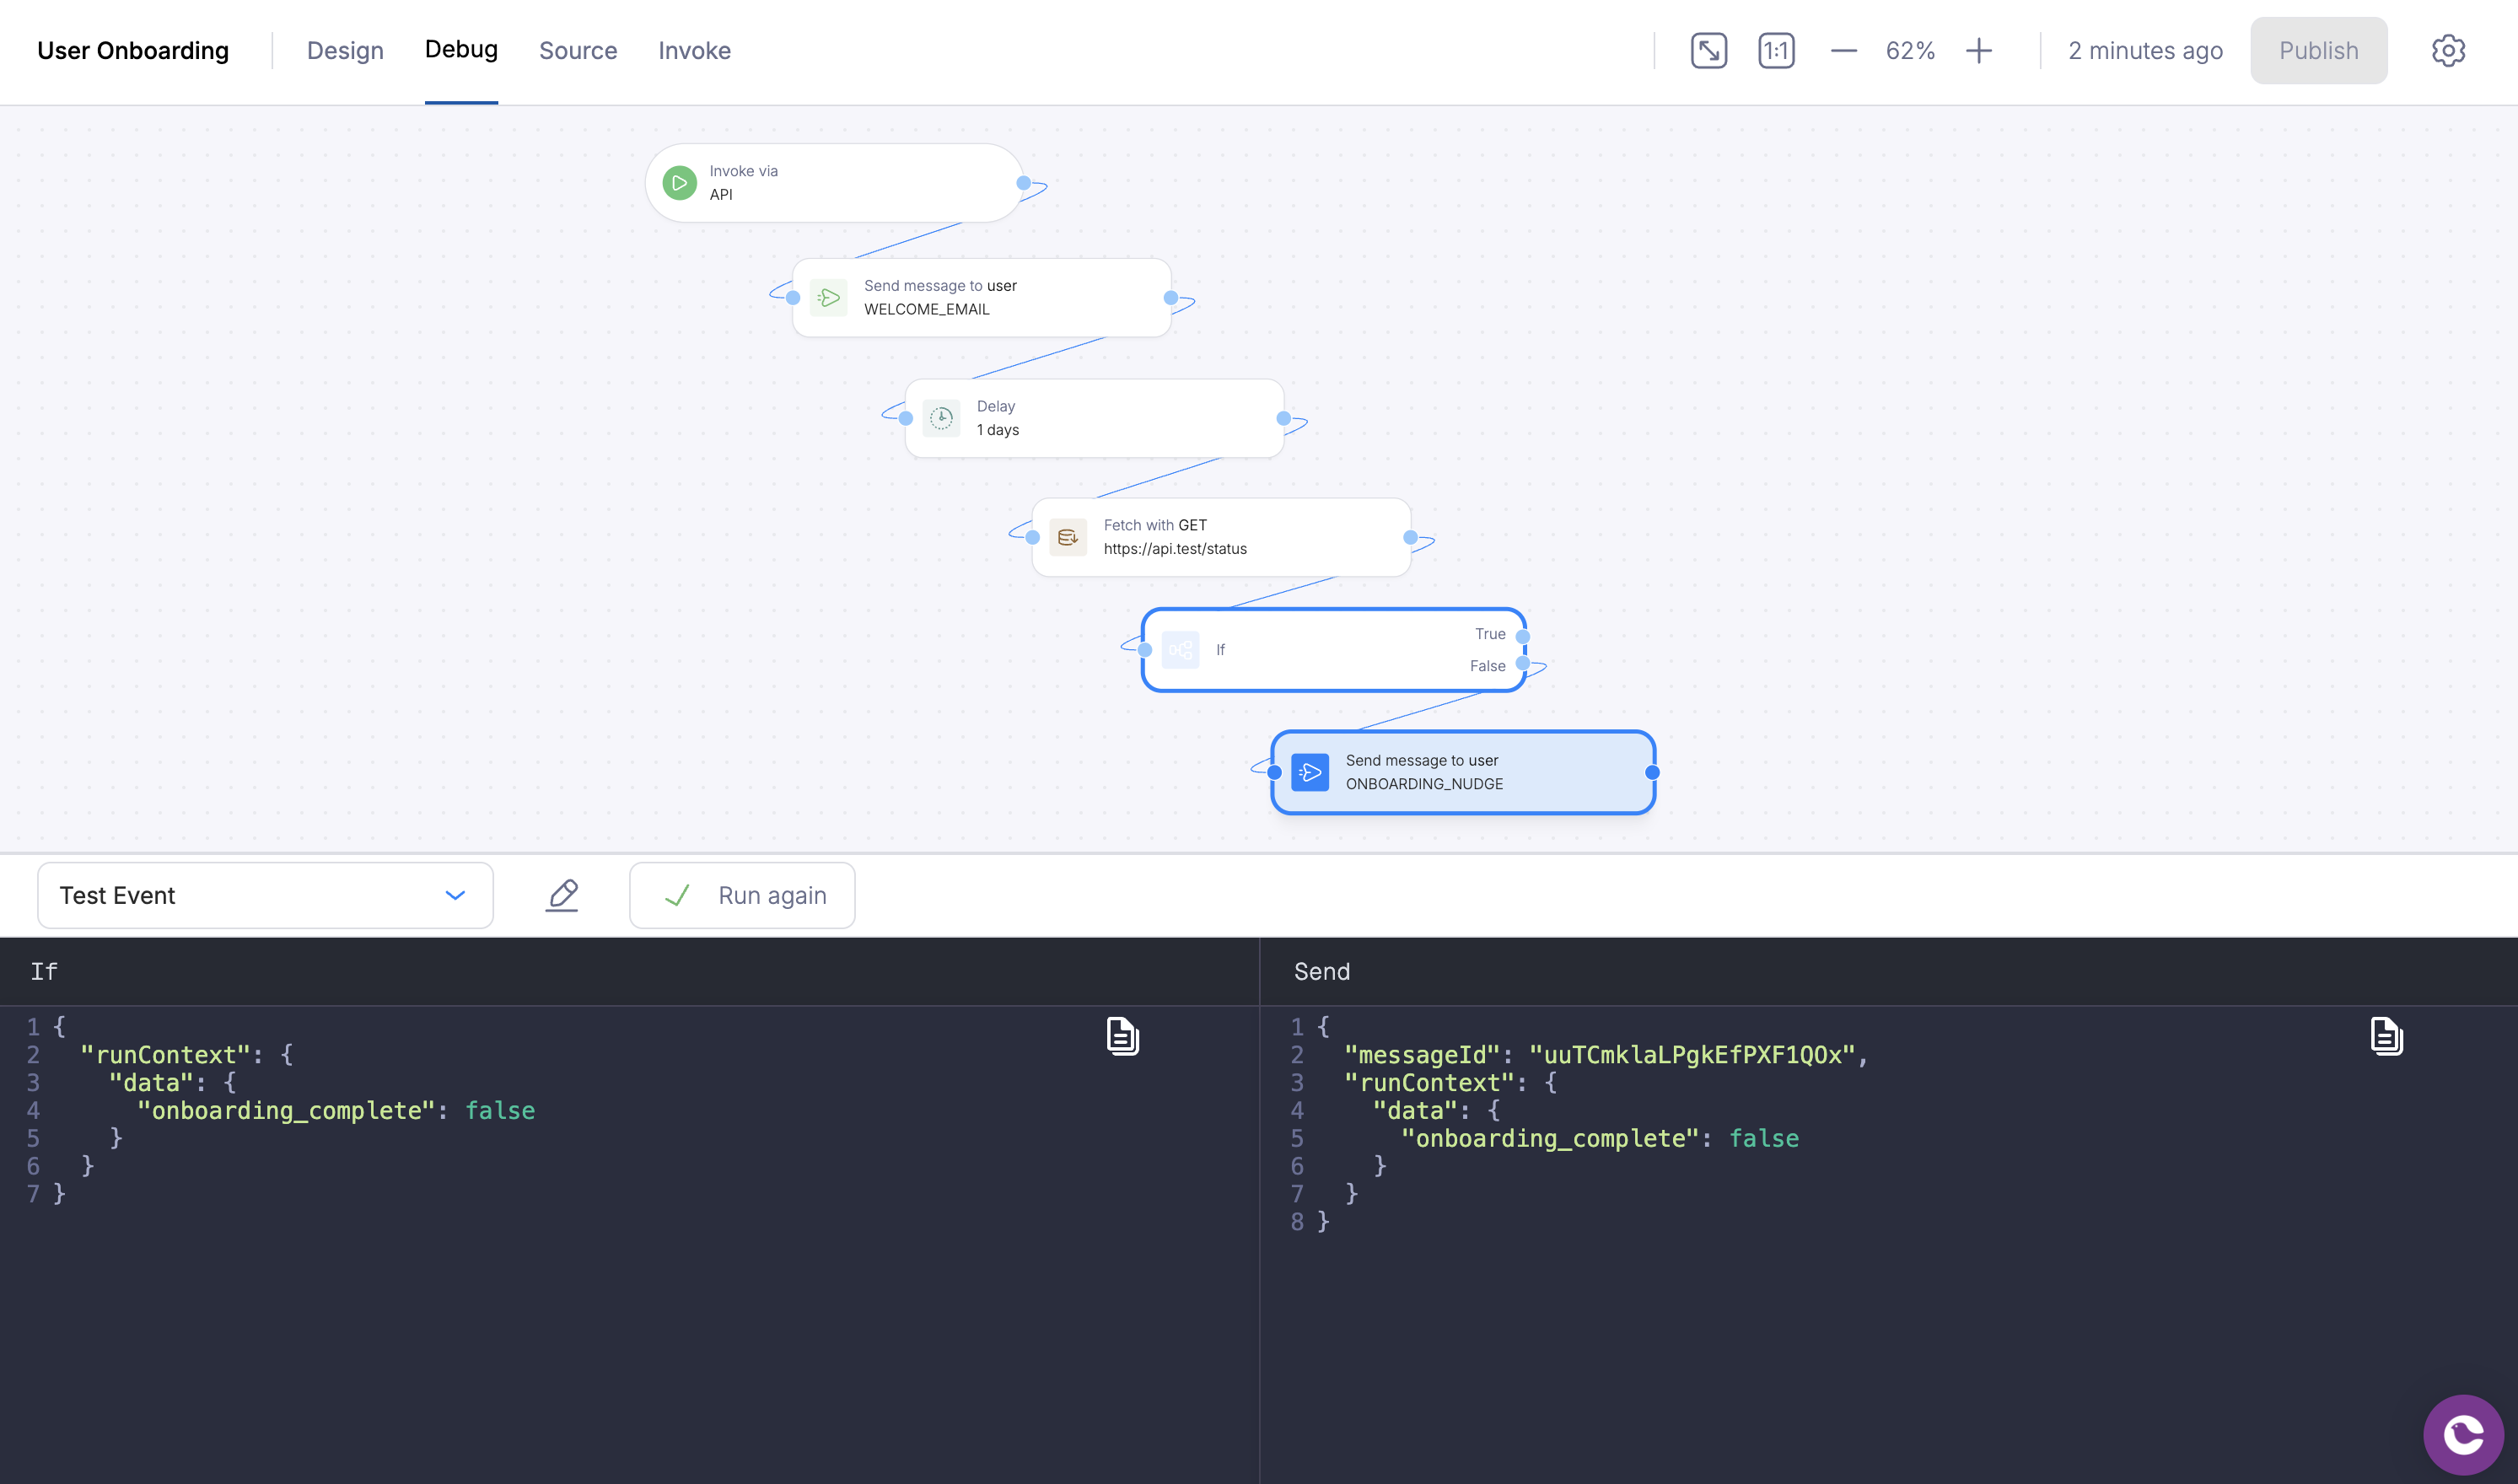
Inspecting run data at each node in the debugger
Publish and Invoke
Publish the automation
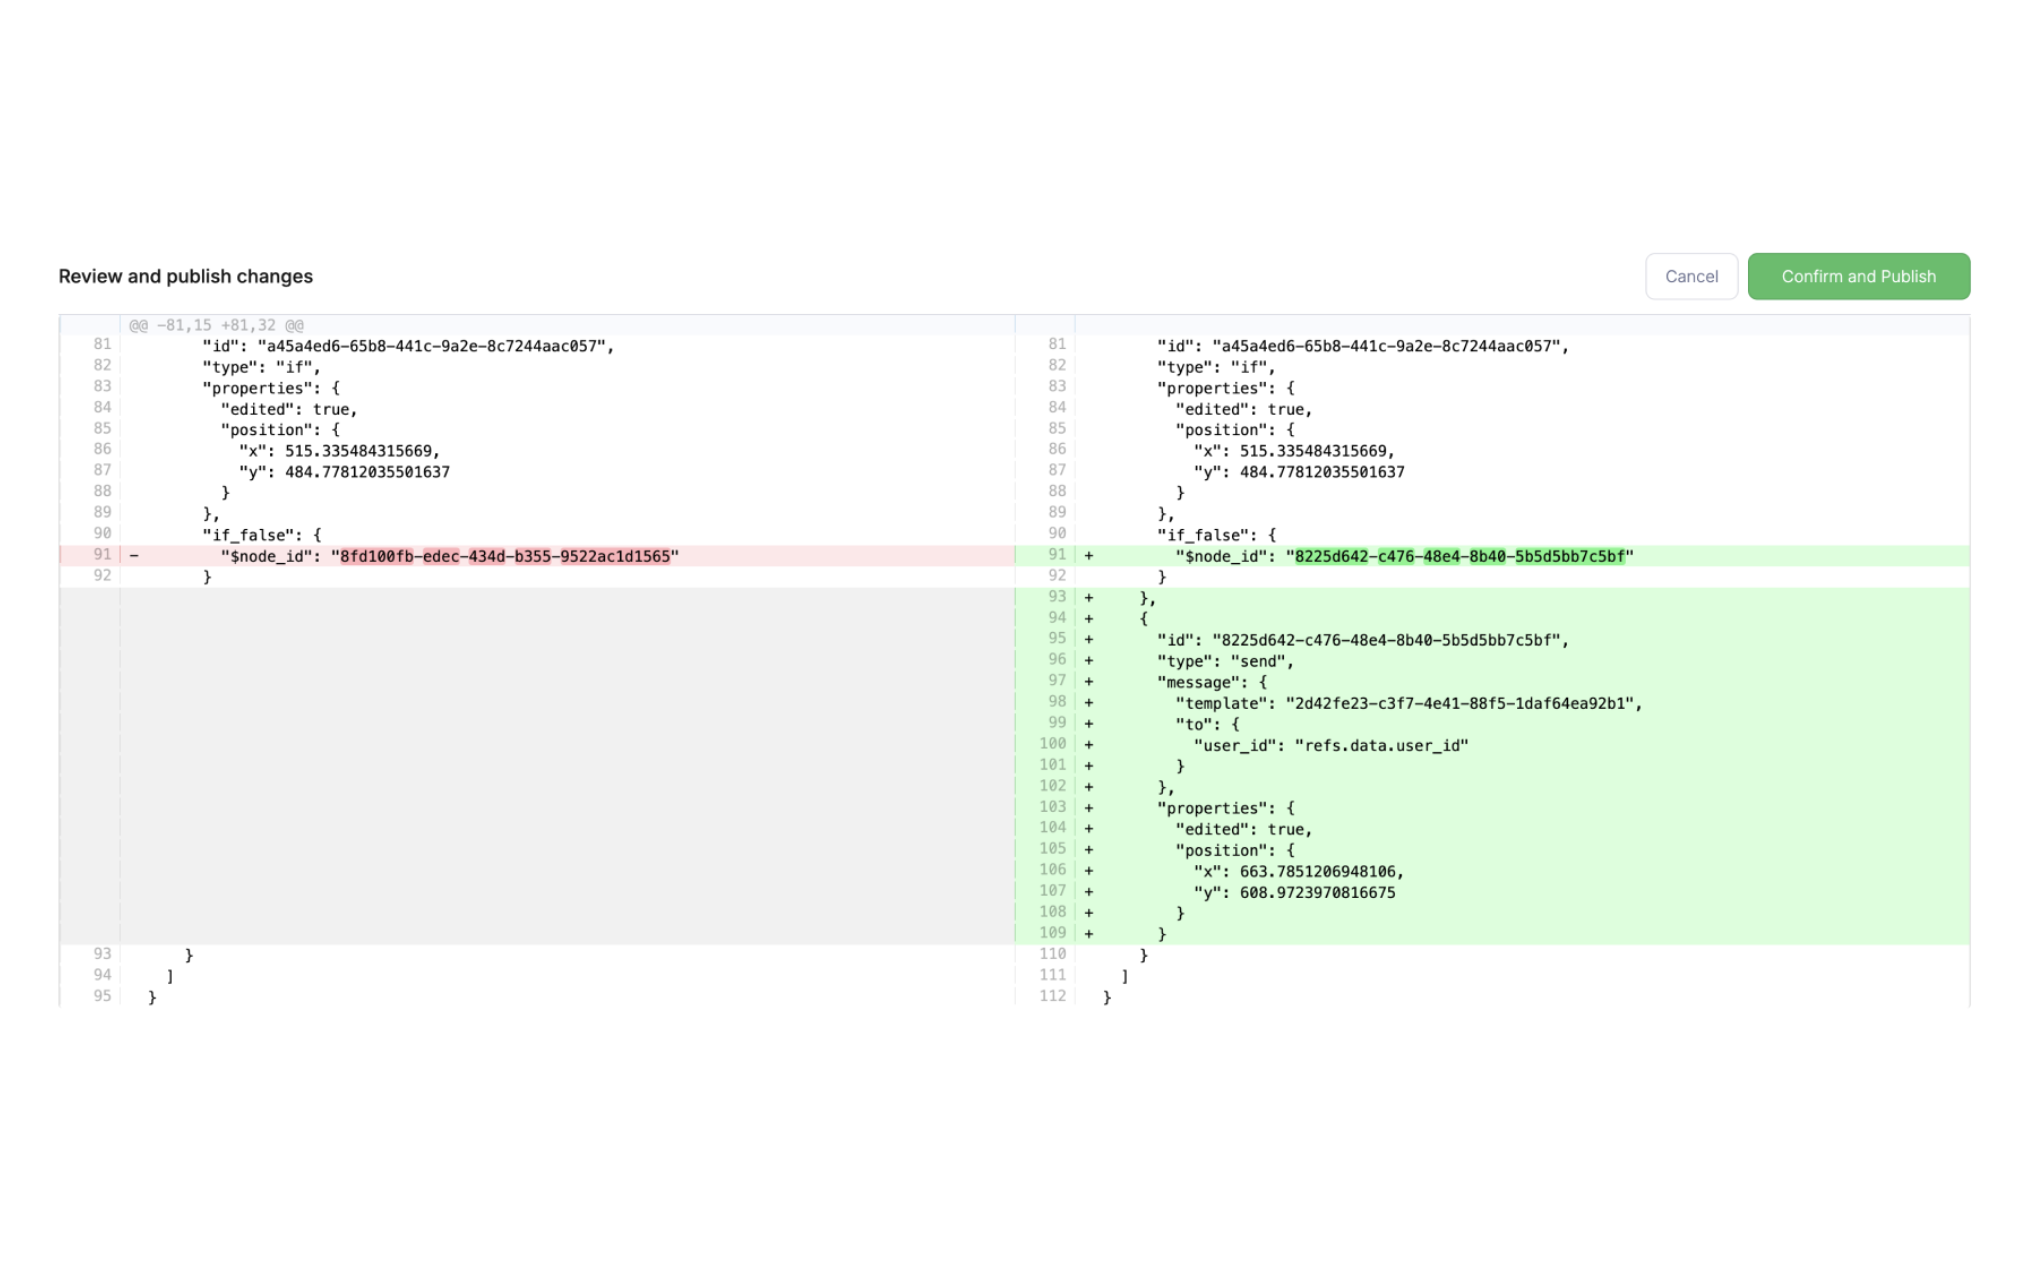
Reviewing changes before publishing
Invoke from the Invoke tab
data and profile objects to the --data body: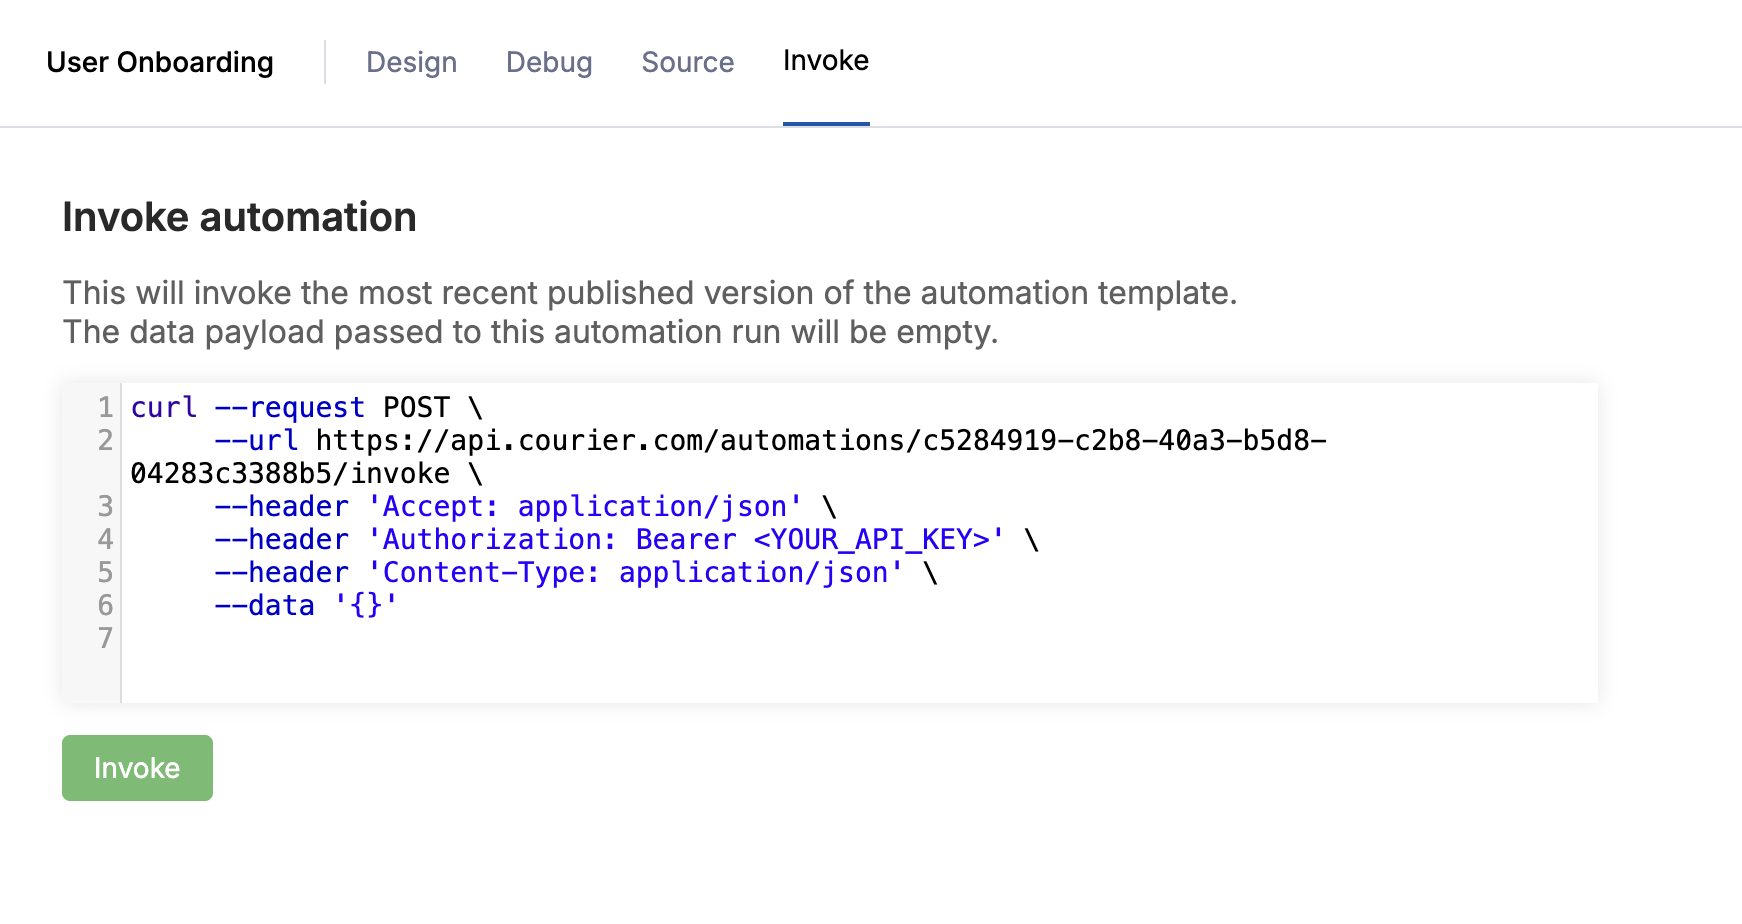
Invoke tab with the generated curl command
data and profile objects become the automation’s run context, accessible in every node via refs.data.* and refs.profile.*.In production, call the same endpoint from your application code when a user signs up. The template ID in the curl command is the one you’ll use in your SDK calls. See the Automations API reference for SDK examples.Extending the Workflow
Once you’re comfortable with the basics, try adding:- A schedule trigger instead of API Invoke to run the automation daily for new signups. See Scheduling.
- A Switch node instead of If to branch on multiple onboarding stages (e.g. “not started”, “in progress”, “completed”). See If / Switch.
- A Get Profile node to load the user’s full Courier profile before sending, so your templates can reference profile attributes. See Get Profile.
- Data mapping in send nodes to reshape fetched data into clean template variables. See Dynamic Data.