How to Set Up Your Apple Silicon Mac for Development (M1, M2, M3 Guide)

Chris Gradwohl
January 19, 2021
I recently joined Courier as a Software Engineer and part of the onboarding process was to set up and configure my development environment on the new M1 MacBook Pro. This task was more complicated than usual because, with the new MacBooks, Apple has replaced their long-running Intel processors with their own M1 chip. To help you take full advantage of the power of the new MacBooks, here are some tips and tricks I picked up when setting up my own machine.
Rosetta vs Native Terminal
Command line tools are crucial for our day-to-day workflows. However, several critical CLI tools like nvm and brew do not have native versions built for the new M1 architecture, so installing them on your native terminal can be frustrating.
Thankfully, with Apple's translation layer Rosetta 2, we can easily download and compile applications that were built for x86_64 and run them on Apple Silicon. I’ll explain how to duplicate the macOS native terminal and force the duplicated terminal to always run with Rosetta 2. Using this “Rosetta“ terminal makes it a breeze to install our preferred tools.
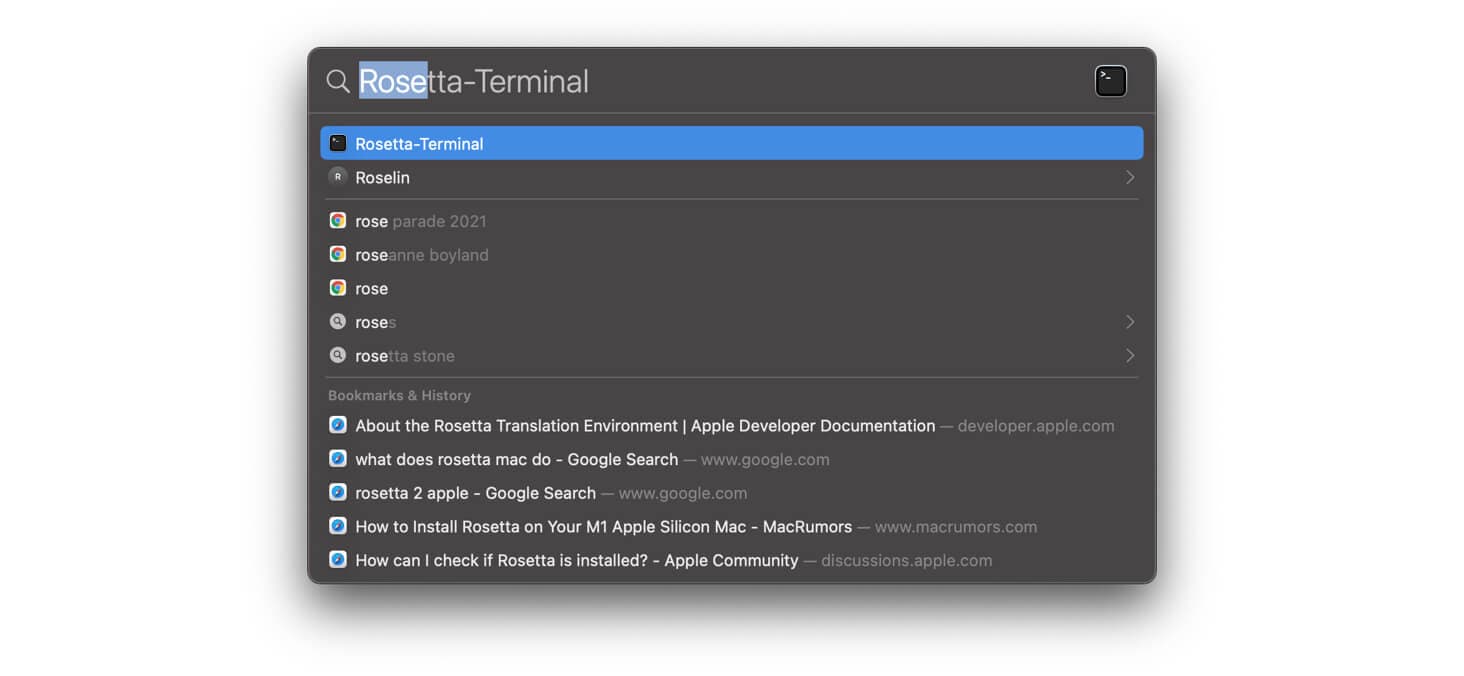
1. Create a Rosetta Terminal
First, duplicate the Terminal and rename it.Then,Open Finder and navigate to the Application/Utilities folder and select “Duplicate.“
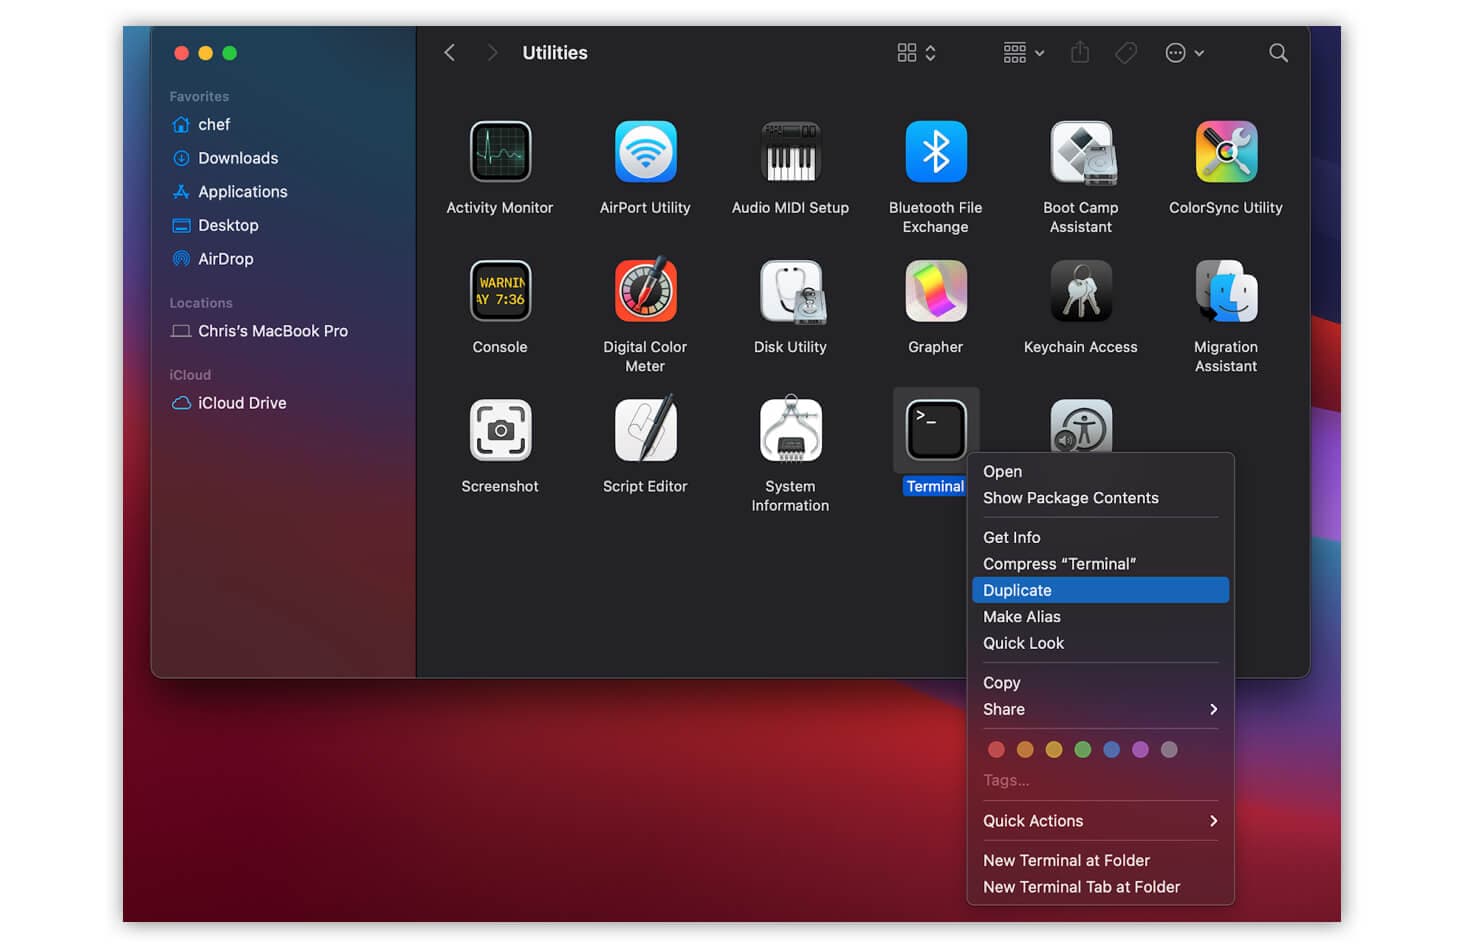
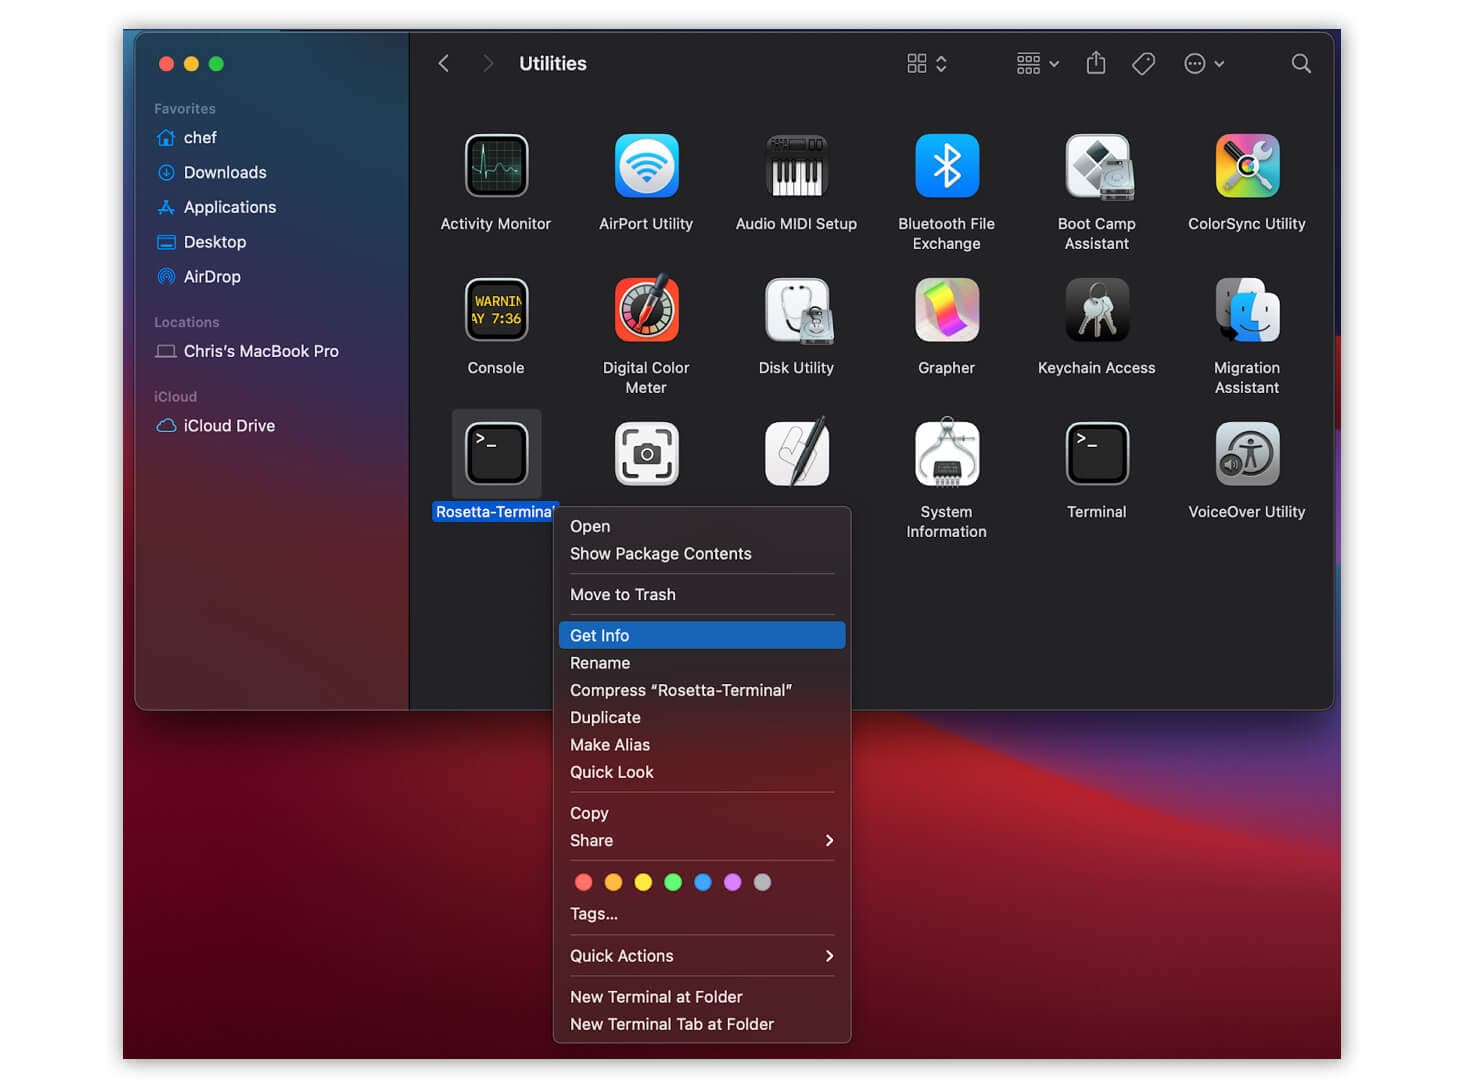
Rename this new terminal to something like “Rosetta-Terminal.“ Now right-click on your new Rosetta Terminal and click “Get info.“
From the “Get info” menu, select “Open using Rosetta.“
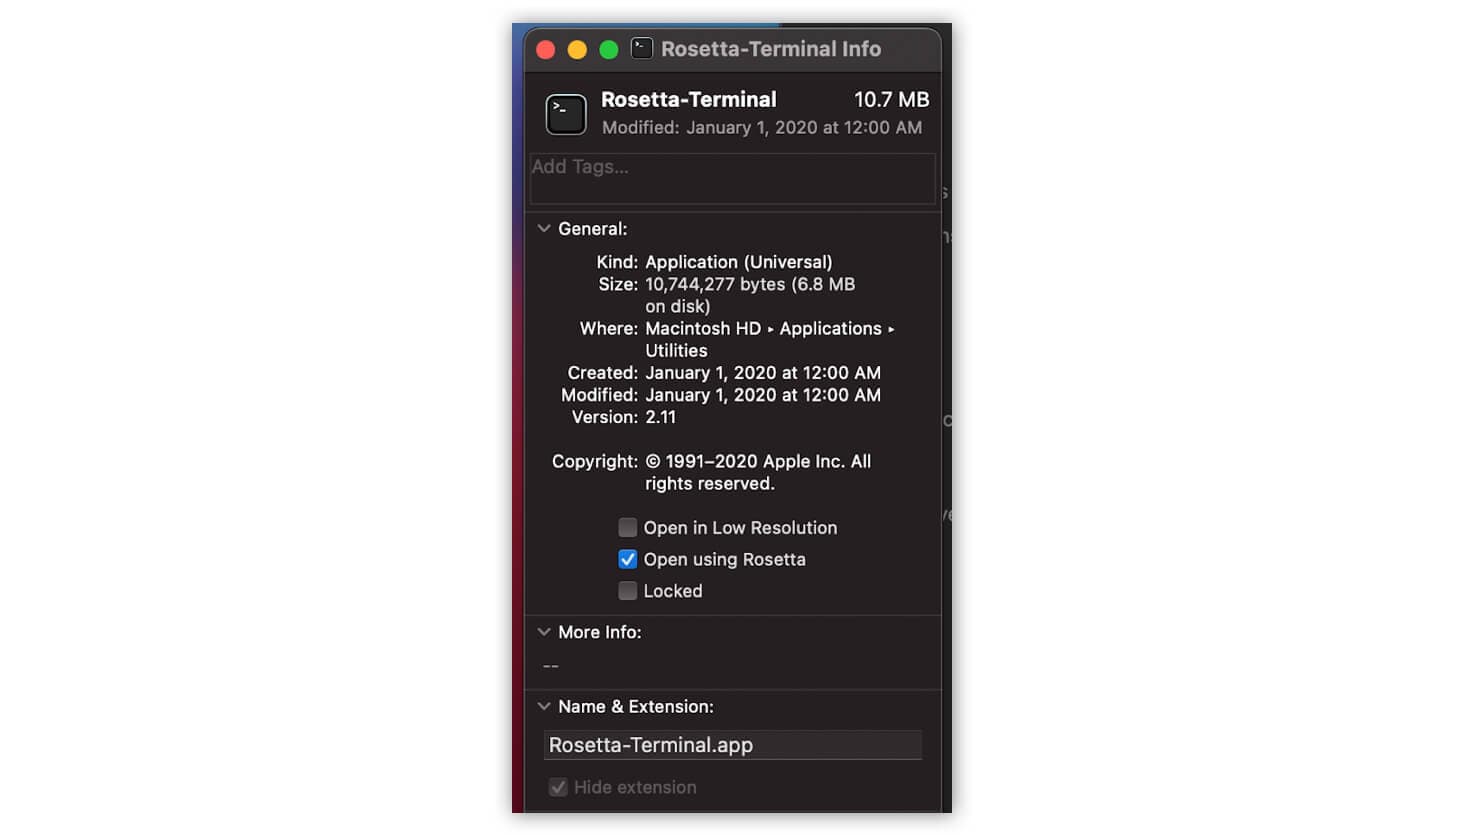
Now we have a special terminal that can be used to install our command line tools. During the install, they will be translated by Rosetta. After the install, we can use them from the native terminal.
2. Install your tools with the Rosetta Terminal
Let’s install some tools! Now that we have a dedicated Rosetta Terminal, we can install our CLI tools just like we would on an Intel MacBook. In this case, I’m going to install nvm, but it’s the same process for any other CLI tool you may need, e.g.Homebrew, AWS CLI, etc.
First, open up “Rosetta-Terminal“ using Spotlight (just hit Cmd+Space).
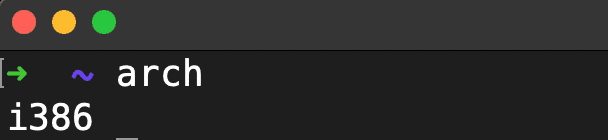
Confirm that you are using a Rosetta Terminal by entering the arch command, which should return i386.
Next, install nvm:
curl -o- https://raw.githubusercontent.com/nvm-sh/nvm/v0.37.2/install.sh; | bash
And then install your preferred node.js version. I'll be using version 12.x
nvm install 12
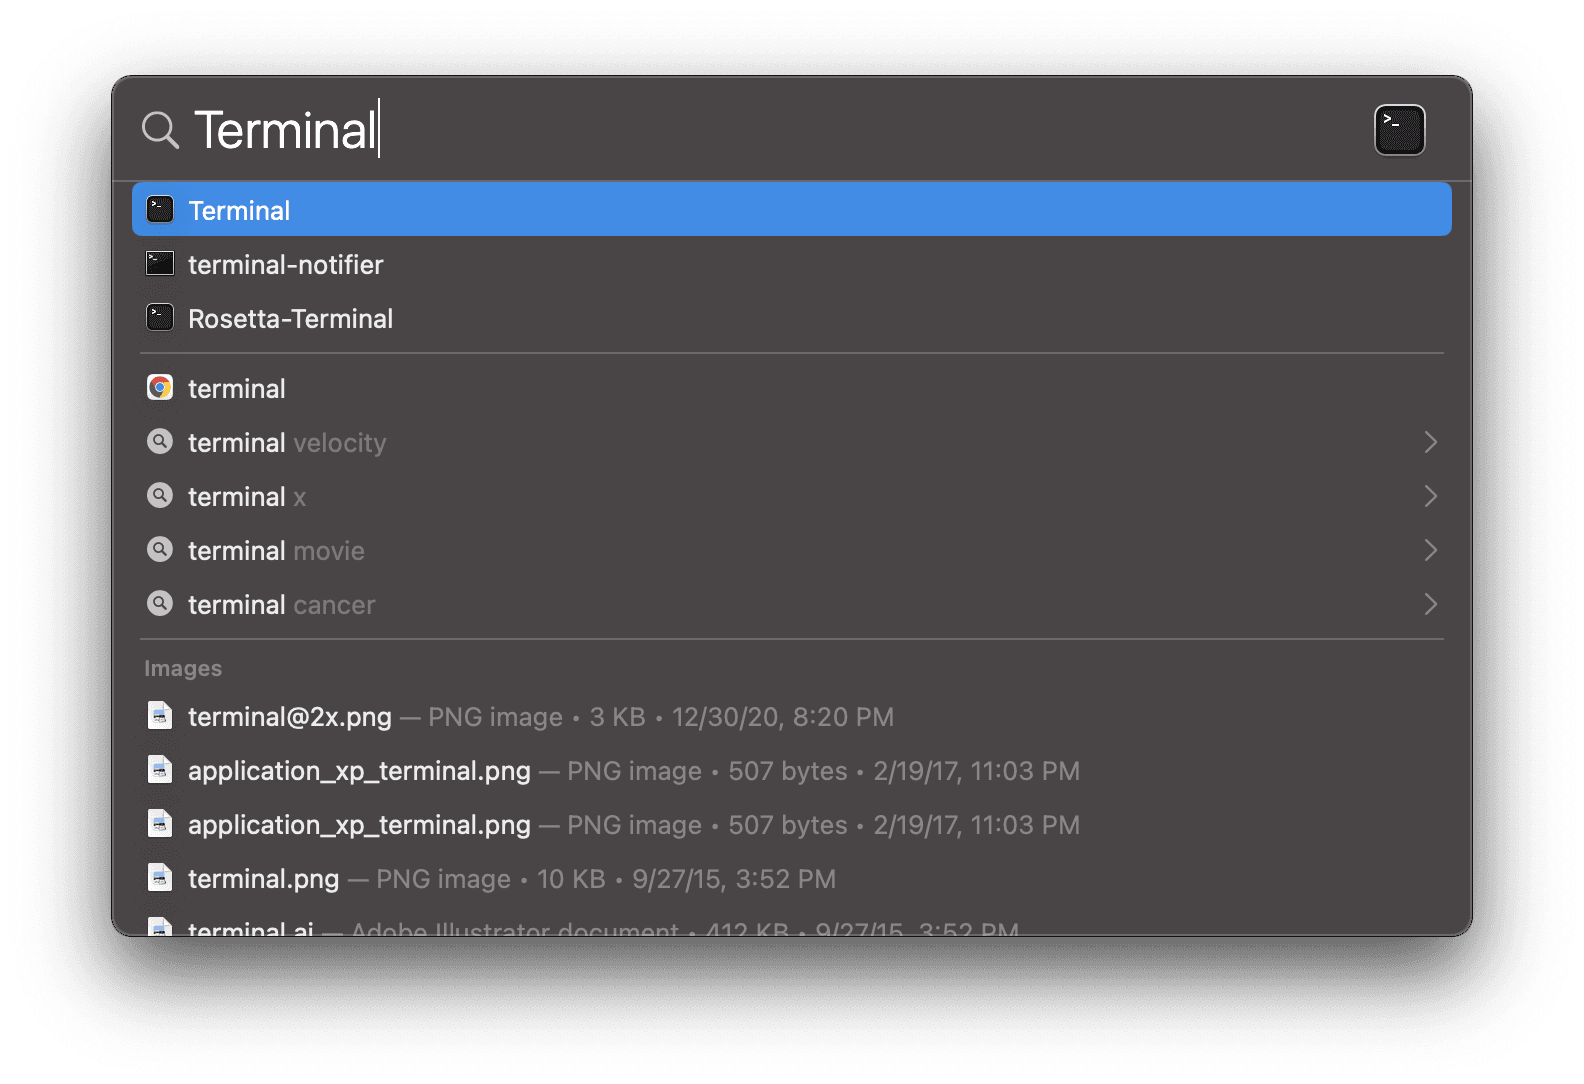
Now, open up the Native Terminal with Spotlight:
Confirm that you are using the Native Terminal by typing the arch command, which should return arm64. While you are here, you can also validate the installation.
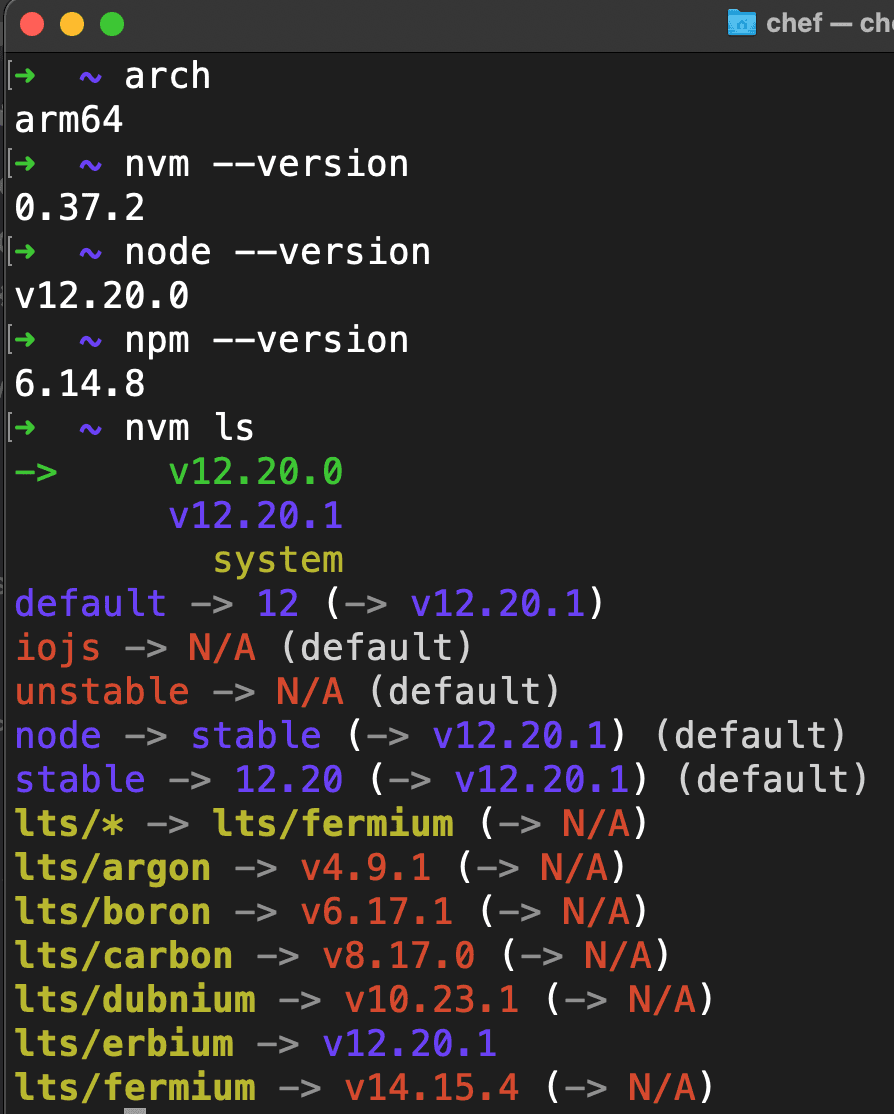
As you can see, nvm, npm and node.js version 12.x have all been successfully translated and installed on Apple Silicon. 🎉
I recommend using the “Rosetta-Terminal“ for installing the rest of your command line tools and using the Native Terminal for your daily workflow.
Finding and installing native applications
Right now, there are still a few applications that don't offer full native support for Apple Silicon. So we have to install the x86_64 versions of these applications. This means that Rosetta will run in the background to translate the application and make it compatible to run on the M1, but this also means that it will not run in its fully ARM optimized glory.
Before you install the rest of your applications, I recommend checking if they offer native support for Apple Silicon. Sometimes, a fully ARM native version is not available, but an ARM optimized beta version is. You can visit the website “Does it ARM?” or Is Apple silicon ready? and search for any app. It’s a great resource to find and install Apple Silicon versions of your apps.
Installing VS Code Insiders (beta)
For example, this is what I see when I search for VS Code:
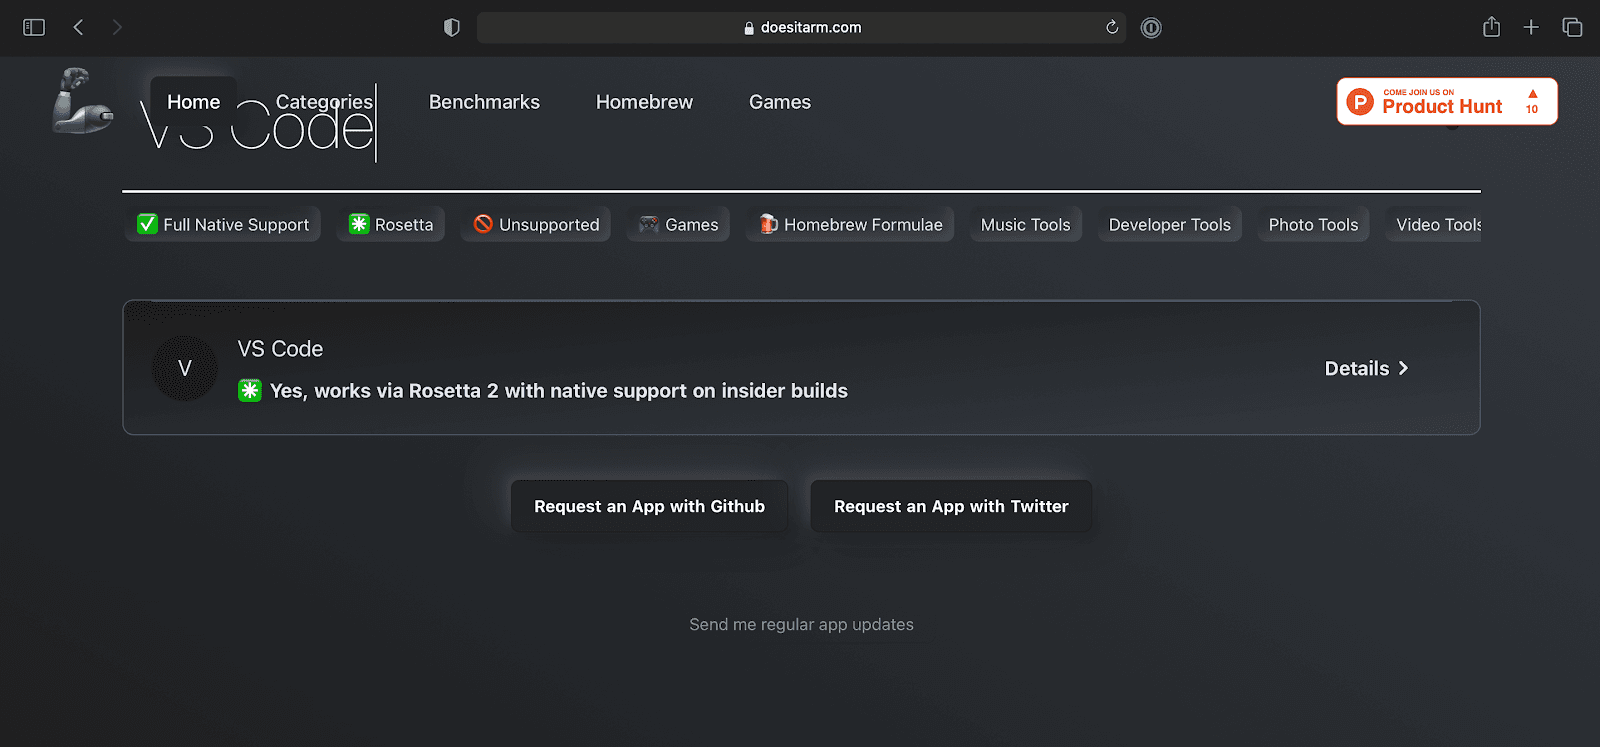
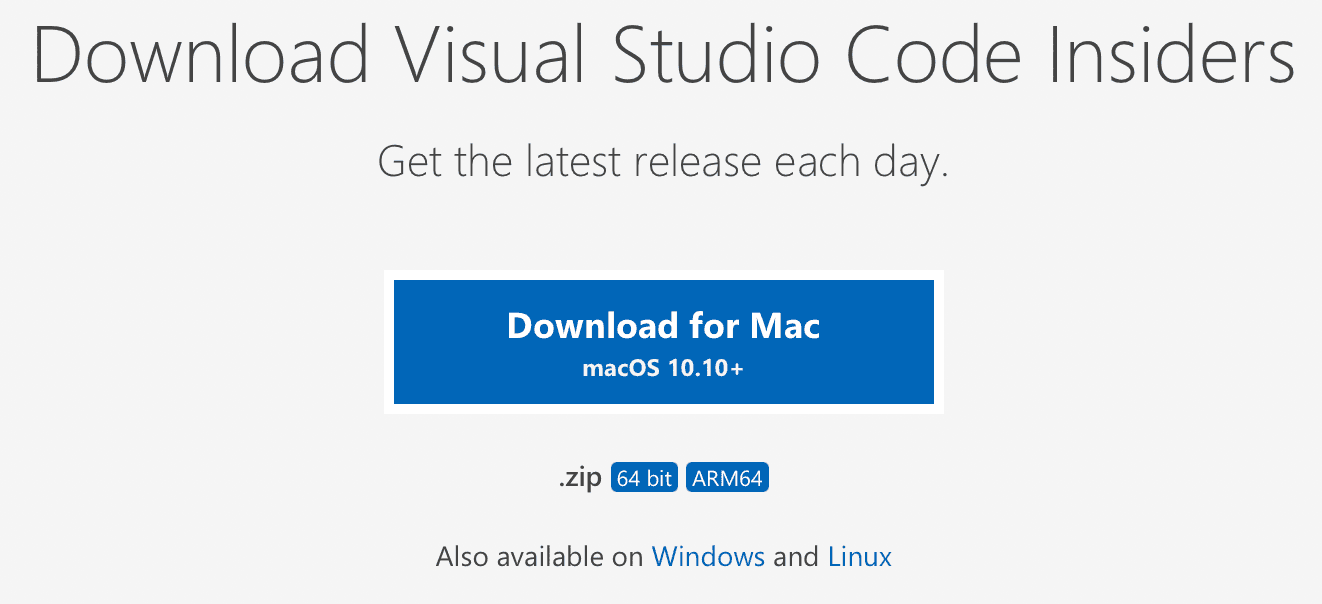
Currently, VS Code does not fully support a native Apple Silicon version of their software. But they do support a beta release version called Insiders with native support! If you want to try it out, head over to VSCode Insiders. Remember to select the ARM64 version of the application on the download page.
After installation, open up Visual Studio Code - Insiders (and behold the blazing speed of the M1 🚀), enter cmd+shift+p to open up the Command Palette and install the 'code-insiders' command into your bash PATH.
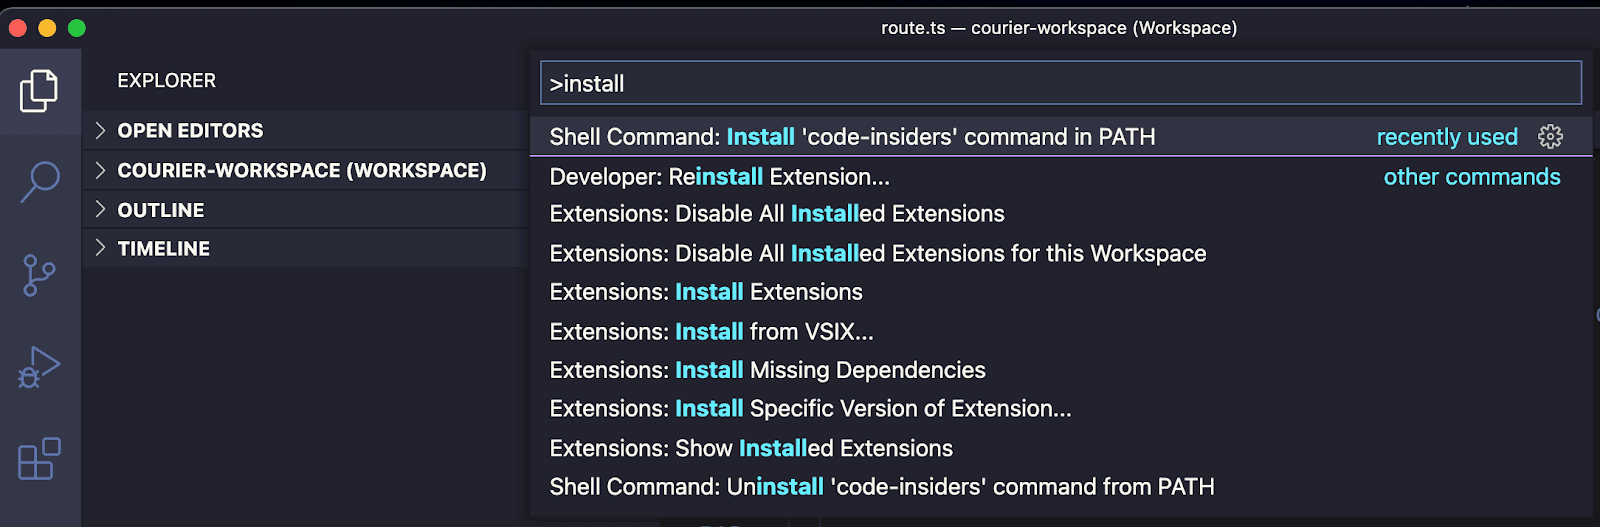
After that’s installed, you can open up files with VS Code from your terminal using the code-insiders command. But since nobody has time for that many keystrokes, add this alias to your zshrc or equivalent:
alias code=“code-insiders“
Restart your terminal and now you can open up files using the code command – like a boss. 😎
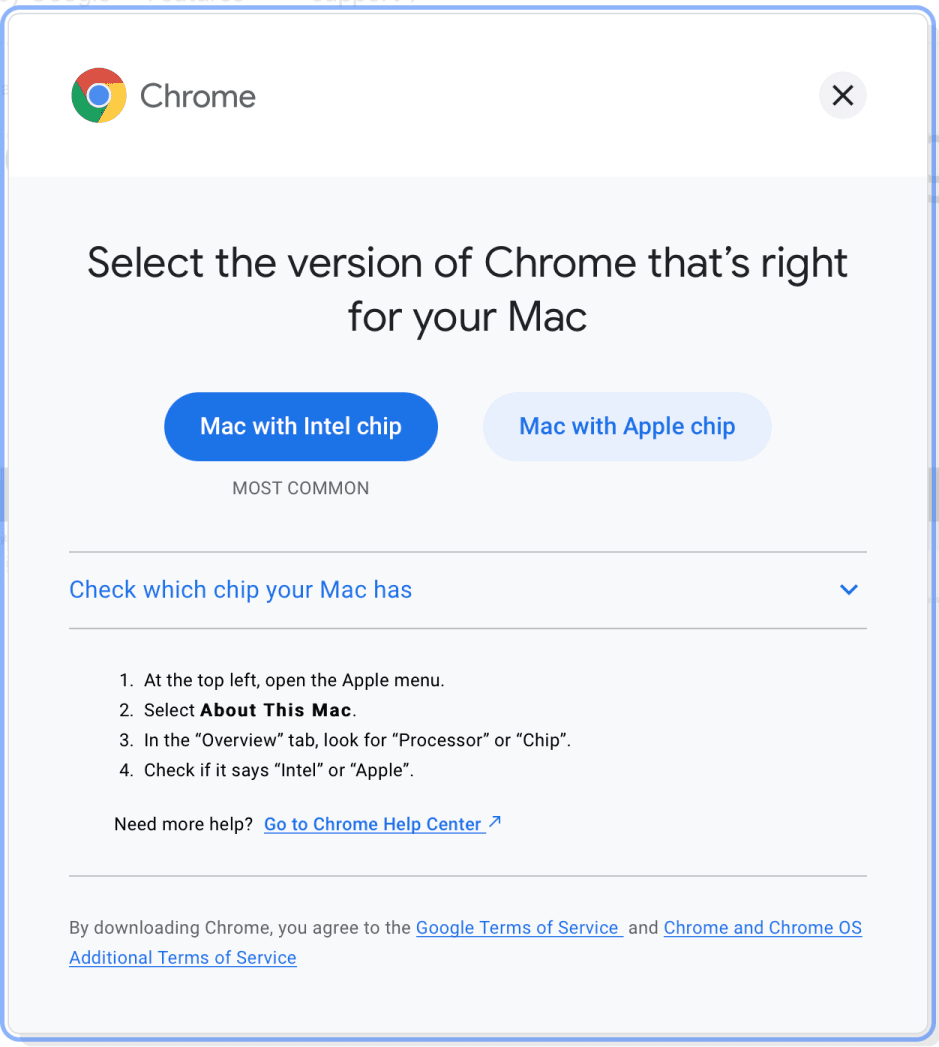
Other apps are not this difficult to find an Apple Silicon native version. For example, Chrome offers a fully supported ARM64 version of there software:
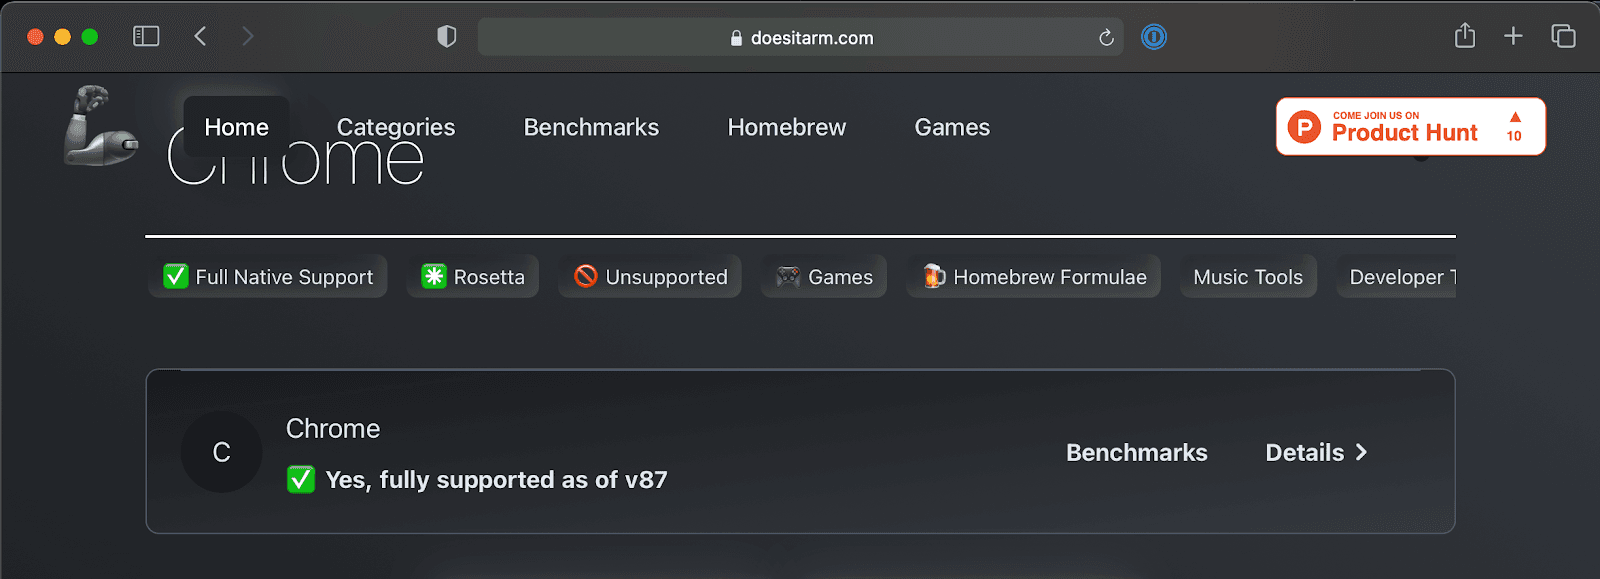
On the Chrome download page, make sure to select the version for “Mac with Apple Chip“
Final tip: Checking your app version
At the time of this writing most applications do offer fully supported ARM64 versions of their software, but a few (like VS Code, Node Version Manager (nvm) and Homebrew) still do not. Over time we should expect to see fully supported Apple Silicon versions of our favorite apps.
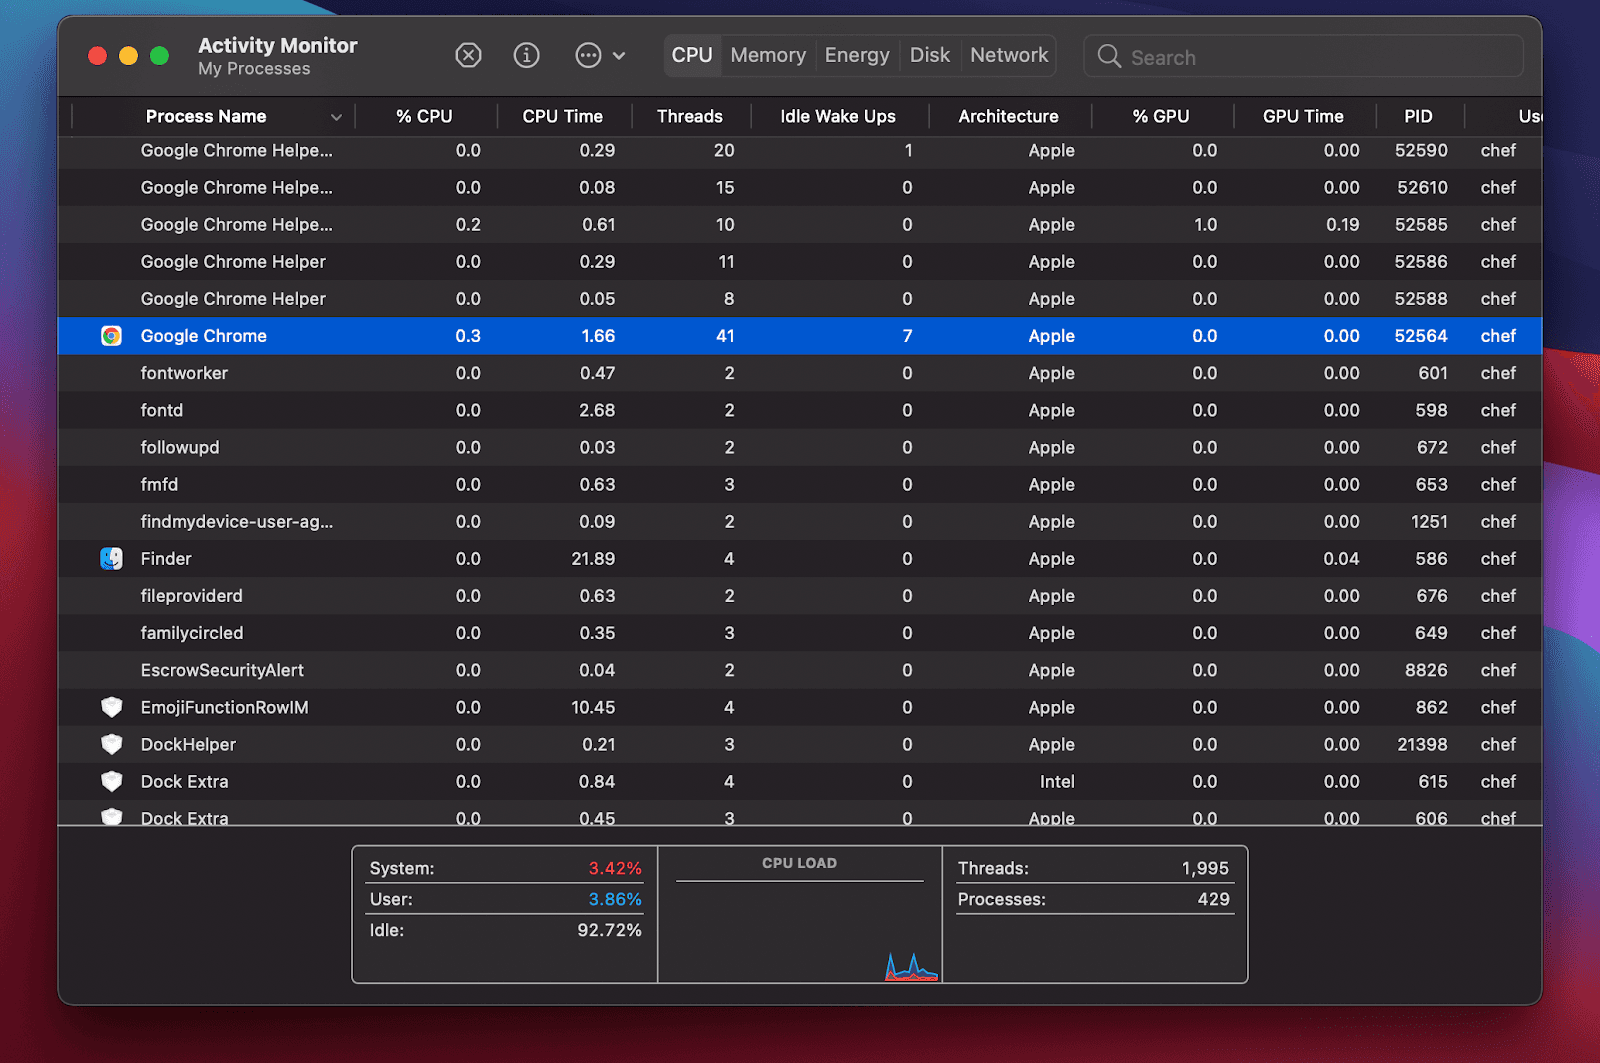
As you install applications on your new Macbook, you might notice that some auto-update to the new architecture, while others do not. For example, I noticed that Chrome auto-updated to a x86_64 version. If you suspect that one of your apps is running an older version, you can check the Activity Monitor and see what type is running on your machine:
I hope you find these tips helpful! If you have any additional tips or questions about how I set up my M1, don’t hesitate to reach out!
Similar resources
Inbox SDKs for Vue and Angular: a native in-app notification center
Courier now ships first-class inbox SDKs for Angular and Vue. Drop in a real-time notification center, toasts, and a preferences center with native components, an injectable service, and a composable, all backed by the same in-app inbox that already powers React and JavaScript apps.
By Mike Miller
June 19, 2026
Human-in-the-loop for AI payment agents: building approval notifications that work
AI agents need human approval before taking consequential actions: financial commitments, irreversible changes, decisions that affect other people. This post covers how to design those checkpoints and build the notification infrastructure: multi-channel delivery, live context, escalation, and a back-and-forth question loop between reviewers and the agent.
By Eric Lee
May 26, 2026
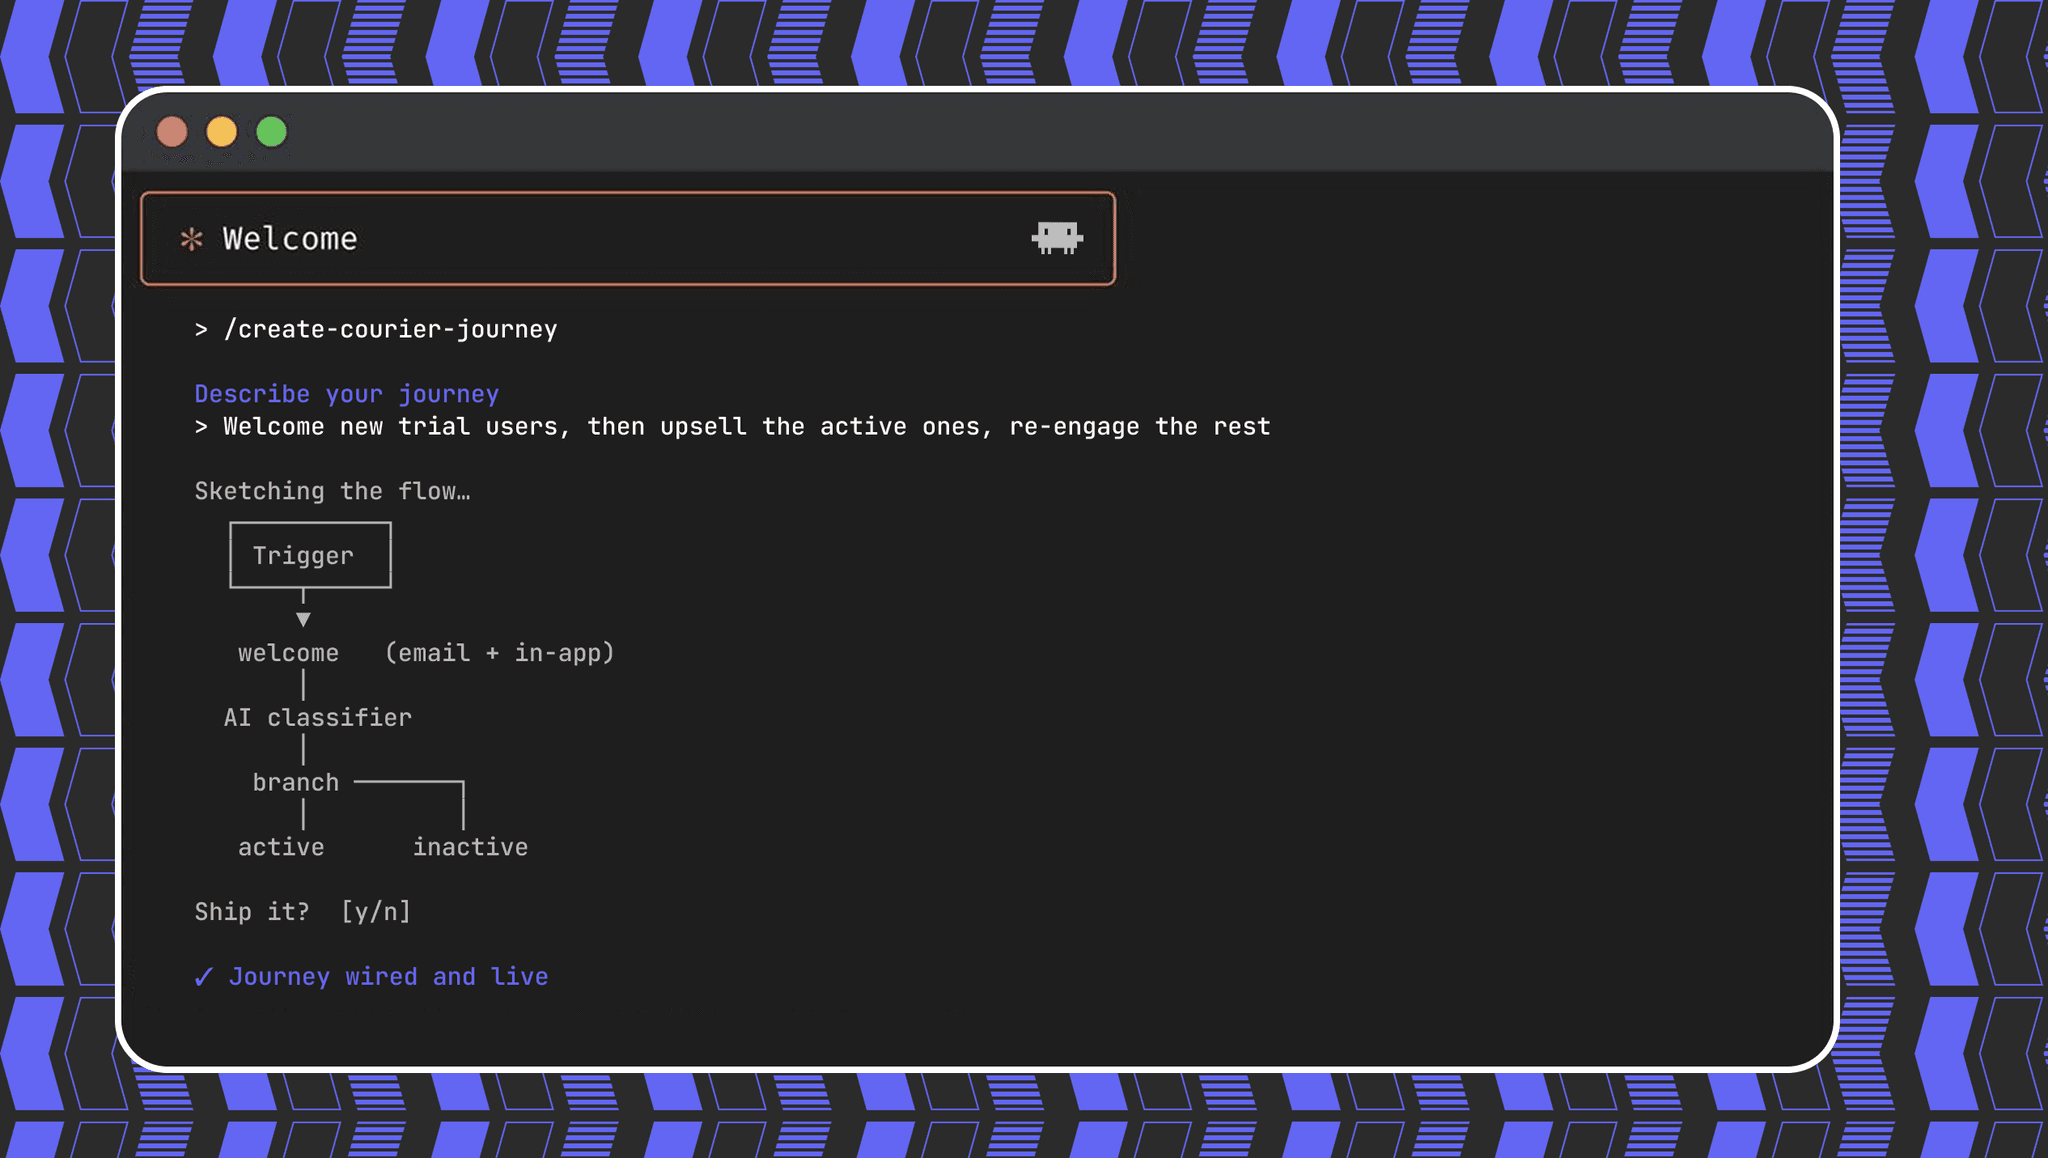
Create a customer journey from AI coding agent
Use Courier's Journey API to create multistep customer engagement workflows from your coding agent of choice. Describe the kind of journey you'd like to create, answer a few questions, and publish to the platform.
By Kyle Seyler
May 20, 2026
© 2026 Courier. All rights reserved.