Integrate FCM with Courier for Android, iOS, React Native, and Flutter push. Use Courier Mobile SDKs for automatic token syncing or manage tokens manually.
Before you begin, ensure that you have created a Firebase project. If you haven’t done so already, create a new project here.
The recommended approach to set up Firebase Cloud Messaging (FCM) with Courier is to use a Courier Mobile SDK. All Courier Mobile SDKs automatically sync FCM tokens to Courier and manage them for you. This allows you to send push notifications directly to a user_id instead of managing FCM tokens manually.
When implementing FCM without a Courier Mobile SDK, you will need to:
Sync, store, and manage your users’ FCM tokens. This may require creating entries in your database, deploying separate endpoints, and adding extra development time that can be avoided by using a Courier Mobile SDK.
Manually make a request to the trackingUrl if you want Courier delivery and click tracking.
Here’s a common example request you can make to the send API, demonstrating:
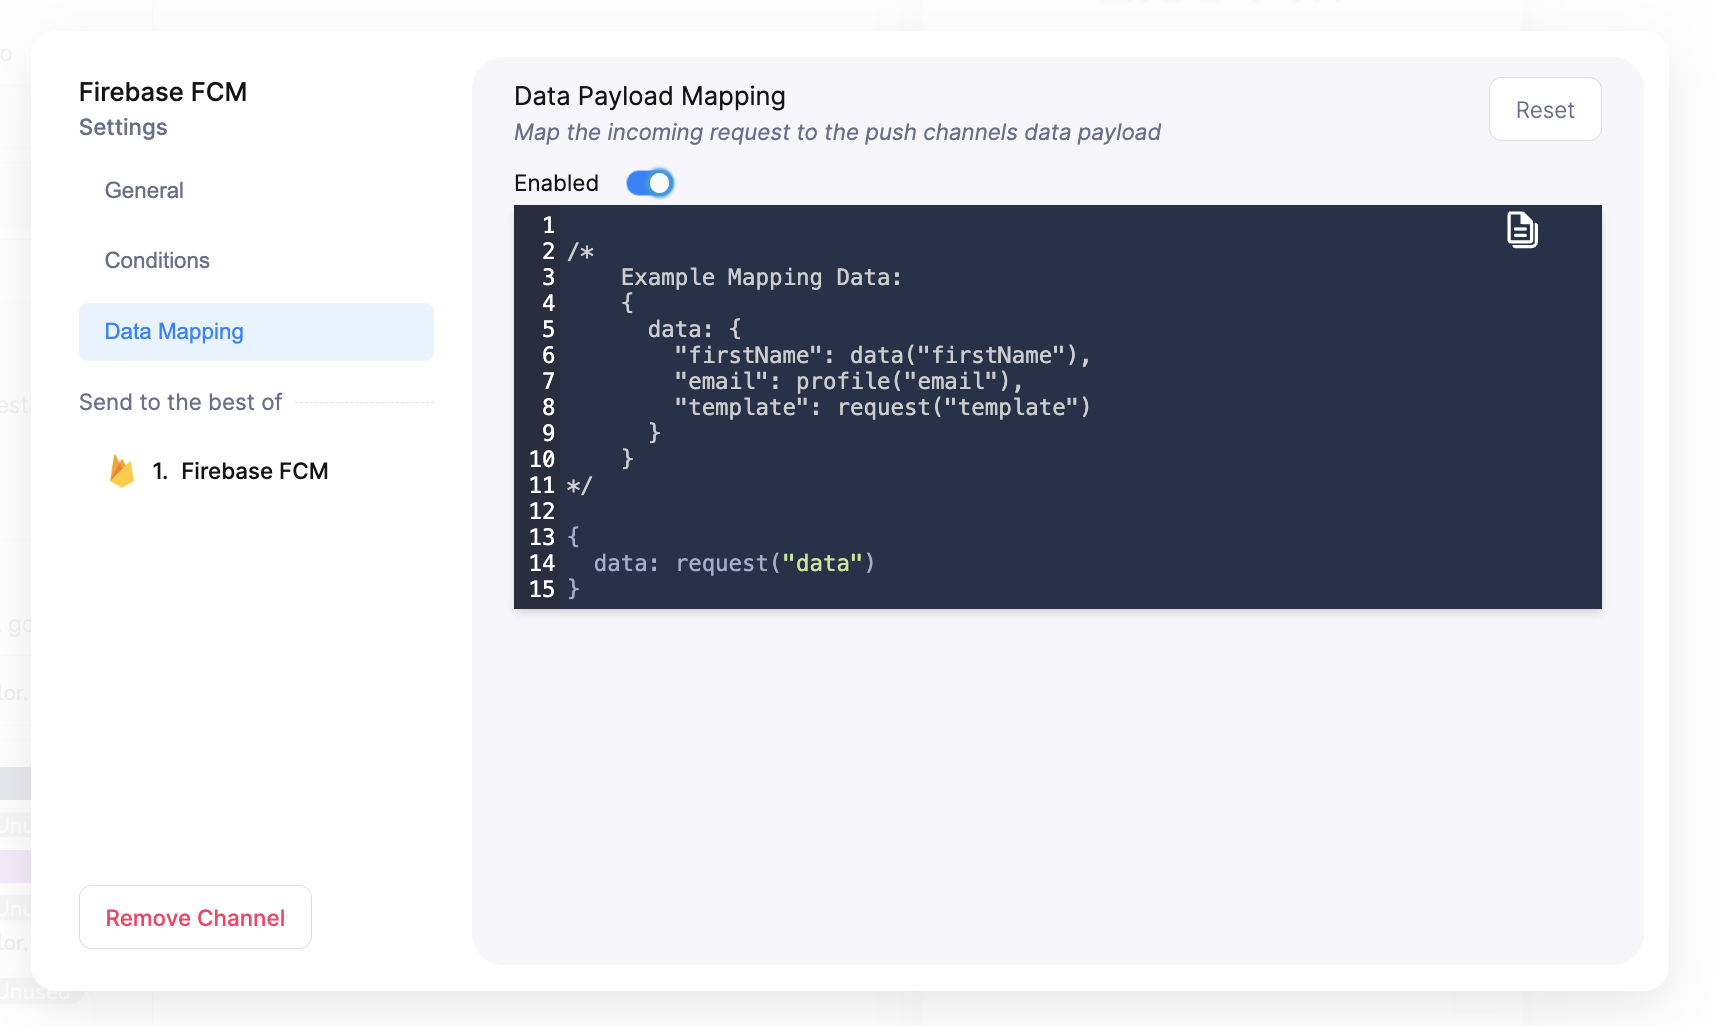
providers.firebase-fcm.override.body.data.YOUR_CUSTOM_KEY for adding custom data to your payload. This is typically used for opening a specific screen in your app when the user interacts with a push notification. Firebase requires the data key to be flat. More details about FCM custom data can be found here.
providers.firebase-fcm.override.body.apns for applying iOS-specific values. You can learn more about these here.
When combining FCM with other channels like Inbox in a single send, place personalization variables and click actions in message.data, not inside the to recipient object. Fields nested inside to are treated as profile data and won’t populate template variables or trigger push data mapping.
Sounds and badges can only be configured in the override schema of a send request at this time, and are not compatible with a template field attached. If your push notifications require sounds and badges, shape your push request with sound and badge in the override as shown below.
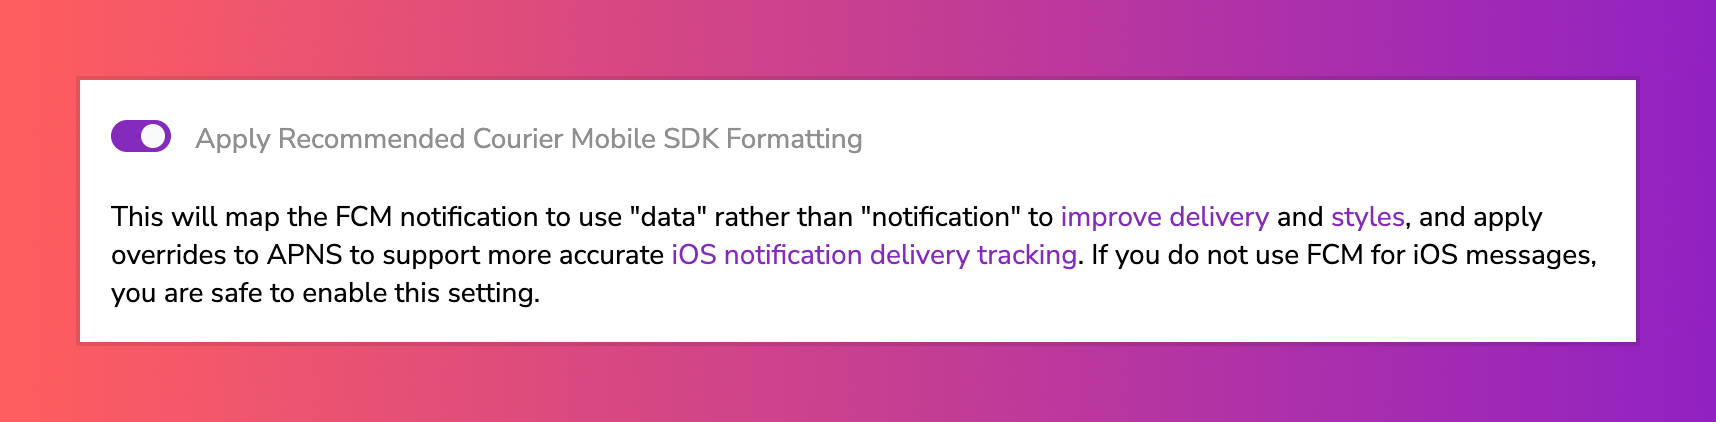
Automatically delivers Android push notifications in the background. This allows for more accurate push notification delivery tracking and the ability to use your own custom Android notification style consistently.