

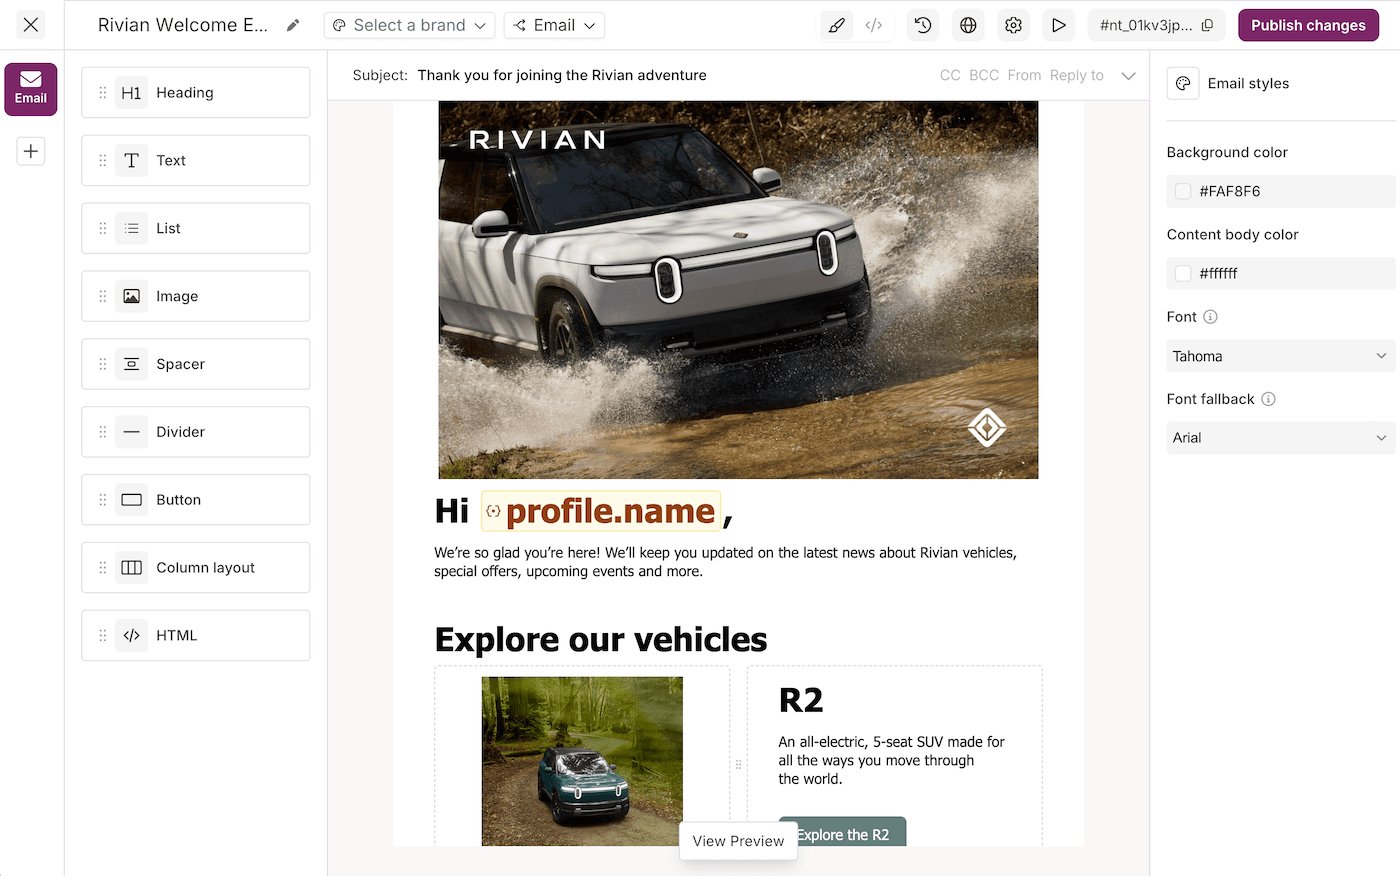
Design a template
1
Create a Template
Open , select Add template, and choose Design Studio v2. Name it and create it.
This page documents Design Studio v2. The other editor in the console is .
2
Pick a channel and its routing
Select the Email channel tab to activate it. Open the routing selector in the toolbar to choose which Provider delivers it. Routing configurations are reusable across Templates, so a change applies everywhere. See .
3
Add content
Drag blocks onto the canvas: Text for the message, Button for the call to action, plus Heading, Image, Divider, and Spacer. Select a block to edit it inline. Use the settings panel for alignment, size, and color. Courier auto-saves.
4
Insert a variable
Type
{{ to open the variable picker, or select the variable icon in the block toolbar. Variables are double-braced:{{profile.name}}for a Profile field{{data.invite_url}}for send data{{tenant.name}}and{{tenant.properties.tier}}for the on the send{{urls.preferences}}and{{urls.unsubscribe}}for the built-in links
{{invite_url}} does not fall back to data, so the editor marks it invalid. See .5
Build per-channel variants
Switch channel tabs to build variants for SMS, push, in-app, and chat. Each channel gets an editor built for its format. Courier adapts shared content to each channel’s requirements.
6
Preview and send a test
Select Preview & Test, create a test event, then fill the The preview renders every channel variant with your data. A variable still showing as raw
data and profile objects with values matching your variables:{{...}} means the path does not match your test event. Send Test delivers a live copy to yourself, so you catch broken links before publishing.7
Apply a Brand and publish
Optionally apply a from the toolbar for a consistent logo, colors, header, and footer. Then select Publish. Edits stay in the draft until you publish.Copy the Template ID from the top of the editor.
Layout
Three areas, left to right:- Channel tabs switch between Email, SMS, Push, In-App, Slack, and MS Teams.
- Canvas is where you drag blocks and edit content.
- Settings holds the selected block’s options.
Channels
Not every block works on every channel.Available blocks
Adding blocks
1
Select a channel
Pick a channel from the left sidebar.
2
Drag a block onto the canvas
Drag a block from the block sidebar to the spot you want.
3
Reorder as needed
Drag blocks up or down to reorder them.
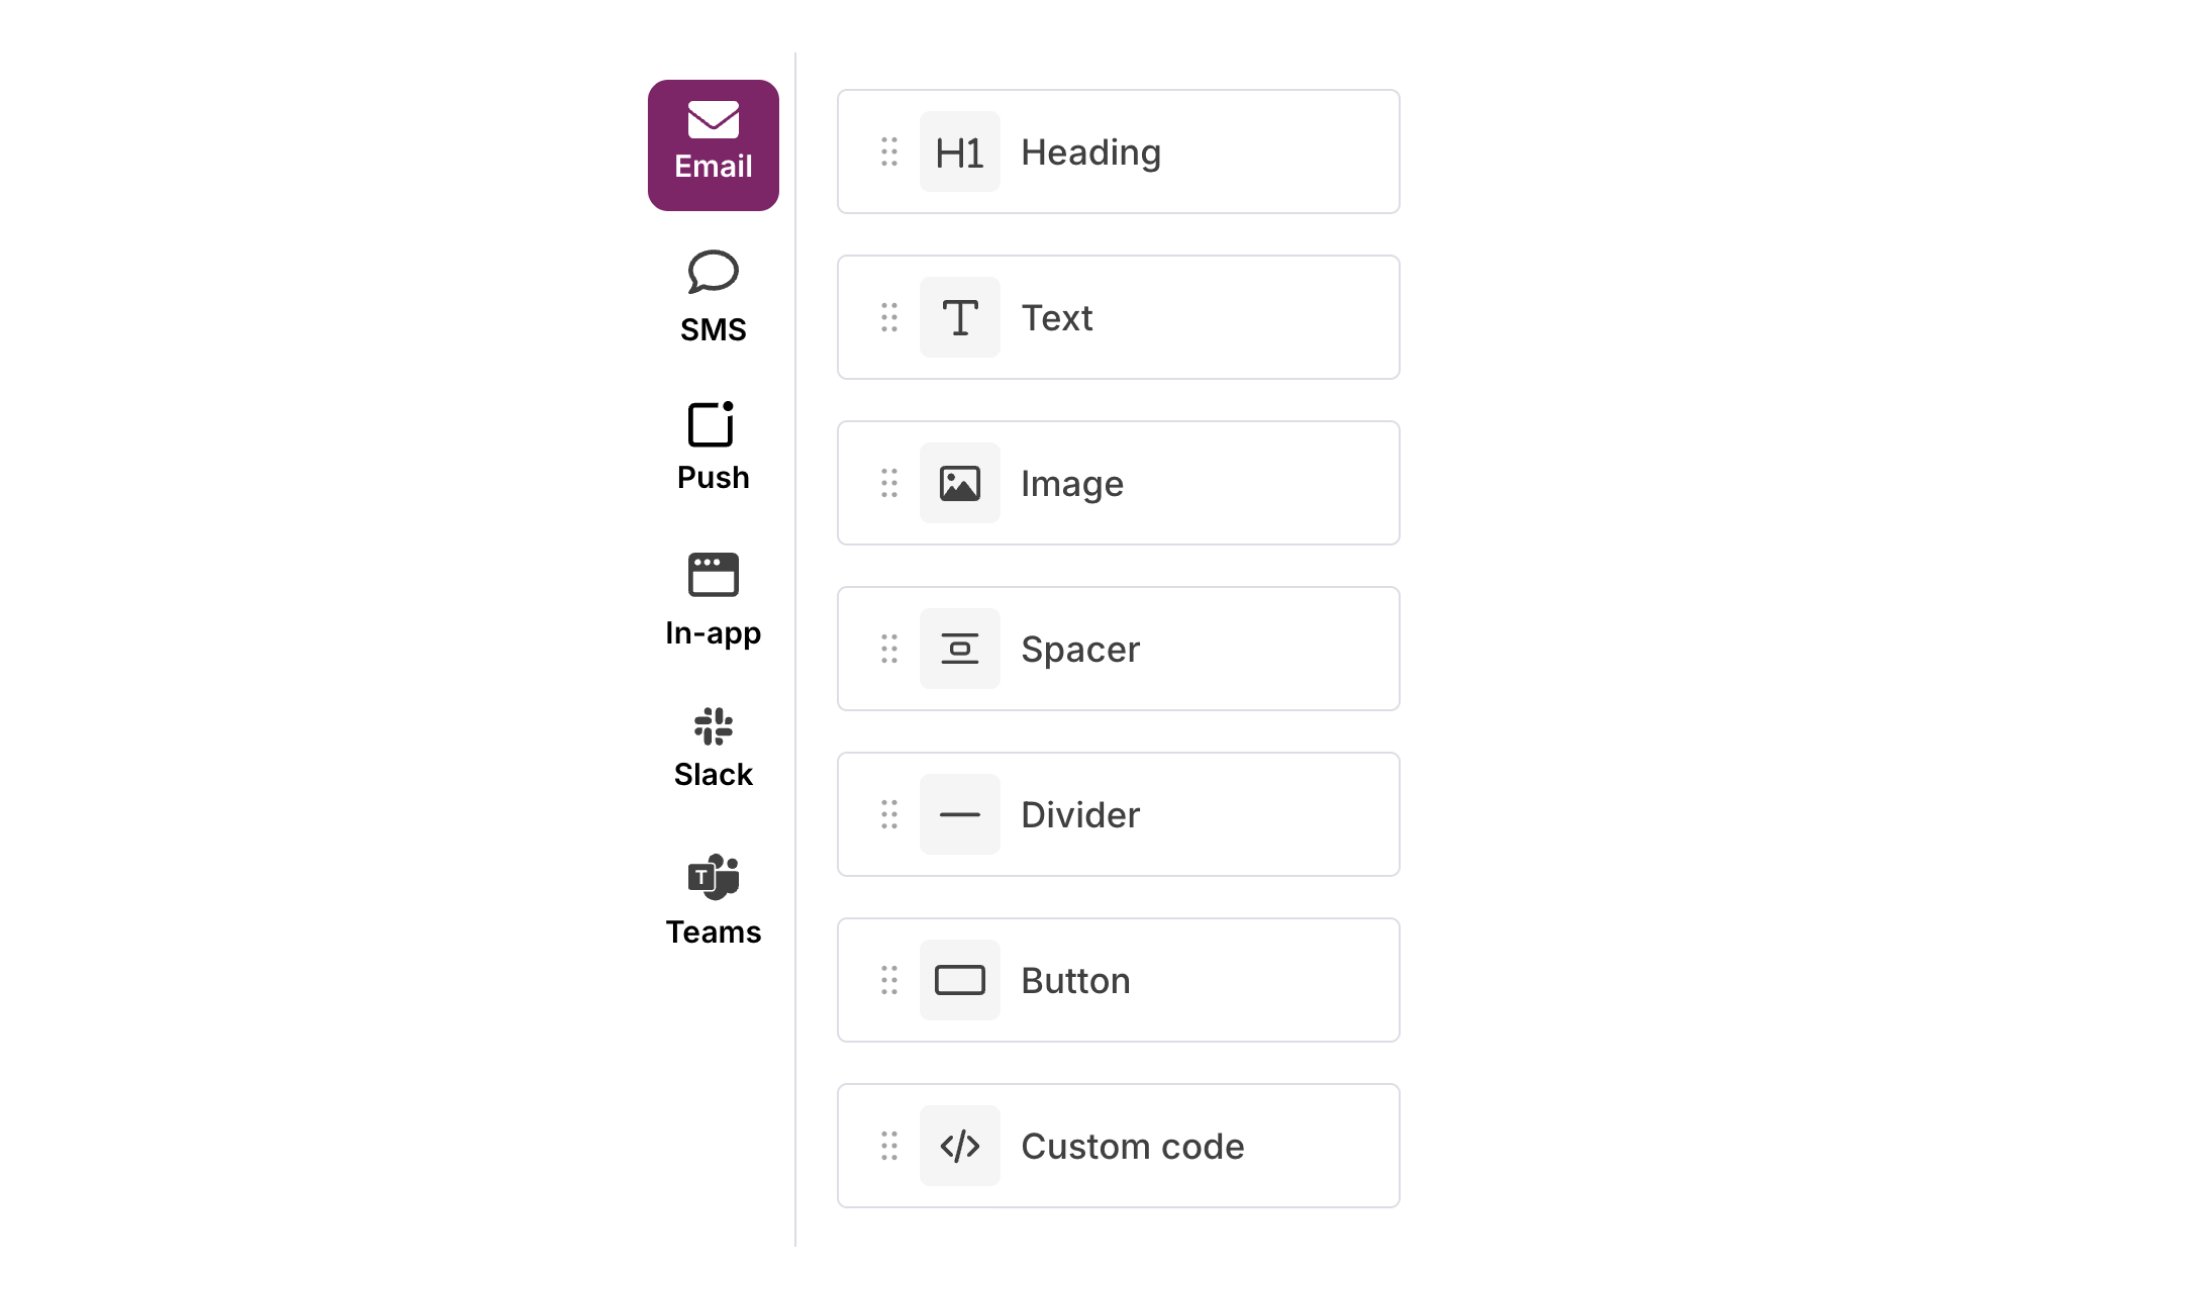
Block Sidebar
Block settings
Select a block and its settings open in the right panel. is the reference for every setting each block exposes, with its default. Click a block to open its settings in the right panel. They vary by block type and may include:- Frame: padding and margin.
- Border: border style and radius.
- Alignment: text and content alignment.
- Colors: background and text colors.
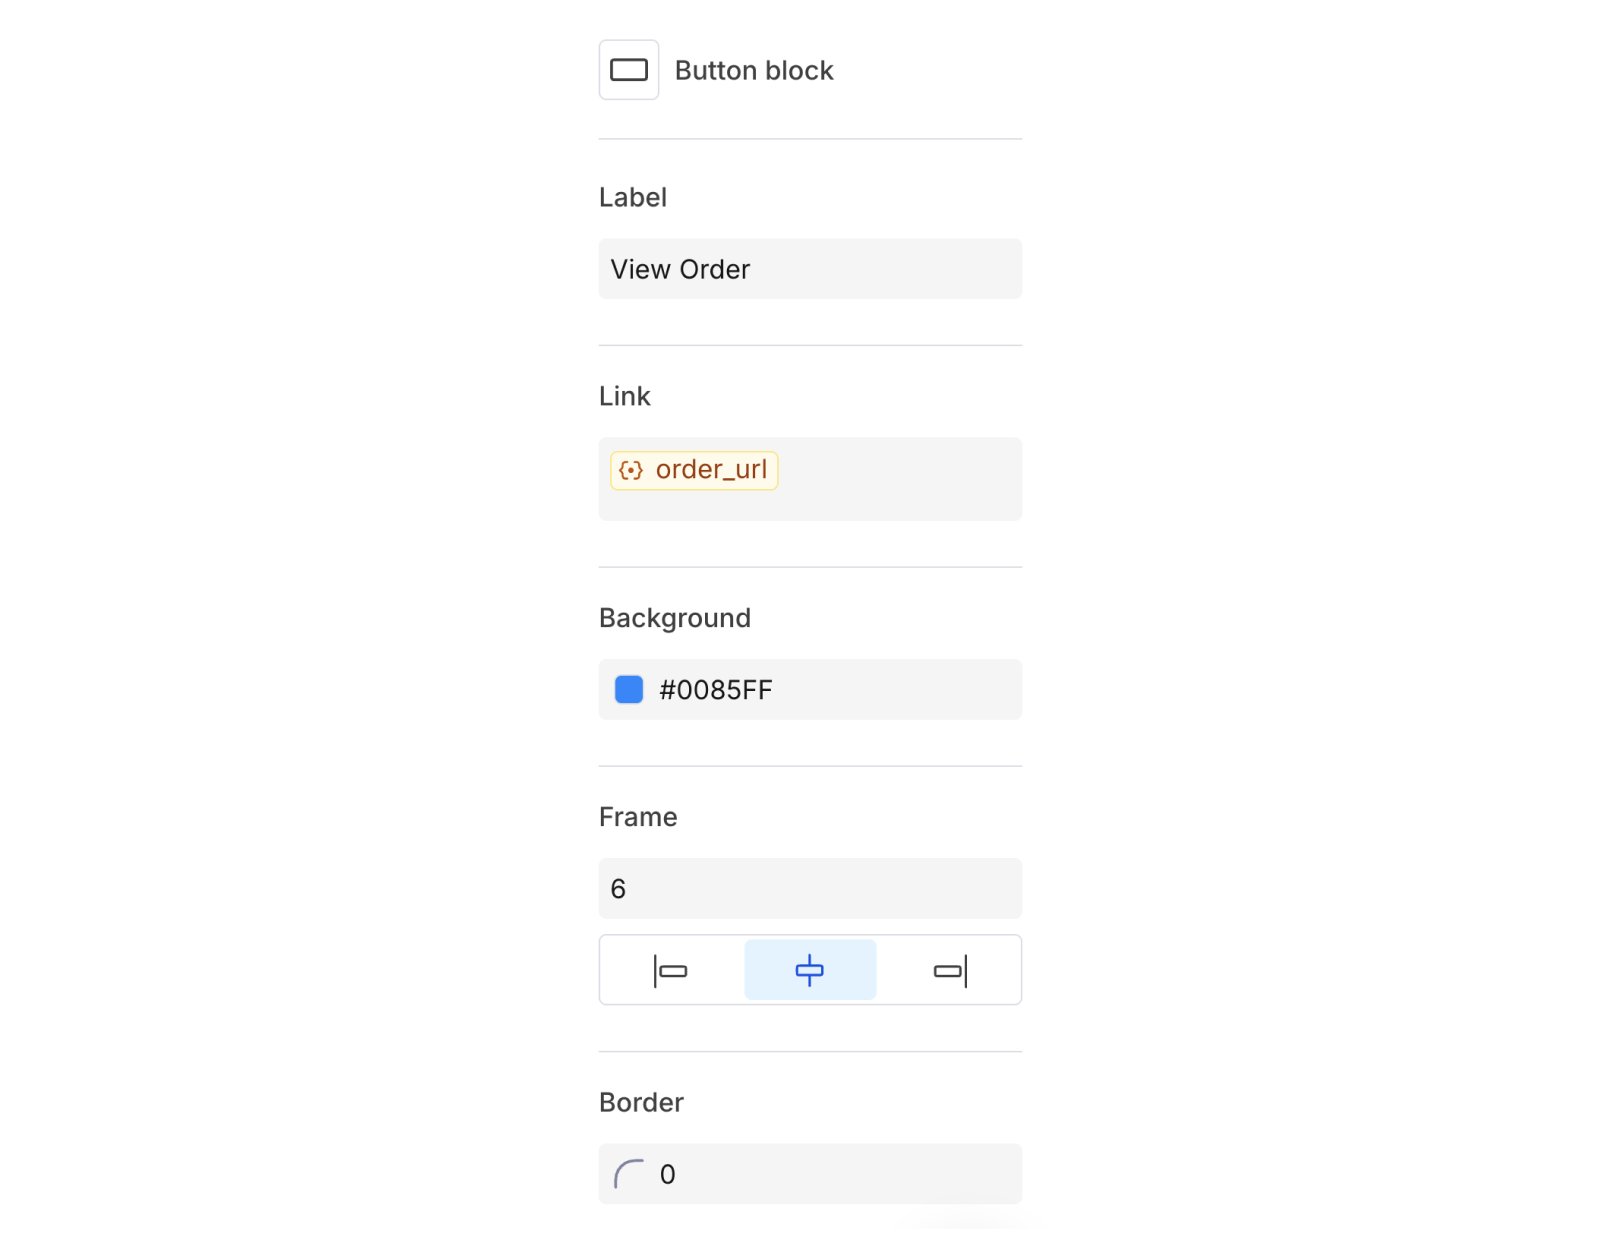
Block Settings
Copying and removing blocks
When you select a block, action icons appear:- Copy: duplicate the block directly below.
- Delete: remove the block from the canvas.
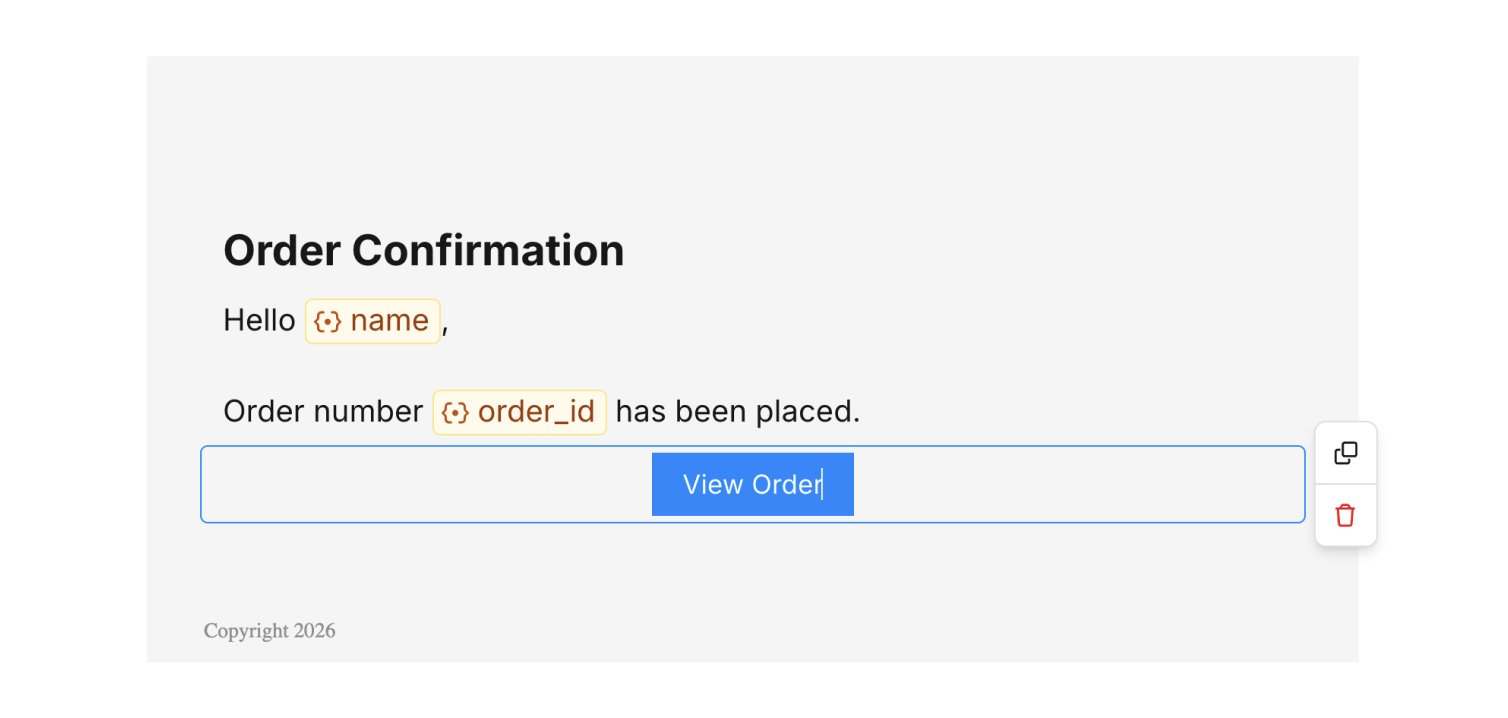
Block Actions
Buttons
Select a button block to open its settings:- Label: text on the button. work here (e.g.
View {{data.product_name}}). - Link URL: where the button goes. Variables work here too.
- Alignment: left, center, or right.
- Background color: button fill color.
- Border radius: corner rounding.
- Border size: outline thickness.
- Padding: space around the button.
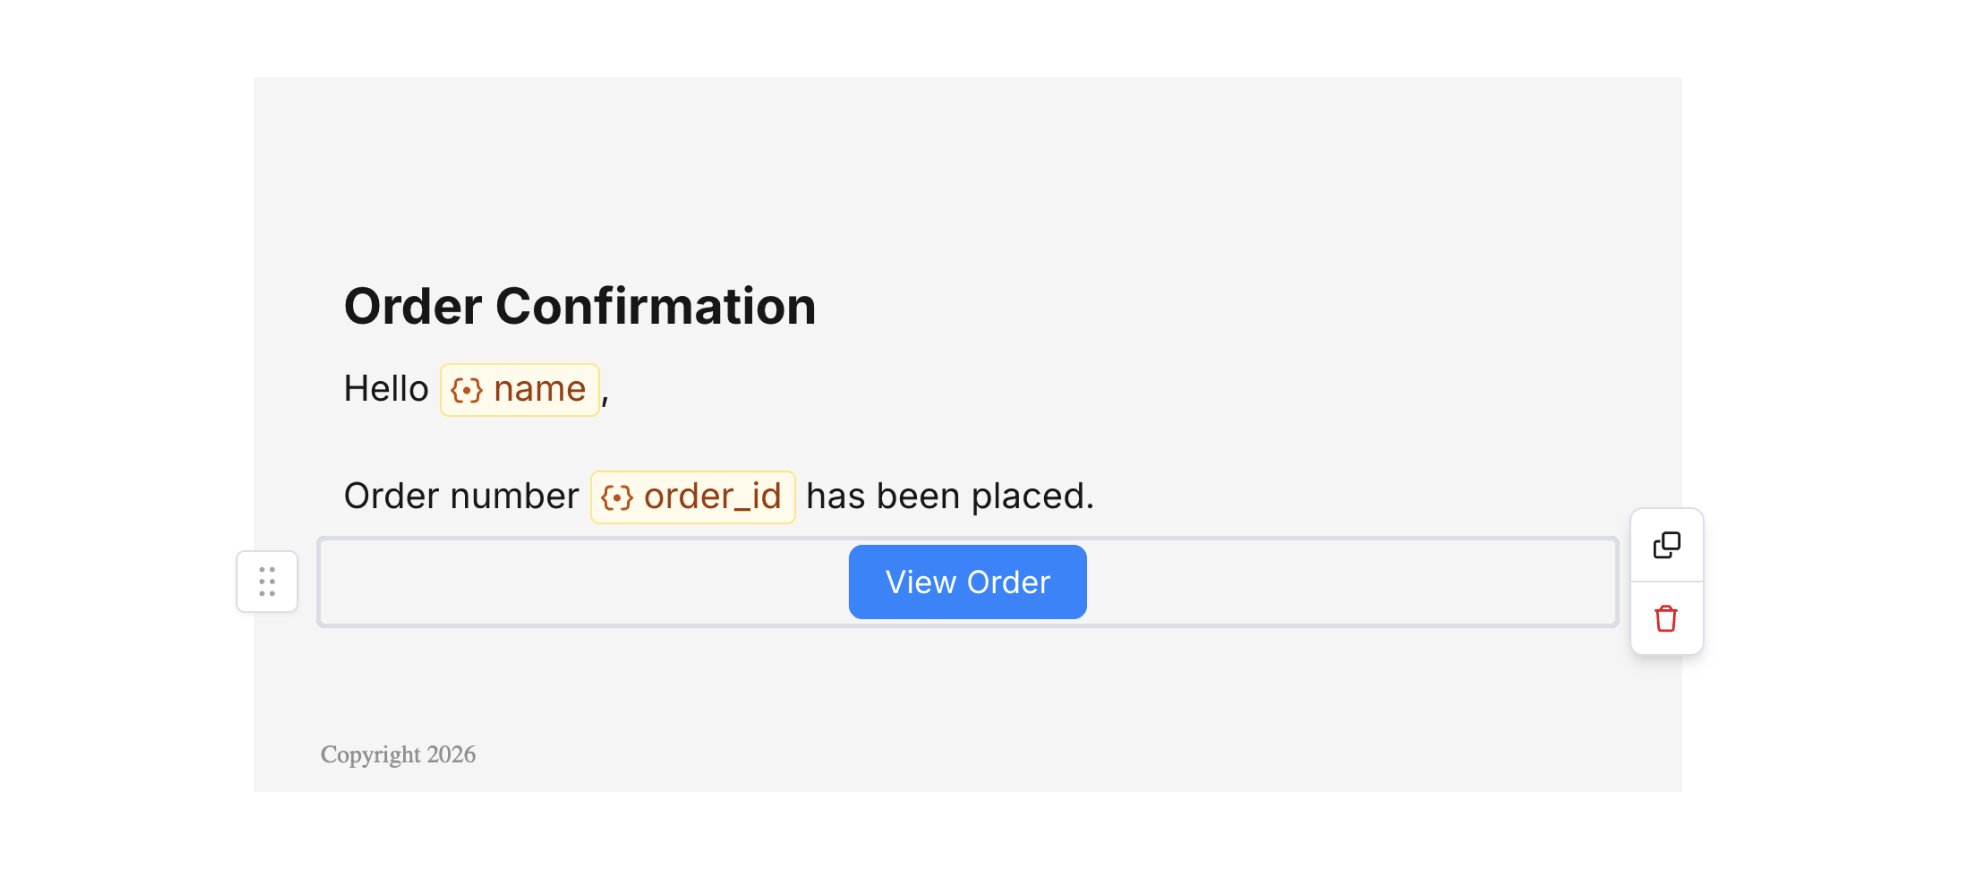
Button Block
Lists
Select a List block to open its settings:- Type: toggle between Unordered (bulleted) and Ordered (numbered).
- Padding: horizontal and vertical padding in pixels.
- Loop on: repeat the list for each item in a data array (see below).
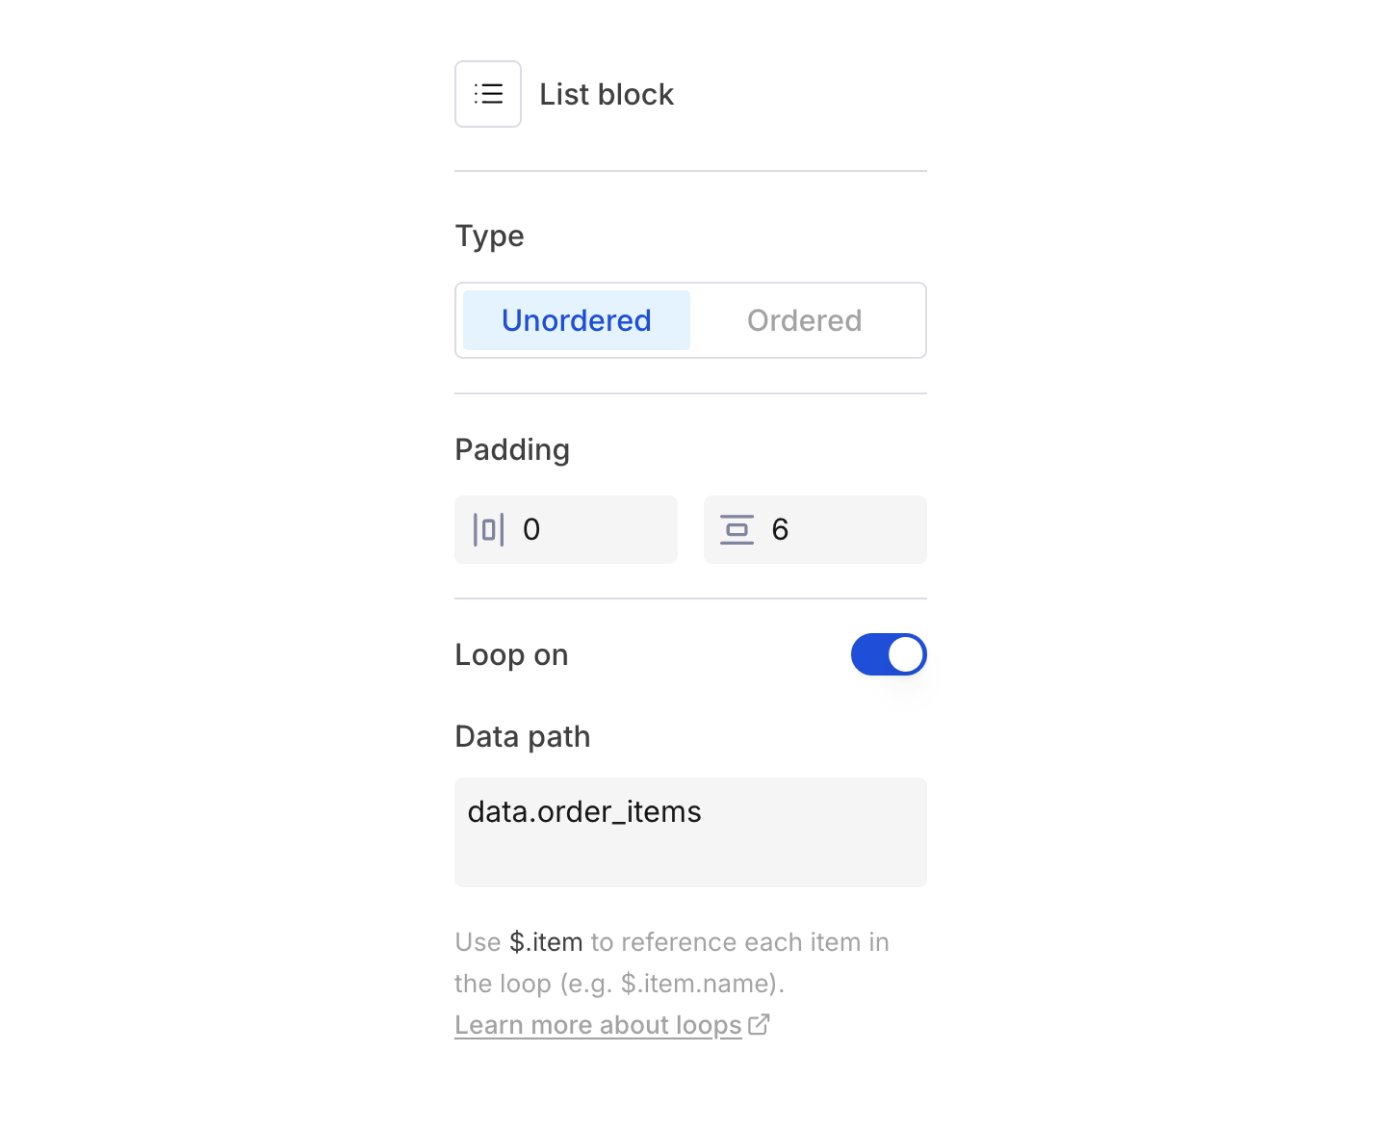
List Settings
Looping over data
The Loop on toggle repeats the list for each item in a data array you send on the call.1
Enable Loop on
Select the List block and turn on Loop on.
2
Set the data path
Enter a Data path pointing to an array in your
data payload (e.g. data.order_items). The path must start with data..3
Reference the current item
In list item text, reference fields on the current item as
{{$.item.name}} and {{$.item.price}}.Send request
data.order_items, then use {{$.item.name}}, {{$.item.quantity}}, and {{$.item.price}} in your list item text. Courier expands the list at send time, one item per array entry.
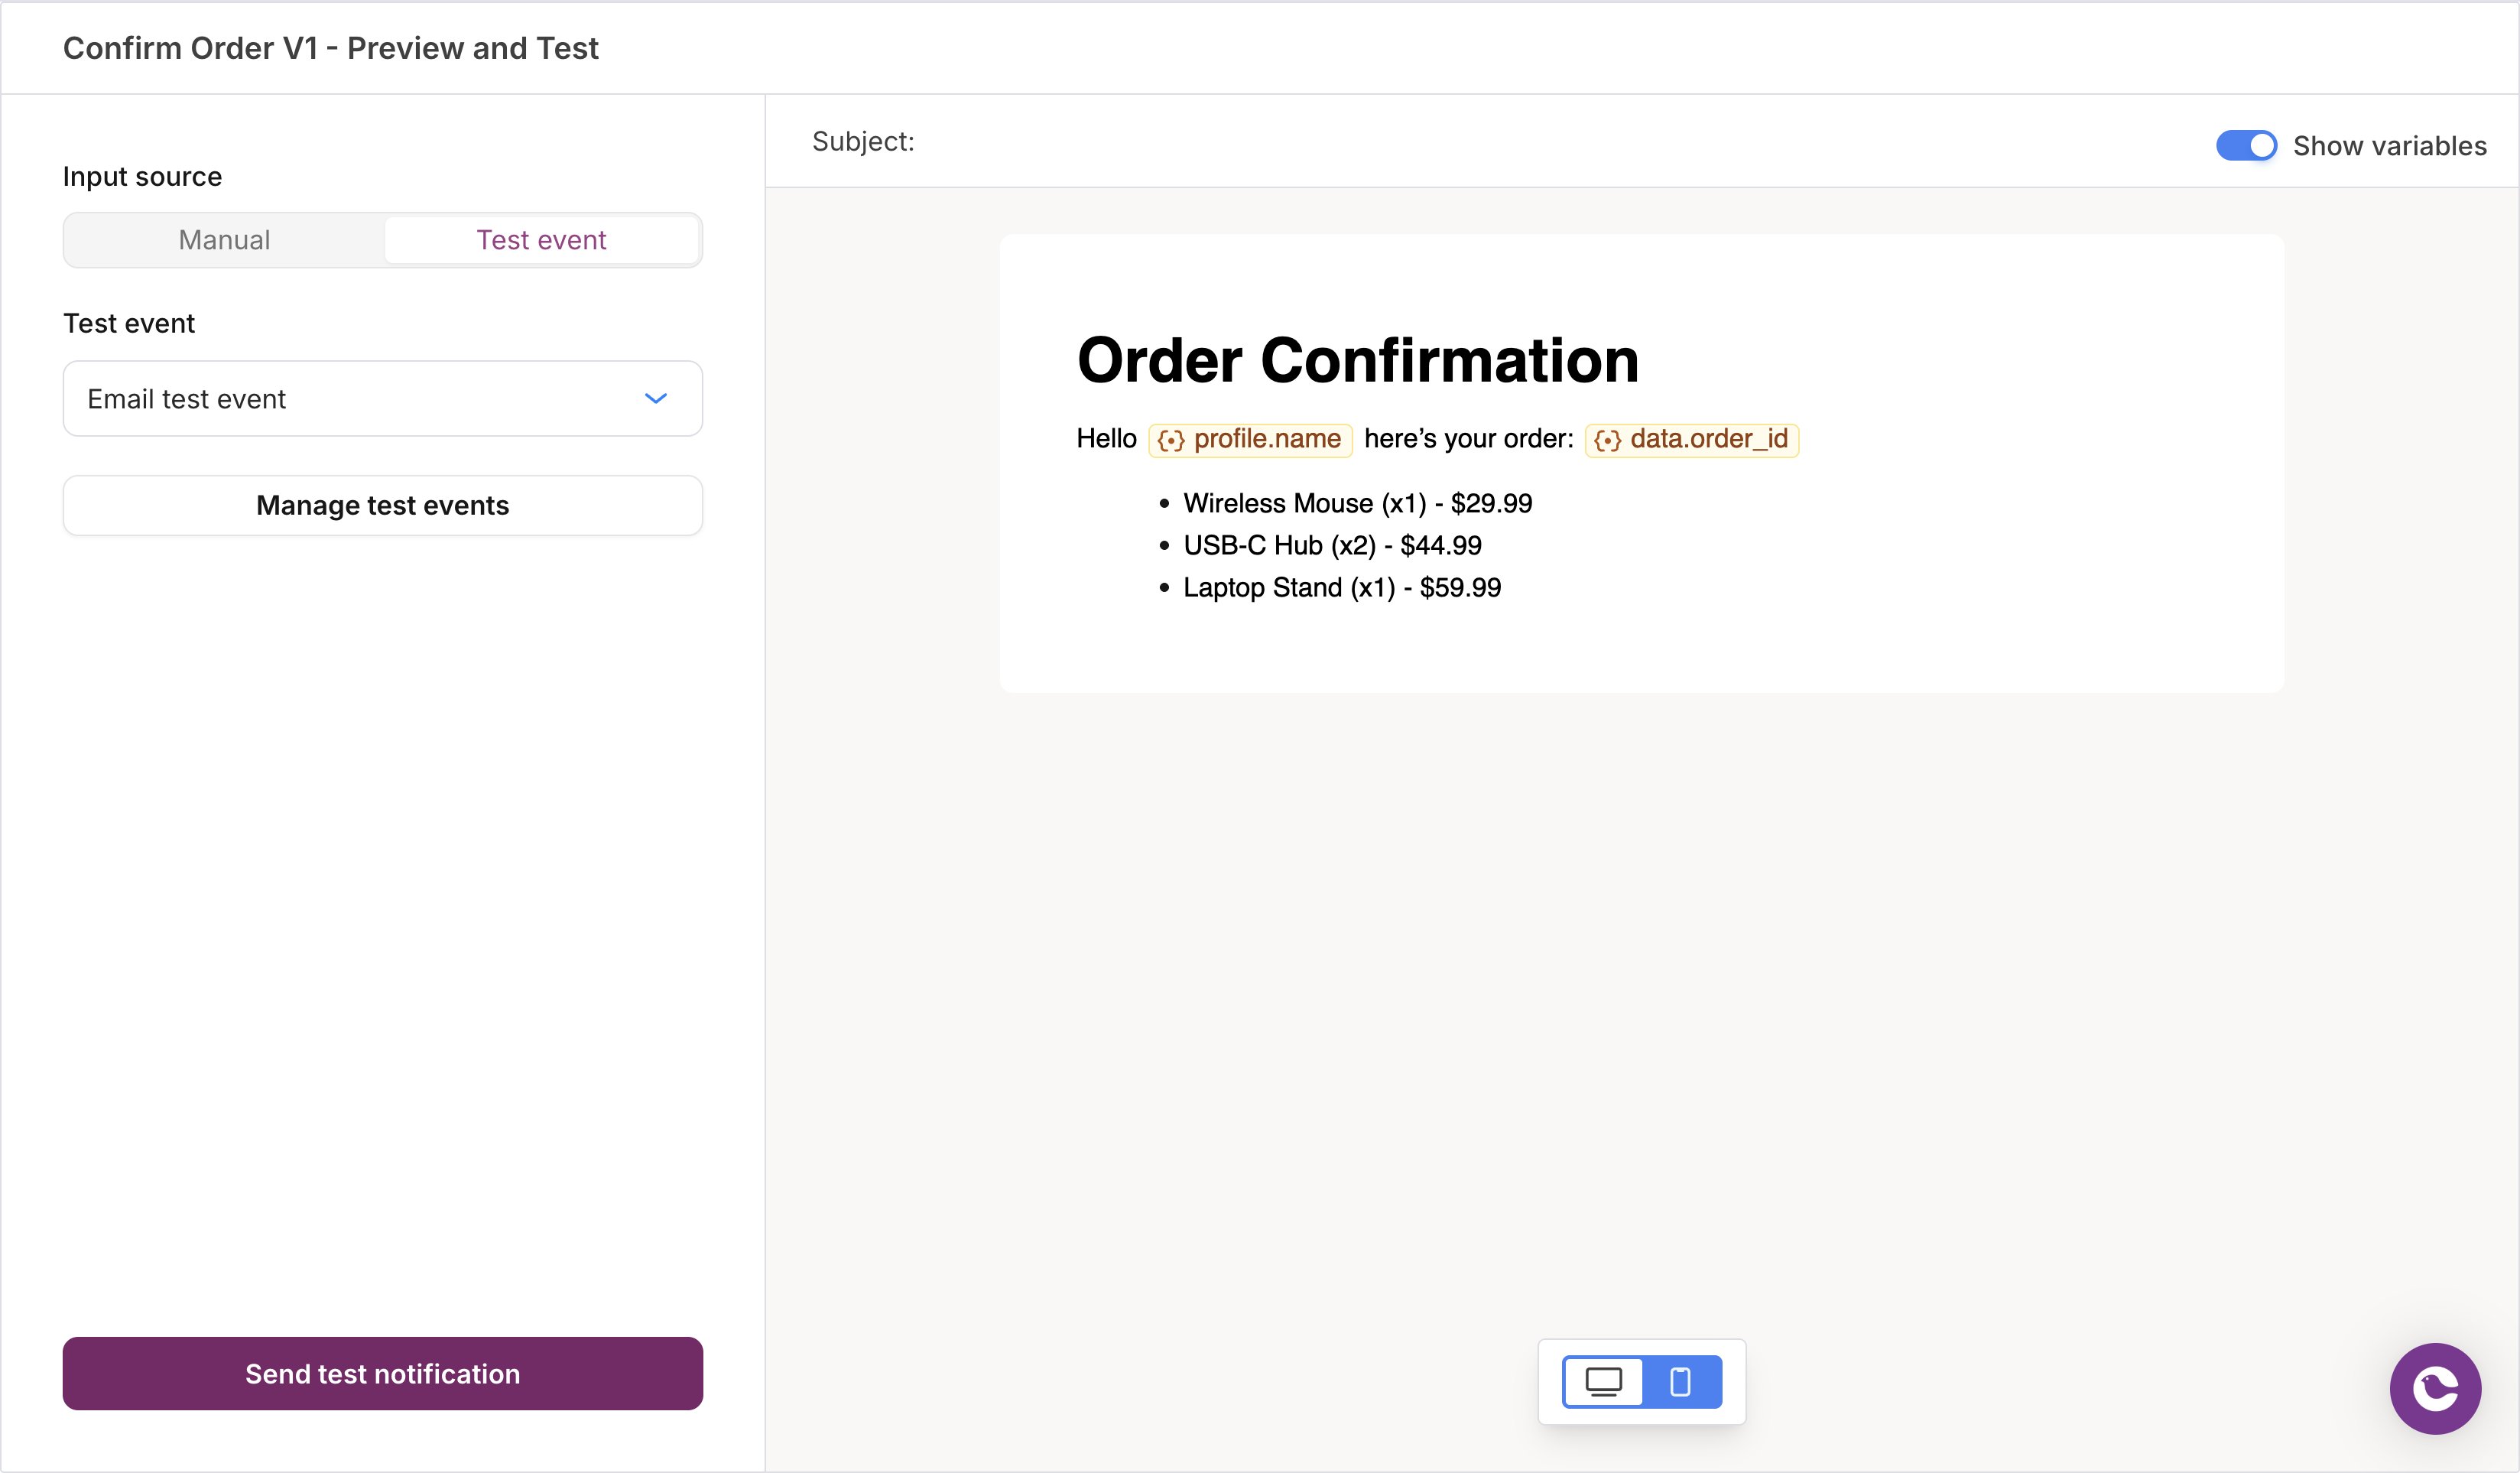
List Loop Preview
data. and point to an array. Design Studio validates it against your data, so you catch mismatches before sending.
At render time, Courier’s expands every iteration into one list block, so spacing and formatting stay consistent. For loop logic the List block does not support (nested loops, conditional items, custom markup), use an HTML block with raw Handlebars.
Columns
A column block starts as a two-column row with equal widths. Each cell is an independent container that accepts any block type, including nested columns. Select the column block to configure it:- Columns count: choose 1, 2, 3, or 4 columns.
- Frame: horizontal and vertical padding (pixels) and background color for each cell.
- Border: width, radius, and color for each cell.
- Conditions: show or hide the block based on profile or data values.
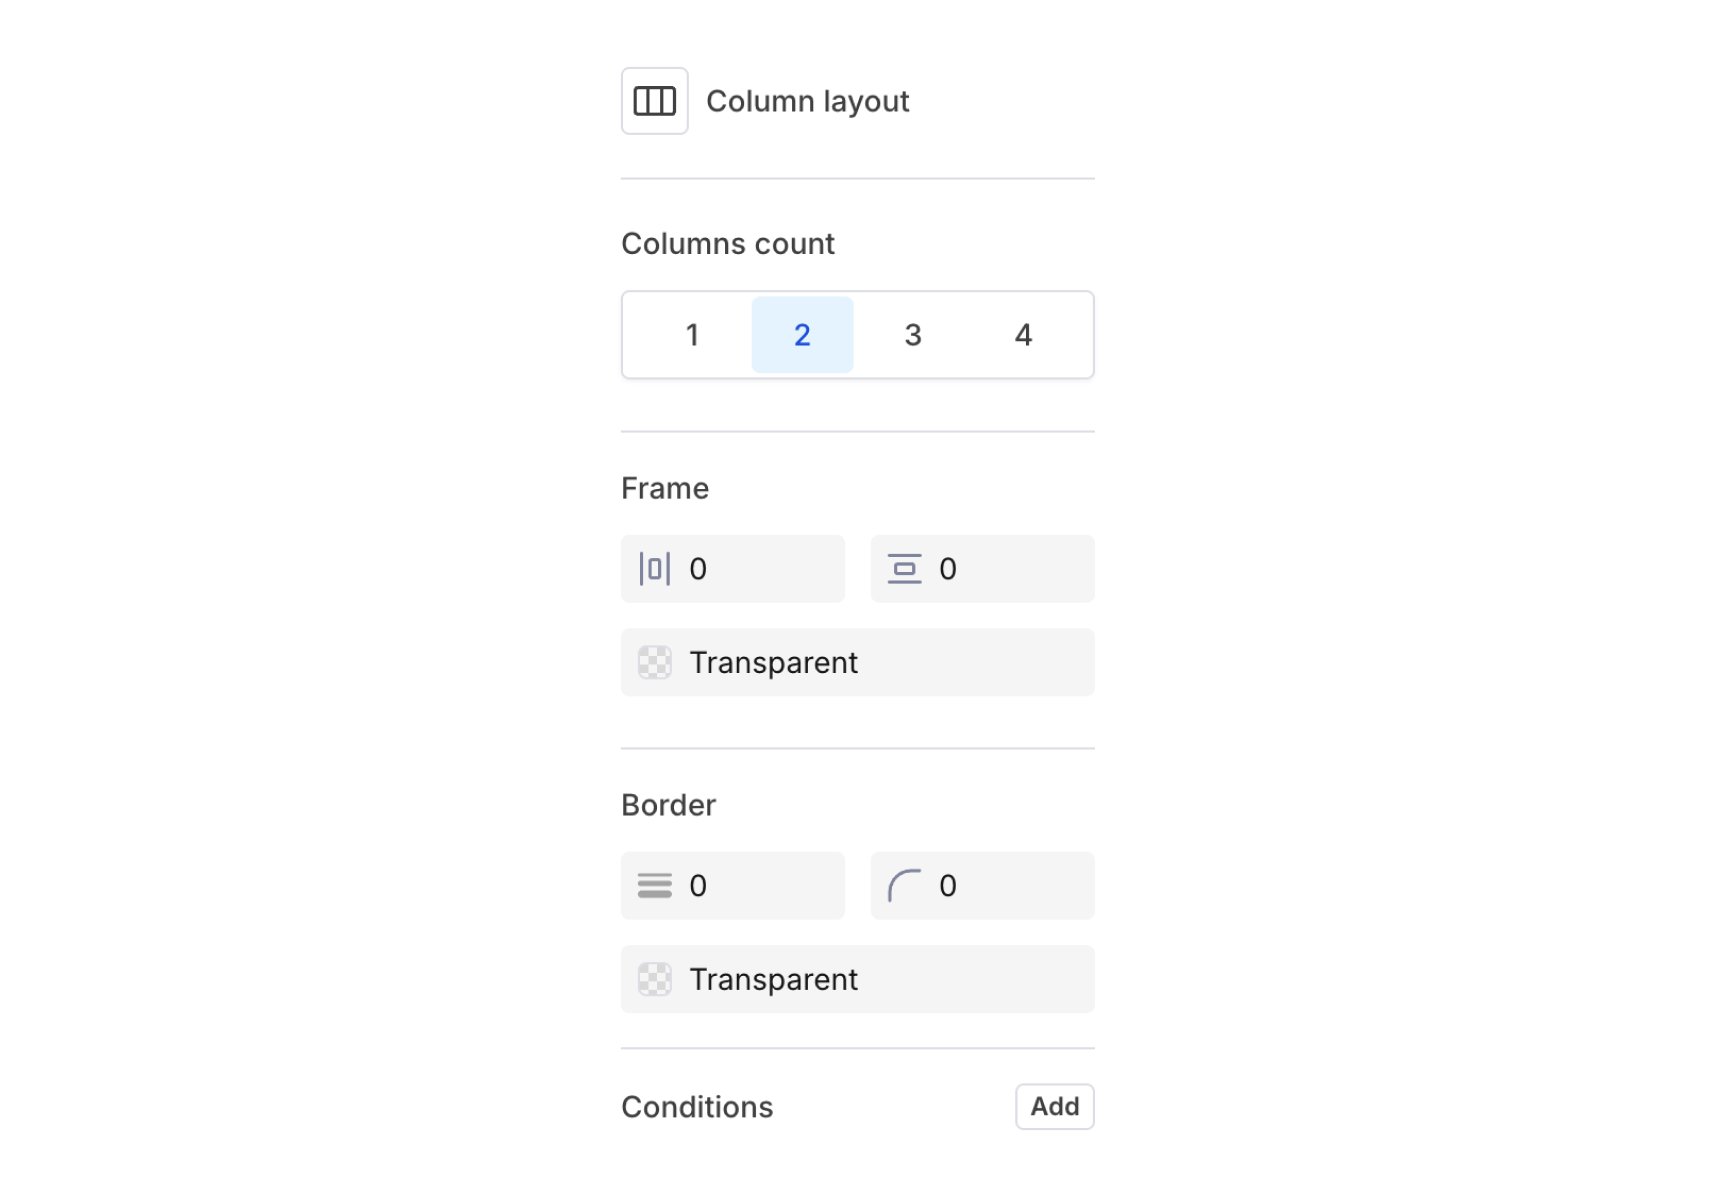
Column Layout Settings
Mobile email clients usually stack columns vertically, so keep to 2 or 3 columns and write content that reads well both side by side and stacked.
HTML
HTML gives you full control of your markup for custom tables, tracking pixels, or porting an existing HTML email into Courier. There are two ways to use it. Picking the wrong one returns a confusingInvalid input.
Add an inline HTML block
The HTML block gives you a code editor in the right panel. Enter standard HTML (like<div>, <table>, or <img>) and inline CSS. Your changes appear in the canvas preview as you type.
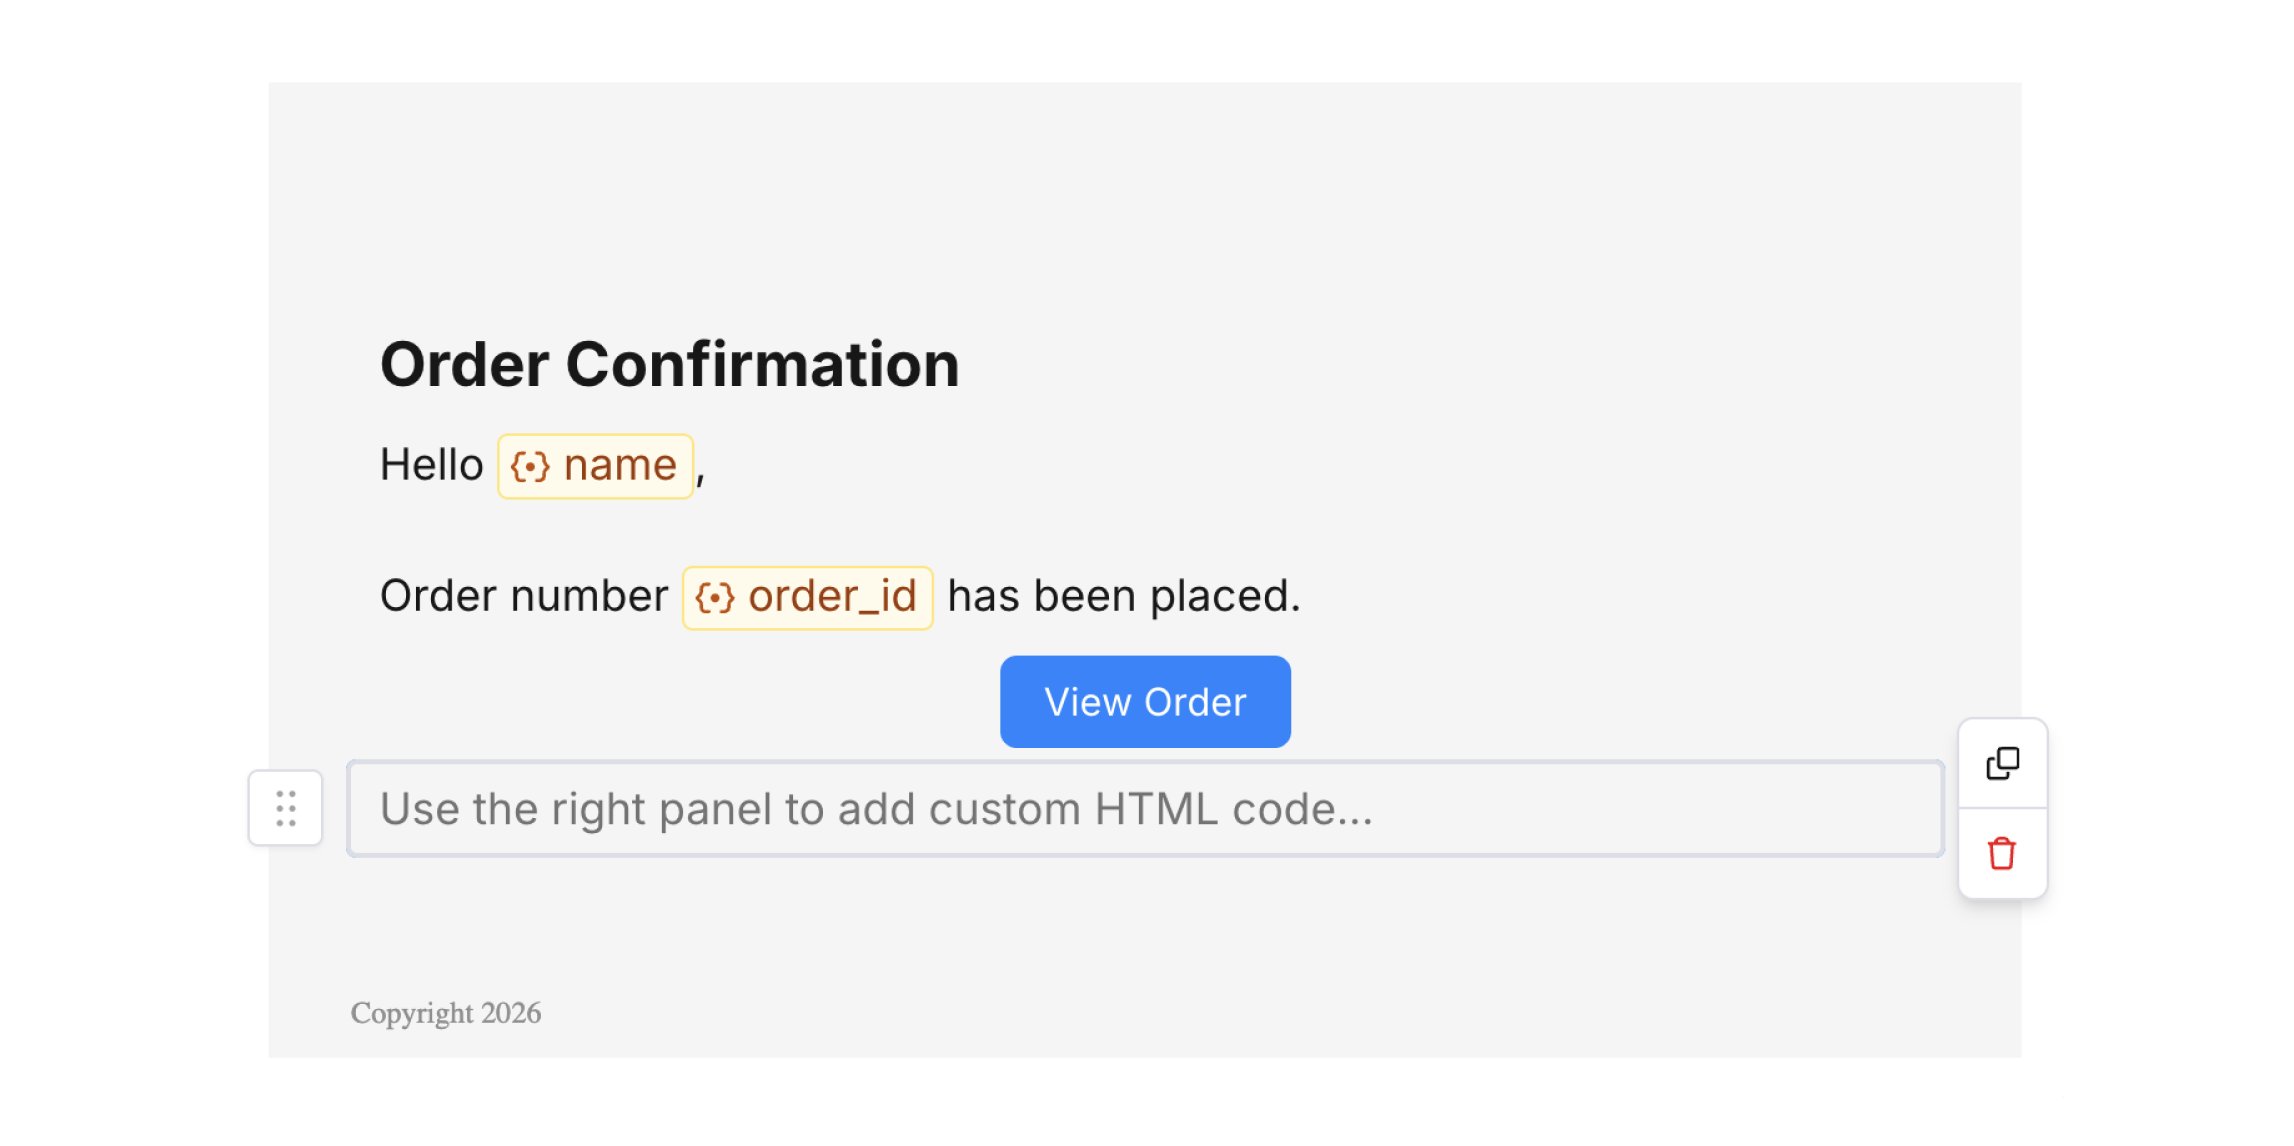
HTML Block
<!DOCTYPE html>, <html>, <head>, and <body>, because Courier composes your markup alongside the other blocks. For a full document, use whole-email HTML.
The expand icon in the editor’s top-right corner opens a larger window.
Variables and Handlebars
HTML blocks support in{{variable}} syntax and every , including {{#if}} for conditionals and {{#each}} for arrays. Inside an inline HTML block, Handlebars resolve automatically, with no transformer to configure.
This is the place for helper expressions. A rich-text block turns {{ into a variable chip, so a helper call typed there is flagged invalid. An HTML block takes raw Handlebars as written.
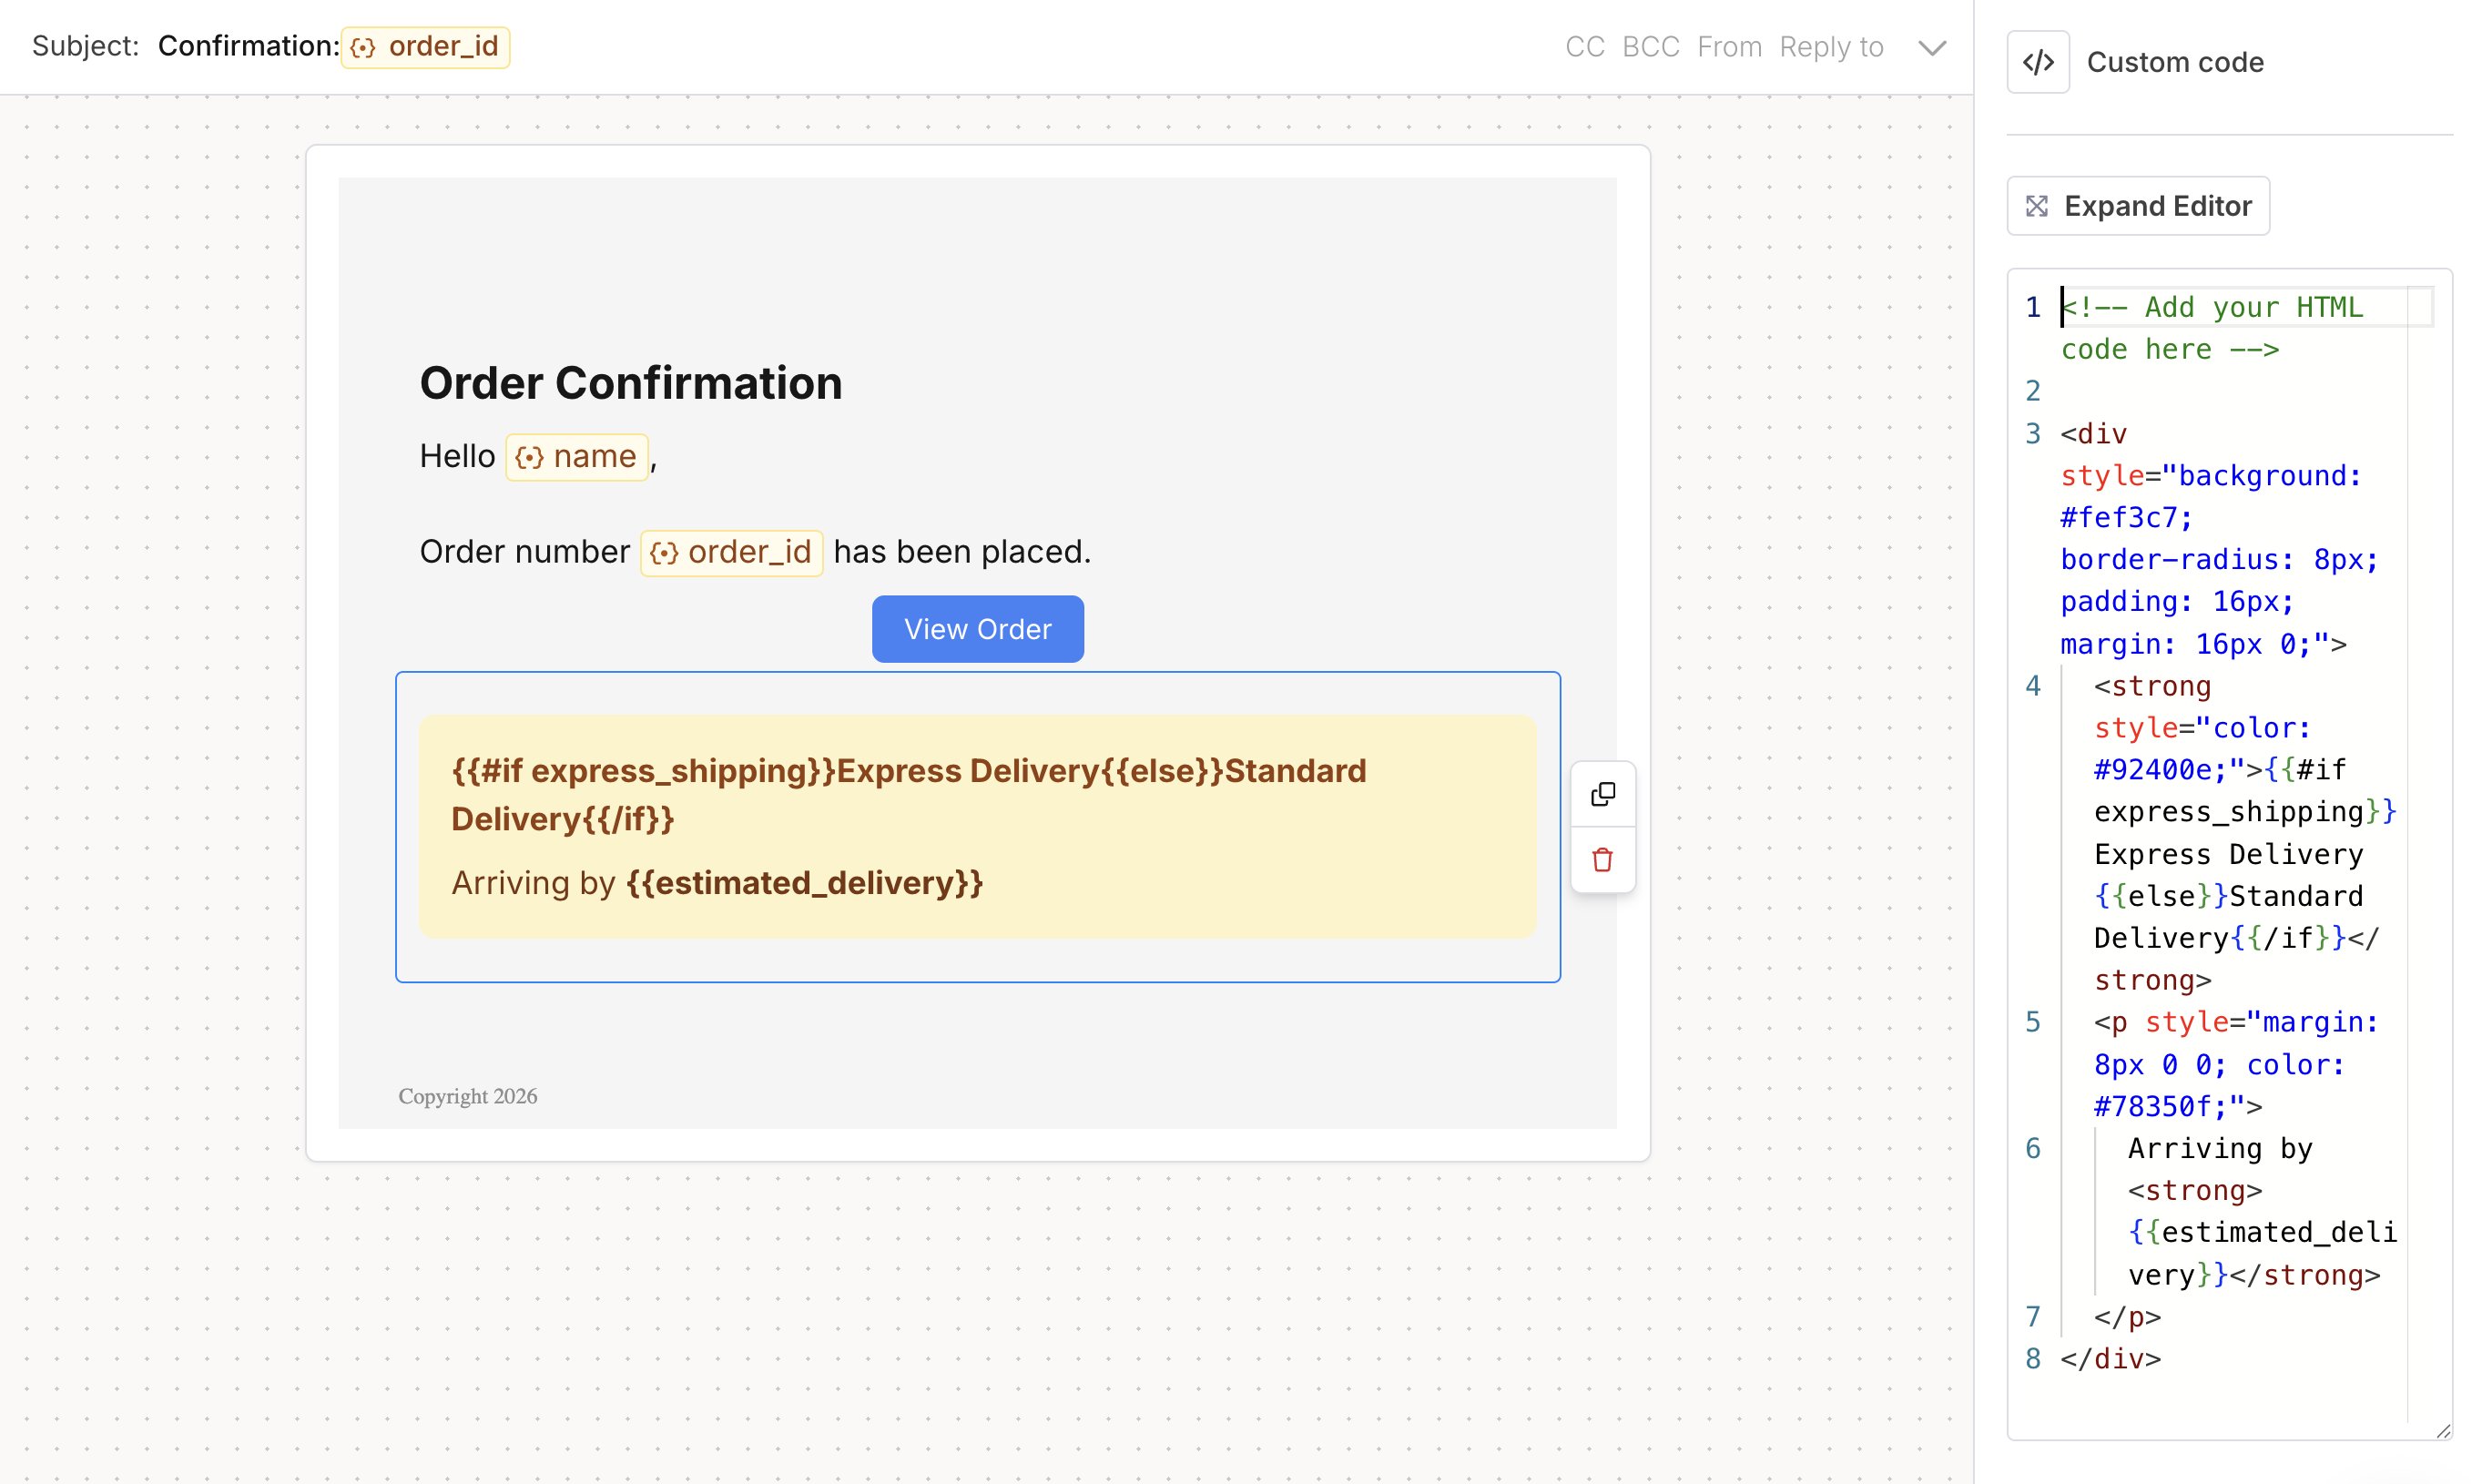
Handlebars Example
Send a full HTML email
To use a complete HTML document, put it on the email node’sraw.html. Declare the handlebars transformer so your {{variables}} resolve. The meta title sets the subject line, and raw.html replaces that channel’s rendered body.