
Installation

To implement Inbox in React, you’ll need a backend to retrieve messages. This functionality is managed through the CourierInbox component and requires an active Courier account. Steps to Set Up Inbox:
1

Install the Courier React SDK

Install the Courier React SDK package for your React version.
npm install @trycourier/courier-react
//App.js
import { CourierInbox } from "@trycourier/courier-react";

function App() {
  return <CourierInbox />;
}
Sample App: Want to see a complete working example? Clone and run our React Inbox sample app from the courier-samples repository.
2

Create a JWT

After installation, you’ll need a JWT to authenticate your users. Each JWT should be generated for an individual user by your backend and securely provided to your frontend client. For details, see our full How to Send a JWT from Your Backend tutorial, which provides language-specific backend examples.Required JWT scopes for Inbox:
  • user_id:{{userId}} - Restricts the token to a specific user
  • inbox:read:messages - Allows fetching inbox messages
  • inbox:write:events - Allows marking messages as read/unread or archive
You can designate how long tokens last by passing an expires_in property to the token generation.
An example payload to the issue-token API looks like :
{
  "scope": "user_id:{{userId}} inbox:read:messages inbox:write:events",
  "expires_in": "1d"
}
3

Configure the CourierInbox

Use JWTs to initialize and configure the CourierInbox component in your application. Here’s a complete example with JWT authentication:
//App.js
import { useState, useEffect } from "react";
import { CourierInbox, useCourier } from "@trycourier/courier-react";

function App() {
  const [courierJwt, setCourierJwt] = useState();
  const [userId] = useState('example_user');
  const courier = useCourier();

  const generateCourierJwt = async () => {
    // Pass user ID to your backend to generate a JWT
    const response = await fetch(`/api/generate-courier-jwt`, {
      method: 'POST',
      headers: {
        'Content-Type': 'application/json',
      },
      body: JSON.stringify({ userId })
    });
    const { token } = await response.json();
    setCourierJwt(token);
  };

  // When the userId in the app changes,
  // generate a new JWT to sign in to the Courier SDK
  useEffect(() => {
    generateCourierJwt();
  }, [userId]);

  // When courierJwt has been updated, call signIn
  useEffect(() => {
    if (courierJwt) {
      // Authenticate the user with the inbox
      courier.shared.signIn({ userId, jwt: courierJwt });
    }
  }, [courierJwt, userId]);

  return <CourierInbox />;
}

Send a Notification to Inbox

To test your Inbox setup, send a message using the Courier Send API. Just set the to field to your user’s ID, add a title and body, and set routing to use only the "inbox" channel as shown in the example below. 
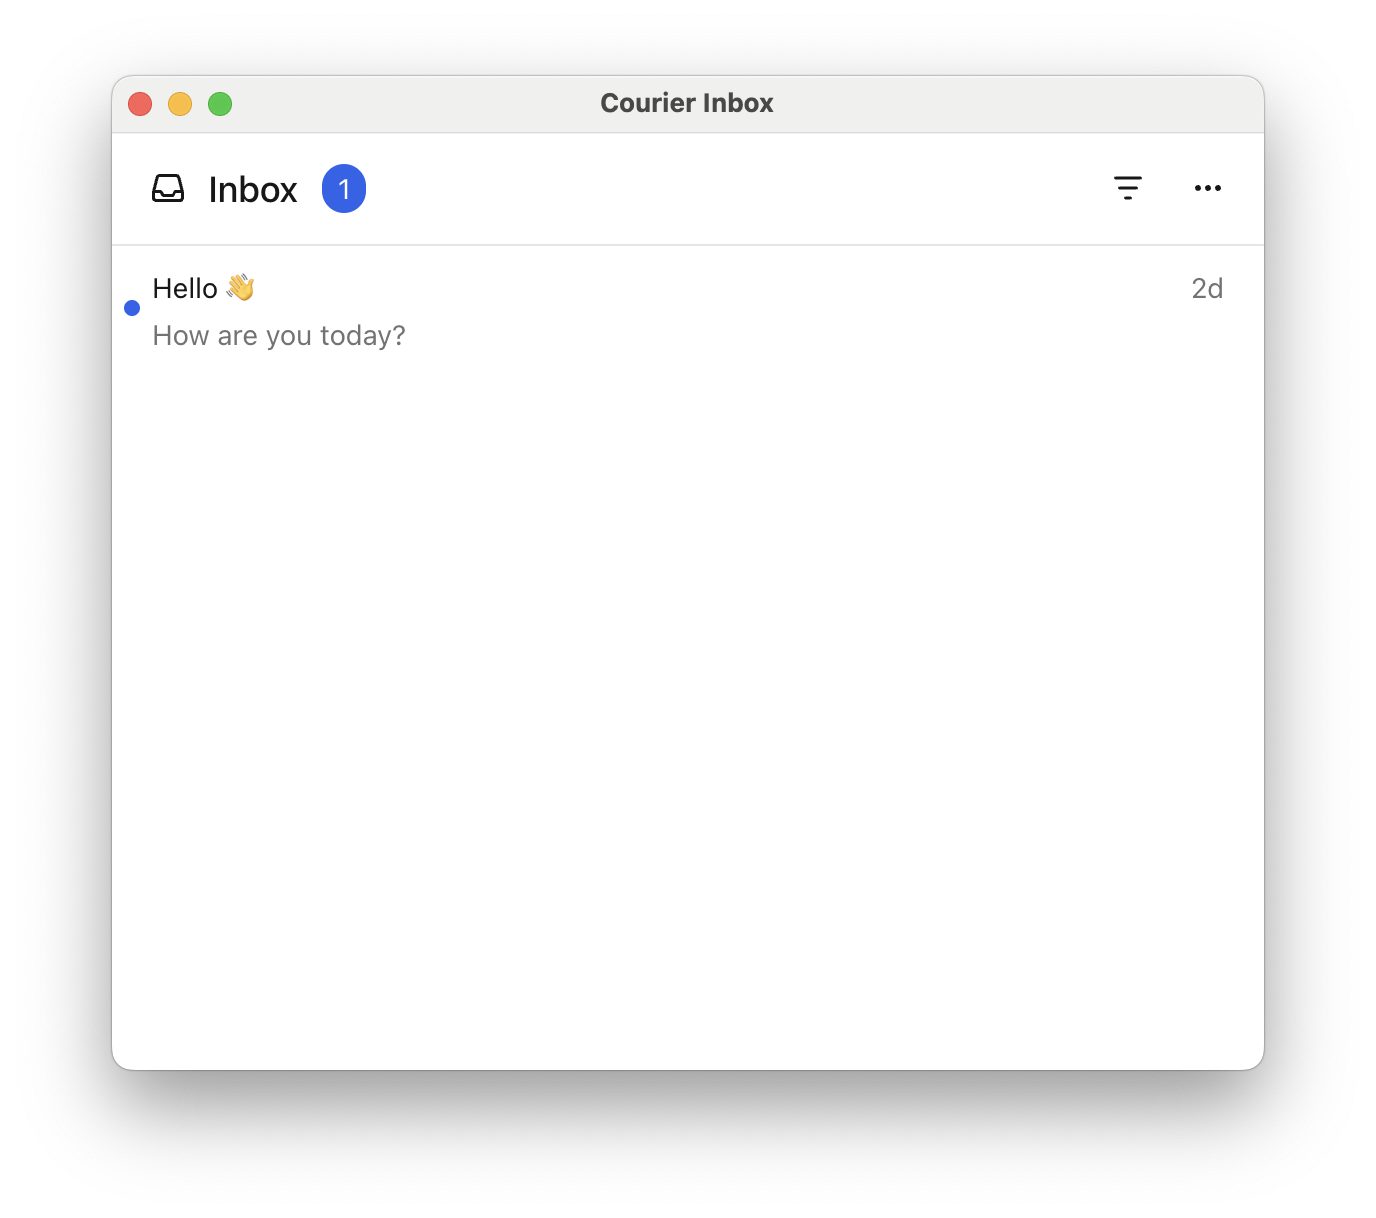
Use curl, Postman, or any HTTP client with your API key. If successful, you’ll see the message appear in your Inbox UI.
curl -X POST https://api.courier.com/send \
  -H "Authorization: Bearer YOUR_AUTH_TOKEN" \
  -H "Content-Type: application/json" \
  -d '{
    "message": {
      "to": {"user_id": "example_user"},
      "content": {
        "title": "Hello 👋",
        "body": "How are you today?"
      },
      "routing": {
        "method": "single",
        "channels": ["inbox"]
      }
    }
  }'
You should now be able to see your message displayed in the Inbox.

Inbox First Message