Courier makes it easy to set custom routing rules and ensure your user’s get exactly the product notification experience you intend.

Routing in the Send API

The routing object allows you to select various channels and decide which ones you want to send messages to. When the method property is defined as single, Courier will attempt to the send messages to only one channel. In the example below, it will first attempt SMS and fail since phone_number is not included in the user profile. Next, it will attempt to send via email instead. If the email is sent successfully, it will not attempt to send a push or chat notification.
"message": {
      "to": {
        "email": "[email protected]",
      },
      "routing": {
        "method": "single",
        "channels": ["email", "sms", "push", "chat"],
      },
    },
When the method property is defined as all, Courier will attempt to send messages to all listed channels. In the example below, Courier will send the message via email and SMS. Since the push and chat profile requirements are not completed, it will not be able to send via those channels.
"to": {
    "phone_number": "123456789",
    "email": "[email protected]",
    "slack": {
        "access_token": "xoxb-xxxxx",
        "email": "[email protected]"
      },
    "apn": {
                "token": "YOUR_APNS_TOKEN"
            }
},
"routing": {
    "method": "all",
    "channels": ["sms", "email", "push", "chat"],
}
Ensure that for all channels listed, the profile requirements are met. You can find information about profile requirements for a provider in the respective integration documentation.

Combining Routing with Channel Conditions

When using custom routing in the Send API, you can combine it with channel conditions using the message.channels object.
Important: When you specify a routing object, channel conditions configured in the template’s default routing strategy are not automatically included. You must explicitly provide channel conditions in message.channels if you want them evaluated.
{
  "message": {
    "to": { "user_id": "user_123" },
    "template": "order-confirmation",
    "data": {
      "order_id": "ORD-12345",
      "urgency": "high"
    },
    "routing": {
      "method": "single",
      "channels": ["email", "sms", "push"]
    },
    "channels": {
      "sms": {
        "if": "data.urgency === 'high'"
      },
      "push": {
        "if": "profile.custom.push_enabled === true"
      }
    }
  }
}
For more details on channel conditions, see Channel Settings.

Routing in the Designer

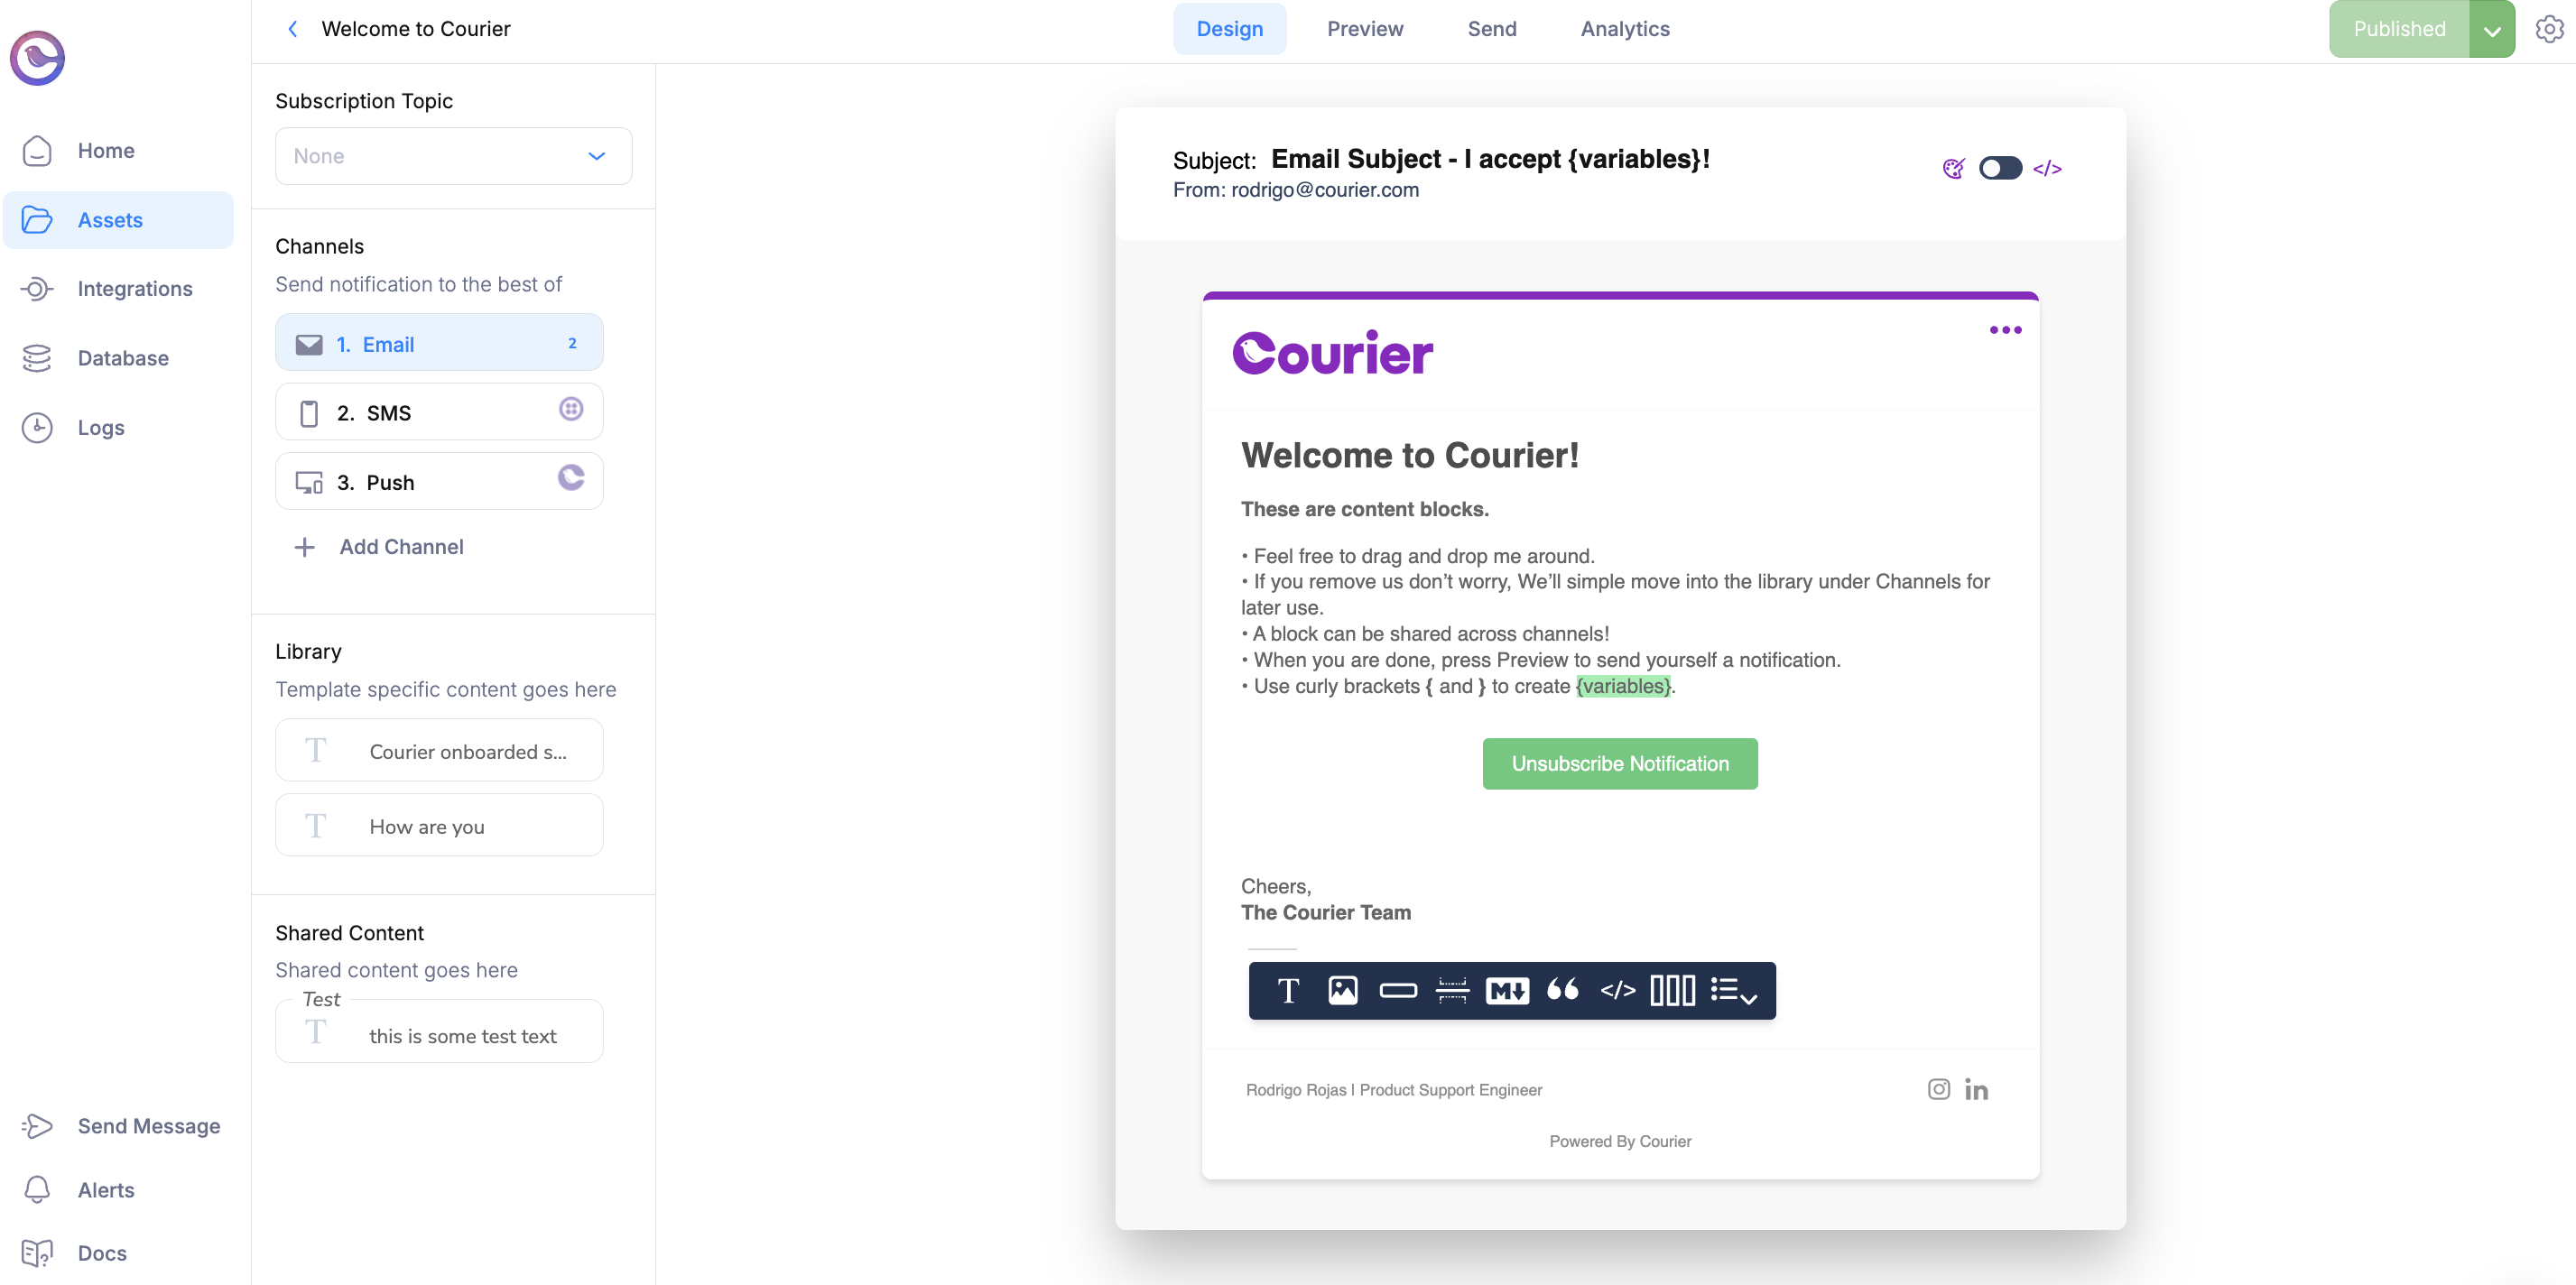
The priority of the channels you select for your notification are arranged in a top-to-bottom hierarchy. To change priority, simply drag and drop your notification channels.
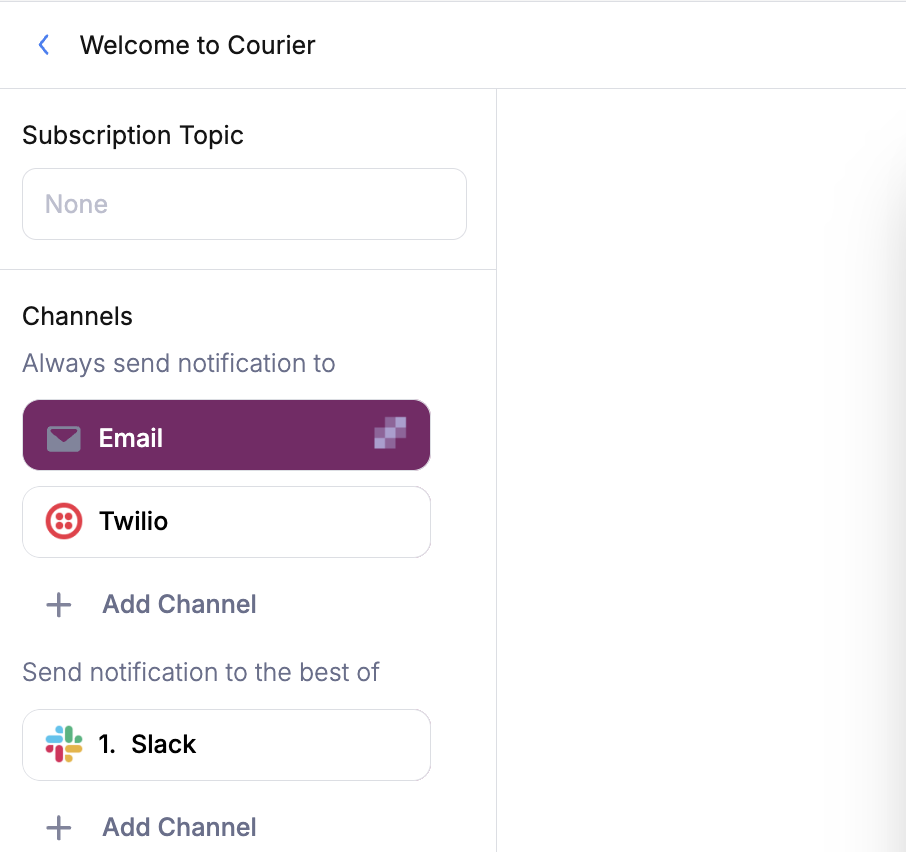
Channel Priority

Courier will attempt to send the notification to the best channel possible, starting from the top and going to the bottom, based on the provided user contact information. You must provide Courier with user’s contact information within their Courier recipient profile or via the Send API call itself. Take, for example, a notification that is designed to send via email, SMS or push, in that order of priority:

Overview of the Designer Routing
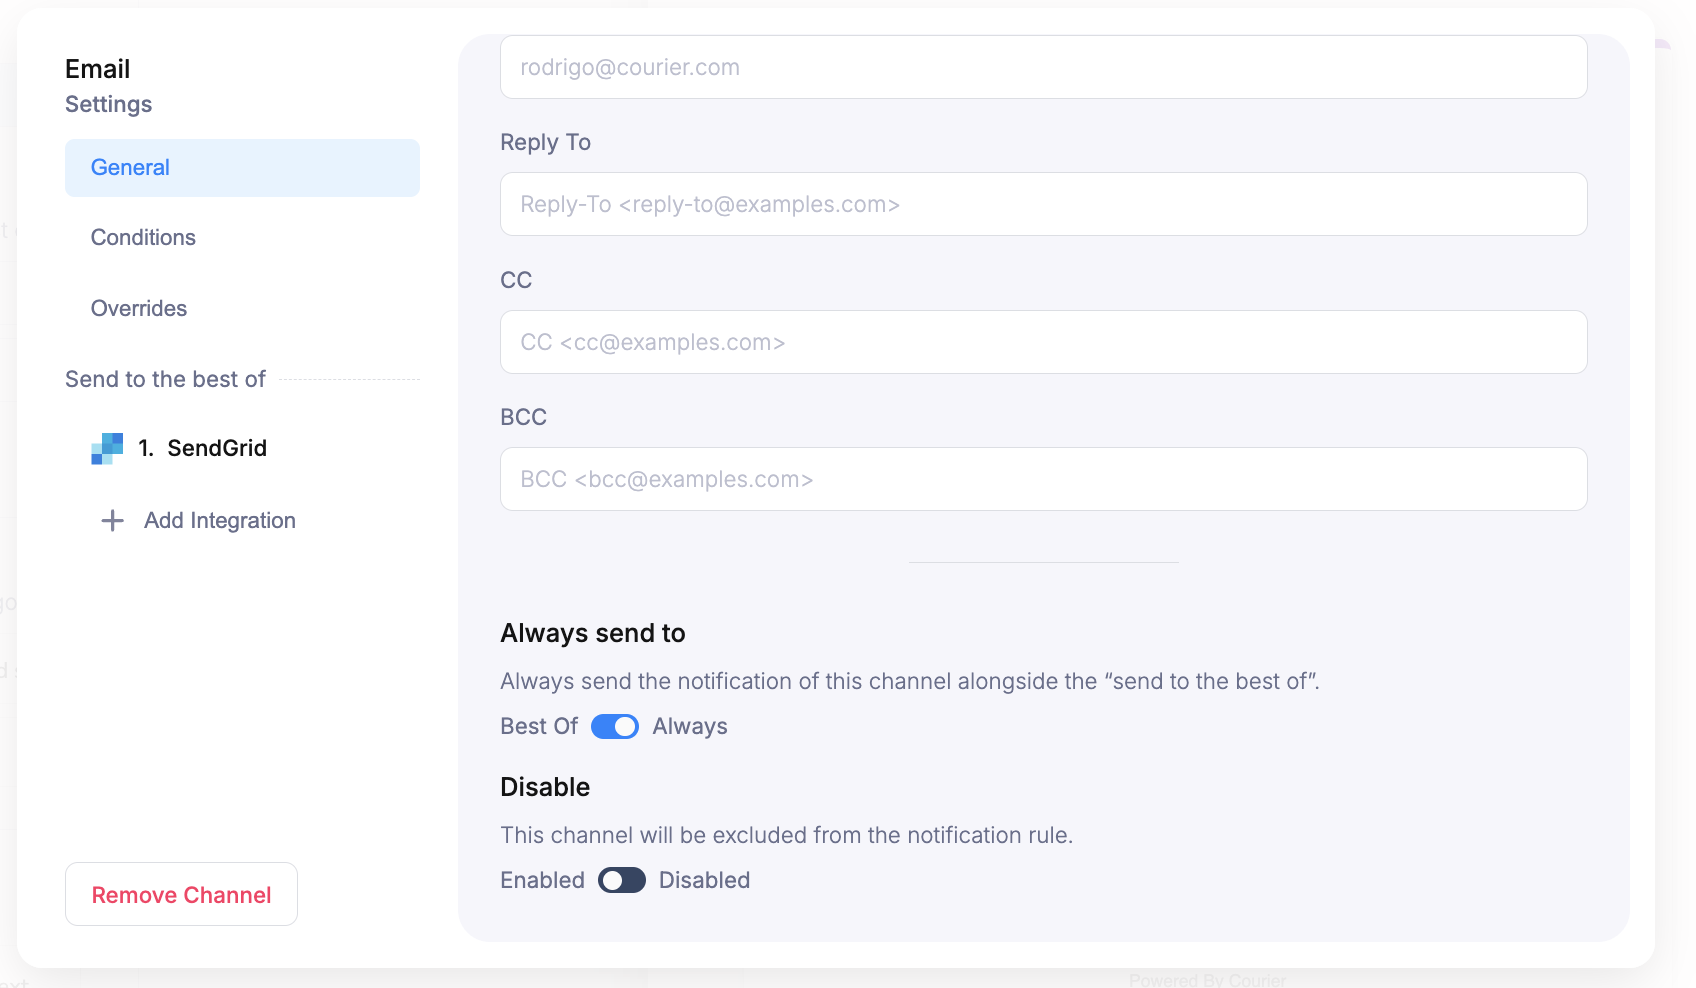
Courier will first attempt to send the notification via email. If the recipient has an email address in their profile, the notification will send via email only. If they don’t have an email address, Courier will look for a phone number. Finally, if they don’t have an email or phone number, Courier will look for a push configuration. You can also choose to ‘always send’ to a specific channel. In order to do this, select the channel settings and turn on Always.
Now Courier will always send this notification via email as well as to the best of the other channels.

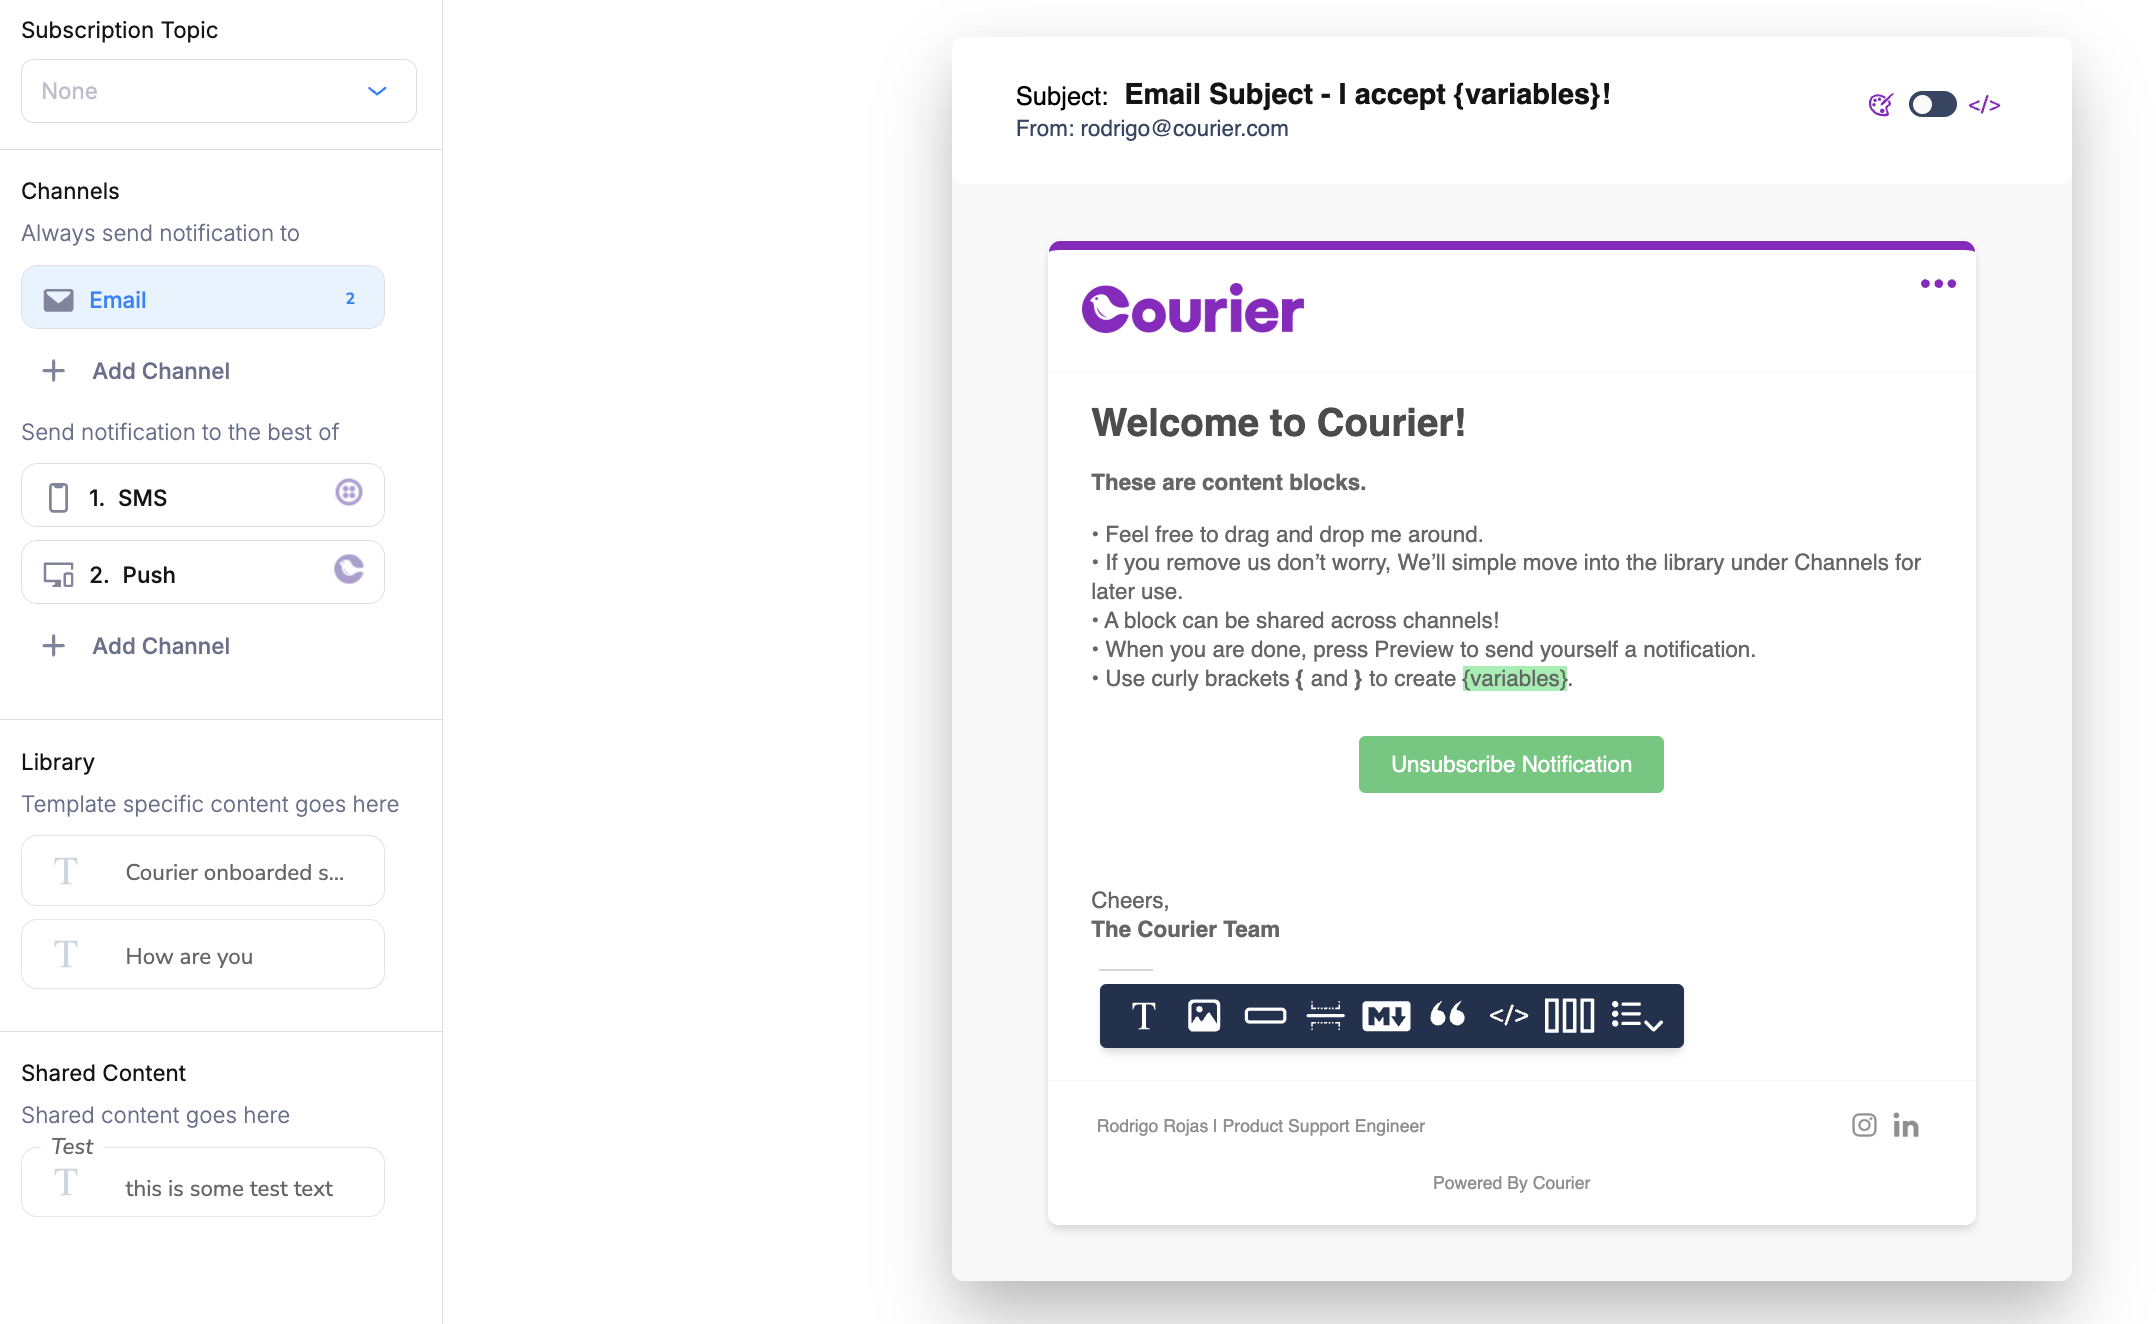
Always send to email and best of to sms and push

The routing settings created in the designer can always be overridden using the preferences API. This will override the hierarchy of the channel rules and send the message only via the Integration specified in the recipient’s profile.