PreferencesV4 component for quick setup, or low-level usePreferences hooks for full custom UI control.
By the end of this tutorial, your users will be able to toggle notification topics on/off, choose delivery channels (Enterprise), and subscribe to digests directly in your app.
Prerequisites
- A Courier account with at least one configured provider
- Subscription topics configured in the Preferences Editor (see How To Set Up a Hosted Preference Center Steps 1-2)
- A React 17+ application
- A backend that generates Courier JWTs for user authentication
If you haven’t created subscription topics and mapped templates yet, complete Steps 1-2 of the hosted preference center tutorial first. The topics and template mappings are the same regardless of how you surface preferences.
Step 1: Install Packages
Install the Courier React packages:Step 2: Set Up the Courier Provider
Wrap your app (or the relevant section) withCourierProvider. This gives all child components access to Courier’s preference APIs.
userId should match the user ID you use when sending notifications.
Option A: Pre-Built Component (Quick Setup)
ThePreferencesV4 component renders a complete preference interface out of the box, including topic toggles, channel selection (Enterprise), and digest scheduling.
Basic Implementation
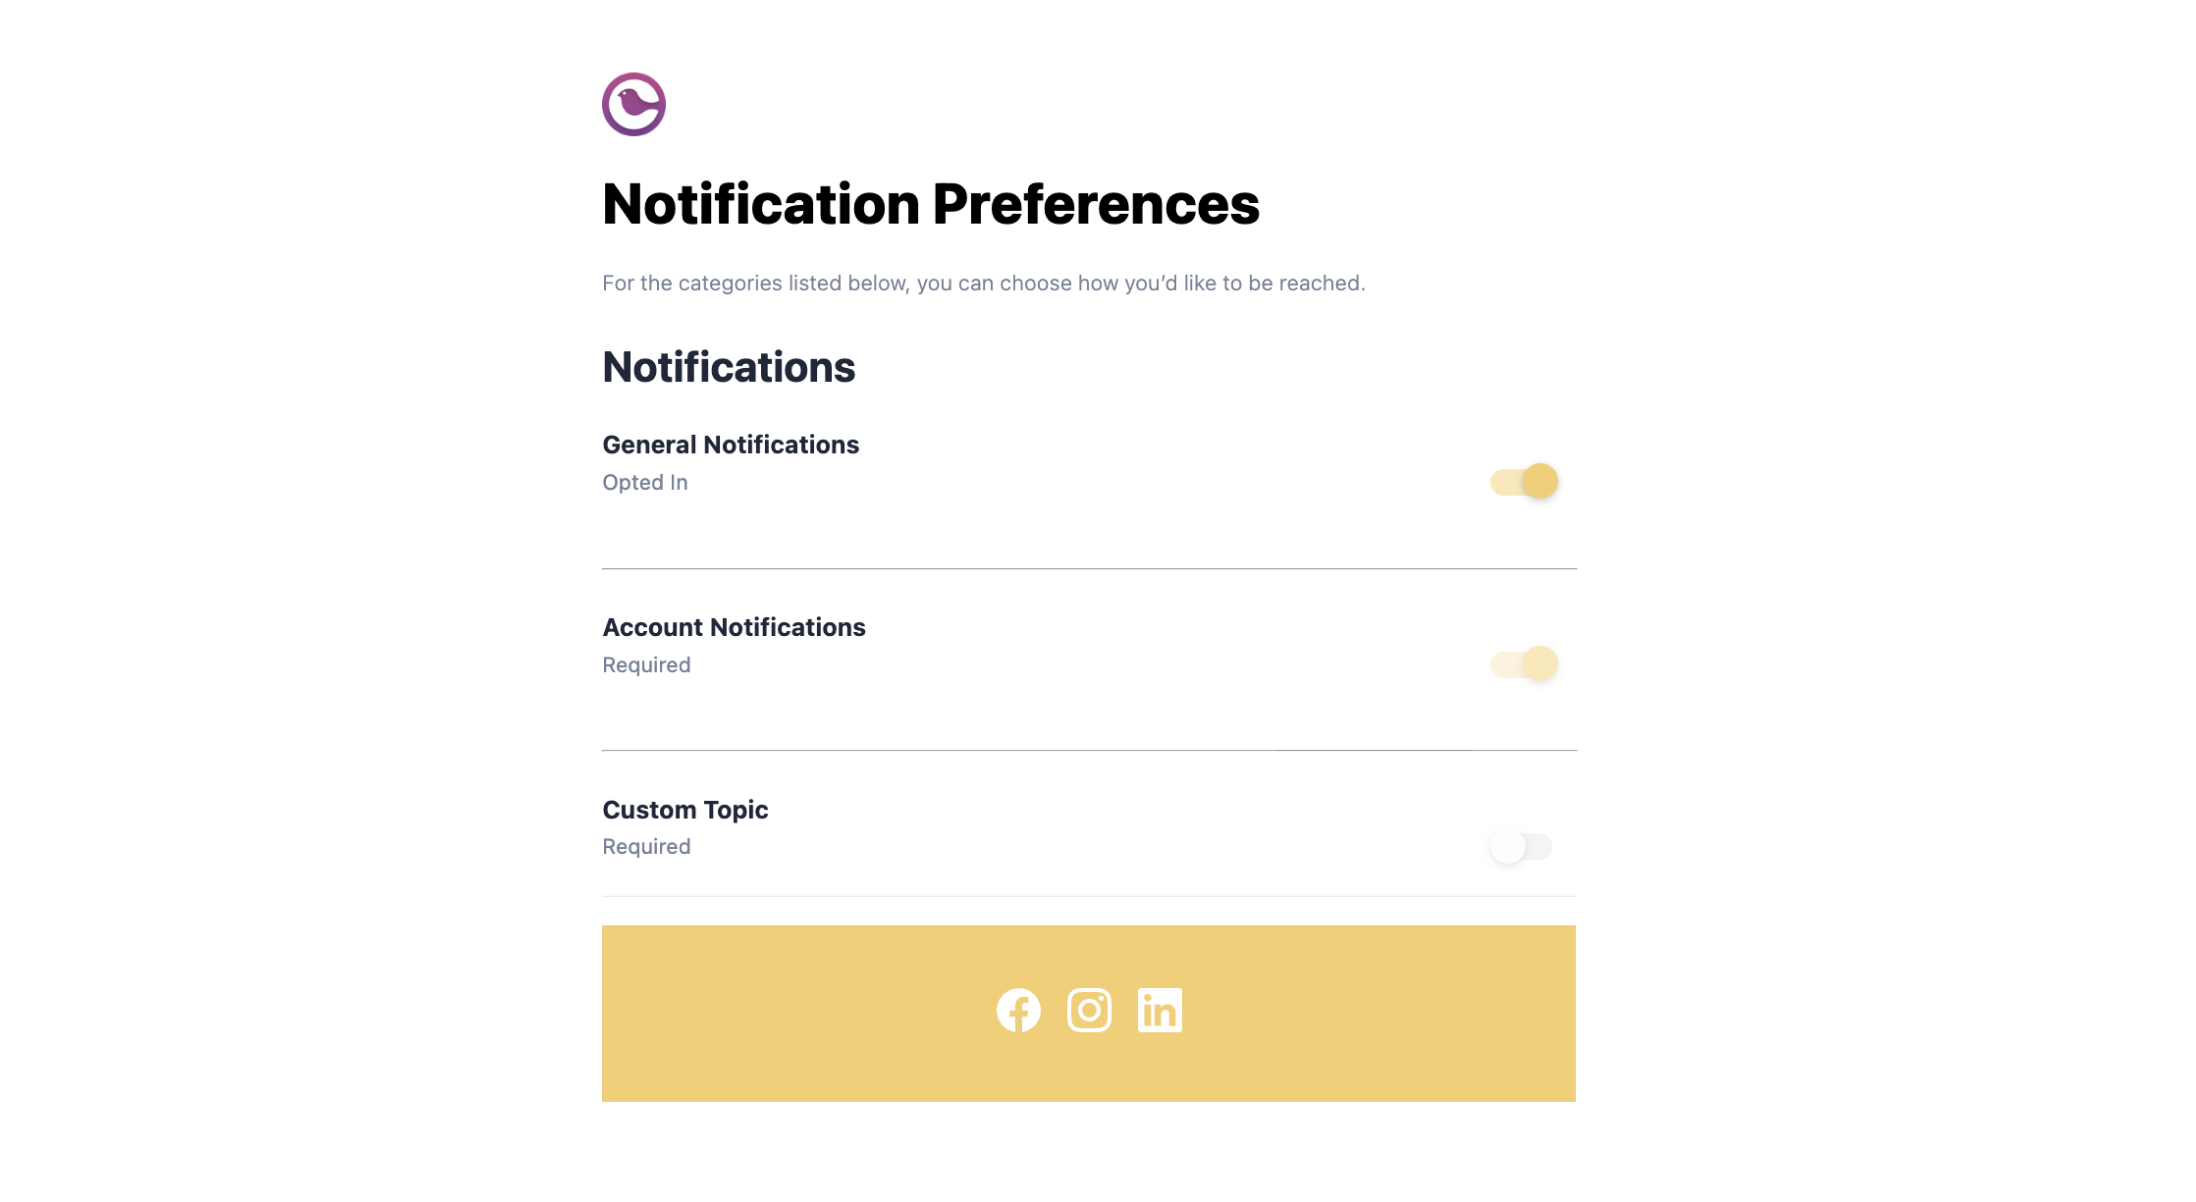
Header and Footer components are optional; they render brand-matched header/footer sections. You can omit them or replace them with your own.
PreferencesV4 Props
| Prop | Type | Description |
|---|---|---|
tenantId | string (optional) | Show preferences for a specific tenant context |
draft | boolean (optional) | Show draft preferences before publishing |
Multi-Tenant Preferences
If your app uses tenants, pass thetenantId to show tenant-specific preference configuration:
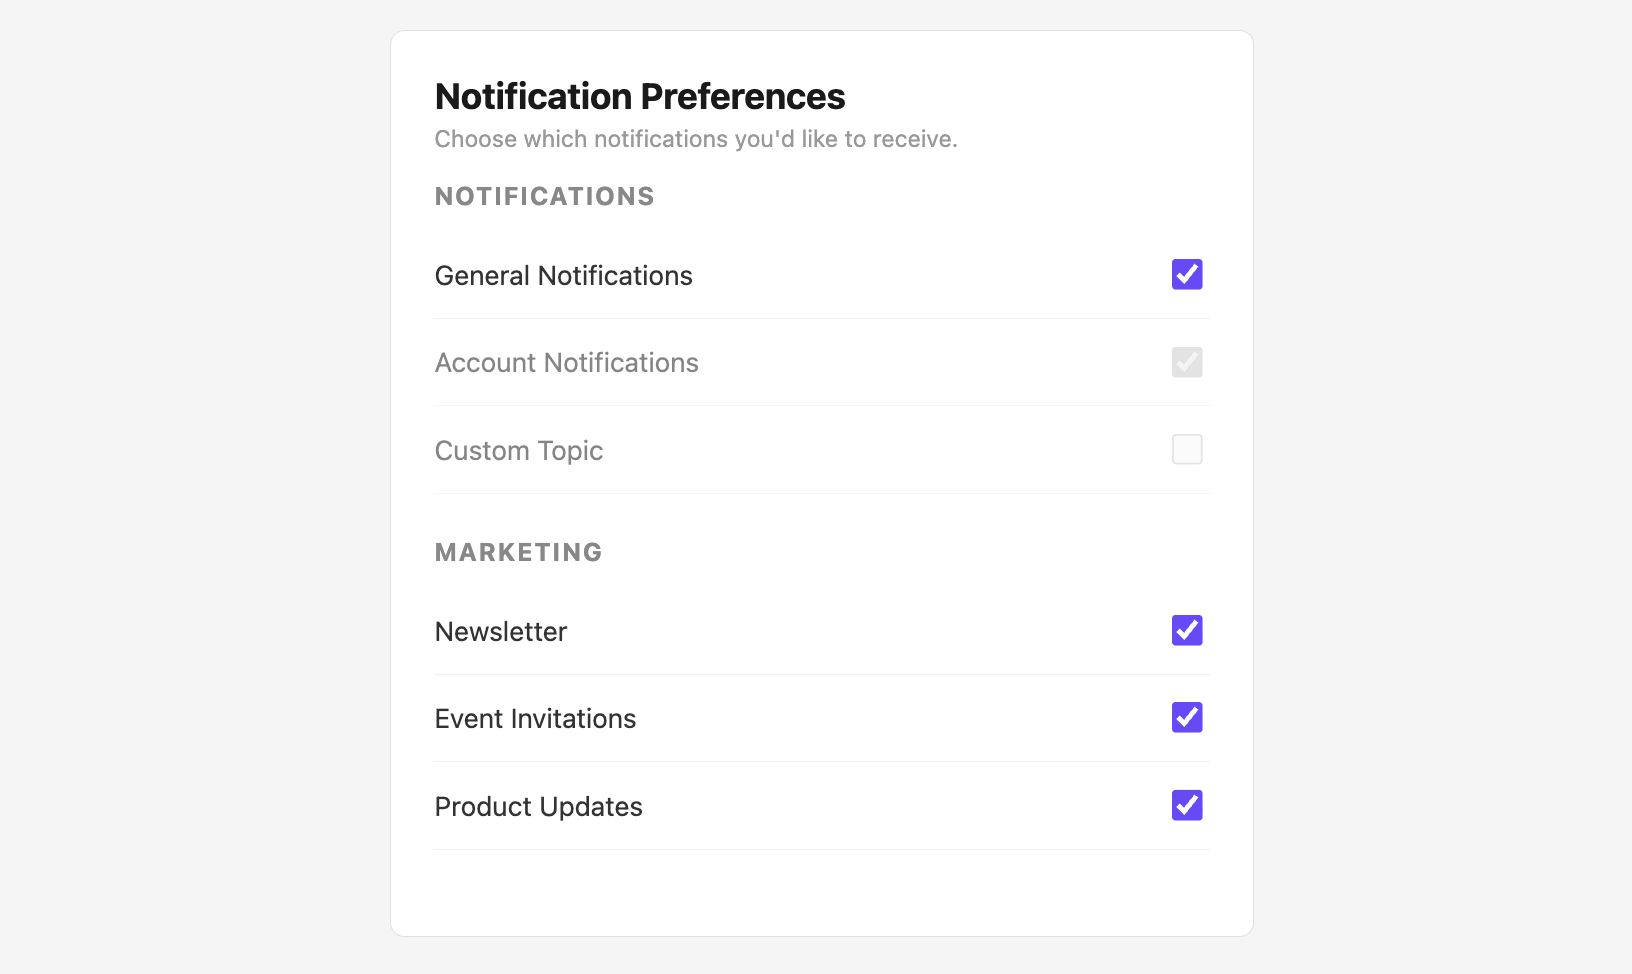
Option B: Custom Hooks (Full Control)
For a fully custom UI, use theusePreferences hook from @trycourier/react-hooks. This gives you raw preference data and update functions to build your own interface.
Fetching Preferences
Hook Return Values
| Property | Type | Description |
|---|---|---|
recipientPreferences | Array | User’s current preference status per topic (each item has templateId, status, templateName) |
preferencePage | Object | Preference page config; sections and topics are in GraphQL connection format (access via .sections.nodes and .topics.nodes) |
fetchRecipientPreferences | (tenantId?) => void | Fetch user’s preferences |
fetchPreferencePage | (tenantId?, draft?) => void | Fetch page configuration |
updateRecipientPreferences | (payload) => void | Update a topic preference |
isLoading | boolean | Whether data is still loading |
Updating Preferences
UseupdateRecipientPreferences to toggle topics or set custom routing:
Update Payload
| Field | Type | Description |
|---|---|---|
templateId | string | The topic/template ID to update |
status | string | "OPTED_IN" or "OPTED_OUT" |
hasCustomRouting | boolean | Whether to use custom channel routing |
routingPreferences | string[] | Array of channel types (e.g. ["email", "push"]) |
digestSchedule | string | Digest frequency if applicable |
tenantId | string (optional) | Tenant context for multi-tenant apps |
Step 3: Test Your Implementation
Verify Topic Display
Confirm that all subscription topics from the Preferences Editor appear in your component.
Test Opt-In/Out
Toggle a topic off, then send a test notification for a template linked to that topic. The notification should be suppressed for the opted-out user.
Local Development and CORS
The Courier React SDK sends requests tohttps://api.courier.com/client/q by default. During local development, browsers block these cross-origin requests. Use a dev server proxy to work around this.
Vite Proxy Setup
Add a proxy to yourvite.config.js that forwards requests to Courier’s API:
apiUrl on the provider to route through the proxy:
apiUrl prop before deploying to production. In production, the SDK uses https://api.courier.com/client/q by default and CORS is handled by Courier’s allowlisted domains.
Styling
ThePreferencesV4 component uses CSS custom properties that you can override:
What’s Next
Set Up Hosted Preferences
Deploy a hosted preference page as an alternative or complement
Embedding Reference
Full reference for embedded preference components and hooks
JWT Authentication
Secure your embedded components with JWT tokens
User Preferences API
API reference for server-side preference management