Configure a provider, design a template with content blocks and variables in Design Studio, preview it with test data, publish, and send a test.
Walk through the full lifecycle of a Courier notification: configure a provider, design a template with content blocks and variables, preview it with test data, publish, and send a test message. By the end, you’ll have a working notification ready to integrate into your codebase.
Credentials for at least one provider (e.g. SendGrid API key, Twilio SID). Courier also provides a built-in test email provider you can use to get started without external credentials.
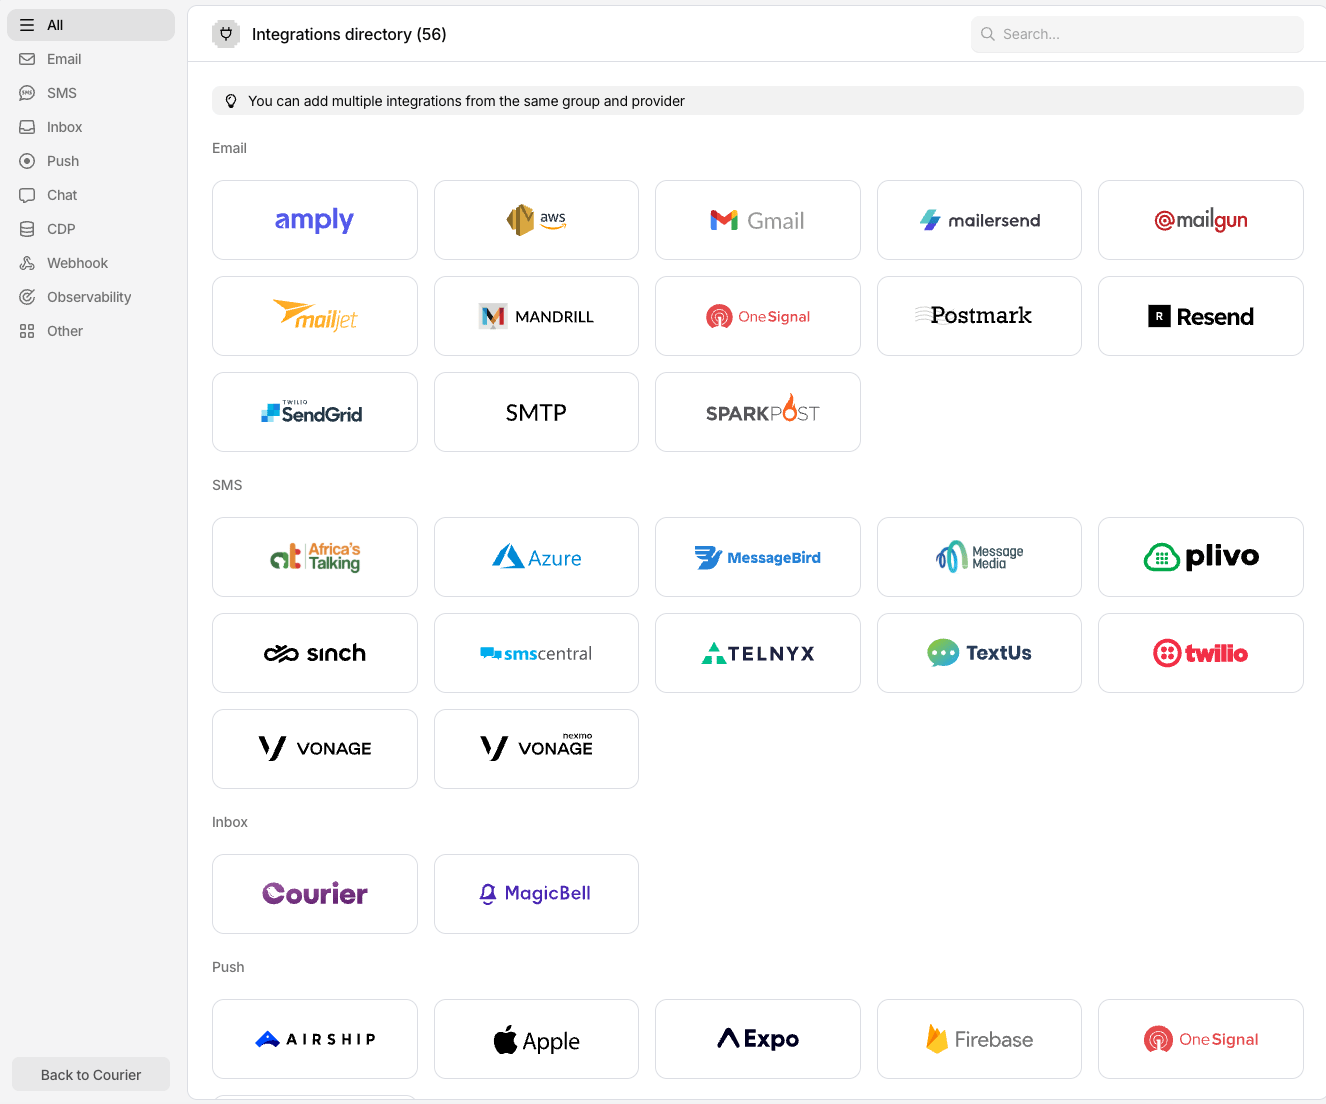
Search for your provider (e.g. SendGrid, Twilio, Firebase) and click it. Fill in the required credentials from your provider’s dashboard and click Install.
Configuring a provider in the Integrations tab
3
Verify installation
Your newly configured provider appears in the Installed section. You can now use it in any notification template.
You can also configure providers inline while designing a template. If you add a channel that has no provider configured, Design Studio will prompt you to set one up in the channel settings.
Navigate to Templates and click + New > Message Template. Give it a name (e.g. “Welcome Email”), then click Create Template. The template opens in Design Studio.
2
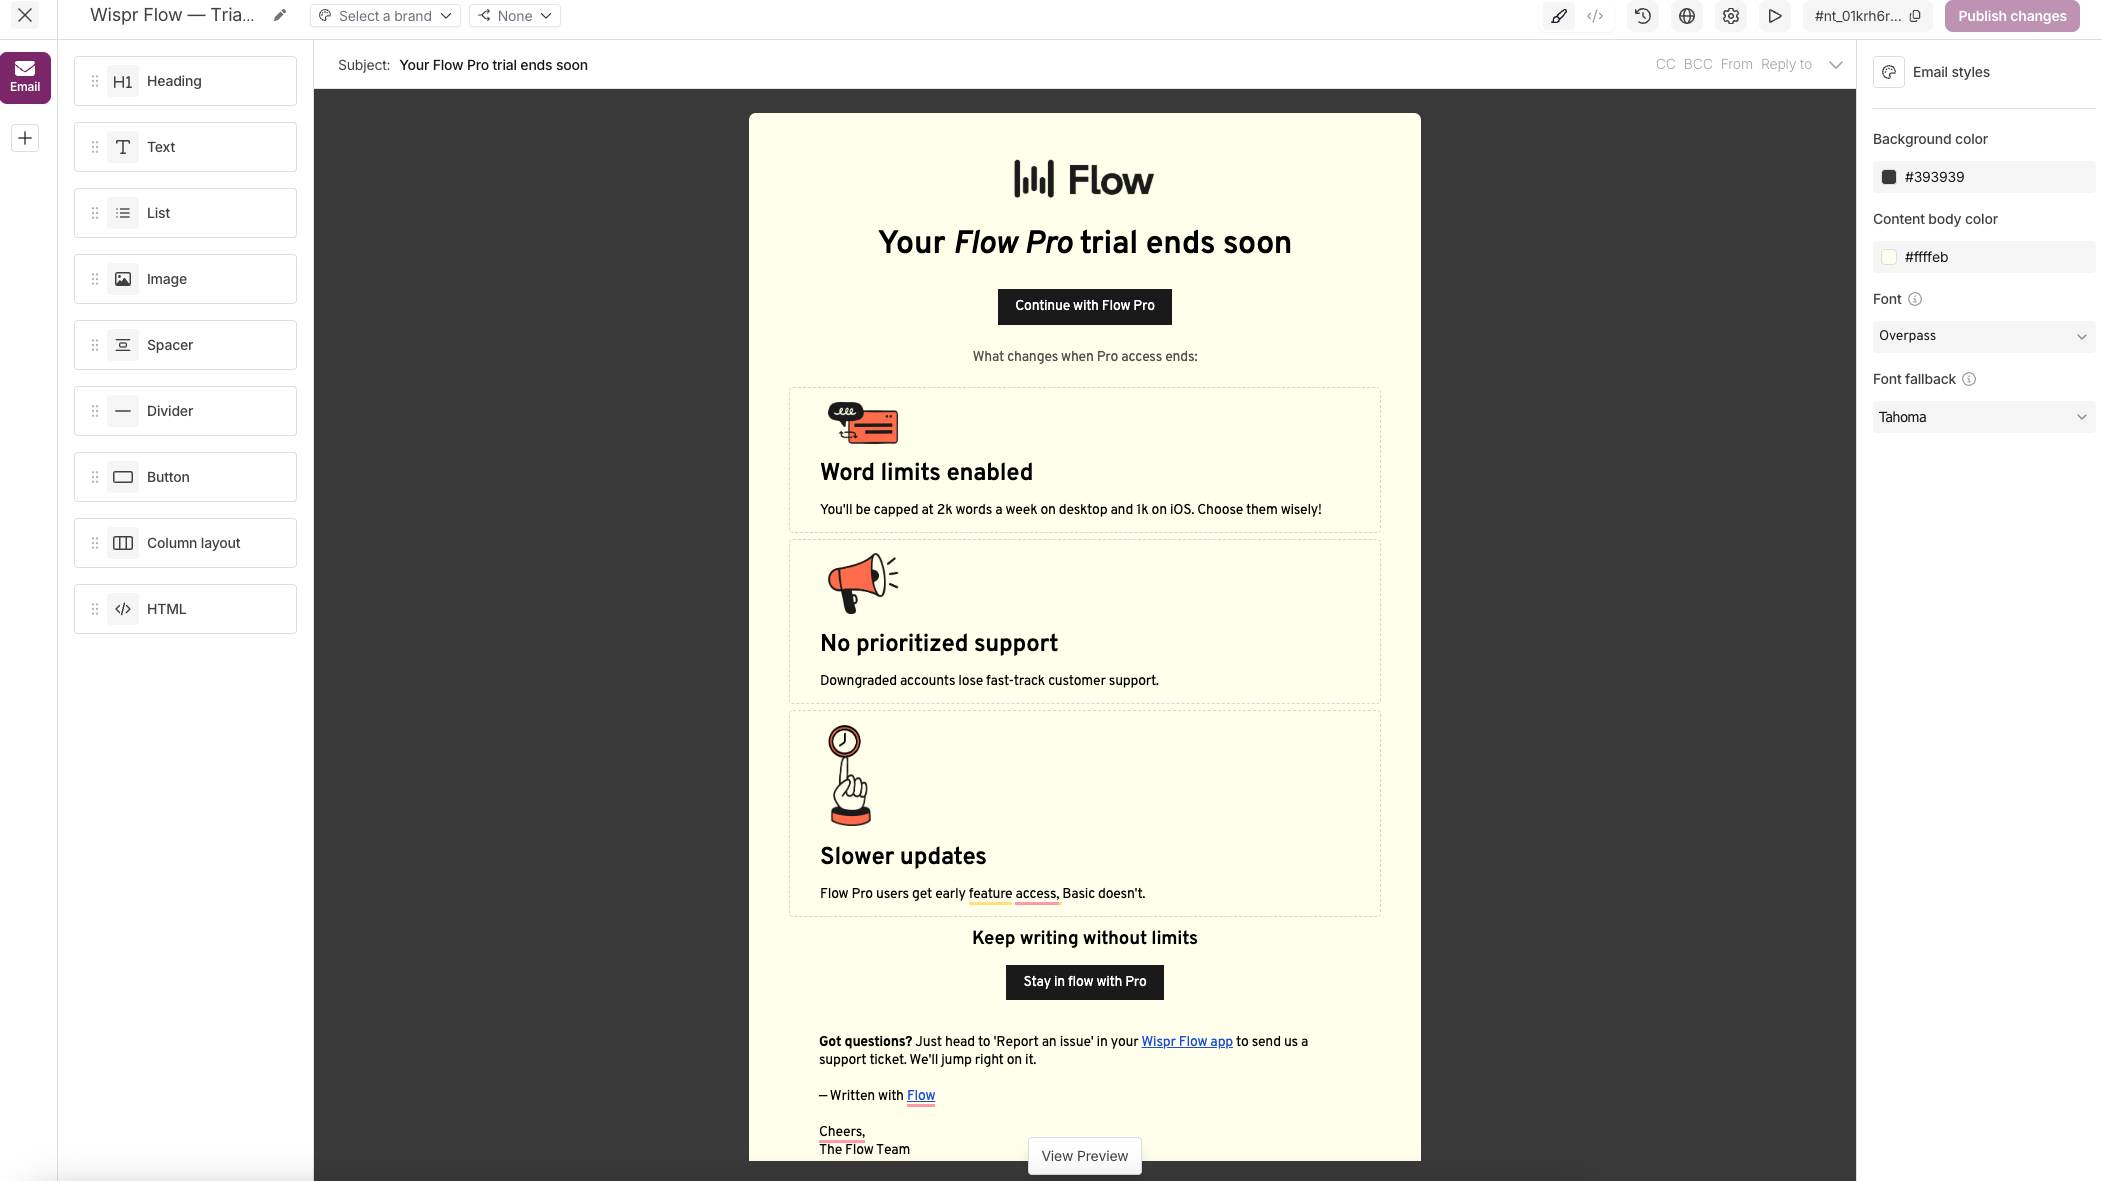
Understand the Design Studio layout
Design Studio has three main areas:
Channel tabs (left): Switch between Email, SMS, Push, In-App, Slack, and MS Teams
Canvas (center): Edit your notification content with drag-and-drop blocks
Settings panel (right): Configure block-specific settings and formatting
The header toolbar gives you access to the Brand selector, Routing selector, Version history, Preview & test, and Settings.
Design Studio layout
3
Add a channel and configure routing
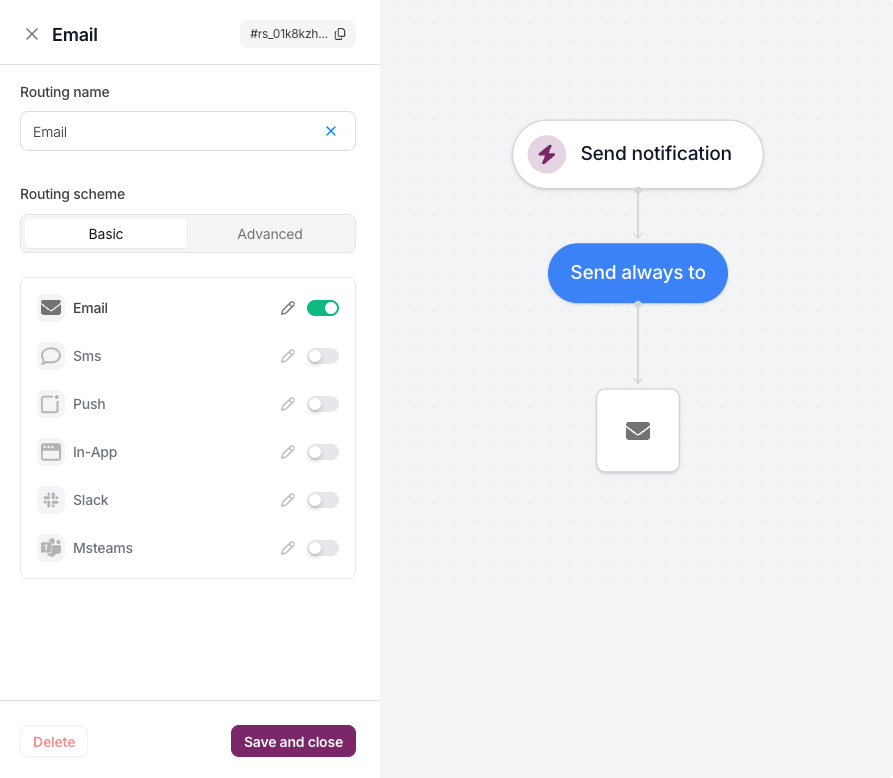
Click the Email channel tab on the left to activate it. To configure which provider handles delivery, open the Routing selector in the header toolbar. You can choose an existing reusable routing configuration or create a new one — routing configurations are shared across templates, so changes apply everywhere they’re used.
Selecting a routing configuration in the header toolbar
Providers you’ve already configured appear under “Configured” in the integrations list. You can add multiple providers per channel and set priority rules to control failover. Routing configurations can be reused across any number of templates.
With the Email channel selected, the canvas is ready for editing. Use the block sidebar to build your notification.
1
Add a text block
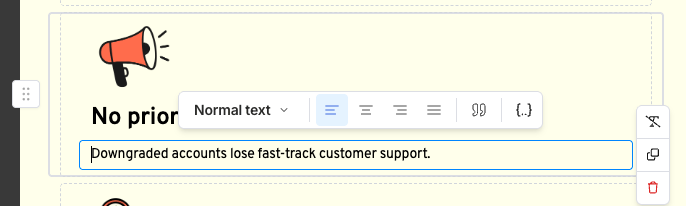
Drag a Text block from the sidebar onto the canvas, or click the T icon in the toolbar. Click the block to edit it inline and replace the placeholder with your message, e.g. Hello, {profile.name}!Use the Settings panel on the right to adjust alignment, font size, color, and spacing.
Adding a text block with a variable
2
Add a button block
Drag a Button block from the sidebar onto the canvas. Set the button label and URL in the Settings panel; use a variable like {invite_url} for dynamic links.
Text and button blocks on the canvas
3
Add more blocks as needed
Drag in Heading, Image, Divider, Spacer, or HTML blocks from the sidebar. Reorder any block by dragging it up or down on the canvas. Courier auto-saves your changes as you work. See Content Blocks for the full list of available block types.
Use double-brace placeholders in Design Studio’s validated variable syntax to insert dynamic data from the send request:
{{profile.name}} — Recipient’s name from their Courier profile
{{data.invite_url}} or {{invite_url}} — Custom data passed in the send request
{{urls.preferences}} — Link to the user’s preference page
{{urls.unsubscribe}} — One-click unsubscribe link
Insert variables by clicking the {..} icon in the block toolbar, or by typing {{}} directly in any text or heading block. See Variables for the full syntax and available built-in variables.
Design Studio validates variable names inline. For advanced Handlebars logic (helpers, conditionals, loops), use an HTML block, which supports the full Handlebars syntax.
Switch between channel tabs on the left to build variants for SMS, Push, In-App, Slack, and MS Teams. Each channel gets its own editor tailored to that format. Courier dynamically adapts shared content to each channel’s requirements (e.g. stripping images for SMS).
The preview pane renders every channel variant populated with your test data. If any variables appear as raw {{variable}} text, check that the key names match between your template and test event JSON.
4
Send a test message
From the Preview & test panel, click Send Test to deliver a live test notification to yourself or your team. This lets you catch rendering issues or broken links before publishing.
For more on test events (including creating them from message logs), see How to Use Test Events.
Brands let you apply consistent logos, colors, headers, and footers across notifications. If no brand is configured, Courier uses simple default styling.To apply a brand, click the Brand selector in the header toolbar and choose from your configured brands. See How to Create and Use Brands for a full walkthrough.
Click Publish in the header toolbar to make your template live. Unpublished changes remain in draft and won’t affect notifications sent through your API until you publish.
Design Studio tracks full version history automatically. To review or roll back changes, click Version history in the header toolbar. You can compare any two versions side by side and restore a previous version with a single click.
Open Message Logs to verify delivery. The log shows a timeline of each stage: accepted, routed, rendered, sent, and delivered.
4
Integrate into your codebase
Copy the send call into your application. You can also use any of the Courier SDKs for Node, Python, Ruby, Go, and more. See the Send API reference for the full set of options.