Move notification templates from Test to Production safely using draft keys, the approval workflow, asset migration, and post-deploy verification.
Courier’s two-environment model (Test and Production) lets you develop and validate notification changes without touching live traffic. This tutorial walks through a recommended promotion workflow; from building in Test, through staging and approval, to production migration and verification.
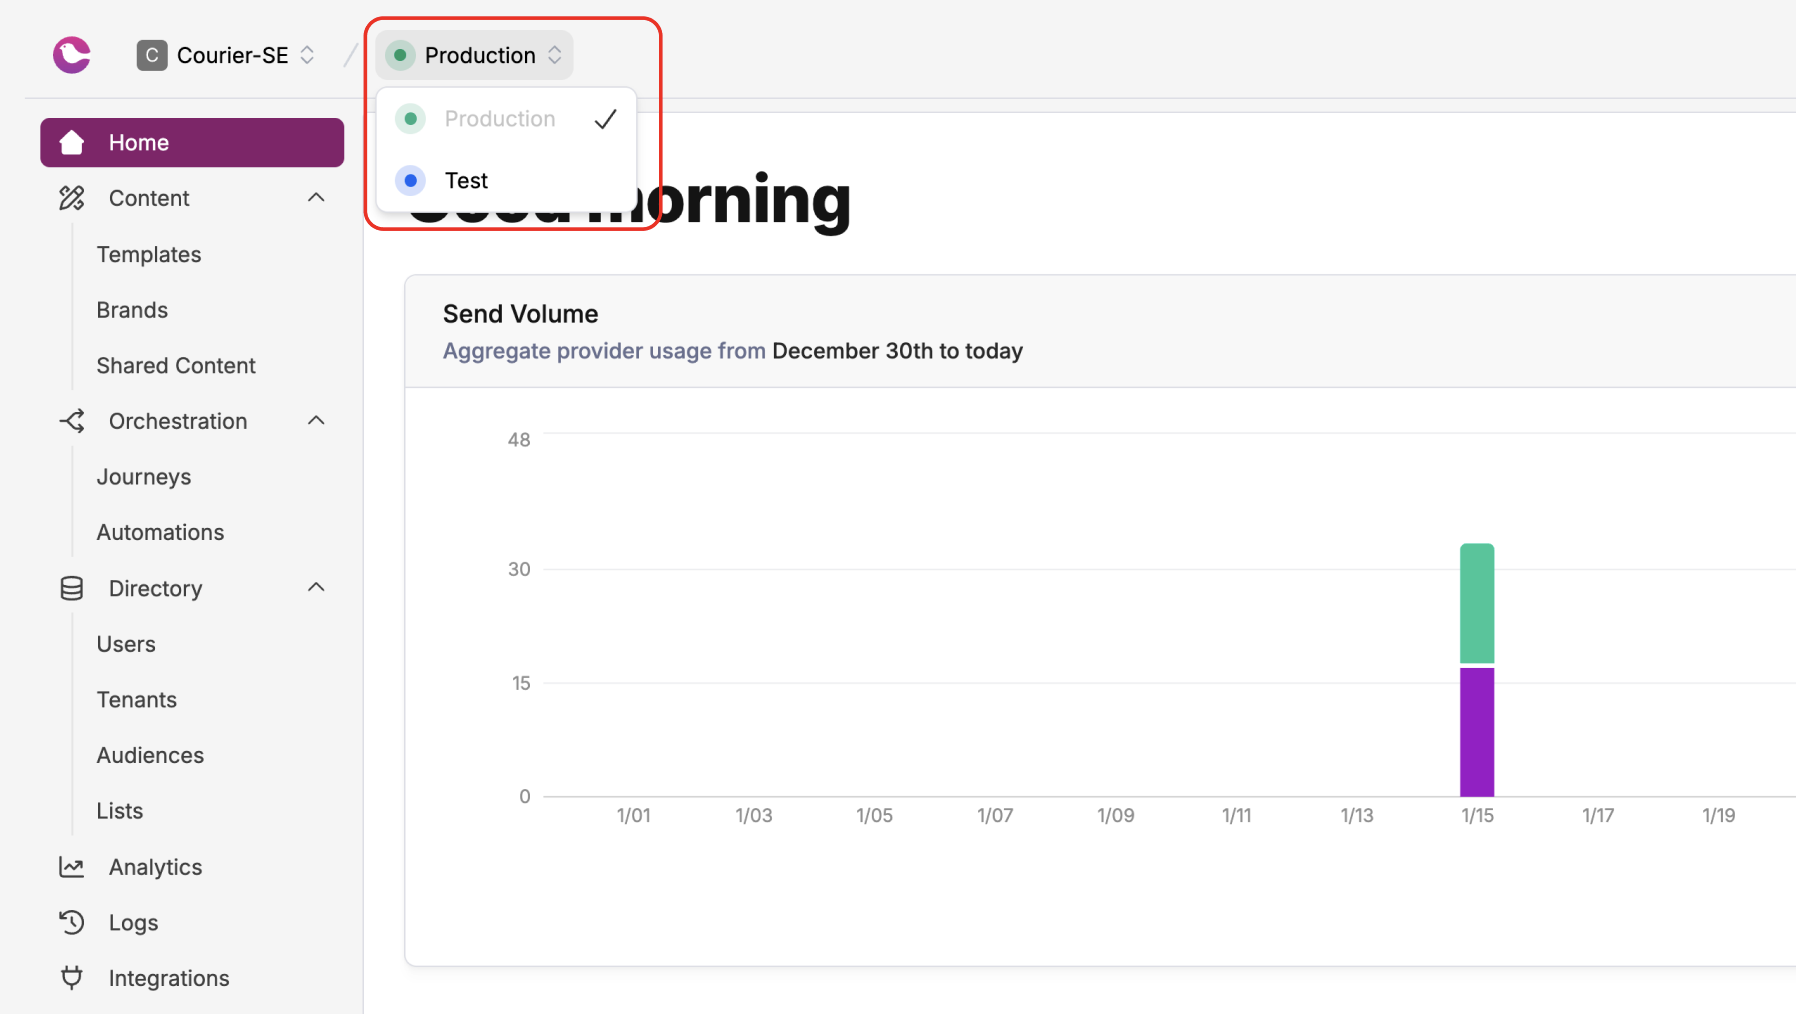
Switch to the Test environment using the toggle in the lower-left settings menu. Everything you create here; templates, brands, subscription topics; is fully isolated from Production.
Create or edit your template, then send test notifications using your Test API key. Test sends only appear in the Test environment dashboard and never reach production recipients (unless you use real contact info).
Configure a separate provider API key for your Test environment (e.g., a sandbox SendGrid key) so test sends never reach real inboxes. Set this under each integration’s Test Configuration.
Draft keys let you preview unpublished template changes against real send payloads before publishing. This catches rendering issues early.
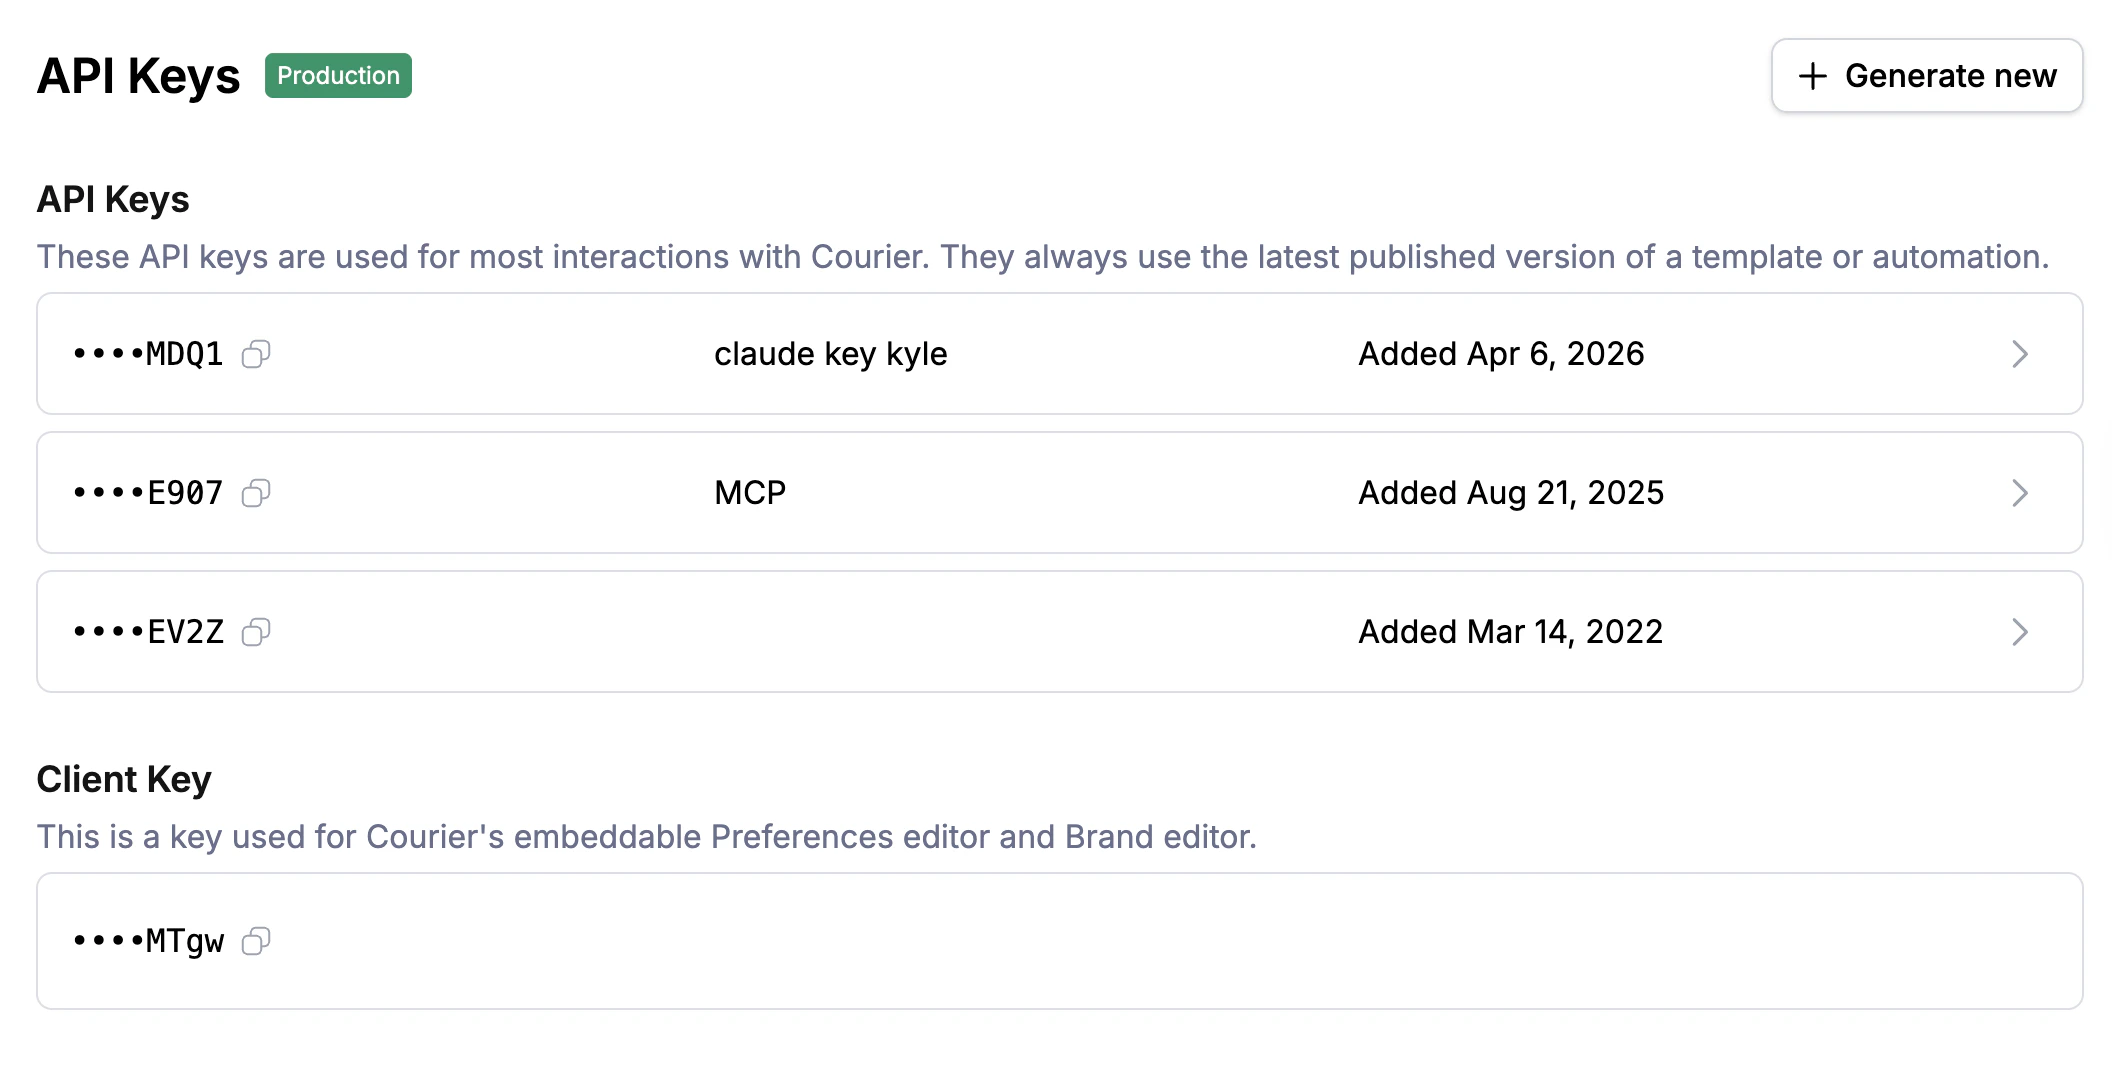
You can generate draft keys from Settings > API Keys. When you send with a draft key, Courier renders the latest unpublished draft of the template rather than the last published version.
If your team requires review before publishing, enable the Template Approval Workflow. When enabled, the “Publish Changes” button is replaced with “Send for Review,” and the template enters a read-only state until the submission is resolved via API.This is useful for teams that need compliance review, copy editing, or multi-stakeholder sign-off before changes go live. Skip this step if your team doesn’t need formal approval gates.
Once your template is published in Test and validated, migrate it to Production:
1
Open the template
Navigate to the notification template you want to promote.
2
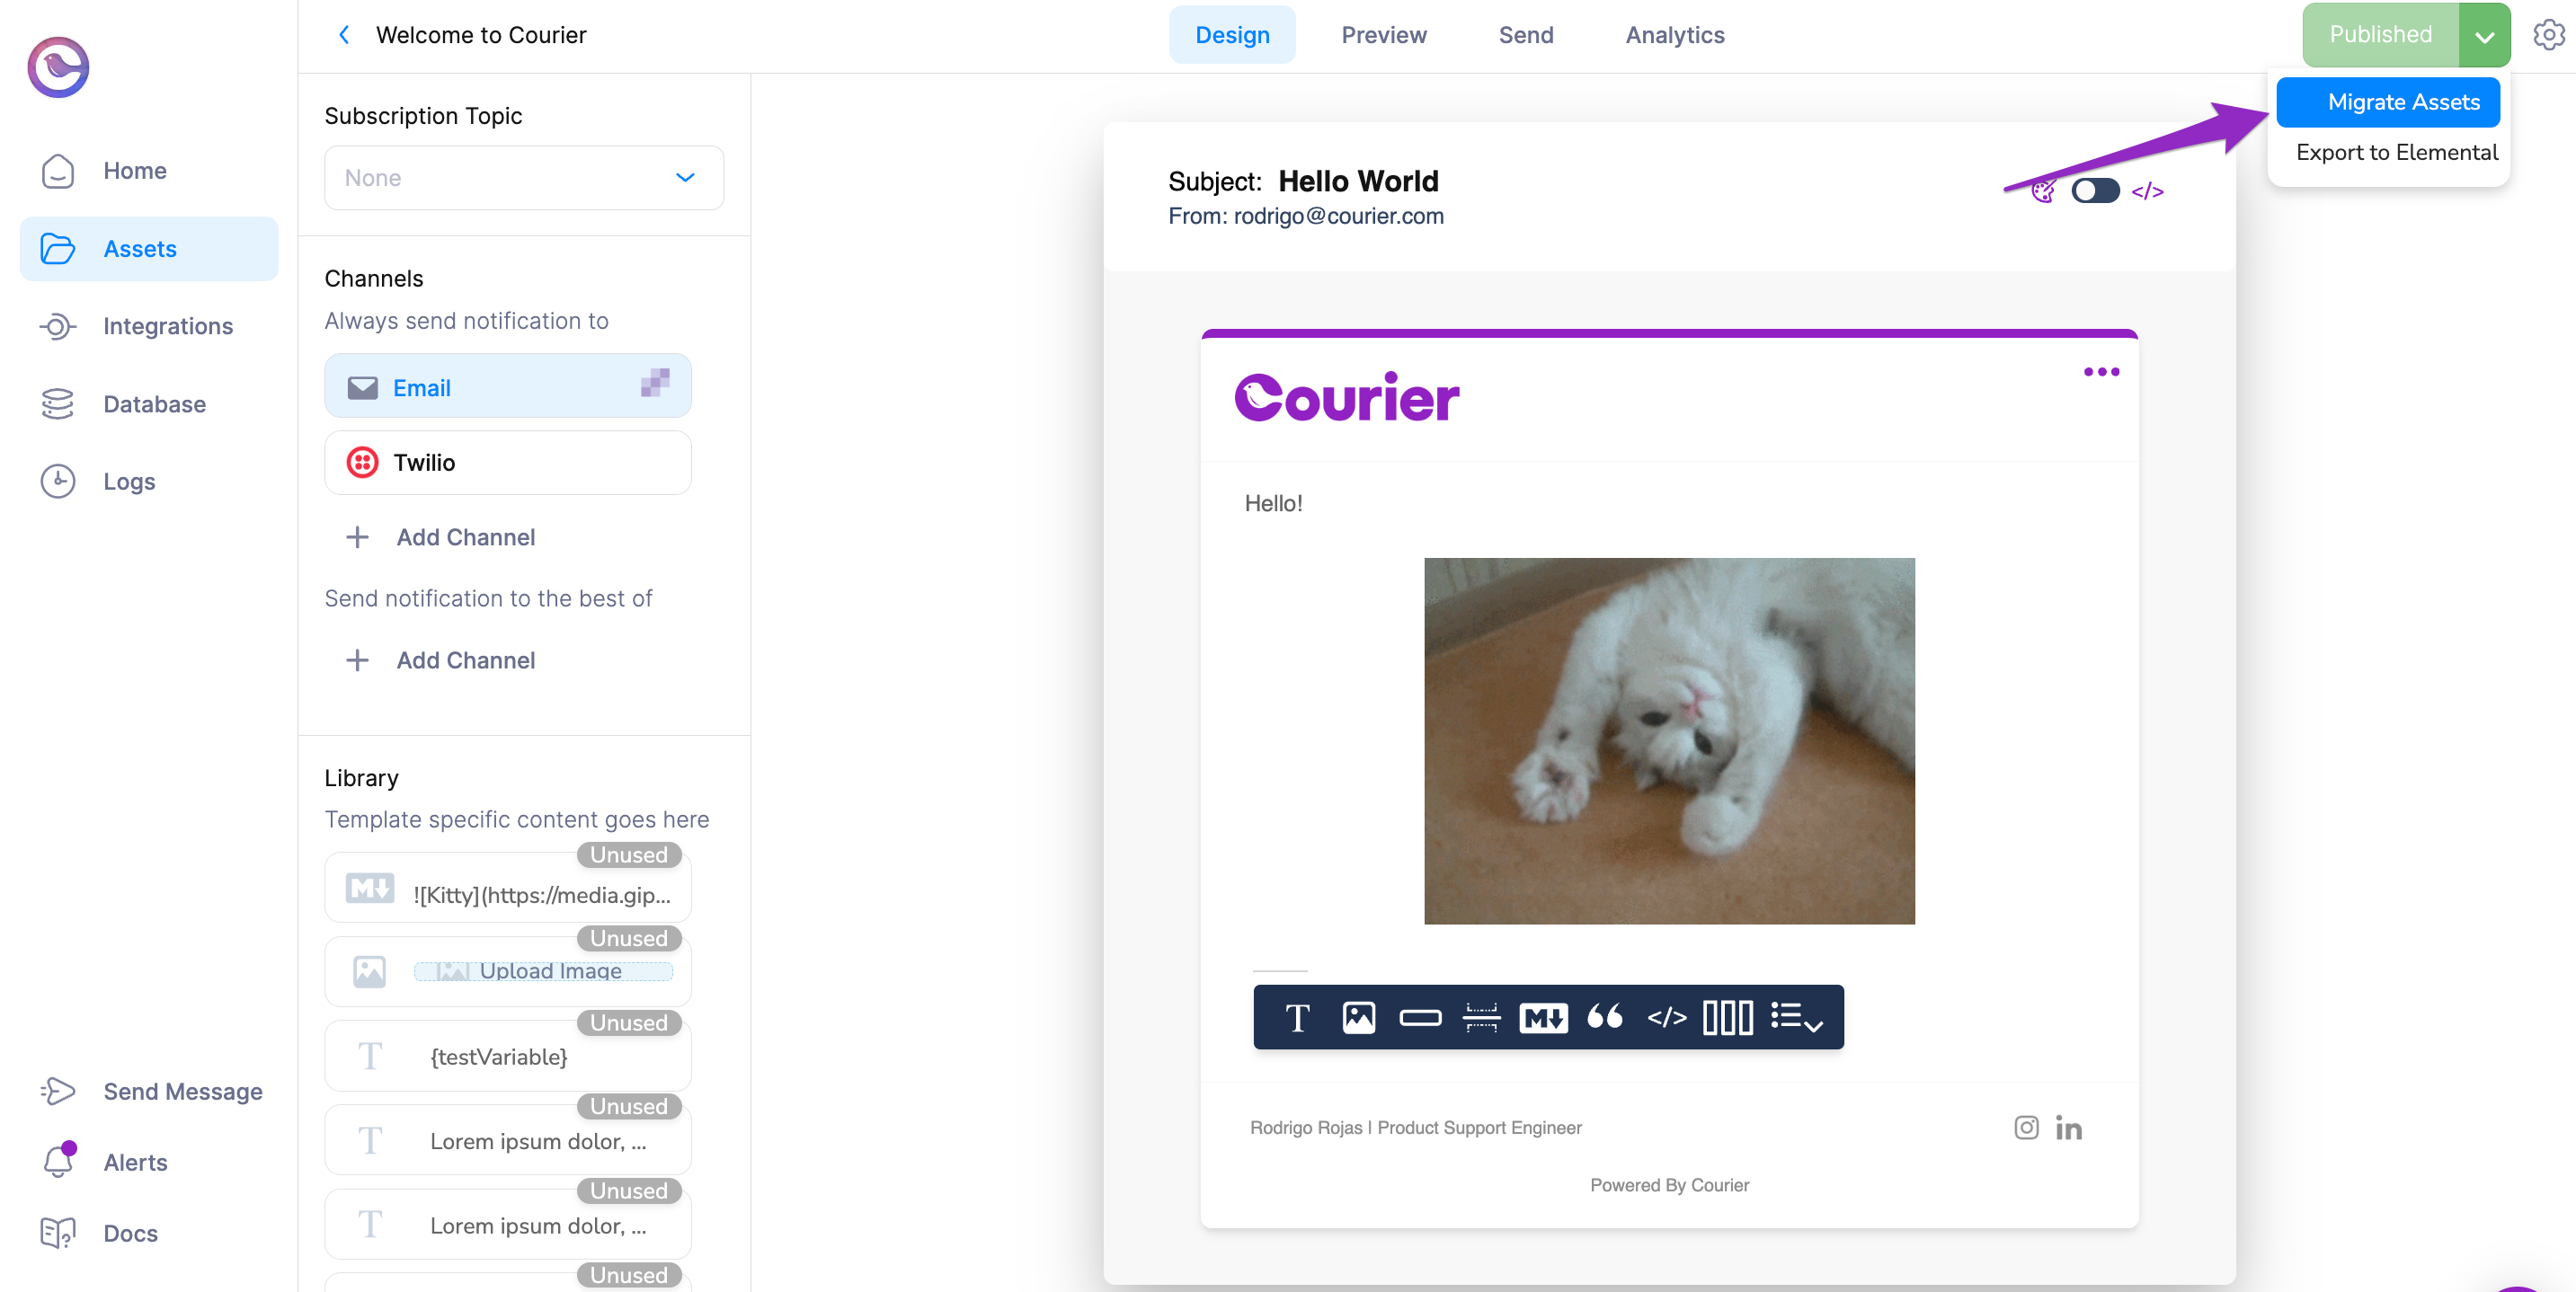
Open the migration modal
Click the dropdown on the “Publish Changes” button and select “Migrate Assets.”
3
Review and copy
Courier copies the template and all dependencies (brands, tags, subscription topics) to the destination environment. Choose “Copy Assets” to copy without publishing, or “Copy And Publish” to go live immediately.
If you have multiple workspaces, you can also select a destination workspace in the migration modal.
Inspect the timeline. In Message Logs, expand the message and review the timeline to confirm the correct template version was used and the provider accepted the send.
Environments & API Keys
Manage environments, keys, and asset migration
Template Approval Workflow
Require review before publishing template changes
Message Logs
Monitor delivery status and debug issues
Courier CLI
Send, test, and manage notifications from the command line