Prerequisites
- A Courier account with at least one configured provider (e.g. SendGrid, Twilio)
- At least one published notification template
Step 1: Create Subscription Topics
Subscription topics are the notification categories your users can control. For example: “Product Updates”, “Marketing”, “Security Alerts”.Open the Preferences Editor
Navigate to Settings > Preferences Editor in the Courier dashboard.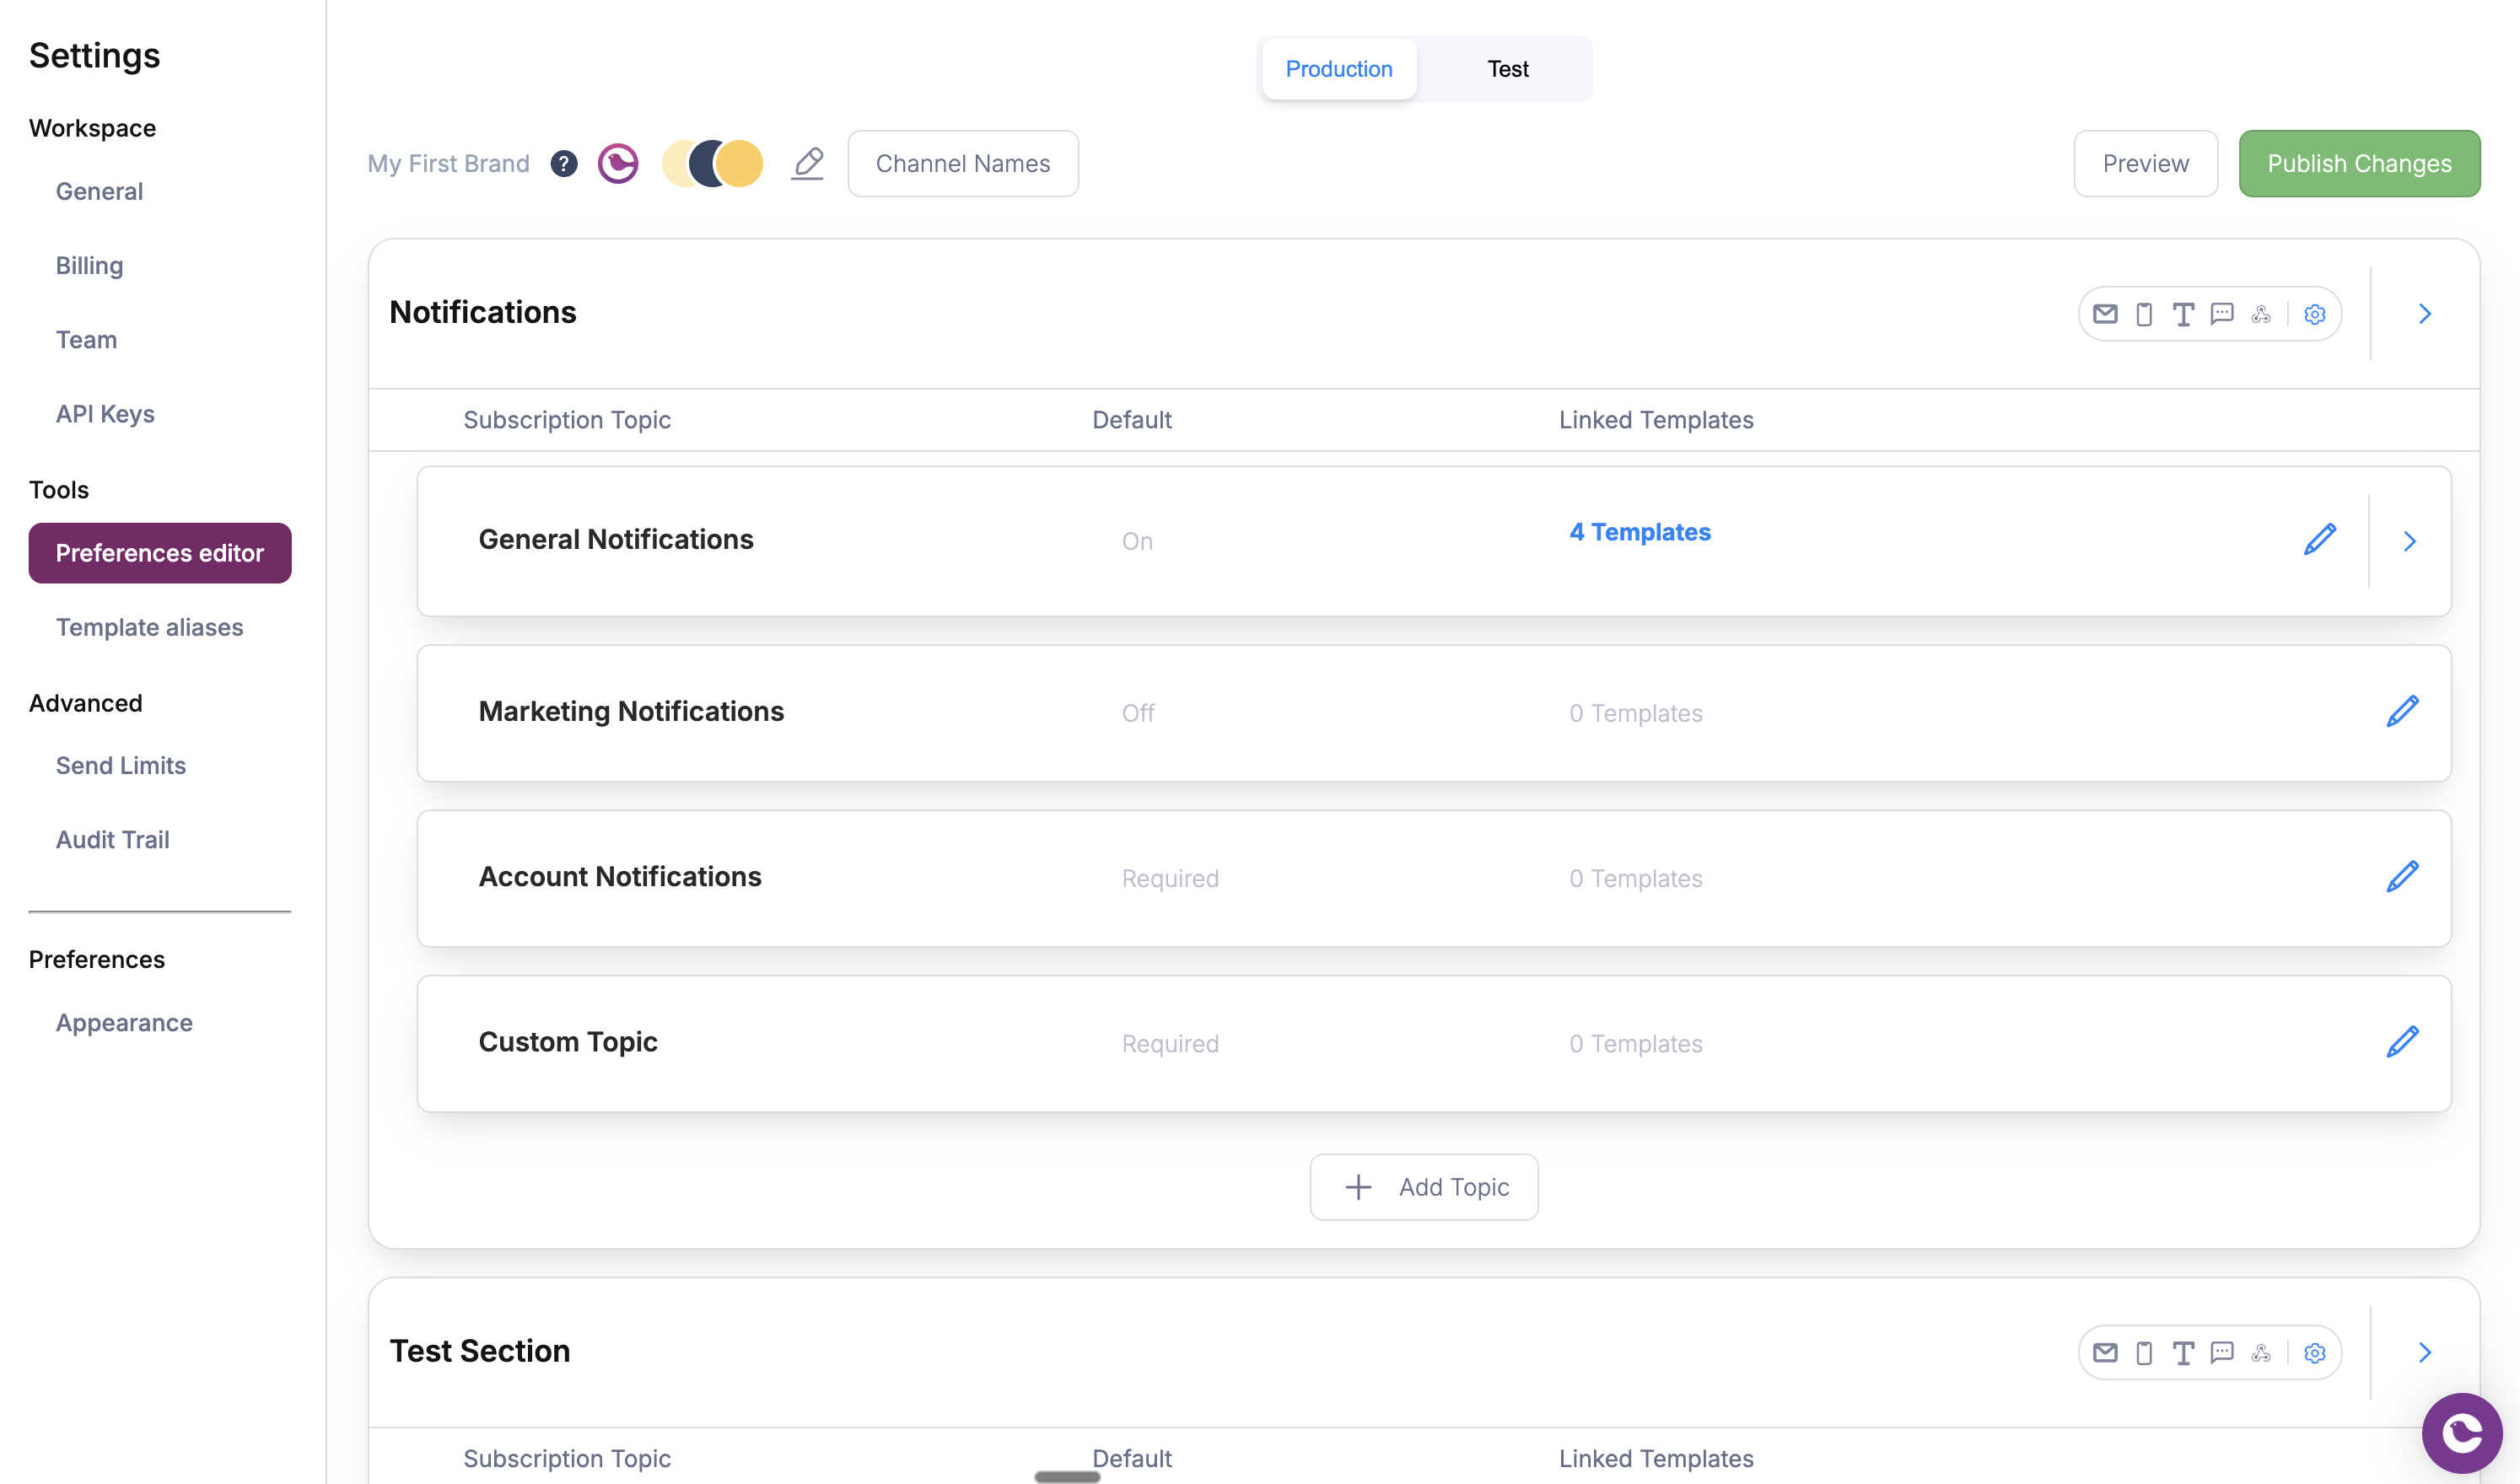
Create a Subscription Topic
Click Add Topic and give it a user-facing name (e.g. “Product Updates”). This name is what your users will see on the preference page.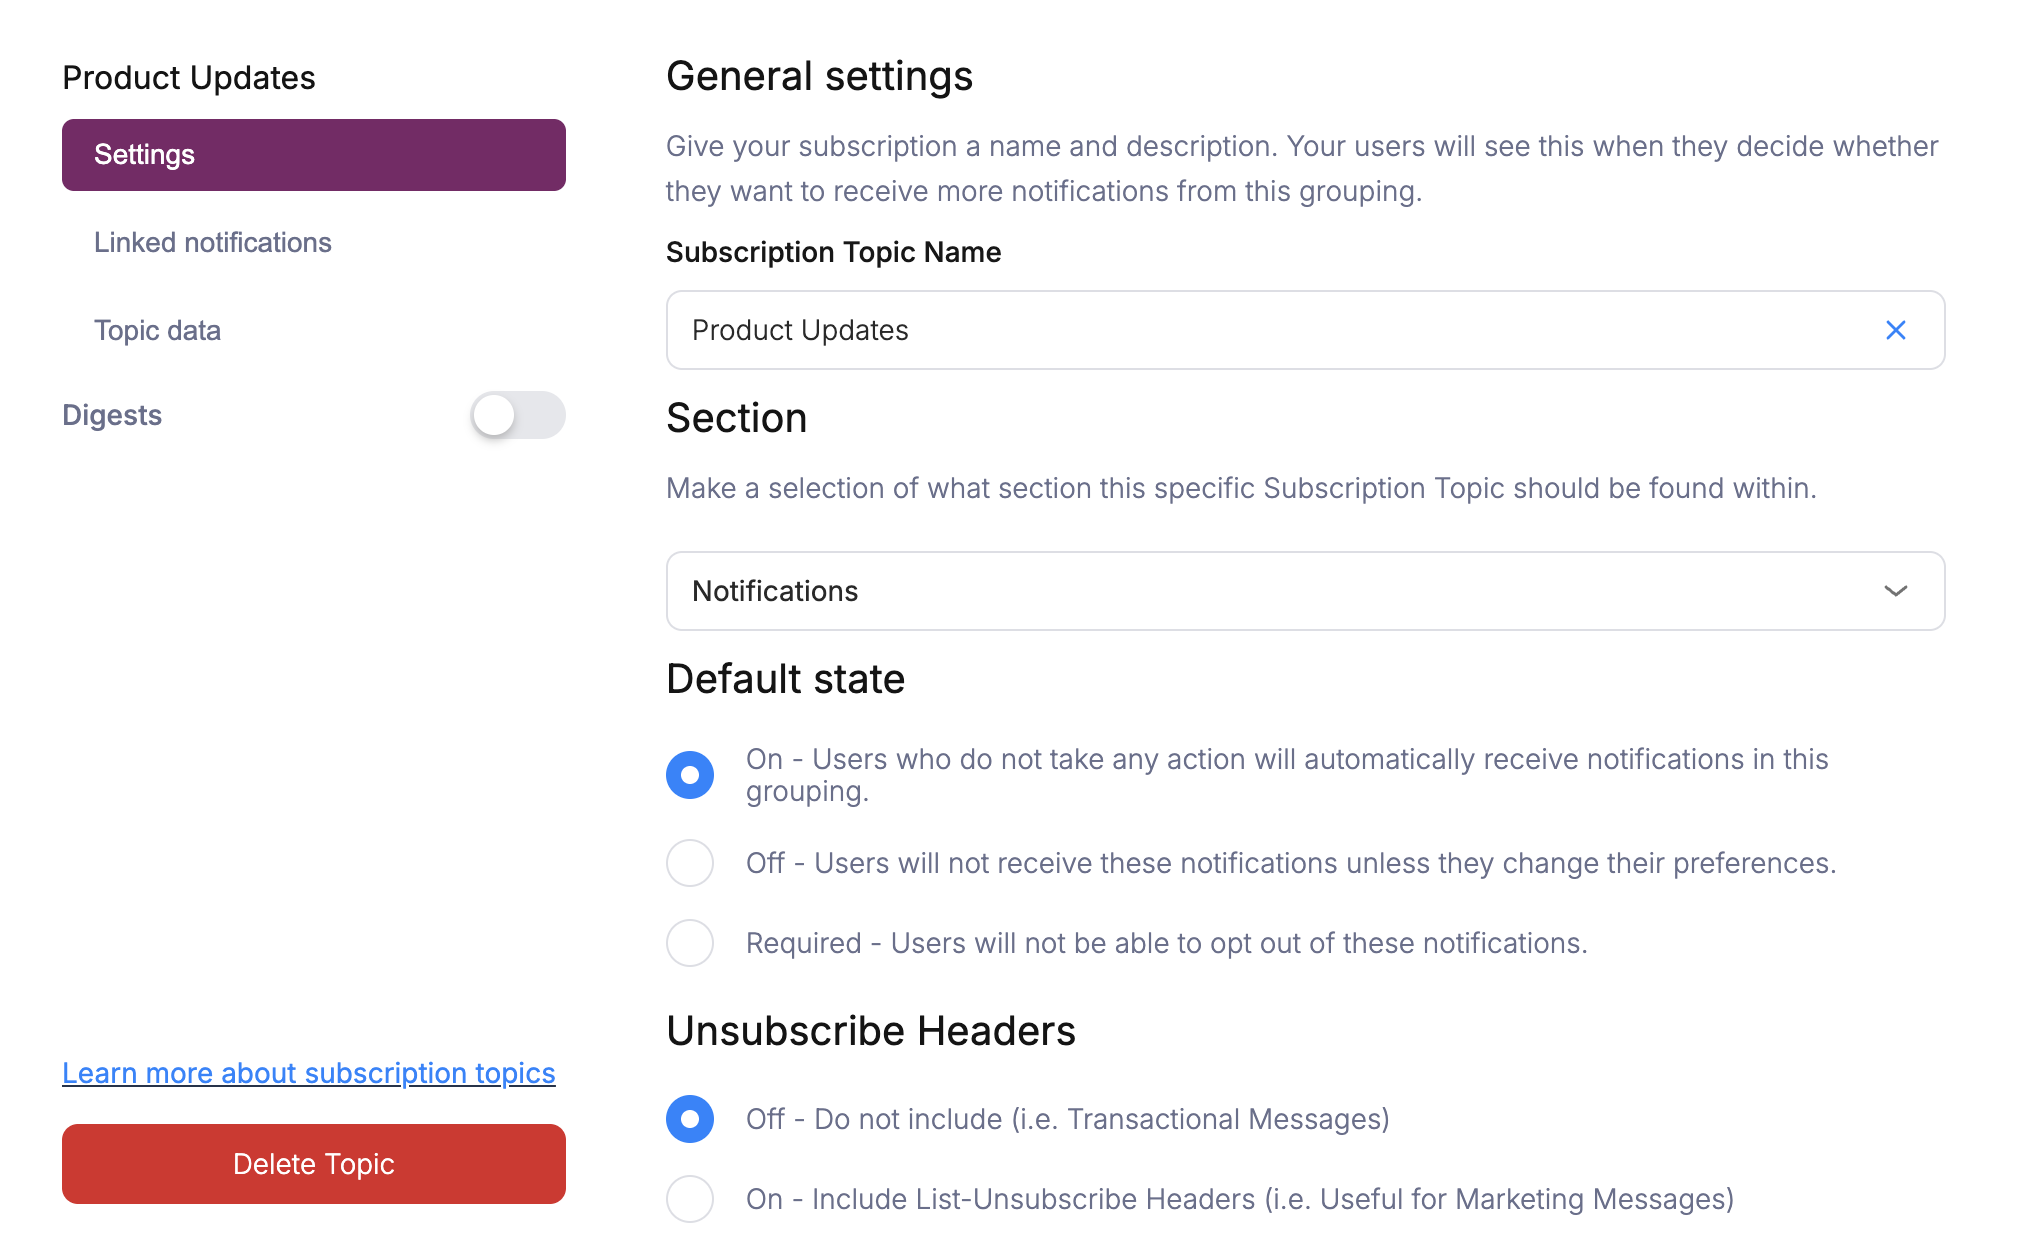
Set the Default State
Choose whether users start opted in, opted out, or are required to receive this topic:
For most notification categories, On is appropriate. Use Required sparingly for critical communications.
| Default State | Behavior |
|---|---|
| On | Users receive notifications unless they opt out |
| Off | Users must opt in to receive notifications |
| Required | Users cannot opt out (e.g. security alerts, billing) |
Configure Unsubscribe Headers
Each topic has an Unsubscribe Headers setting that controls whether Courier includes
When enabled, email clients like Gmail and Apple Mail display a native “Unsubscribe” button in the message header, which helps with deliverability and compliance.
List-Unsubscribe headers in emails sent for this topic:| Setting | When to use |
|---|---|
| Off | Transactional messages (order confirmations, password resets) that users should always receive |
| On | Marketing messages (newsletters, promotions) where email clients should show an unsubscribe option |
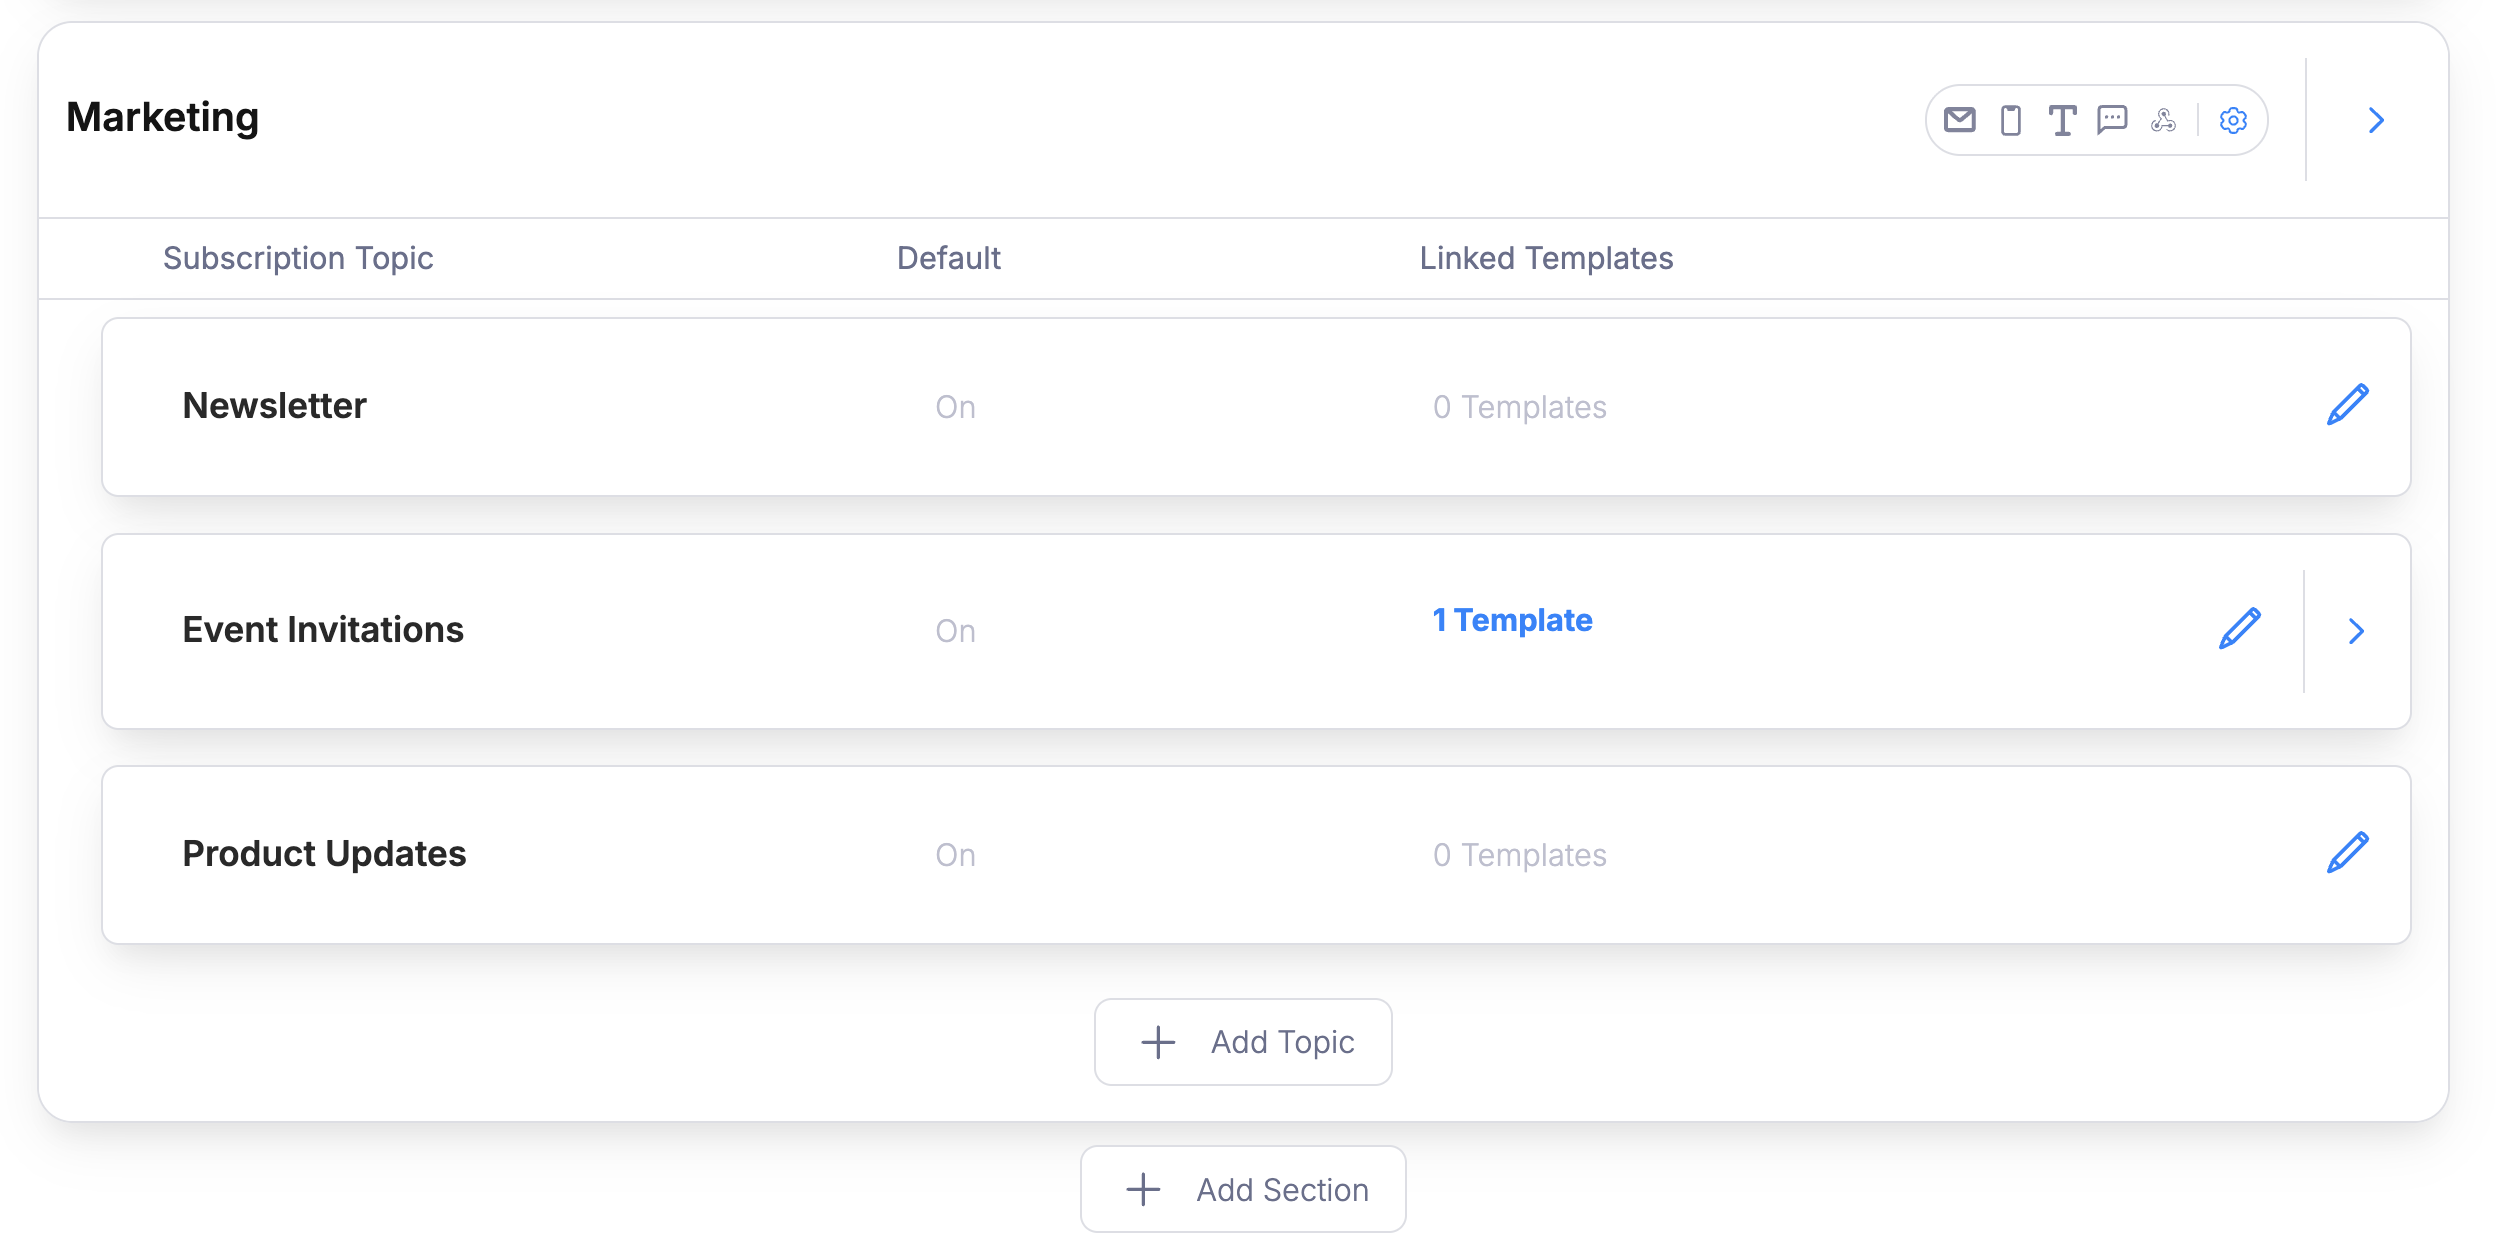
Step 2: Map Templates to Topics
Connect your notification templates to subscription topics so Courier automatically respects user preferences when sending.Open Topic Settings
In the Preferences Editor, click the topic you created and look for the Linked Notifications section.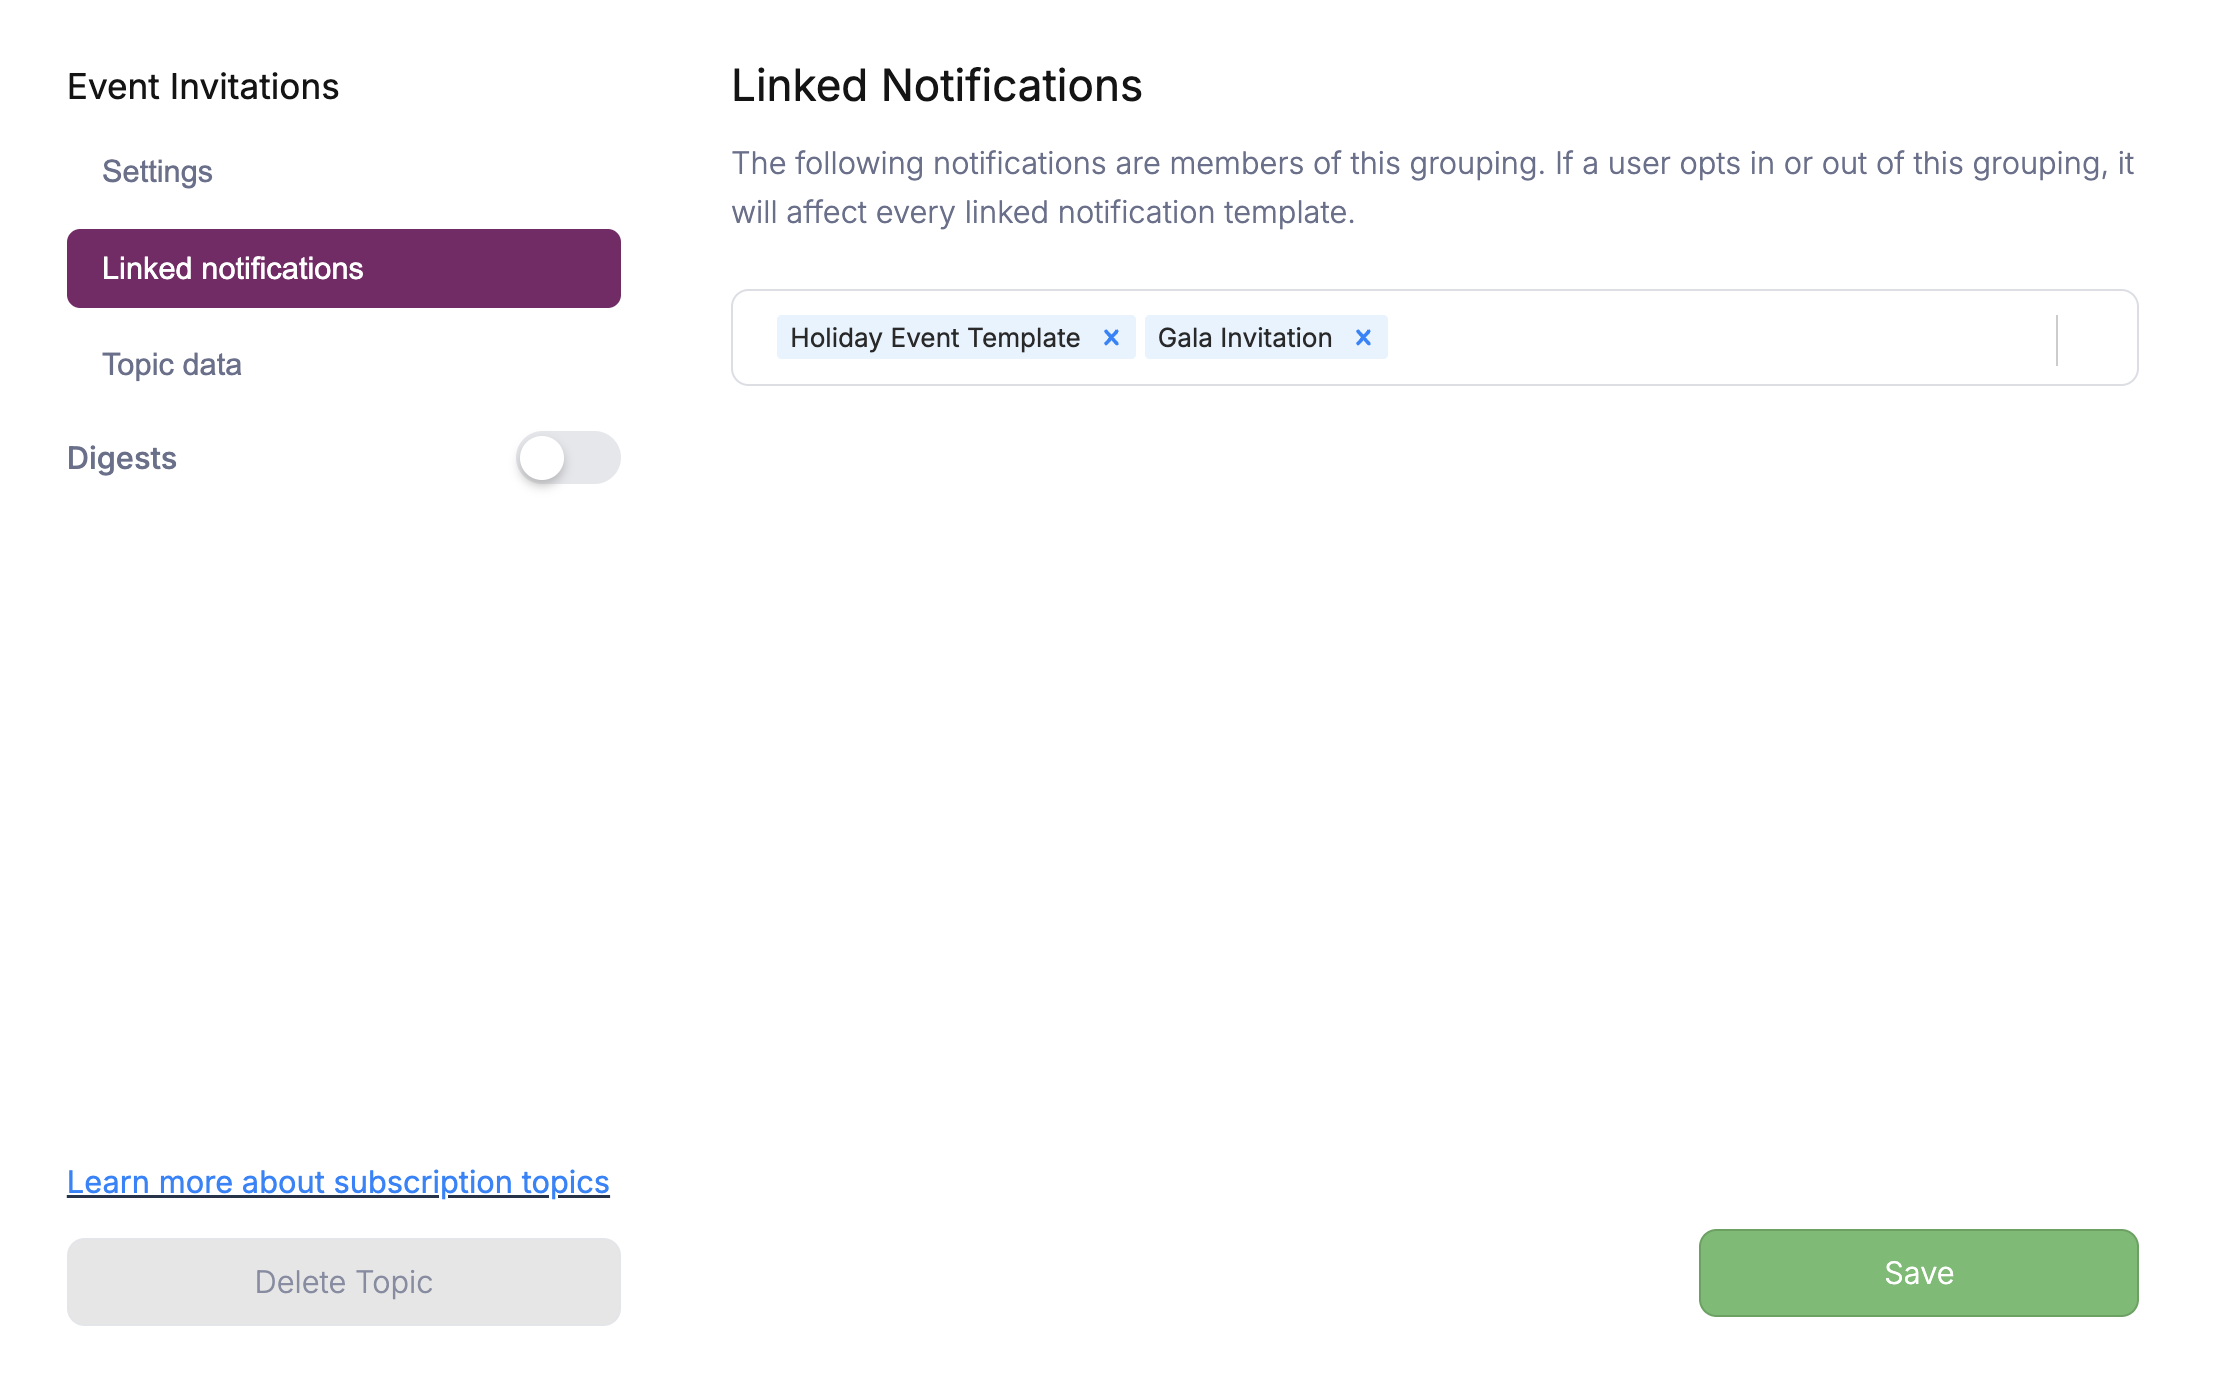
Link Your Templates
Select the notification templates that belong to this topic. When a user opts out of the topic, Courier suppresses all linked templates for that user.
Each template can only be mapped to one subscription topic at a time.
Step 3: Add Preference Links to Notifications
Insert preference center URLs into your notification templates so users can access their settings. Courier generates unique, authenticated URLs per user; no additional auth setup is needed.In Content Blocks
If your template uses the visual editor with content blocks (text, markdown, quote, list), use:In Handlebars Templates
If your template uses Handlebars syntax (template blocks, email templates, brand templates):In Elemental JSON
If you build notification content programmatically with Elemental:In Brand Footer
To show the preference link on every notification automatically, add it to your brand footer. This requires a Custom MJML/Handlebars brand template (the standard template only supports social links in the footer).- Open your brand in Settings > Brands
- Select Custom MJML/Handle Bars as the Template Type
- In the MJML Footer section, add a preference link using the Handlebars variable:
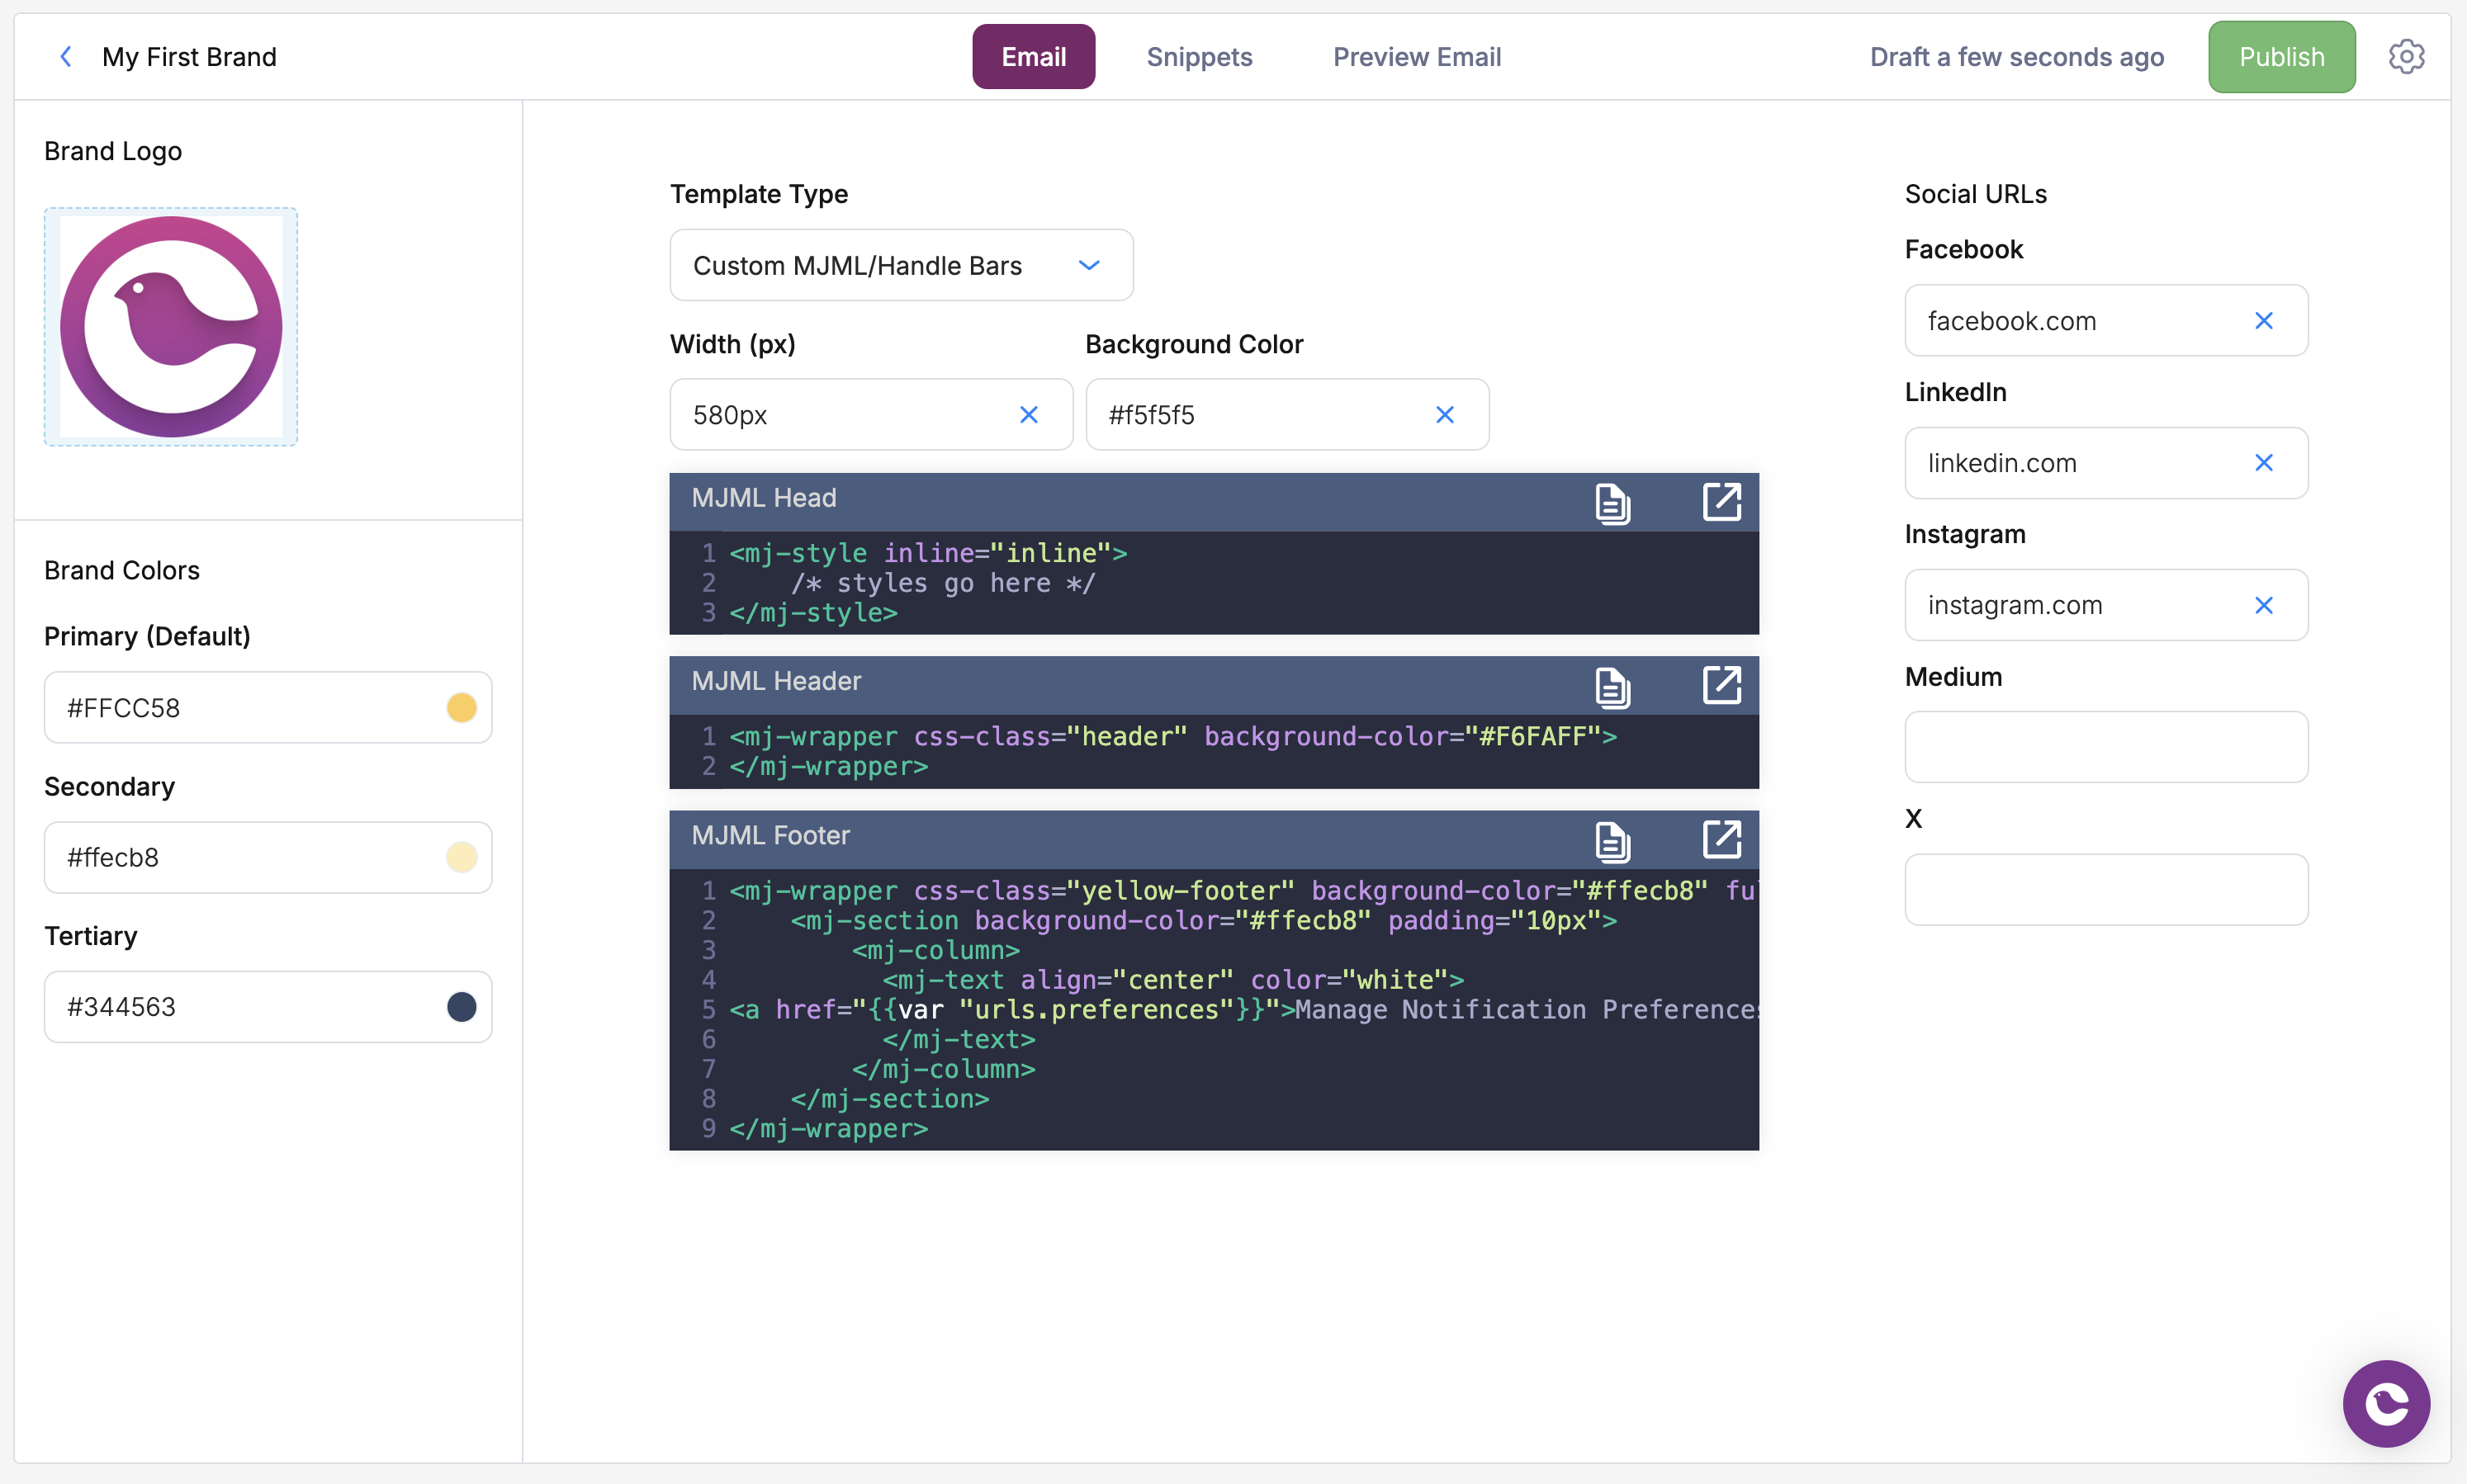
Important: Include
to.user_id in your send requests for preference links to work. The user ID maps recipients to their preference profiles.Step 4: Add Unsubscribe Links (Recommended)
Add one-click unsubscribe links so users can quickly opt out of a specific topic. This is important for email compliance. The variable syntax matches the preference link pattern:| Context | Syntax |
|---|---|
| Content blocks | {$.urls.unsubscribe} |
| Handlebars | {{var "urls.unsubscribe"}} |
| Elemental JSON | "href": "{$.urls.unsubscribe}" |
Step 5: Preview and Test
Before going live, verify everything works end-to-end.Preview the Preference Page
In the Preferences Editor, click Preview to see how your preference page looks to users. It automatically applies your brand styling.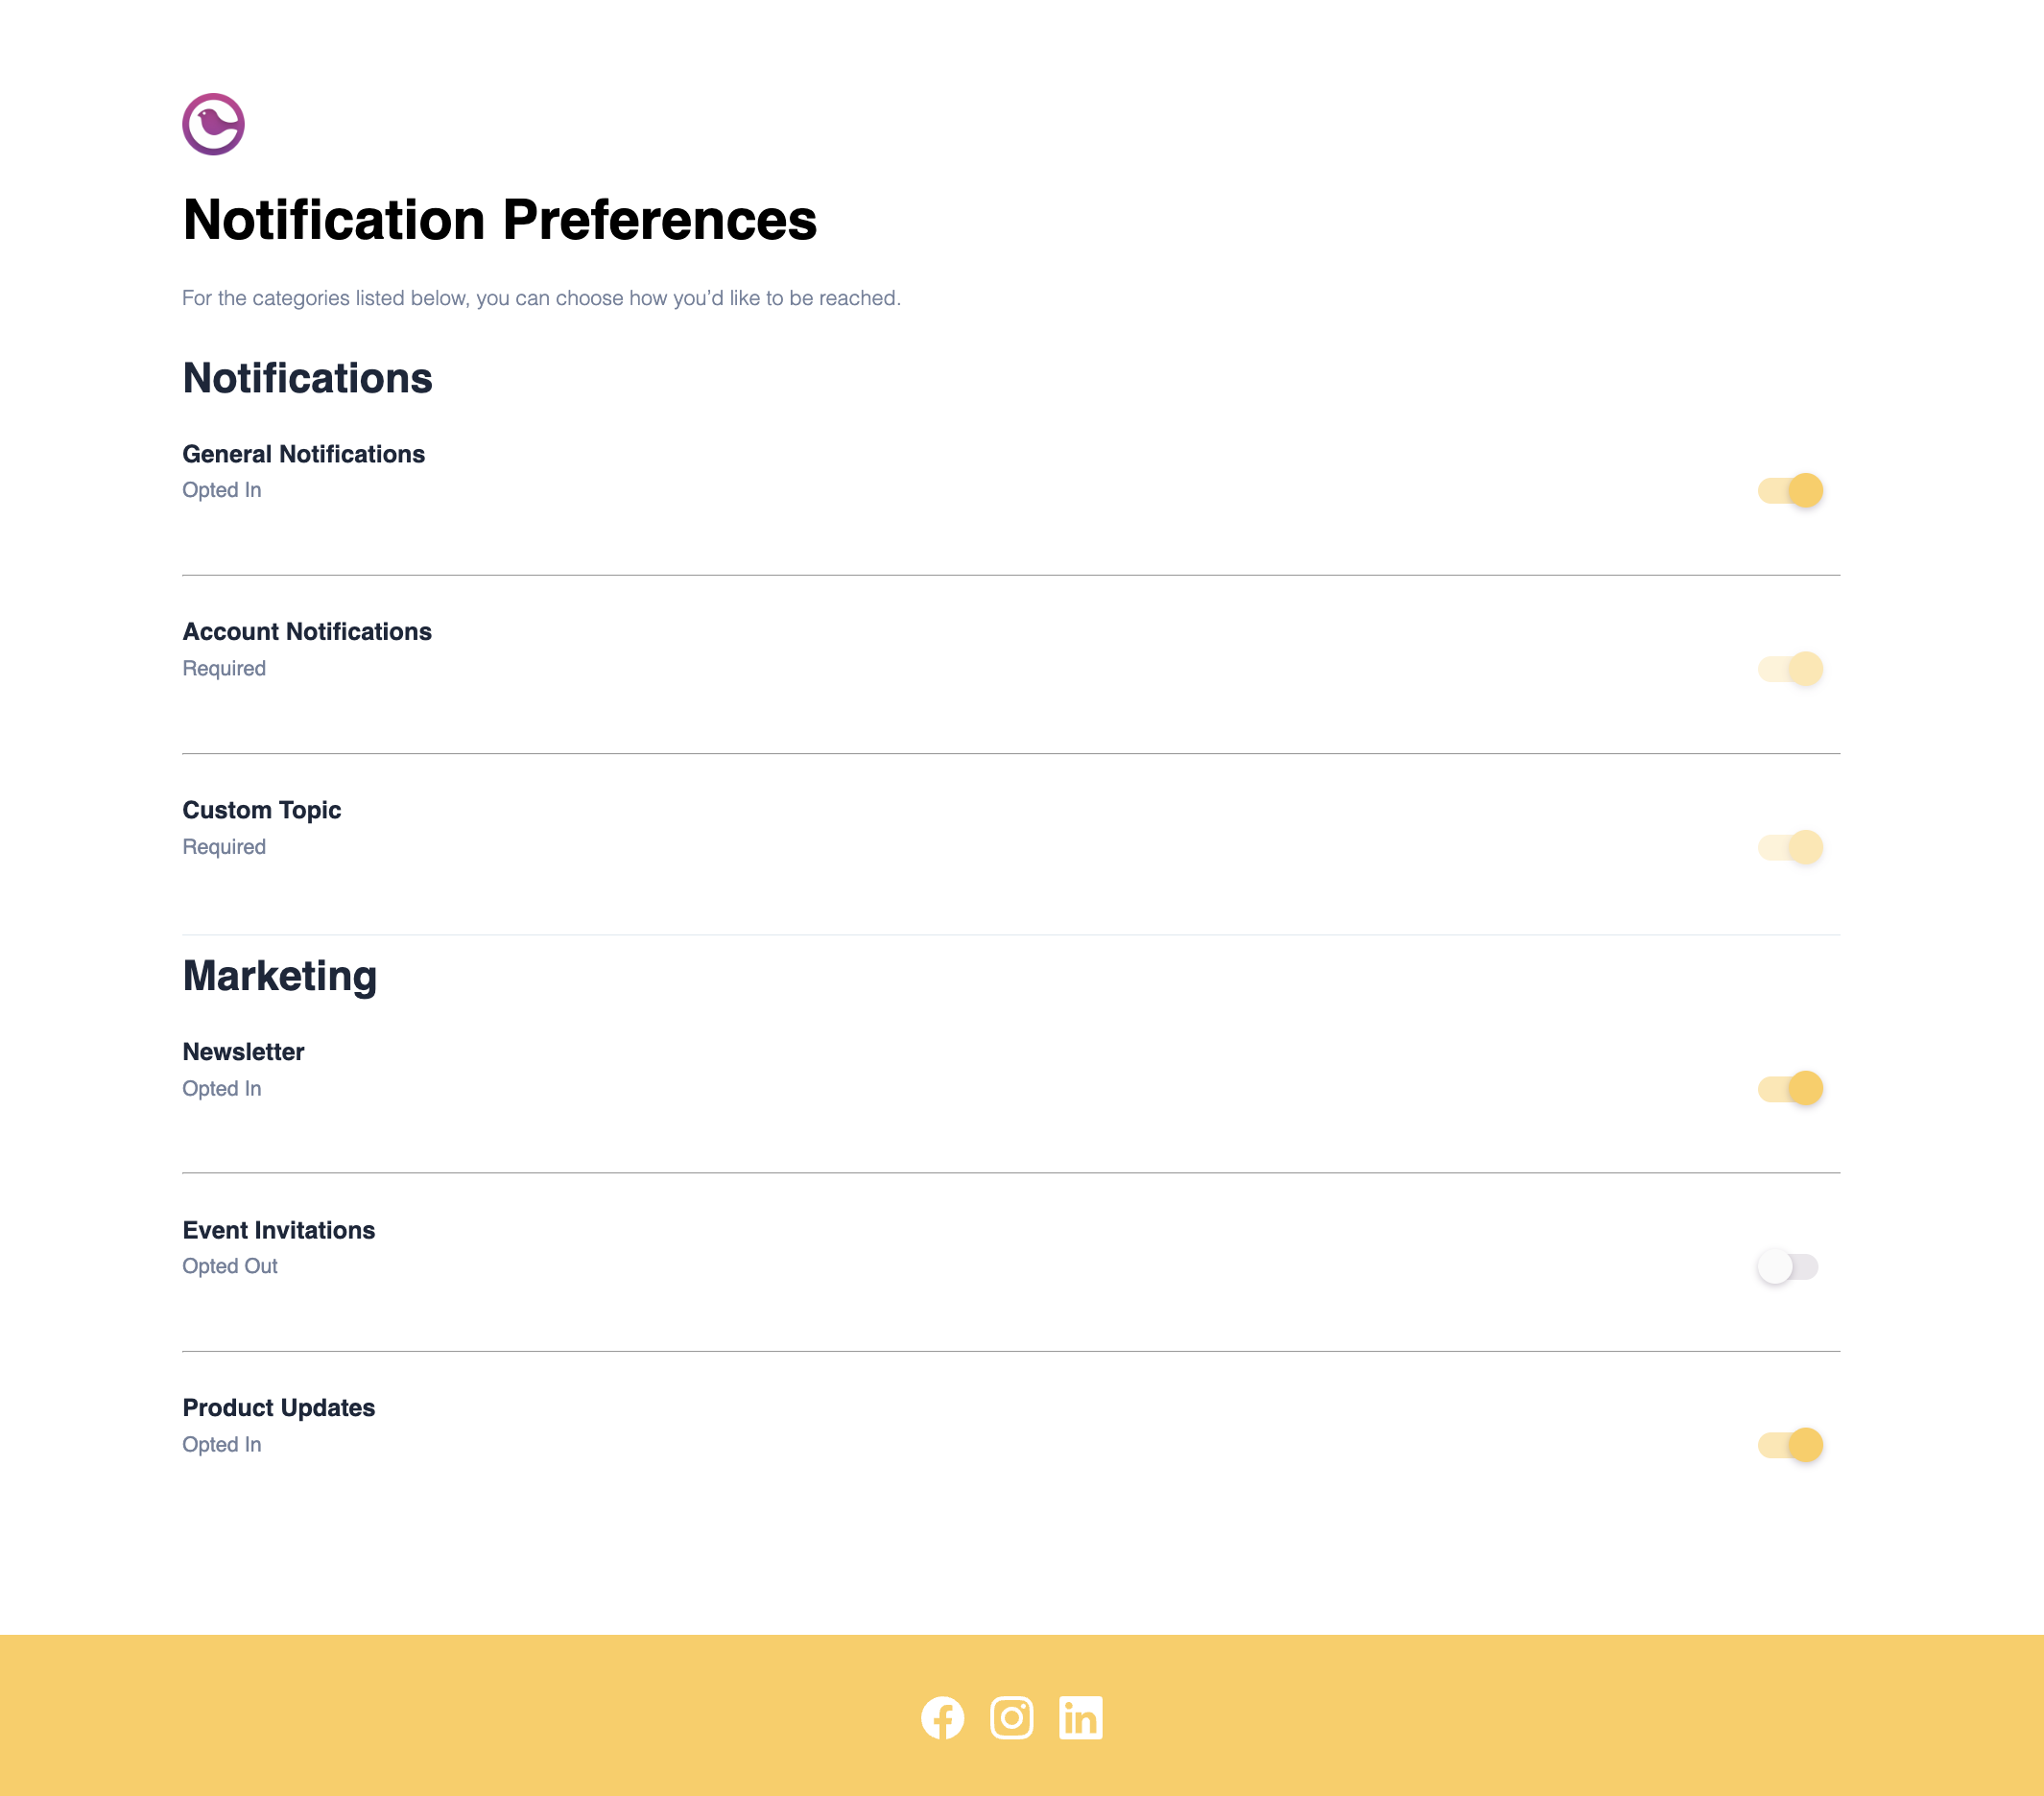
Step 6: Manage Preferences Programmatically (Optional)
You can also read and update user preferences from your backend using the API or SDKs. This is useful for syncing preferences with your own settings UI or importing existing preferences.Fetch a User’s Preferences
Update a User’s Topic Preference
Set Custom Routing (Enterprise)
Let users control which channels they receive notifications on for a given topic:Custom routing requires an Enterprise plan. The notification template must have multiple delivery channels configured and be linked to a subscription topic for channel preferences to take effect.
What’s Next
Embed Preferences in React
Build an in-app preference center with React components
Preferences Editor Reference
Full reference for topic and section configuration
Hosted Page Reference
Detailed hosted preference center documentation
User Preferences API
API reference for managing preferences programmatically