Step-by-step guide to creating notifications, adding content, and setting channel priority in the Courier Designer.
Building Your First Notification
Designing a notification that’s ready for a developer to send to users requires completion of 5 simple steps.Create a Notification
Select the Designer in the left-hand navigation, and click Create Notification.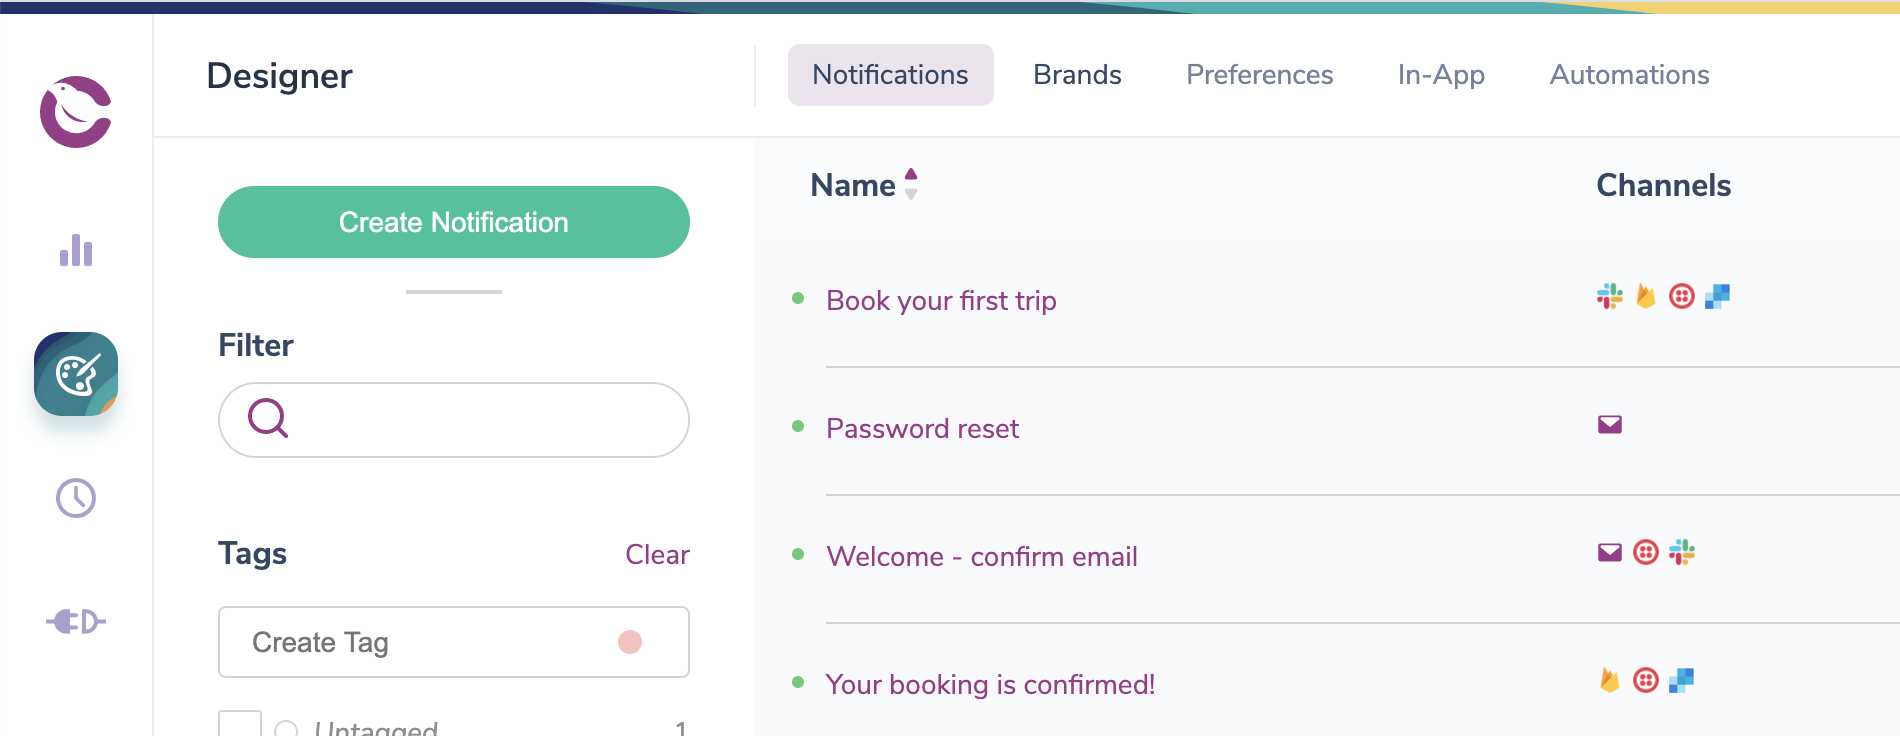
Add Notification Channels
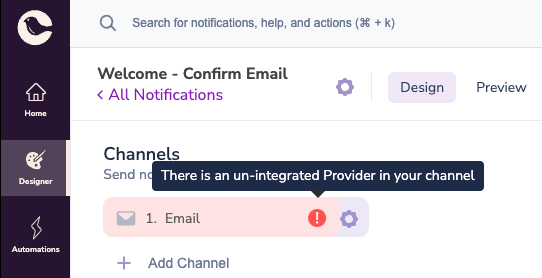
Before you can customize a notification with content, you need to add at least one channel by clicking the+ Add Channel button.
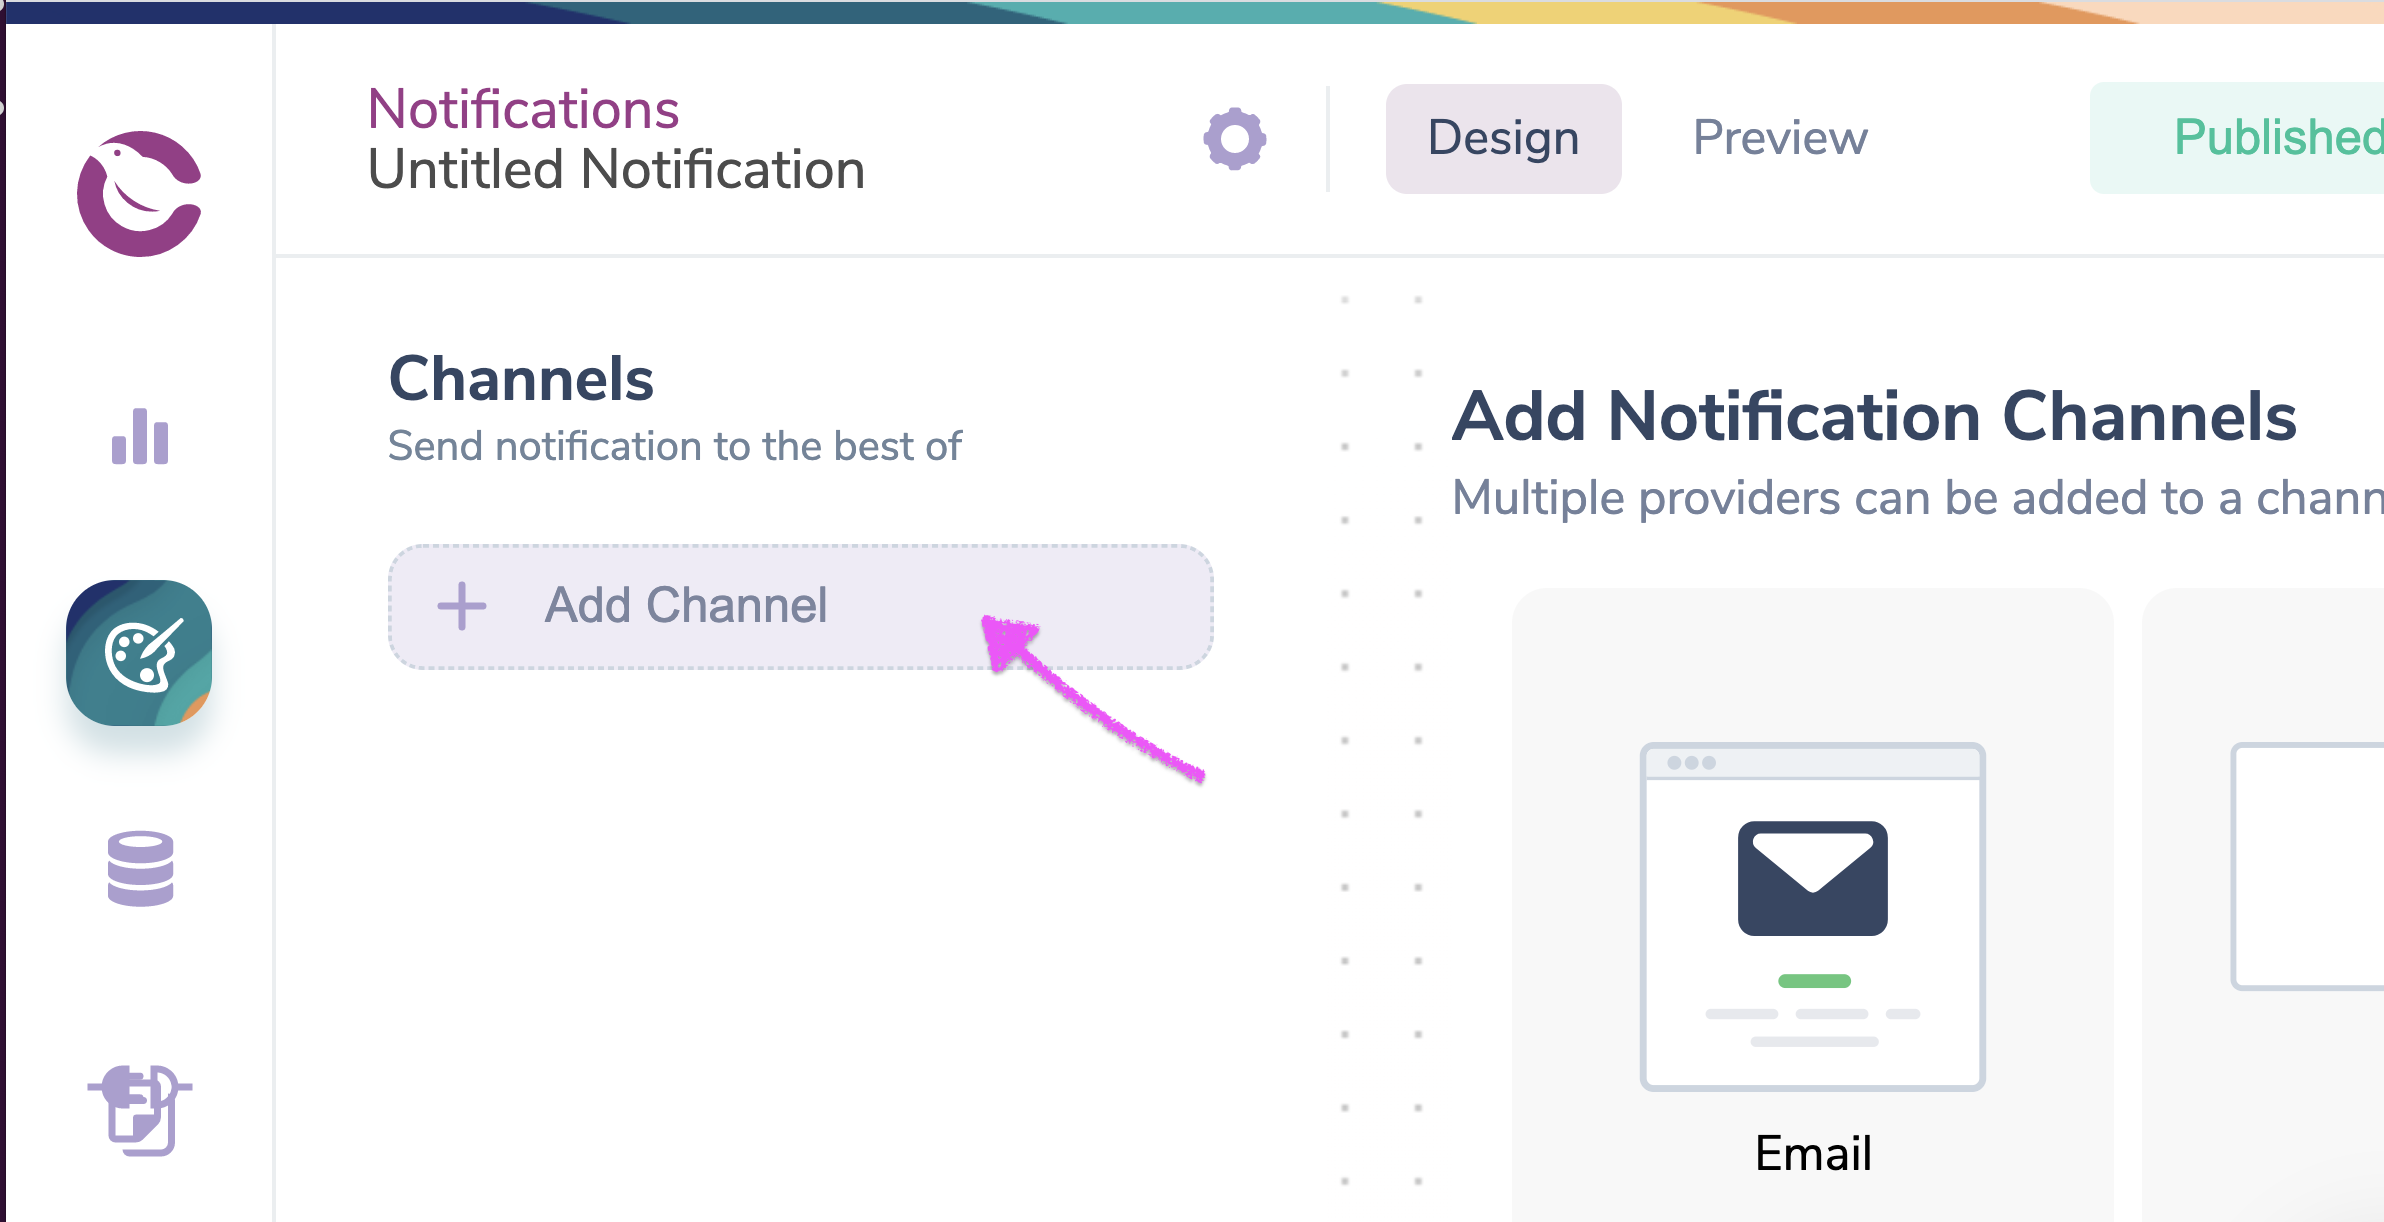
+ Add Channel, you have two options for adding Channels:
Option 1: Add Channel Types
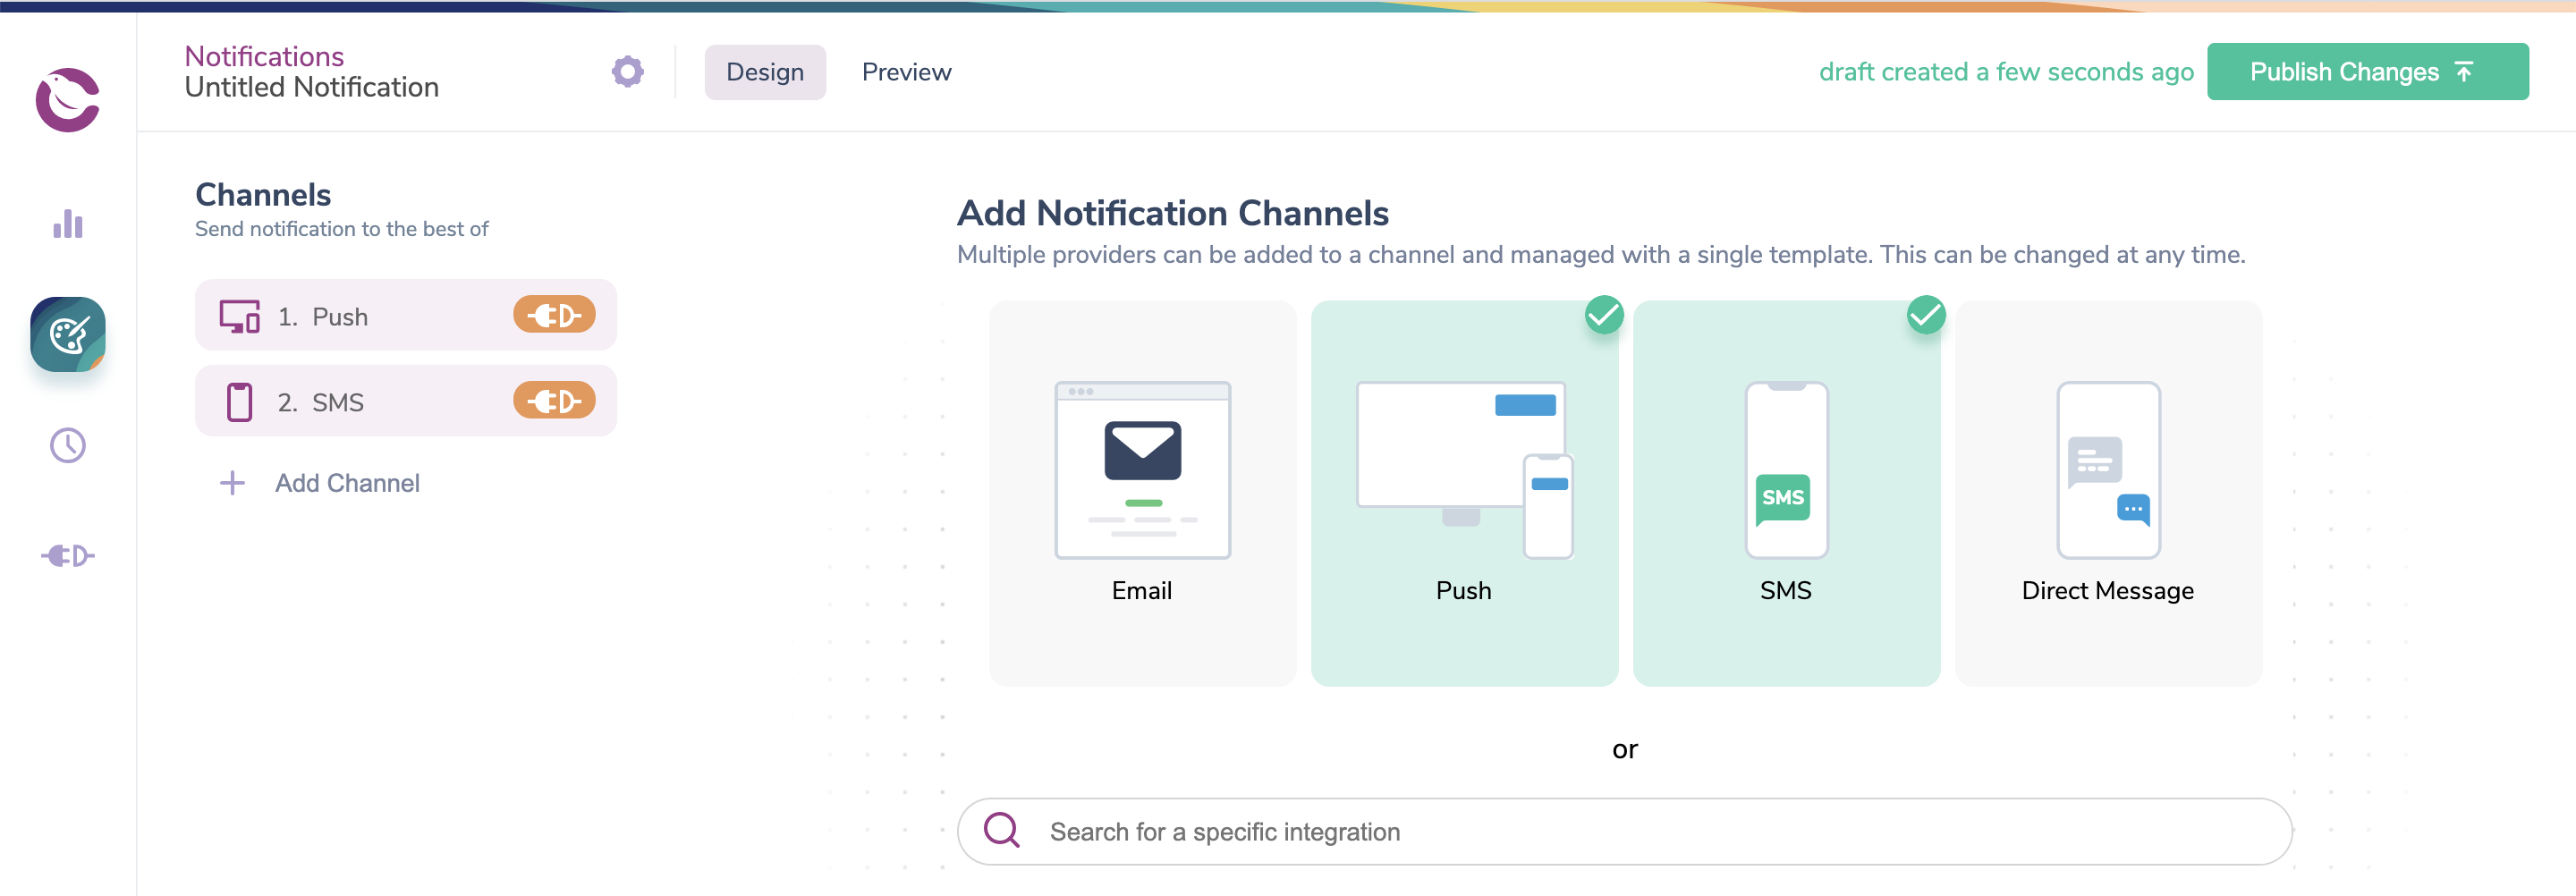
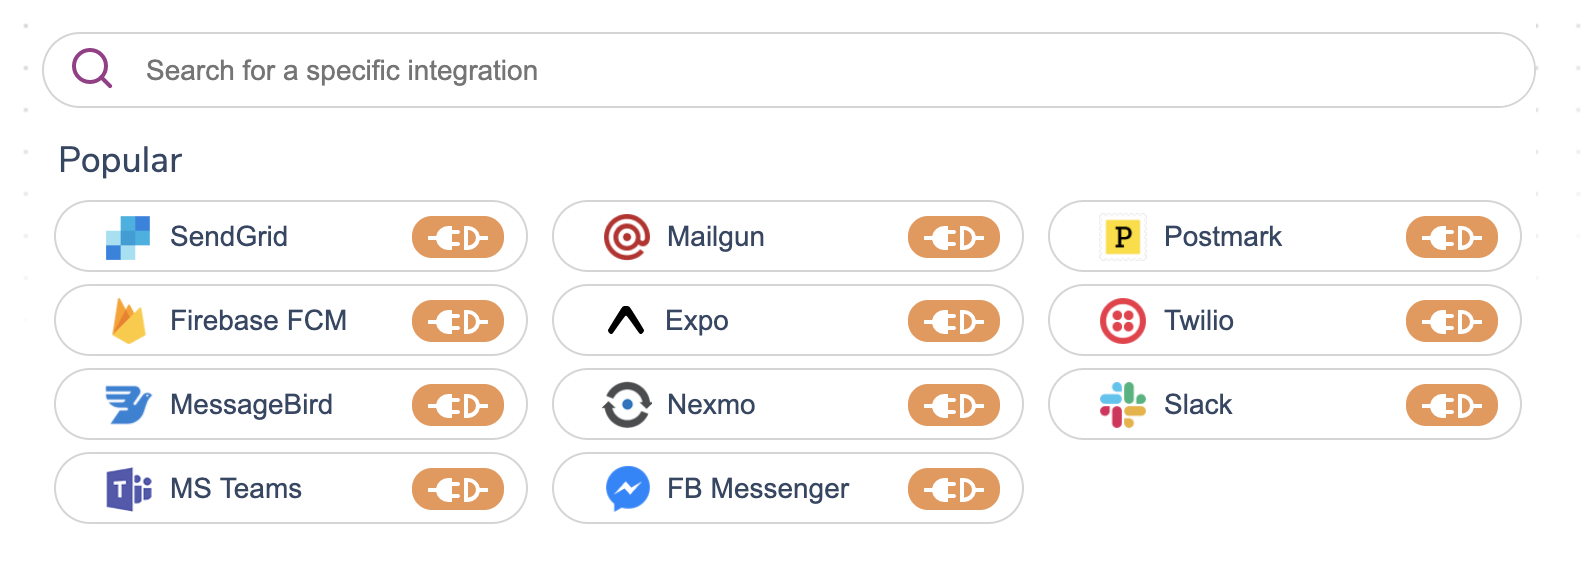
You can add one of four channel types: email, push, SMS, or direct message.
Prioritize Channels and Integrations
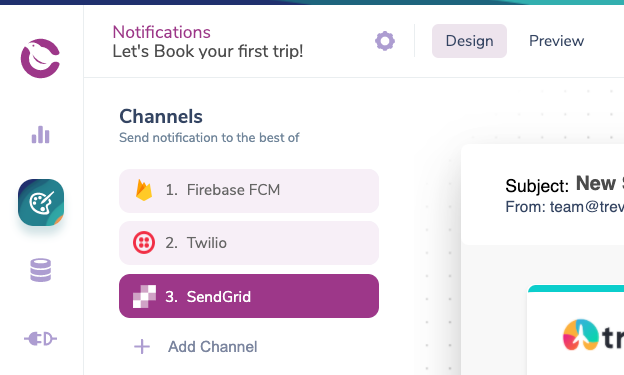
Channel and Integration send priority is set on a per-notification basis. There are two levels of priority you can set for channels: Best of and Always.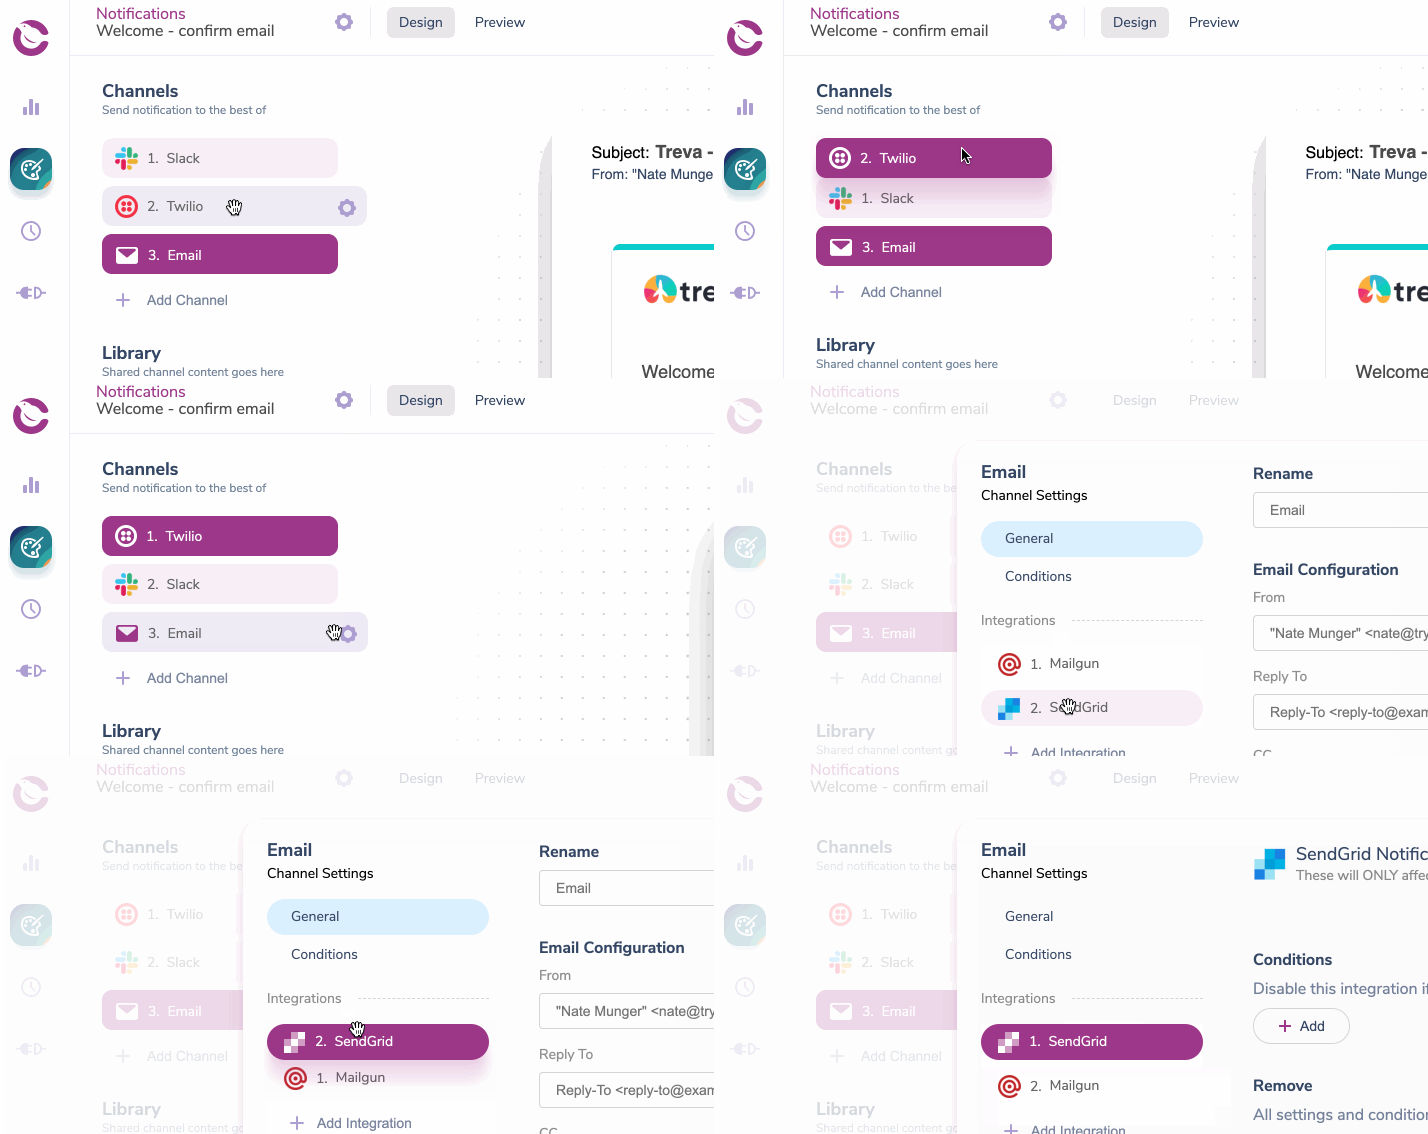
- Courier attempts to send your notifications using the top to bottom priority order in the “Best of” channels list.
- You can change the priority of your channels using drag and drop.
- Best of is defined as the first channel where the Profile data is complete (as defined in the integration docs for that provider)
- Best of does not currently fallback if the send is unsuccessful, only when the profile data is incomplete.
- It’s possible to set a notification to always send through certain channels.
- Courier will attempt to send the notifications through every channel in the “Always send” list in addition to the channels in the “Best of” list.
- To set a channel as “Always send”, open the channel settings and flip the toggle from “Best of” to “Always”. You can do this for one or more channels in the notification.
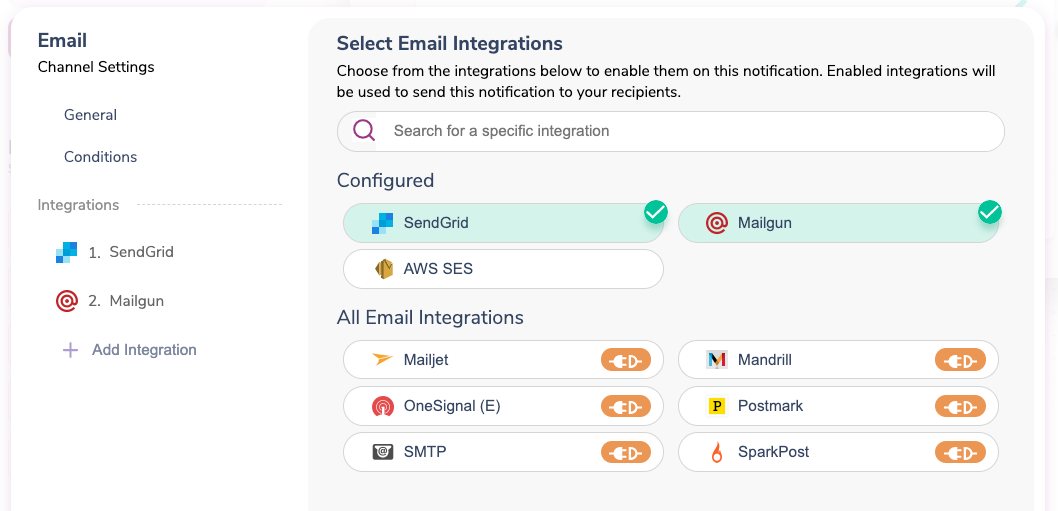
- It’s possible to add more than one Integration per channel.
- Open the Channel settings to drag and drop Integrations and set their priority.
Create Channel Content
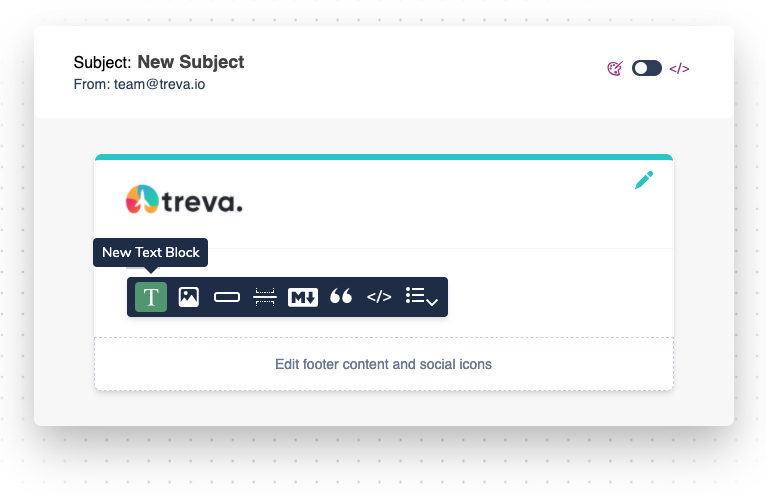
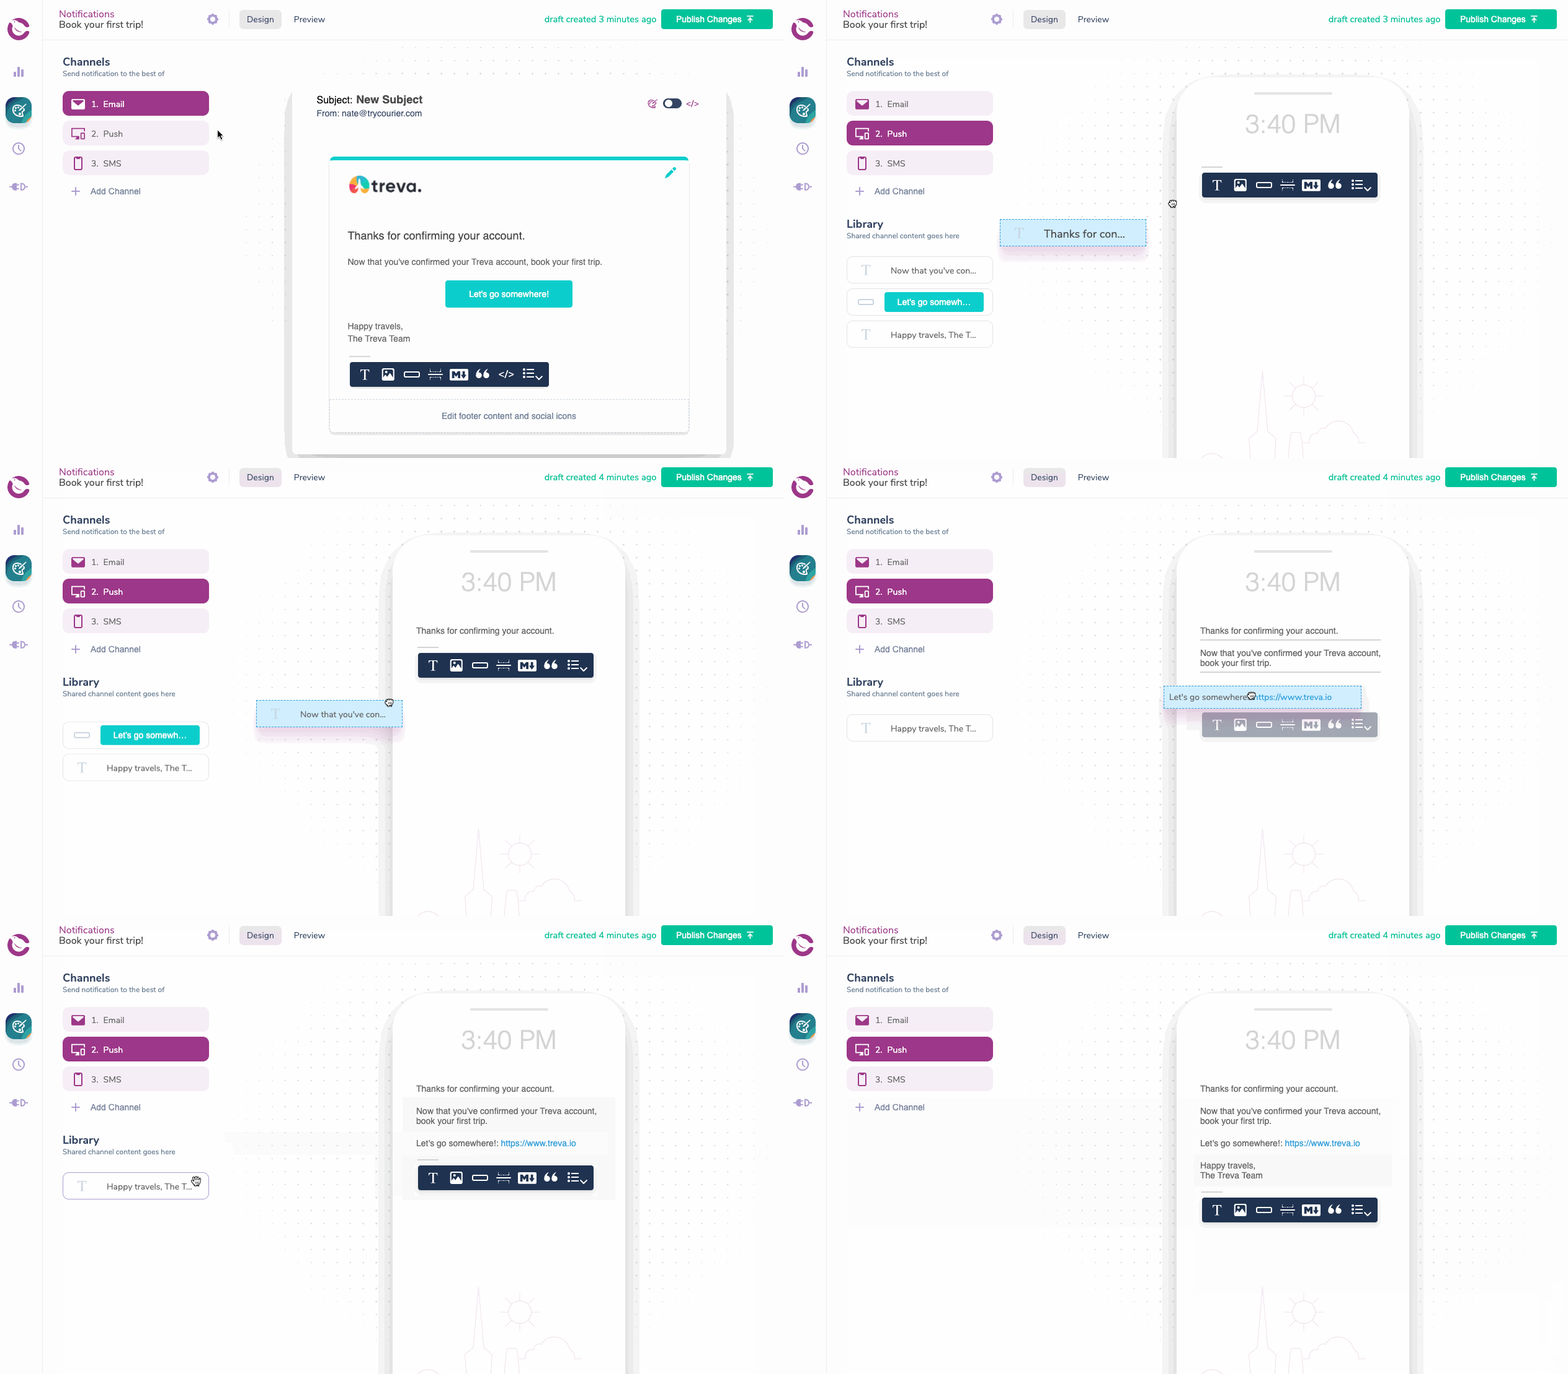
Click to open a channel and begin creating content. Use the content toolbar to add content blocks and customize the content within them. These blocks are reusable across channels - so you only have to build your content once.CHANNEL REQUIREMENTSAdding at least one Channel to a Notification is required before you can start adding content.
Publish Changes
Whenever you make a change to the content, channel priority, notification or channel settings, integrations, etc. you must publish the changes to production by clicking the “Publish Changes” button.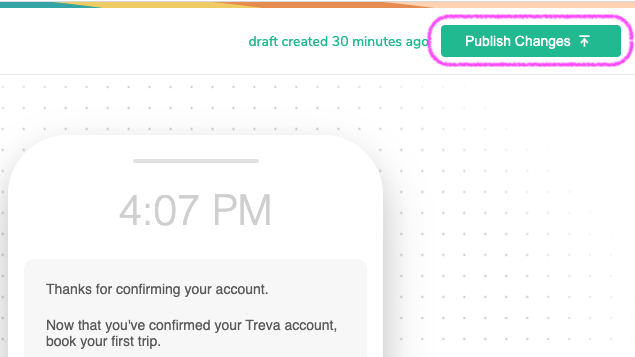
Roll-Back Changes
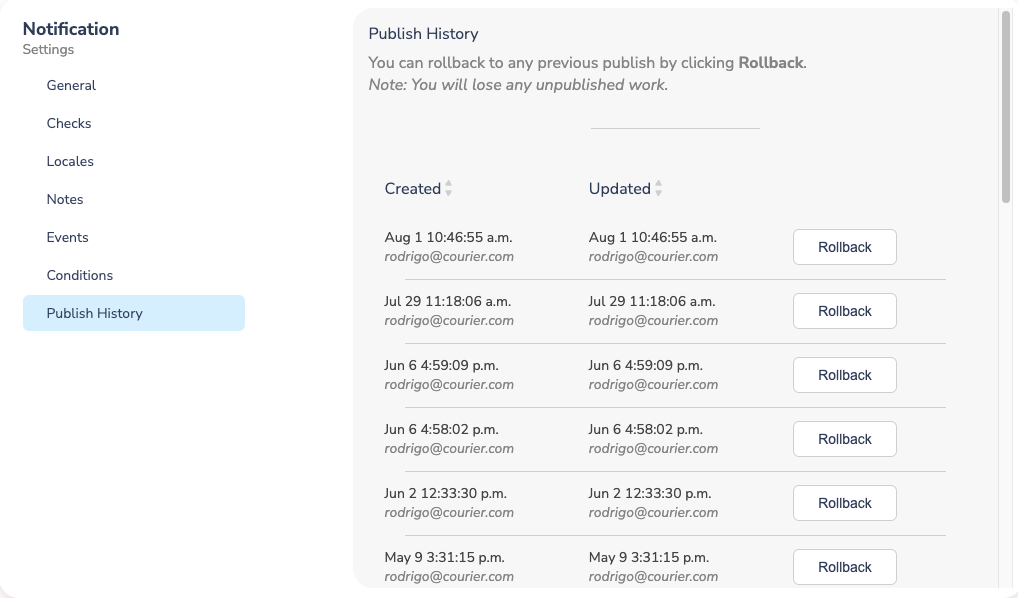
You can roll back to any previously published versions in the template settings underPublish History.
