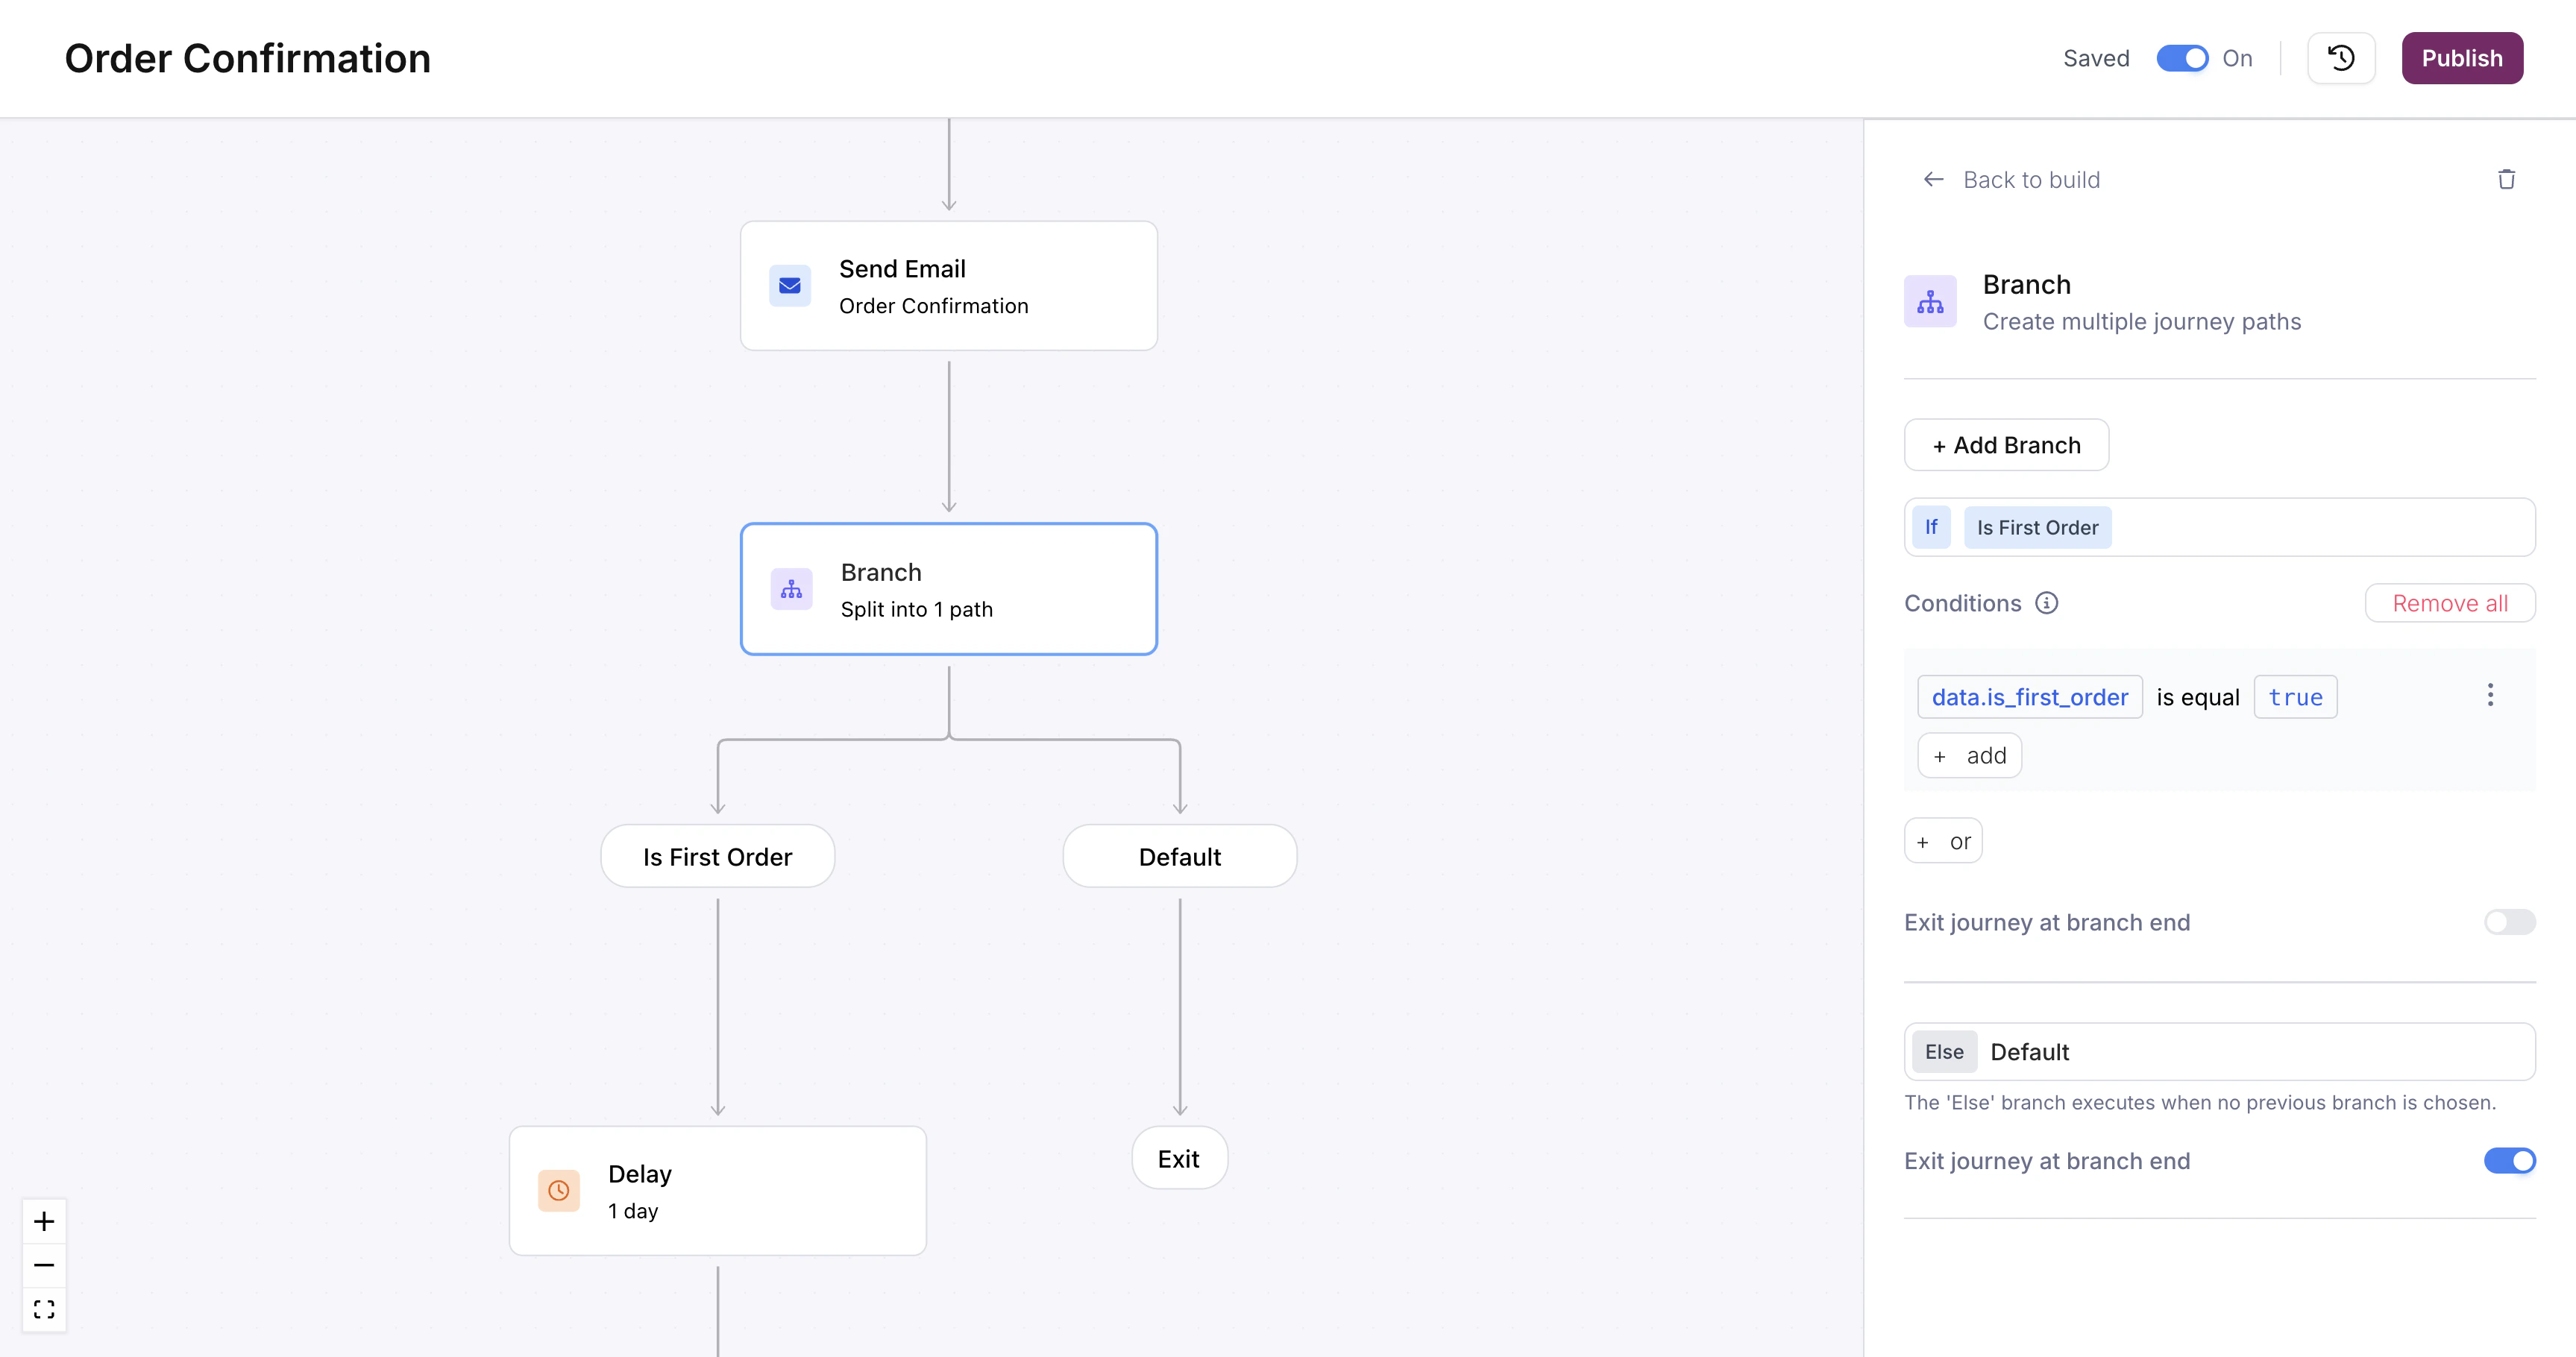
A branch node on the canvas with a conditional path and a Default path
Configuring Conditions
Click the branch node to open the condition editor. Each path has one or more conditions. A condition reads like a sentence: pick a field from the journey context (trigger schema, profile, or fetch response), choose an operator, and enter a value to compare against.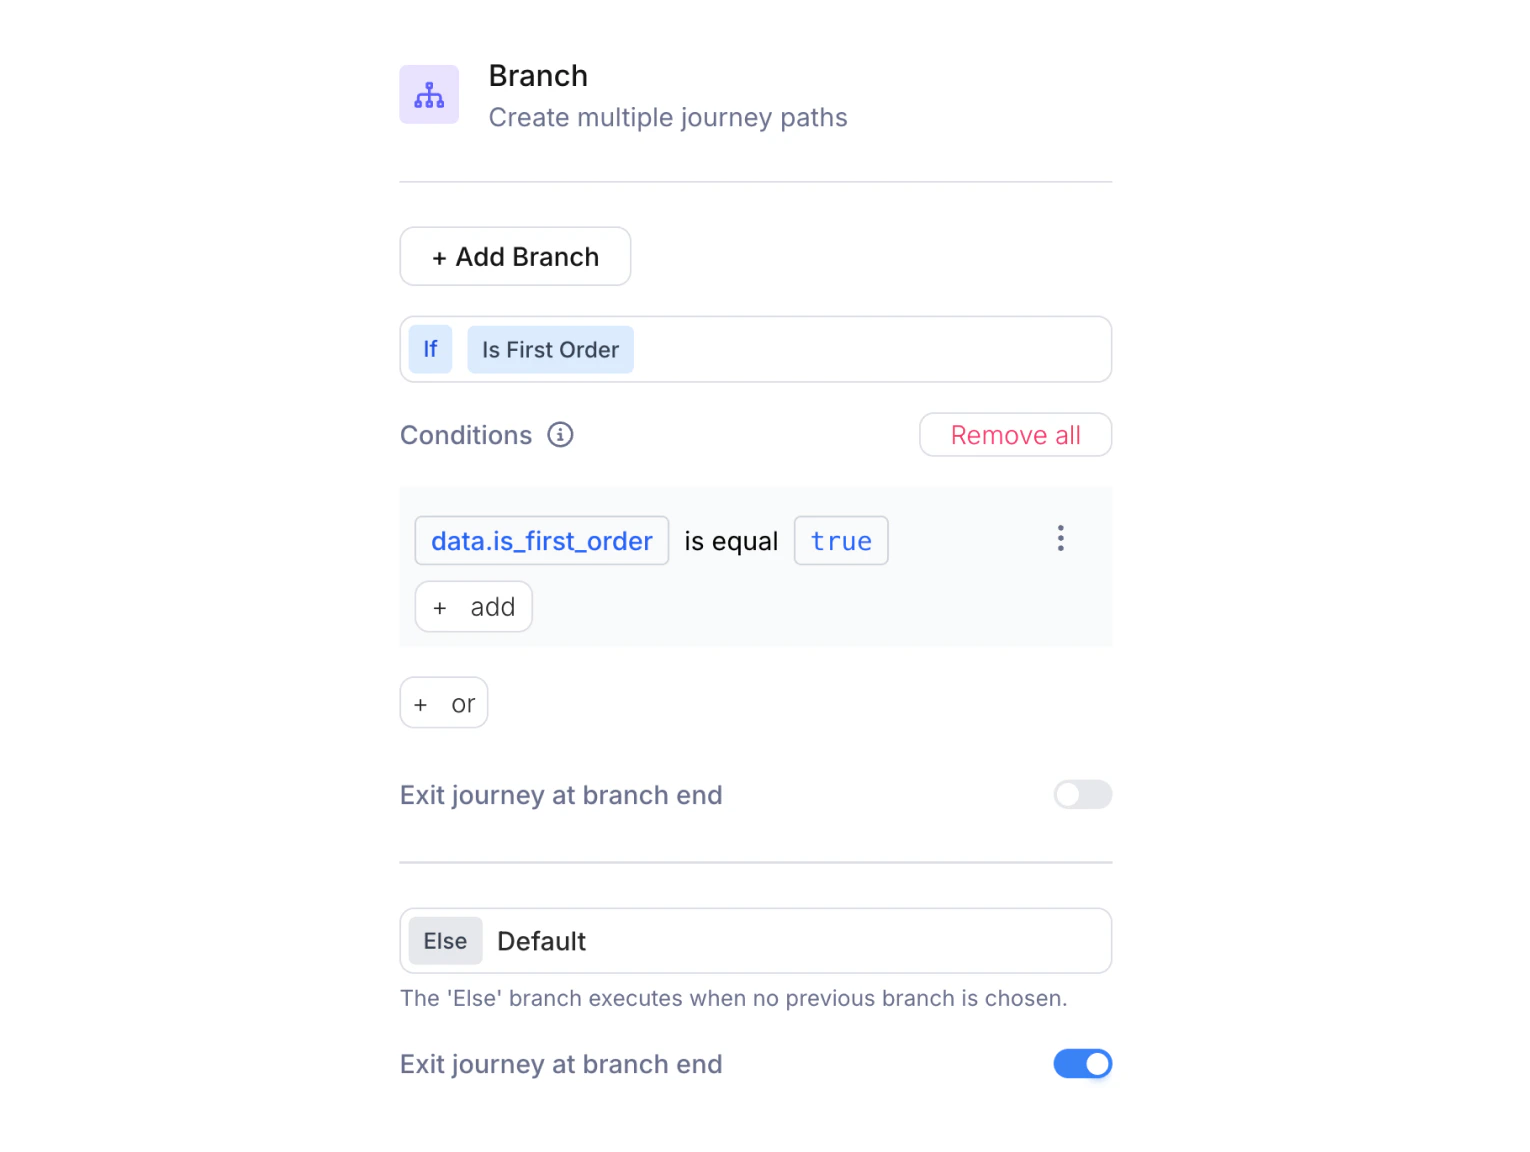
Branch configuration panel showing condition groups with field, operator, and value selectors
Multiple Conditions per Path
A path supports both AND and OR logic. Within a condition group, click + add to add another condition; all conditions in the same group must be true (AND). Click + or at the bottom to add a separate condition group; the path executes if any group is satisfied (OR). For example, you could route to a VIP path if the user is a first-time buyer with a high-value order, or a returning buyer who’s spent over a threshold:- Group 1:
data.is_first_orderis equaltrueANDdata.order_totalgreater than50 - Group 2:
data.is_first_orderis equalfalseANDdata.order_totalgreater than200
Common Patterns
Tiered notifications: Branch on a numeric field (e.g.,data.priority) to send urgent messages via SMS and lower-priority messages via email.
Feature gating: Branch on a boolean field (e.g., data.is_premium) to send premium users richer content.
Fallback handling: Use the Default path to catch unexpected values and send a generic message or skip sending entirely.