Design Studio + Journeys: The Engineering Integration Guide
Kyle Seyler
March 20, 2026
When you move notification logic out of your application and into Courier, the architecture shifts from a push model to an event model. Your backend stops evaluating state machines, rendering templates, and calling provider APIs directly. Instead, your backend just emits events.
This guide shows you exactly how to set up Design Studio and Journeys, how to structure your data payloads so product managers and marketers can work independently.
How the architecture shifts
There are two paths for how your events become notifications, and they serve different purposes.
Design Studio with routing (single-fire notifications)
Copied!
Your App ──▶ API call ──▶ Design Studio ──▶ Providers ──▶ User│Template content (per channel)Visual routing map (fallbacks, priority)Personalization (Handlebars)
You build a notification in Design Studio with multiple channel variants (email, push, SMS). You configure the routing logic visually: which channels fire first, and when to fall back. Your application makes a single API call with the template ID and data payload. Design Studio handles the channel selection, rendering, and delivery.
This path is best for single-fire notifications that don't need multi-step logic: order confirmations, password resets, or billing receipts.
Journeys with Design Studio templates (multi-step sequences)
Copied!
Event source ──▶ Journey trigger ──▶ [Step 1: Send email] ──▶ Provider(Segment │ [Step 2: Wait 24h]or API) │ [Step 3: Branch logic]│ [Step 4: Send push] ──▶ Provider│ [Step 5: Wait 48h]│ [Step 6: Send SMS] ──▶ ProviderTrigger eventBranching logicDelays and timingData fetching
Journeys are triggered by events arriving through Segment or the API. You configure a trigger node that listens for a specific event. When it arrives, the Journey runs. The event payload becomes the data available throughout the Journey for branching and personalization.
The Journey is the routing and orchestration layer. It decides which channel to use at each step and handles the timing. Design Studio acts as the template designer and personalization engine for each individual step.
This path is best for multi-step sequences where timing, branching, and channel escalation matter: onboarding cascades, re-engagement loops, and upgrade nudges.
Defining the data contract
The data object in your request is the boundary between your code and Courier. It carries the personalization variables that PMs use in templates and the values that Journeys branch on.
Copied!
{"message": {"to": { "user_id": "user_12345" },"template": "ORDER_SHIPPED","data": {"order_id": "ORD-9876","shipping_method": "next_day","tracking_url": "https://shipping.example.com/track/ABC123","items": [{ "name": "Mechanical Keyboard", "quantity": 1, "price": 129.99 },{ "name": "USB-C Cable", "quantity": 2, "price": 14.99 }]}}}
Whatever you put in data is available in Design Studio and Journey nodes. Whatever you leave out, PMs can't use without an engineering ticket.
Working with the data object:
Use camelCase or snake_case for variable names. Dashes and other unsupported characters in variable names will cause a rendering error.
Contact info (email, phone, device tokens) can live on the stored user profile or be passed in the profile property of the send request. Either way, it's separate from data. You reference profile fields with {profile.email} and data fields with {order_id} -- Courier automatically references the data path by default, so you don't need to prefix top-level data fields.
If a template references a variable that isn't in the payload, Courier renders it as empty by default. You can change this by enabling "Throw on Variable Not Found" in your template settings, which prevents the message from sending when required variables are missing.
Path 1: The Direct API
Use the Send API to trigger single-fire Design Studio notifications, or the Journeys API to trigger multi-step sequences from your backend.
Copied!
import Courier from "@trycourier/courier"; // https://github.com/trycourier/courier-nodeconst client = new Courier({apiKey: process.env.COURIER_API_KEY});async function handleOrderShipped(userId, orderDetails) {const { requestId } = await client.send.message({message: {to: { user_id: userId },template: "ORDER_SHIPPED",data: {order_id: orderDetails.id,tracking_url: orderDetails.trackingUrl,items: orderDetails.items}}});return requestId;}
For Journeys, the Node SDK has a dedicated journeys namespace:
Copied!
const { runId } = await client.journeys.invoke("onboarding-sequence", {user_id: userId,data: {order_id: orderDetails.id,plan_type: "pro"}});
The Journey builder in the Courier UI also gives you a ready-to-copy cURL command:
Copied!
curl -X POST \--url "https://api.courier.com/journeys/YOUR-JOURNEY-ID/invoke" \--header "Accept: application/json" \--header "Authorization: Bearer <your_api_key>" \--header "Content-Type: application/json" \--data '{"data": {"order_id": "ORD-123"},"user_id": "<user_id>"}'
Payload Schema Definition:
Notice in the Journey builder there is a "Payload Schema" section. This is where PMs and engineers agree on the contract. You define the fields (e.g., order_id) and their types directly in the UI.
The UI currently supports mapping these payload types:
StringNumberBooleanDateTime
This enforces the data structure and makes those variables available as autocomplete tokens when PMs build the rest of the Journey and the Design Studio templates.
Trigger Conditions:
You don't always want a Journey to run just because an event fired. The API Trigger node includes a "Conditions" section where PMs can filter incoming API calls based on Profile Data or the Payload Schema.
For example, a PM could set a condition where the API payload's shipping_method string "is equal" to next_day, or where the user's profile.Verified? boolean is true. If the conditions aren't met, the Journey simply exits at the trigger step without bothering your backend.
Error handling and retries
The Courier SDK throws typed error subclasses on failures and automatically retries connection errors, 408, 409, 429, and 5xx responses up to 2 times with exponential backoff.
For errors that survive retries (or 400s), handle them explicitly:
Copied!
try {// send message} catch (error) {if (error instanceof Courier.BadRequestError) {logger.error("send_bad_request", { status: error.status, message: error.message });return { success: false, retryable: false };}if (error instanceof Courier.RateLimitError) {logger.warn("send_rate_limited", { userId, template });return { success: false, retryable: true };}throw error;}
Idempotency
If your application might send the same event twice (like at-least-once delivery from a queue), use an Idempotency-Key header to prevent duplicate notifications:
Copied!
await client.send.message({ message: { /* ... */ } },{ idempotencyKey: `order_shipped_${orderDetails.id}` });
Path 2: Segment (for multi-step Journeys)
If you use Segment to track user behavior, you can route existing track and identify calls into Courier to trigger Journeys without writing new backend code.
Identify calls update the Courier user profile, making traits available for personalization:
Copied!
analytics.identify('user_12345', {email: 'alice@example.com',first_name: 'Alice',plan_type: 'pro'});
Track calls trigger the Journeys:
Copied!
analytics.track('Order Completed', {order_id: 'ORD-9876',total: 159.97,shipping_method: 'next_day'});
The event name (Order Completed) becomes the Journey trigger. The properties become the data object available for branching and templates.
Just add Courier as a Destination in Segment, enter your API key, and your existing instrumentation immediately powers your Journeys.
Path 3: CLI, MCP, and agent skills
The API and Segment are production paths. But you also need to invoke and manage Journeys from the terminal, from AI coding agents, and from automated workflows. Courier ships three developer tools for this.
CLI
The Courier CLI (source on GitHub) is a native Go binary with first-class Journey commands. Install with npm and authenticate with the COURIER_API_KEY environment variable.
Copied!
npm install -g @trycourier/cliexport COURIER_API_KEY=your_key
List your published Journeys:
Copied!
courier journeys list
List draft Journeys:
Copied!
courier journeys list --version draft
Invoke a Journey from the terminal:
Copied!
courier journeys invoke \--template-id "onboarding-sequence" \--user-id "user-123" \--data '{"plan_type": "pro", "signup_source": "pricing_page"}'
You can also pass profile data to merge with the user's stored profile:
Copied!
courier journeys invoke \--template-id "onboarding-sequence" \--user-id "user-123" \--profile '{"email": "alice@example.com"}' \--data '{"plan_type": "pro"}'
Every command supports --format json for machine-readable output and --transform for filtering with GJSON syntax. Pipe courier journeys list --format json --transform "results.#.id" into a script and you can invoke every Journey in your workspace programmatically.
The CLI is the right tool for ad-hoc testing, debugging, and CI/CD smoke tests. Before wiring up a new Journey to your production backend, invoke it from the terminal with a test payload. Verify the run in Message Logs. Then write the SDK call.
For single sends (not Journeys), the CLI handles those too:
Copied!
courier send message \--message.to.user_id "user-123" \--message.template "ORDER_SHIPPED" \--message.data '{"order_id": "ORD-9876"}'
Full command reference: CLI docs or courier --help.
MCP server
The Courier MCP server (docs) gives AI coding agents access to 59 Courier tools through the Model Context Protocol. It works with Cursor, Claude Code, Windsurf, and any MCP-compatible client. It's hosted at https://mcp.courier.com -- no local setup required.
Cursor -- add to .cursor/mcp.json:
Copied!
{"mcpServers": {"courier": {"url": "https://mcp.courier.com","headers": {"api_key": "YOUR_COURIER_API_KEY"}}}}
Claude Code:
Copied!
claude mcp add courier --transport http --url https://mcp.courier.com --header "api_key: YOUR_COURIER_API_KEY"
The MCP server doesn't have dedicated Journey tools yet. The CLI's courier journeys invoke calls the Journeys API directly, but the MCP server currently exposes Journeys through its automation tools. The tools most relevant to Journey workflows:
| Tool | What it does |
|---|---|
send_message / send_message_template | Single-fire sends via Design Studio |
list_messages / get_message / get_message_history | Debug delivery after a Journey run |
get_user_profile_by_id / create_or_merge_user | Check or update user profiles before triggering |
get_user_preferences | Verify preference state before testing |
The full server covers 59 tools across send, messages, profiles, lists, audiences, notifications, brands, auth, tokens, bulk, audit events, inbound, tenants, users, and translations. See the complete tool list. You can run it locally for development (git clone, then sh dev.sh) or point at the hosted version.
The practical workflow: you're building a new onboarding Journey and want to test the sends within it without leaving your editor. Your coding agent calls send_message_template to verify a template renders correctly, then calls get_message_history to confirm delivery. For invoking the Journey itself, use the CLI (courier journeys invoke) from the terminal or your agent's shell access.
Agent skills
Courier Skills is a set of structured knowledge files that teach AI coding agents how to build notifications correctly. It's not an API or a runtime tool. It gives the model stable, opinionated context about notification patterns so it generates production-quality code instead of rediscovering best practices on every prompt.
Install for Claude Code:
Copied!
git clone https://github.com/trycourier/courier-skills.git ~/.claude/skills/courier-skills
Install for Cursor (global):
Copied!
git clone https://github.com/trycourier/courier-skills.git ~/.cursor/skills/courier-skills
The patterns most relevant to Journeys:
Multi-channel routing. The skill encodes when to use method: "single" (try channels in order until one succeeds) vs. method: "all" (send to all channels simultaneously). It includes a channel selection table by use case -- OTP/2FA, order confirmations, security alerts, weekly digests -- so your agent picks the right routing for each Journey step.
Onboarding sequences. Day 0 through Day 7 timing schedules, exit conditions (stop onboarding when user activates), frequency limits (max 3-4 emails in the first week, not 7), and the code to wire it up. This is the Journey pattern most teams build first.
Automation cancellation. Start a Journey with a cancelation_token in the data payload, then cancel it from a separate event when the user takes the desired action:
Copied!
// Start the onboarding Journeyconst { runId } = await client.journeys.invoke("onboarding-sequence", {user_id: "user-123",data: {userName: "Jane",cancelation_token: "onboarding-user-123"}});// Later, when the user activates -- cancel the sequenceawait client.automations.invoke.invokeAdHoc({recipient: "user-123",automation: {steps: [{ action: "cancel", cancelation_token: "onboarding-user-123" }]}});
The initial invoke uses client.journeys.invoke() (the Journeys API). The cancel call still goes through client.automations because cancellation is an automation primitive that works across both Journeys and ad-hoc automations.
Batching and throttling. Per-user notification limits by priority level, recommended limits by channel (push: 5-10/hour, email: 3-5/day, SMS: 2-3/day), and the code patterns for enforcing them. These map directly to the batch, throttle, and digest nodes in Journeys.
Consent checks. How to verify user preferences before sending growth notifications, with the consent record structure for audit compliance (GDPR, TCPA, CASL).
The skills cover transactional patterns (auth, orders, billing, appointments, account), growth patterns (onboarding, adoption, engagement, re-engagement, referral, campaigns), and cross-cutting guides (reliability, compliance, multi-channel, preferences, CLI usage, and migration paths from Knock and Novu). The full structure is in the repo README.
The code you get to delete
The biggest engineering benefit of this integration is deletion. Here is what you can remove from your repo:
Notification state machines and cron jobs. If you built cron jobs to check whether a user completed onboarding within 3 days and send an email, Journeys handles that timing natively.
Template rendering logic. HTML/CSS email templates stored in your codebase, Handlebars/Pug rendering logic, and Outlook compatibility hacks. Design Studio takes over the visual layer.
Provider SDKs (for notifications). If you use SendGrid, Twilio, or Firebase only for notifications moving to Courier, remove those SDKs. You configure the credentials once in the Courier dashboard.
Preference management. Database tables and API endpoints tracking whether users opted out of marketing emails or prefer SMS. Courier's Preferences replaces this.
What stays in your codebase
This isn't a "set it and forget it" integration. You still own:
- Event instrumentation. Your app decides when events fire. If you add a new product event, you write the code that emits it.
- The data object shape. You decide what fields go into the
dataobject and keep them consistent. - User profile hydration. If you aren't using Segment, your app is responsible for keeping Courier user profiles updated via the Profiles API.
- Edge cases. If a notification needs data from a third-party API that Courier can't fetch, your application must include it in the event payload.
Testing safely and observing execution
When you hand notification logic to product managers, you need safeguards so they don't break production, and visibility to prove the integrations are working.
Every Courier workspace has a Test and Production environment, each with its own API keys.
- Development and staging should use the Test API key. PMs build and test Journeys here. Test notifications go to test provider configurations, not real users.
- Give PMs test payloads. Give your PMs a realistic JSON payload representing the
dataobject. They paste this into the preview pane to verify their Handlebars logic works before publishing. - Verify the payload in Data Logs. Before a Journey goes live, trigger the event from your staging environment and check Courier's Message Logs. Verify the payload contains all required fields with the correct types.
- Promote to Production. Once validated, PMs promote the Journey to the Production environment, where your production app is sending live events.
From the CLI, you can do steps 3 and 4 without opening a browser:
Copied!
# Invoke the Journey against your test environmentCOURIER_API_KEY=$TEST_KEY courier journeys invoke \--template-id "onboarding-sequence" \--user-id "test-user-1" \--data '{"plan_type": "pro"}'# Check the message statuscourier messages list --format json --transform "results.0"
Version History and Rollbacks
Because PMs are editing logic in a UI rather than pushing code through Git, engineering teams often worry about regressions. Courier handles this by maintaining complete Version History for every Journey and Design Studio template.
Every time a PM publishes a change, Courier creates an immutable snapshot. If a new Journey branch accidentally stops sending push notifications, you don't need to write a hotfix or scramble to remember what the previous state looked like -- you simply click the "History" tab and restore the last known-good version with one click.
Visibility into the Black Box
A common concern when moving logic to a third-party service is losing visibility into execution. Journeys solves this by providing built-in Logs and Metrics directly alongside the visual editor.
- Logs Tab: Instead of grepping through Datadog or New Relic to figure out why a user didn't get an email, you can view the execution logs for every specific Journey run. You can search by Run ID or Recipient, see exactly which step the Journey is currently on, its status (e.g., waiting, completed, failed), and exactly when it fired.
- Metrics Tab: Your PMs and growth teams get instant visibility into deliverability. They can track Sends, Deliveries, Opens, and Clicks aggregated over time, broken down by specific templates used within the Journey, all without asking engineering to build custom dashboards.
Set up the integration | Build your first Journey | API reference
Similar resources
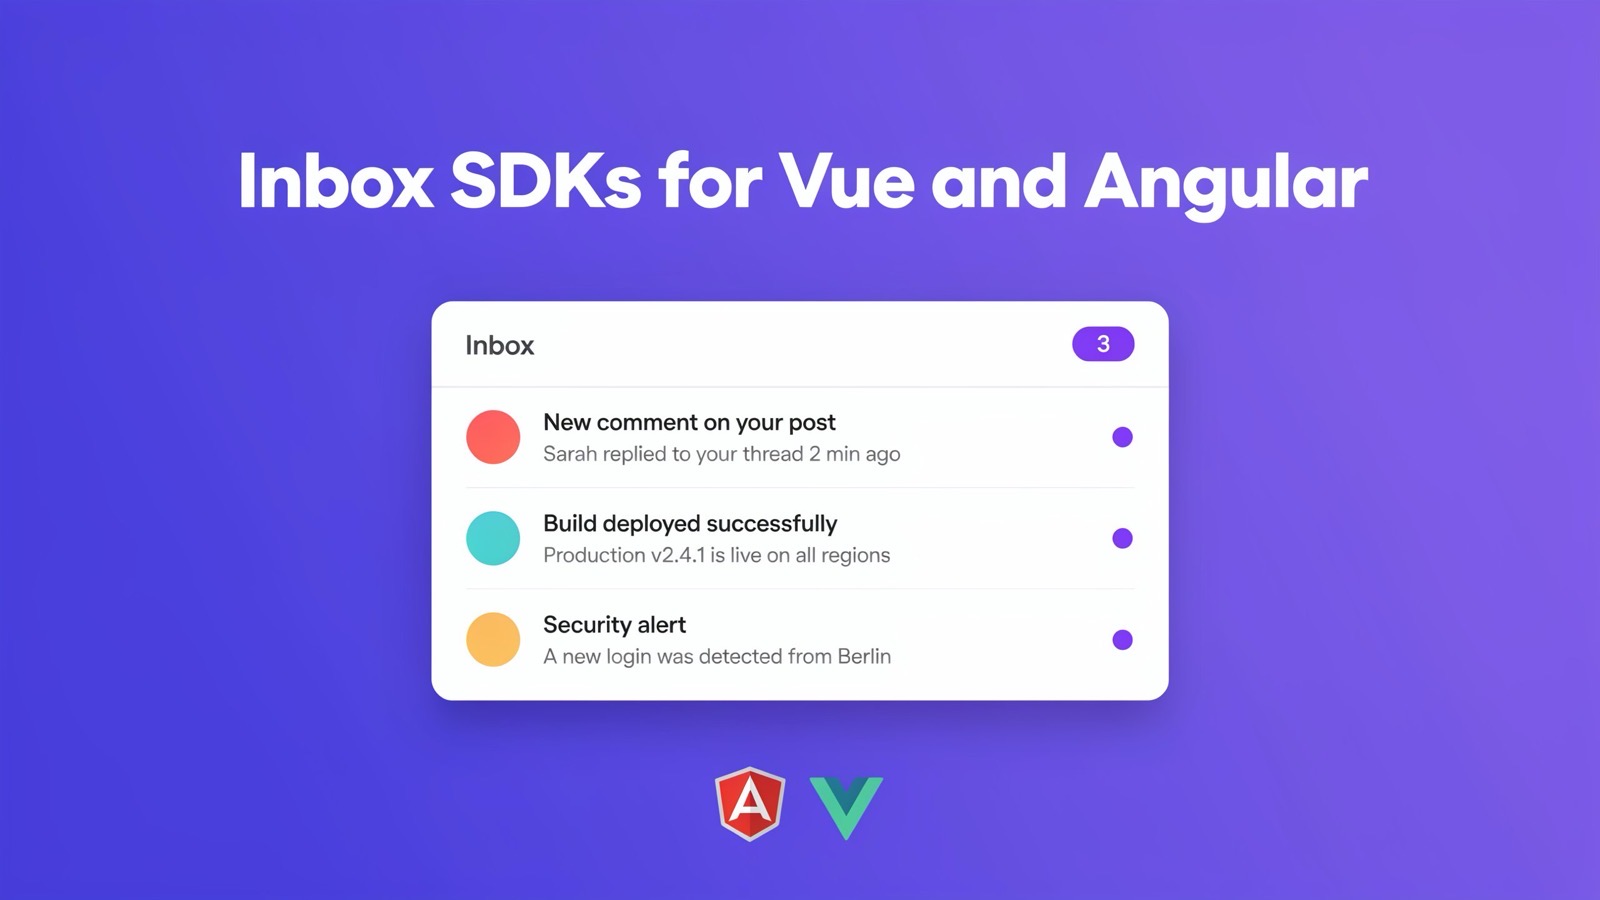
Inbox SDKs for Vue and Angular: a native in-app notification center
Courier now ships first-class inbox SDKs for Angular and Vue. Drop in a real-time notification center, toasts, and a preferences center with native components, an injectable service, and a composable, all backed by the same in-app inbox that already powers React and JavaScript apps.
By Mike Miller
June 19, 2026
Human-in-the-loop for AI payment agents: building approval notifications that work
AI agents need human approval before taking consequential actions: financial commitments, irreversible changes, decisions that affect other people. This post covers how to design those checkpoints and build the notification infrastructure: multi-channel delivery, live context, escalation, and a back-and-forth question loop between reviewers and the agent.
By Eric Lee
May 26, 2026

Create a customer journey from AI coding agent
Use Courier's Journey API to create multistep customer engagement workflows from your coding agent of choice. Describe the kind of journey you'd like to create, answer a few questions, and publish to the platform.
By Kyle Seyler
May 20, 2026
© 2026 Courier. All rights reserved.